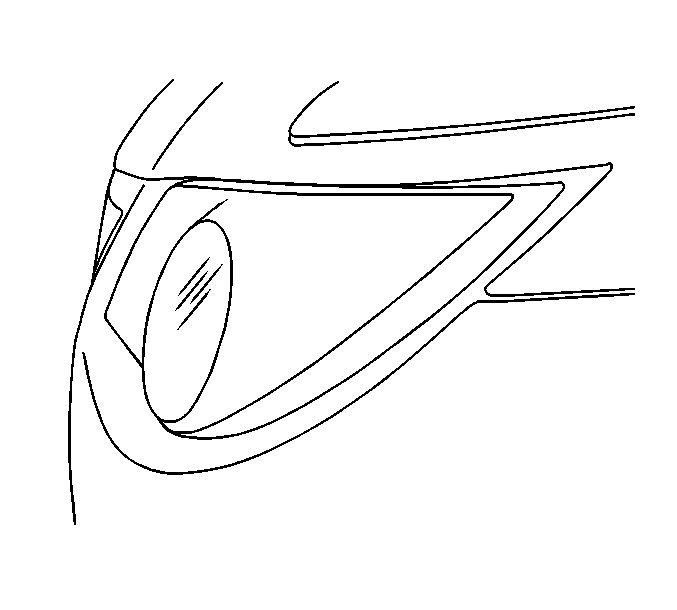
Headlamp Assembly or Headlamp Bulb Replacement Rendezvous
Removal Procedure
- Open the hood.
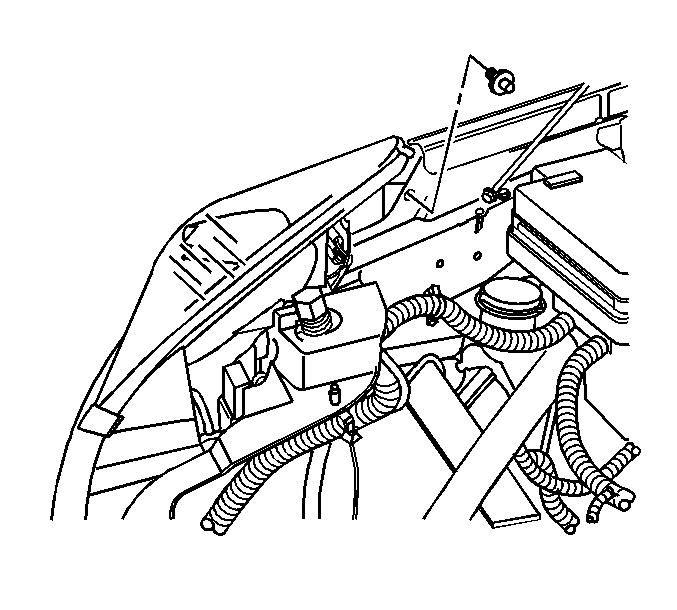
- Remove the thumb screw from the back of the headlamp.
- Release the headlamp retainer by lifting up.
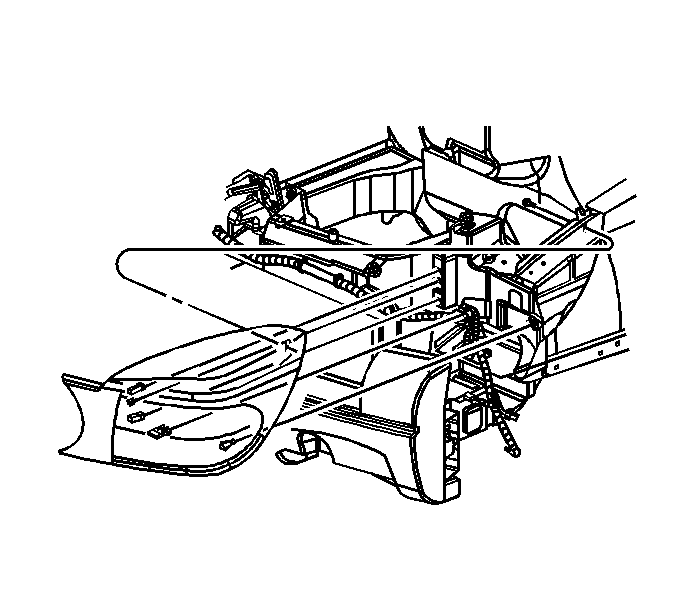
- Pull the headlamp straight forward, to release the ball stud from the grommet.
- Remove the headlamp from the upper fascia support.
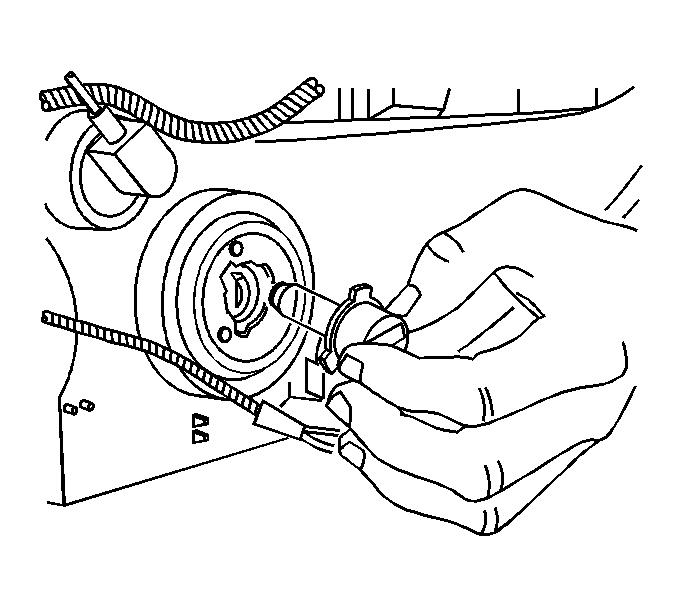
- Disconnect the electrical connector from the headlamp.
- Remove the bulb(s) from the headlamp by rotating counterclockwise.
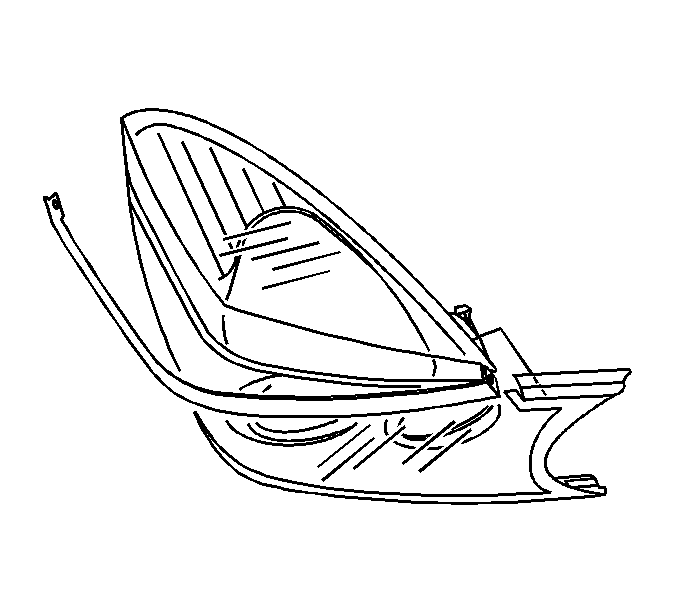
- Release the headlamp trim tabs from the headlamp, if required.
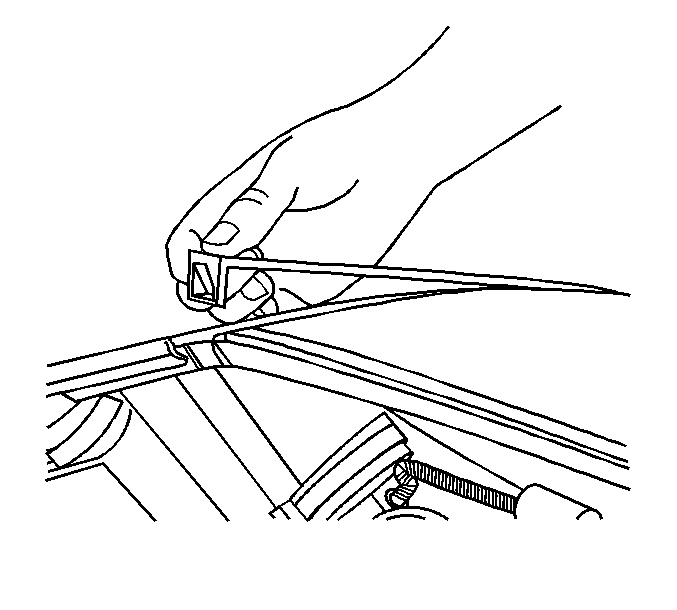
- Remove the headlamp trim from the headlamp, pulling to release the adhesive tape.
- Clean adhesive from the headlamp trim and headlamp using 3M™ adhesive remover P/N 8984, or equivalent.
Caution: Halogen bulbs contain gas under pressure. Handling a bulb improperly
could cause it to shatter into flying glass fragments. To help avoid personal
injury:
• Turn off the lamp switch and allow the bulb to cool before changing
the bulb. • Leave the lamp switch OFF until the bulb change is complete. • Always wear eye protection when changing a halogen bulb. • Handle the bulb only by its base. Avoid touching the glass. • Keep dirt and moisture off the bulb. • Properly dispose of the used bulb. • Keep halogen bulbs out of the reach of children.
Installation Procedure
- Install new adhesive tape 3M™ P/N 6382 or equivalent to the headlamp trim, if necessary.
- Position the headlamp trim to the headlamp, if removed.
- Install the headlamp trim to the headlamp, pressing until end tabs are fully seated.
- Install the headlamp bulb(s) to the headlamp by rotating clockwise.
- Connect the electrical connector to the headlamp.
- Position the headlamp to the upper fascia support.
- Press the headlamp into the upper fascia support until the ball stud is fully seated.
- Install the thumb screw to the rear of the headlamp.
- Engage the headlamp vertical retainer, by sliding downward until fully seated.
- Check the headlamp aim, if a new headlamp was installed, or if service or repairs in the front end area were made. Refer to Headlamp Aiming .
- Close the hood.


Important: The headlamp electrical connector must be positioned into the upper fascia support panel for proper seating of the headlamp.

Headlamp Assembly or Headlamp Bulb Replacement Aztek
Removal Procedure
- Open the hood.
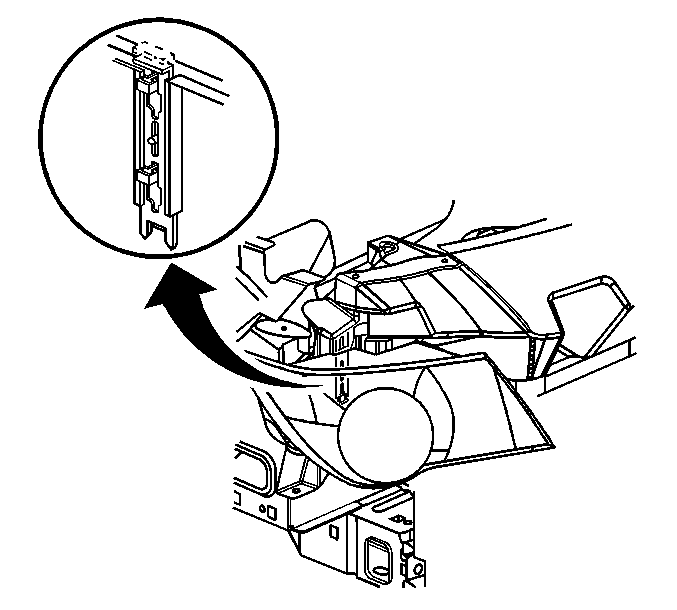
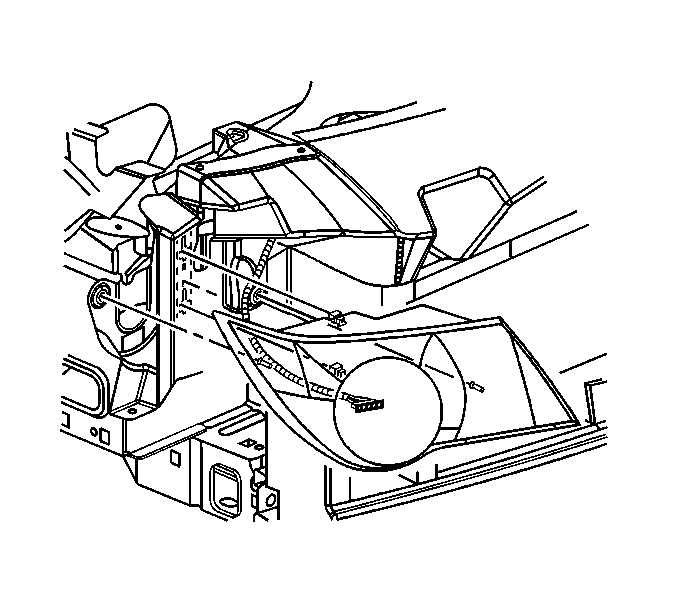
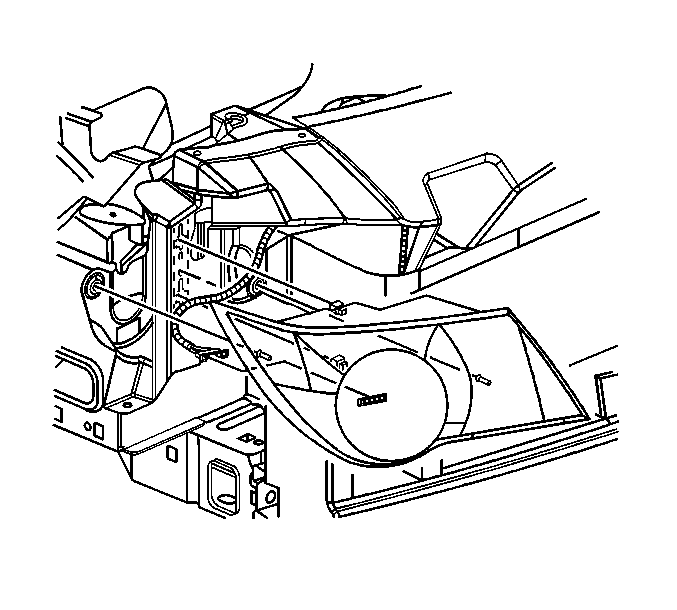
- Disconnect the headlamp retainer, by pulling up.
- Pull the headlamp from the lower center corner, in order to release the ball studs from the grommet retainers.
- Remove the headlamp from the upper fascia support.
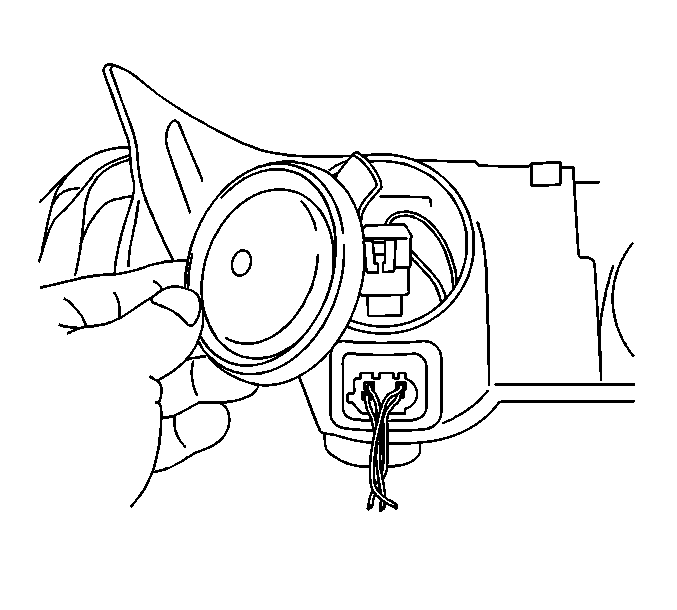
- Disconnect the electrical connector from the headlamp.
- Remove the headlamp from the vehicle.
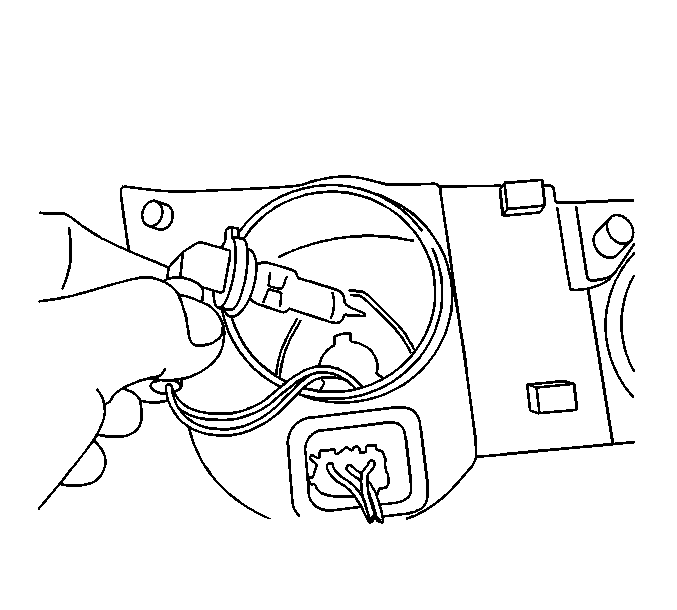
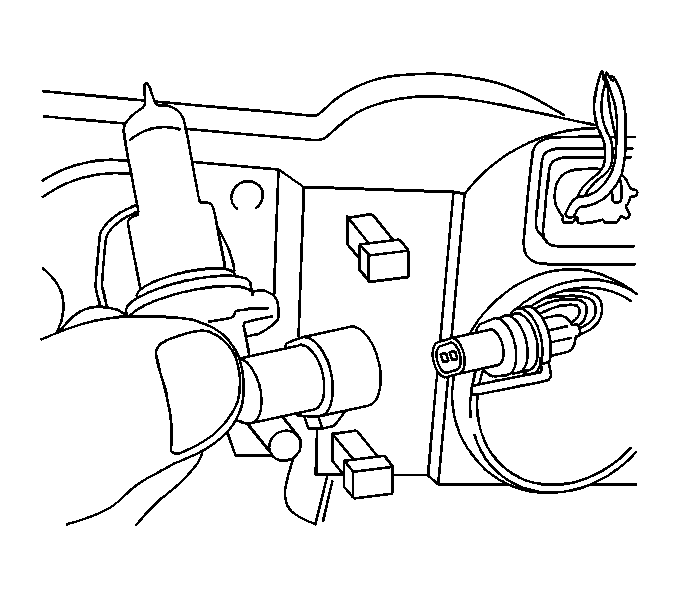
- Remove the rubber access cover from the headlamp for the bulb you are replacing, if required.
- Remove the headlamp bulb from the socket, turning counterclockwise.
- Remove the headlamp bulb from the socket, if required.
Caution: Halogen bulbs contain gas under pressure. Handling a bulb improperly
could cause it to shatter into flying glass fragments. To help avoid personal
injury:
• Turn off the lamp switch and allow the bulb to cool before changing
the bulb. • Leave the lamp switch OFF until the bulb change is complete. • Always wear eye protection when changing a halogen bulb. • Handle the bulb only by its base. Avoid touching the glass. • Keep dirt and moisture off the bulb. • Properly dispose of the used bulb. • Keep halogen bulbs out of the reach of children.
Installation Procedure
- Install the headlamp bulb into the socket, if required.
- Install the headlamp bulb to the socket, turning clockwise.
- Install the rubber access cover to the headlamp for the bulb you are replacing, if required.
- Connect the electrical connector to the headlamp.
- Position the headlamp electrical connector into the access hole in the upper fascia support.
- Position the headlamp vertical retainer into the slot.
- Position the headlamp retainer through hole in the upper fascia support.
- Position the headlamp ball studs into the grommet retainers.
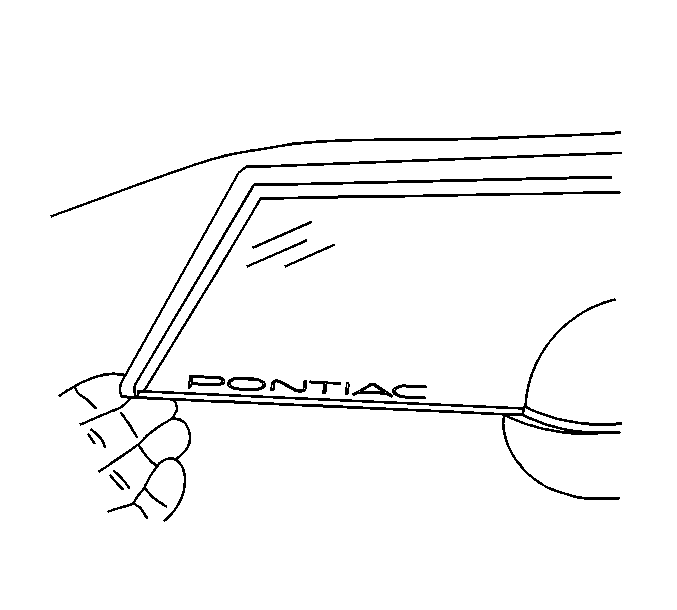
- Position the headlamp rubber outer seal to properly fit into the front bumper fascia.
- Press the headlamp into place until fully seated.
- Inspect the headlamp for proper fit.
- Install the headlamp vertical retainer, by sliding downward until fully seated.
- Check the headlamp aim, if a new headlamp was installed, or if service or repairs in the front end area were made. Refer to Headlamp Aiming .
- Close the hood.

Press into place until fully seated.


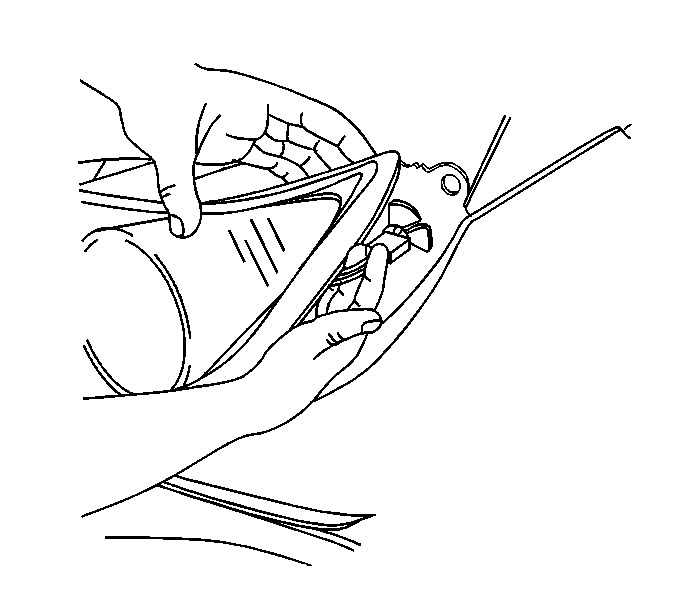
Important: The headlamp electrical connector must be positioned into the upper fascia support panel for proper seating of the headlamp.

