For 1990-2009 cars only
Removal Procedure
- Remove the PCM. Refer to Powertrain Control Module Replacement/Programming .
- Remove the EVAP canister vent valve. Refer to Evaporative Emission Vent Valve Replacement .
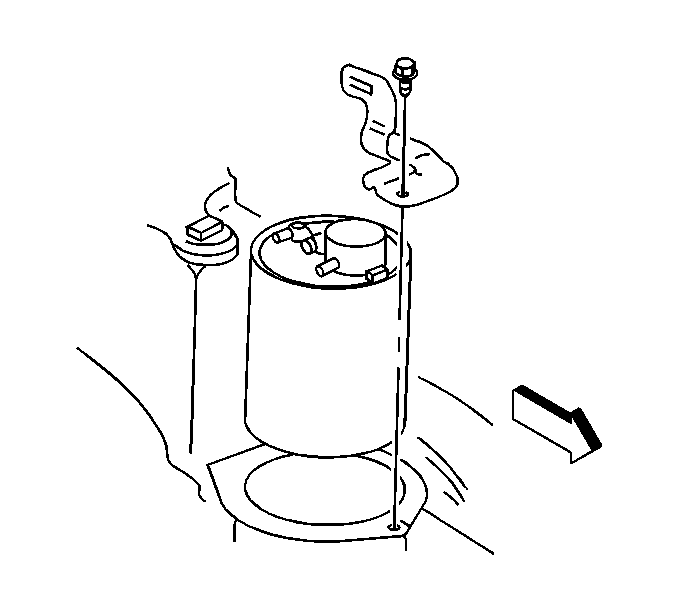
- Remove the PCM bracket attaching hardware (4, 5).
- Remove the PCM bracket.
- Remove the EVAP canister vent valve bracket.
- Remove the purge, fuel vapor, and vent lines from the EVAP canister.
- Remove the EVAP canister from vehicle.

Installation Procedure
- Install the EVAP canister to the vehicle.
- Connect the EVAP vent hose and tighten the hose clamp.
- Connect the purge and vapor lines to the EVAP canister. Make sure the connections are correct.
- Install the vent valve bracket
- Install the PCM bracket.
- Install the EVAP canister vent valve. Refer to EVAP Vent Solenoid Installation Procedure.
- Install the two PCM bracket bolts and the two PCM bracket retainers.
- Install the PCM. Refer to PCM Installation Procedure.

