Tools Required
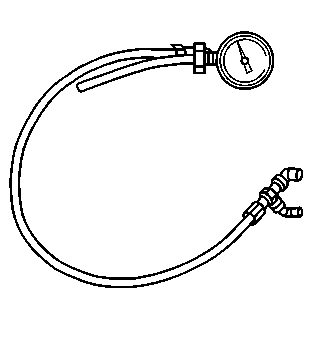
J 34730 Fuel Pressure Gauge
Removal Procedure
- Relieve the fuel system fuel pressure. Refer to Fuel Pressure Relief .
- Drain the fuel tank. Refer to Fuel Tank Draining .
- Remove the fuel tank. Refer to Fuel Tank Replacement .
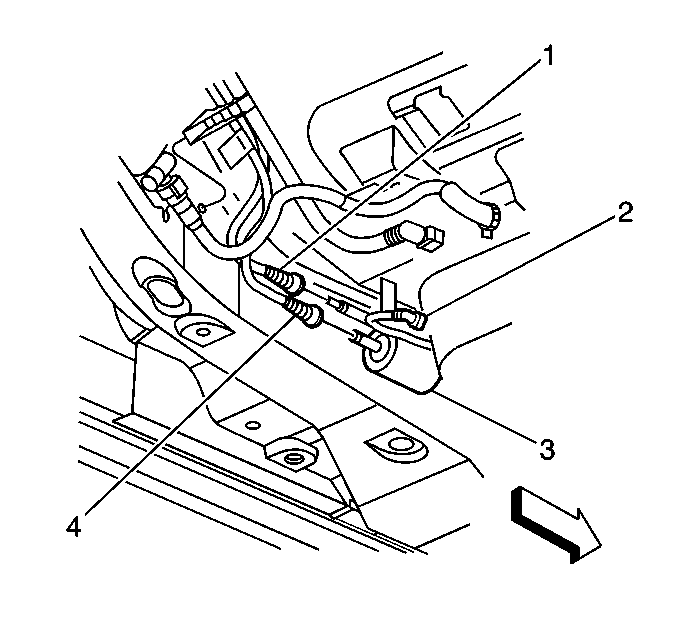
- Remove the quick-connect fittings (1,4) on the fuel sender assembly-side of the in-line fuel filter. Refer to Plastic Collar Quick Connect Fitting Service .
- Cap the fuel sender fuel pipes and the in-line fuel filter pipes in order to prevent any fuel leakage.
- Note the position of the fuel and EVAP pipes and the attaching hardware for the re-installation.
- Remove the fuel feed, the fuel return, and the EVAP pipe attaching hardware and pipes.
Caution: In order to reduce the risk of fire and personal injury observe the
following items:
• Replace all nylon fuel pipes that are nicked, scratched or damaged
during installation, do not attempt to repair the sections of the nylon fuel
pipes • Do not hammer directly on the fuel harness body clips when installing
new fuel pipes. Damage to the nylon pipes may result in a fuel leak. • Always cover nylon vapor pipes with a wet towel before using a
torch near them. Also, never expose the vehicle to temperatures higher than
115°C (239°F) for more than one hour, or more than 90°C (194°F)
for any extended period. • Apply a few drops of clean engine oil to the male pipe ends before
connecting fuel pipe fittings. This will ensure proper reconnection and prevent
a possible fuel leak. (During normal operation, the O-rings located in the
female connector will swell and may prevent proper reconnection if not lubricated.)
Notice: Do not attempt to straighten any kinked nylon fuel lines. Replace any kinked nylon fuel feed or return pipes in order to prevent damage to the vehicle.
Notice: Always re-attach the fuel lines and fuel filter with all original type fasteners and hardware.
Do not repair sections of fuel pipes.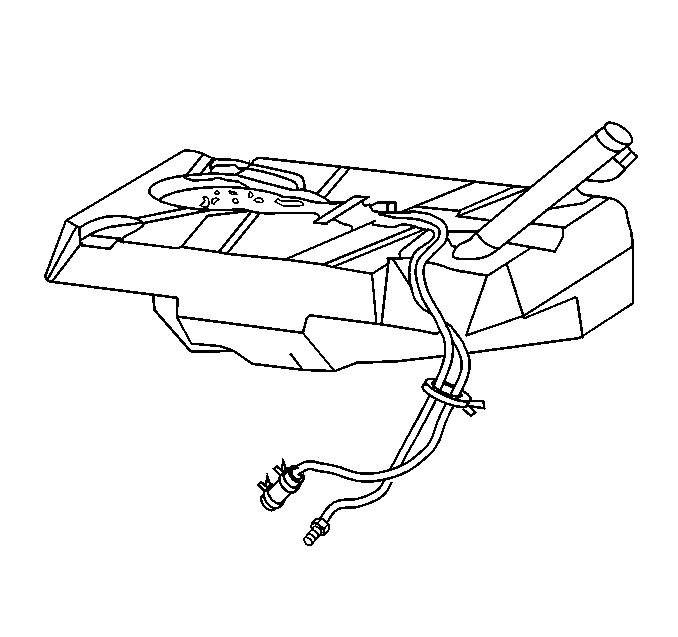
Installation Procedure
Caution: In order to reduce the risk of fire and personal injury observe the
following items:
• Replace all nylon fuel pipes that are nicked, scratched or damaged
during installation, do not attempt to repair the sections of the nylon fuel
pipes • Do not hammer directly on the fuel harness body clips when installing
new fuel pipes. Damage to the nylon pipes may result in a fuel leak. • Always cover nylon vapor pipes with a wet towel before using a
torch near them. Also, never expose the vehicle to temperatures higher than
115°C (239°F) for more than one hour, or more than 90°C (194°F)
for any extended period. • Apply a few drops of clean engine oil to the male pipe ends before
connecting fuel pipe fittings. This will ensure proper reconnection and prevent
a possible fuel leak. (During normal operation, the O-rings located in the
female connector will swell and may prevent proper reconnection if not lubricated.)
Notice: Do not attempt to straighten any kinked nylon fuel lines. Replace any kinked nylon fuel feed or return pipes in order to prevent damage to the vehicle.
Notice: Always re-attach the fuel lines and fuel filter with all original type fasteners and hardware.
Do not repair sections of fuel pipes.- Install the new fuel feed, fuel return, and EVAP pipes and the attaching hardware in the correct positions.
- Remove the caps from the in-line fuel filter pipes and the fuel sender pipes.
- Install the new plastic retainers on the in-line fuel filter pipes and on the fuel sender pipes.
- Install the fuel pipe quick-connect fittings (1,4). Refer to Plastic Collar Quick Connect Fitting Service .
- Install the fuel tank. Refer to Fuel Tank Replacement .
- Add fuel to the tank.
- Install the fuel tank filler cap.
- Connect the negative battery cable. Refer to Battery Negative Cable Disconnection and Connection in Engine Electrical.
| 8.1. | Turn ON the ignition switch for 2 seconds. |
| 8.2. | Turn OFF the ignition switch for 10 seconds. |
| 8.3. | Turn ON the ignition switch. |
| 8.4. | Check for fuel leaks. |
