Drivetrain and Front Suspension Frame Insulator Replacement for Pontiac Bonneville 2001
Tools Required
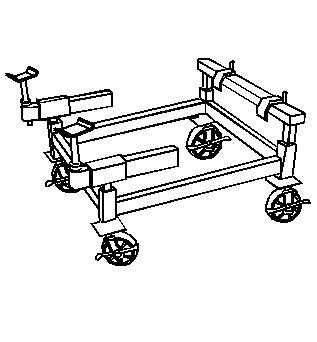
J 39580 Universal Engine Support Table
Removal Procedure
Important: Perform the procedure exactly as specified, regardless of whether you will replace all of the insulators or only one of the insulators.
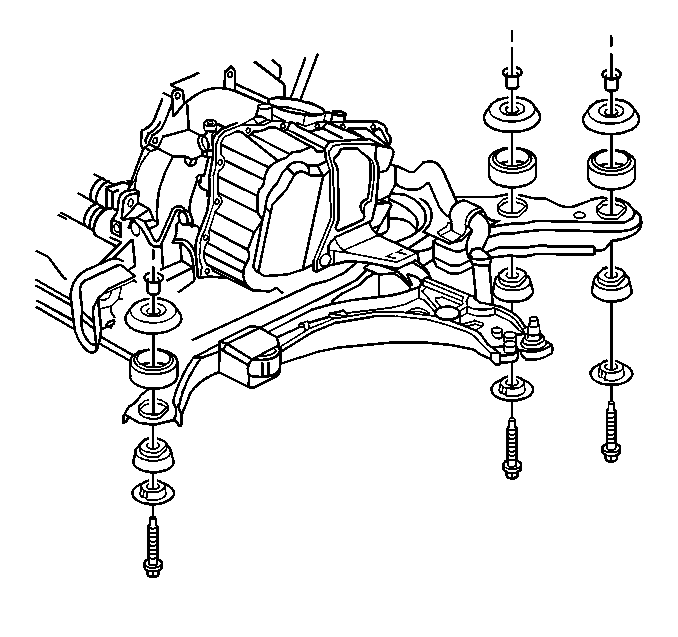
Removing any one frame insulator requires loosening the adjacent frame insulators in order to permit the frame to separate from the body.
Use caution when replacing the insulators in order to prevent the following conditions from occurring:
| • | Breaking the plastic fan shroud |
| • | Damaging the frame attachments (steering hoses, brake pipes) |
- Raise the vehicle using a frame contact hoist. Refer to Lifting and Jacking the Vehicle in General Information.
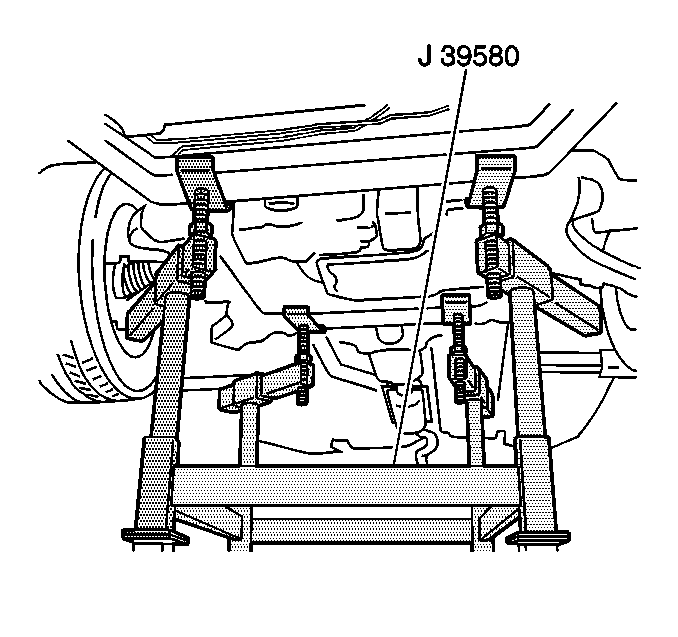
- Support the engine frame near the insulator using J 39580 or suitable jackstands.
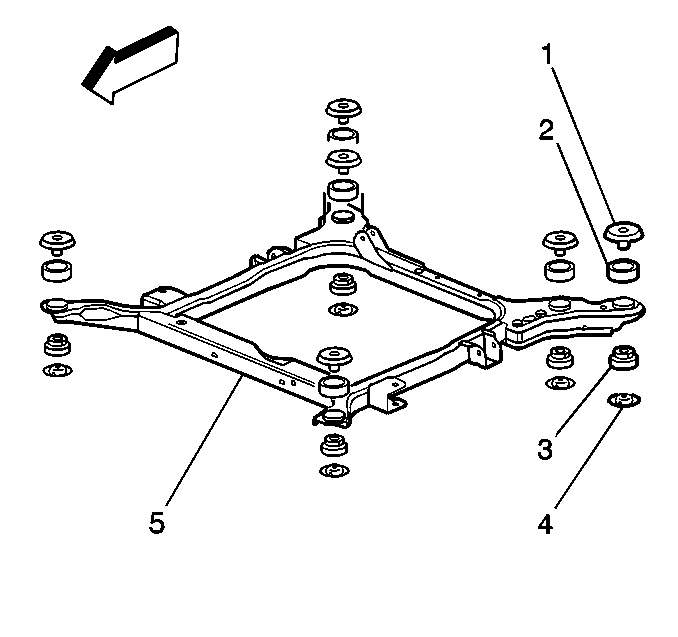
- Remove the bolt and the retainer (4) from the insulator.
- Raise the body slightly.
- Pry the spacer upwards (1).
- Remove the upper insulator (2).
- Press out the lower insulator (3).
Installation Procedure
- Press the lower insulator (3) into the engine frame.
- Install the upper insulator (2).
- Lubricate the lower portion of the spacer (1).
- Press the spacer (1) into the lower insulator (3)
- Lower the body to the engine frame (5).
- If the frame insulator bolt does not screw in smoothly, run a tap through the cage in the body in order to remove the foreign material. Ensure that the tap does not punch through the underbody. Position the insulator and the metal washer in order to prevent contact with the frame rail. Do not over tighten the insulator nut. Overtightening the nut may strip the cage nut.
- Install the retainer (4) and the bolt.
- Test drive the vehicle in order to ensure there are no performance issues.
Notice: Use the correct fastener in the correct location. Replacement fasteners must be the correct part number for that application. Fasteners requiring replacement or fasteners requiring the use of thread locking compound or sealant are identified in the service procedure. Do not use paints, lubricants, or corrosion inhibitors on fasteners or fastener joint surfaces unless specified. These coatings affect fastener torque and joint clamping force and may damage the fastener. Use the correct tightening sequence and specifications when installing fasteners in order to avoid damage to parts and systems.
Tighten
Tighten the insulator bolts to 191 N·m (141 lb ft).
