ENDURAFLEX PANEL REPAIR INFORMATION PROCEDURE

VEHICLES AFFECTED: 1984 Pontiac Fiero
The following information details the procedure to be used for the repair of Fiero 'Enduraflex' panels when structural integrity must be restored.
1. Remove the affected panel where applicable. In many cases, a repair may be accomplished without the removal of the part.
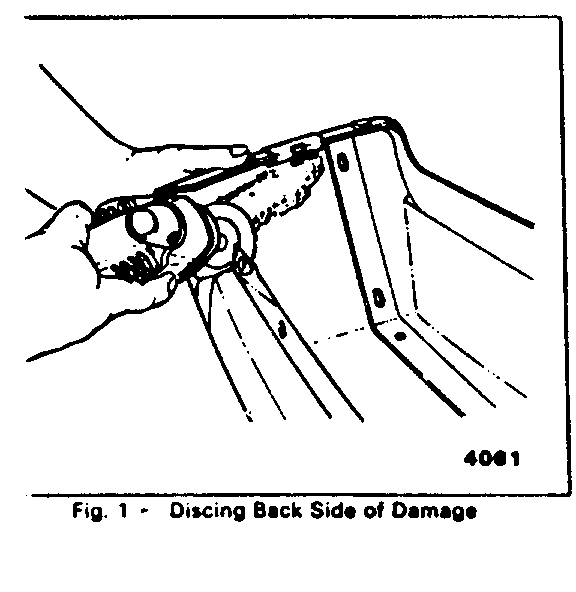
2. Clean the area(s) to be repaired with a wax, grease and silicone removing solvent applied with a water-dampened cloth. On a structural type repair it will also be necessary to clean the underside of the repair area. Wipe dry, then sand the surface about 40 m.m (1 1/2 inches) away from each side of the break with a #50 grit disc. See Fig. 1
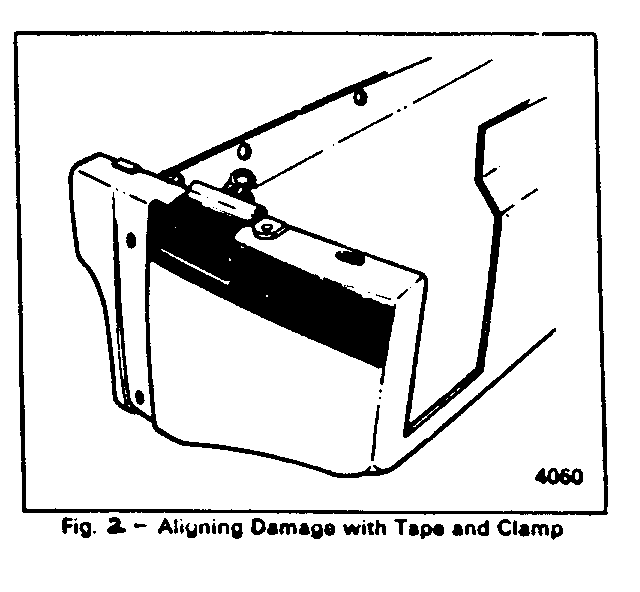
3. Align and secure the damaged area on the faceside of the part with two inch body sealing tape. Use a lightweight claim, if necessary, to align joint. See Fig. 2.
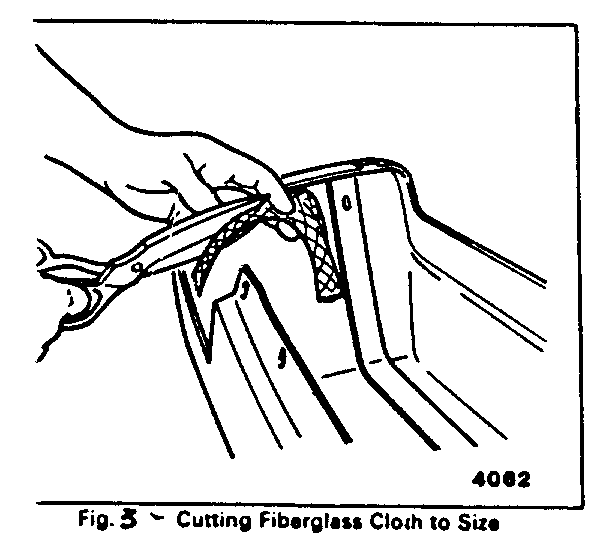
4. Cut two pieces of fiberglass cloth large enough to overlap the break 40mm (1 1/2 inch). Cut only to the length required. See Fig. 3
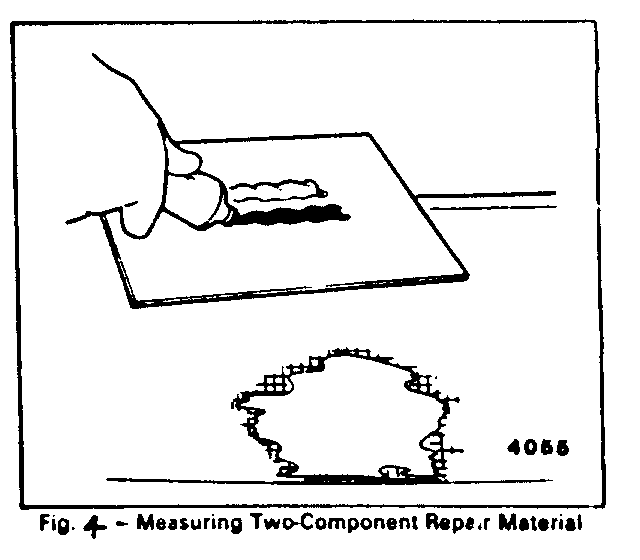
5. On a clean, flat surface of nonporous material such as metal, glass or plastic pallet, deposit equal length beads of each component (3M Flexible Parts Repair Materials #05900 or equivalent). With a paddling motion, mix the two components until a uniform colour and consistency is achieved. See Fig. 4
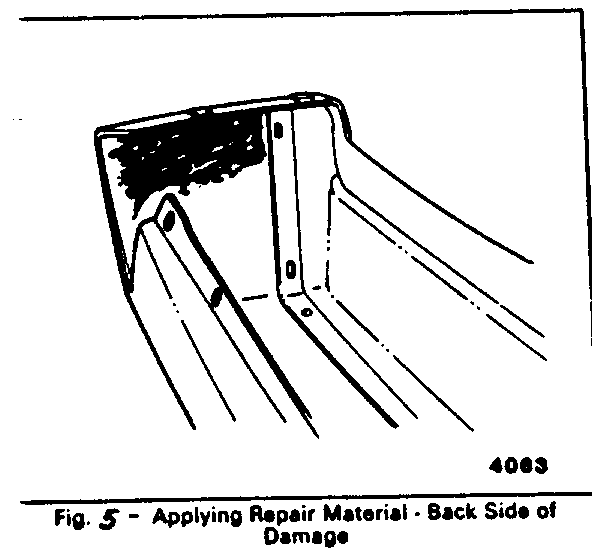
6. Apply a layer of the mixture approximately 3mm (1/8 inch) thick on the backside of the panel overlapping the break by at least 40mm (11/2 inch). See Fig. 5
7. Apply one piece of the pre-cut fiberglass cloth to the applied adhesive and cover the cloth with some additional adhesive. Apply the second piece of the pre-cut fiberglass cloth to the adhesive and immediately cover the cloth with some additional adhesive in sufficient quantity to fill the weave. See Fig. 6
8. Allow 20-30 minutes cure time at 16 to 27 degrees C. (60 to 80 degrees F.). Trim the excess repair material at the edge if necessary.
Repair the faceside of the panel using the following procedures:
1. Clean the topside of the panel with a wax, grease and silicone removing solvent applied with a water dampened cloth. Wipe dry.
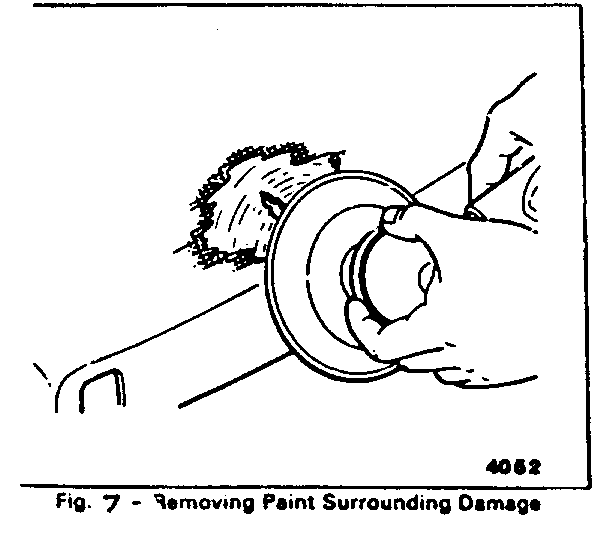
2. With a random orbit sander fitted with a #180 grit disc, remove the total paint film in and around the area(s) to be repaired. The repair material should not overlap the painted surface. See Fig. 7
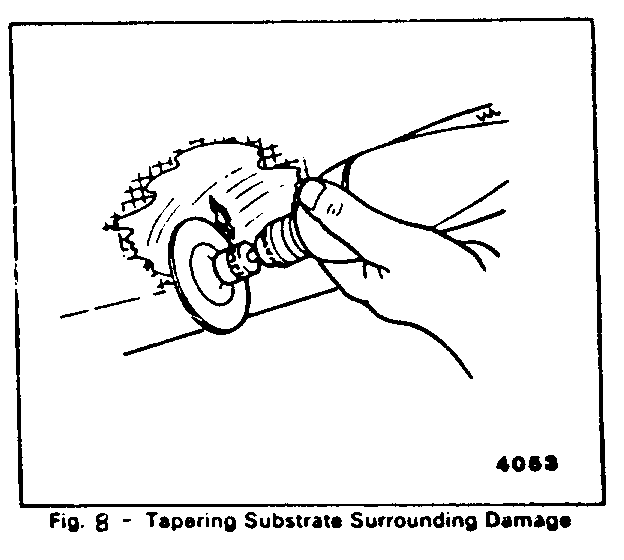
3. With a drill motor and a 3 inch #50 grit disc or as an option, a rotary file, cut a 'Vee' along the break line approximately 13mm (1/2 inch) wide. Remove all the dust and loose particles from the repair area. See Fig. 8
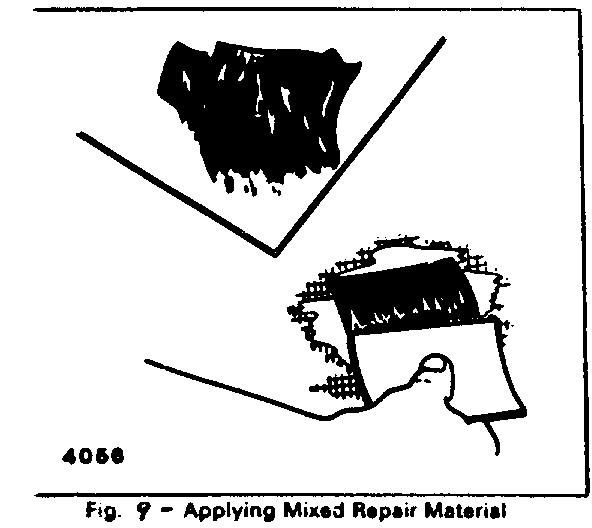
4. Mix and apply the repair material. Apply a light coat first over the damage; then continue the application to a level slightly above the surrounding contour. See Fig. 9
5. Allow the applied mixture to cure 20 to 30 minutes at 26 to 27 degrees C (60-80 degrees F).
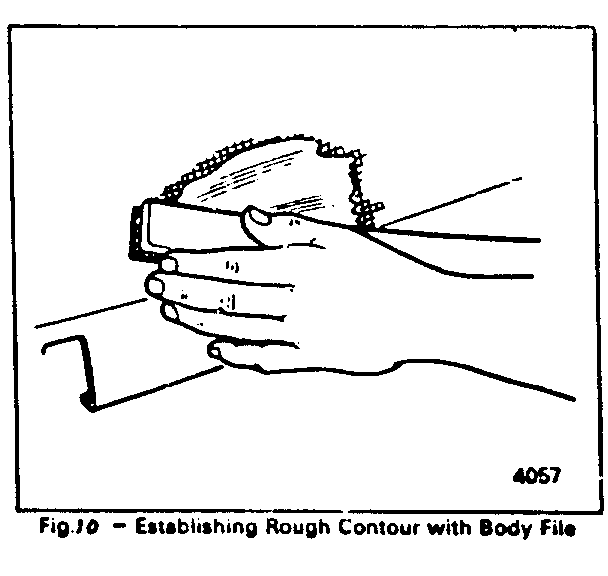
6. Establish roughly the body contour, where possible with a curved tooth body file. If low areas or pits remain, mix and apply some additonal adhesive. See Fig. 10
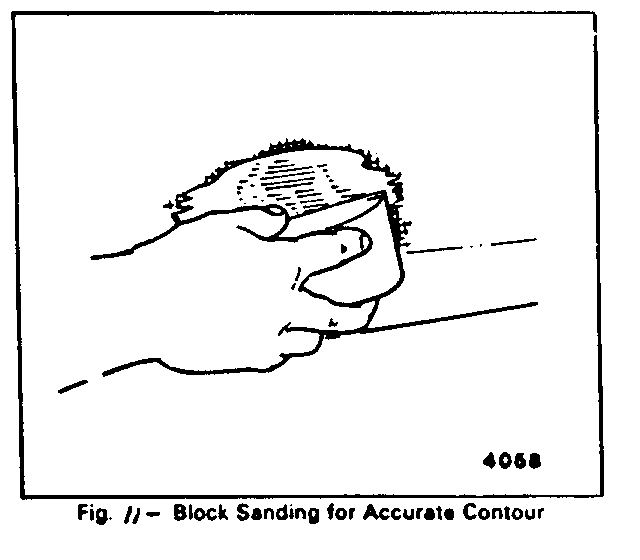
7. Block sand using #220 grit sandpaper to establish an accurate level and contour with the surrounding surface. See Fig. 11
8. For final feathering, use a random orbit sander with a #320 grit disc.
Refer to the Product Service Bulletin 2-106 dated Nov. 30, 1983 for paint repair procedures.
A comprehensive program which covers repair and paint procedures is available through the local GM Training Centre. Contact the Zone Office for details.
Below is a list of typical equipment and material necessary to perform the above described repair procedures.
Wax, grease and silicone removing solvent Cloth back body tape A supply of 6 inch #180 grit sanding discs A supply of 6 inch #320 grit sanding discs A supply of 3 inch #50 grit sanding discs Random Orbit Sander with a 6 inch backing pad A 1/2 inch or 3/8 inch drill motor with a 3 inch disc holder Hand sanding block Rubber squeegees #220 grit sandpaper A non-porous mixing palette A wood paddle or putty knife A curved tooth body file 3M #05900 - Flexible parts repair material or equivalent

General Motors bulletins are intended for use by professional technicians, not a "do-it-yourselfer". They are written to inform those technicians of conditions that may occur on some vehicles, or to provide information that could assist in the proper service of a vehicle. Properly trained technicians have the equipment, tools, safety instructions and know-how to do a job properly and safely. If a condition is described, do not assume that the bulletin applies to your vehicle, or that your vehicle will have that condition. See a General Motors dealer servicing your brand of General Motors vehicle for information on whether your vehicle may benefit from the information.
