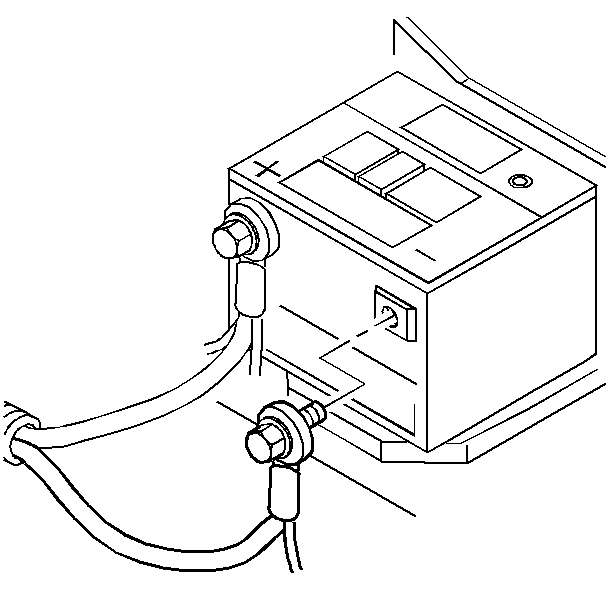
- Disconnect the battery negative cable
assembly from the battery negative terminal. Refer to
Caution: Unless directed otherwise, the ignition and start switch must be in the OFF or LOCK position, and all electrical loads must be OFF before servicing
any electrical component. Disconnect the negative battery cable to prevent an electrical spark should a tool or equipment come in contact with an exposed electrical terminal. Failure to follow these precautions may result in personal injury and/or damage to
the vehicle or its components.
in General Information.
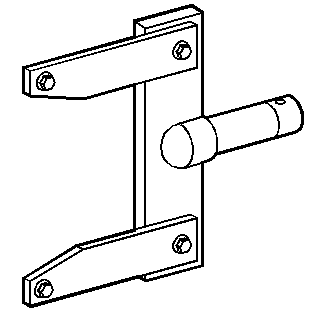
- Remove the control lever handle. Refer to Control Lever Handle Assembly (6-Speed)
.
- Raise the vehicle. Refer to General Vehicle Lifting and Jacking
in General Information.
- Support the vehicle with safety stands.
- Remove the transmission oil drain plug.
- Drain the oil from the transmission assembly.
- Support the rear axle assembly with a safety stand.
- Remove the propeller shaft assembly. Refer to Propeller Shaft
Replacement in Propeller Shaft.
- Remove the rear axle torque arm. Refer to Rear Axle Torque Arm
Replacement in Rear Suspension.
- Remove the catalytic converter hanger assembly. Refer to
Converter Hanger Assembly
in Engine Exhaust.
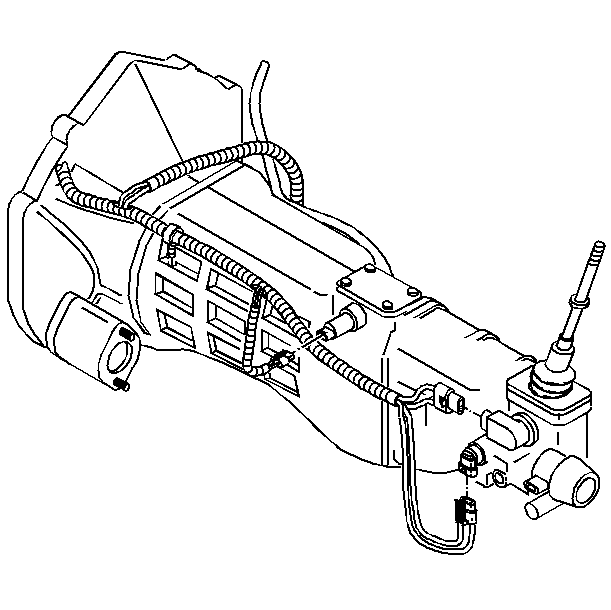
- Disconnect the following wire harness
connectors:
| • | The reverse lockout solenoid |
| • | The skip shift solenoid |
| • | The vehicle speed sensor |
- Remove the left-hand Instrument panel sound insulator assembly.
Refer to Instrument Panel Insulator Replacement in Instrument Panel, Gauges,
and Console.
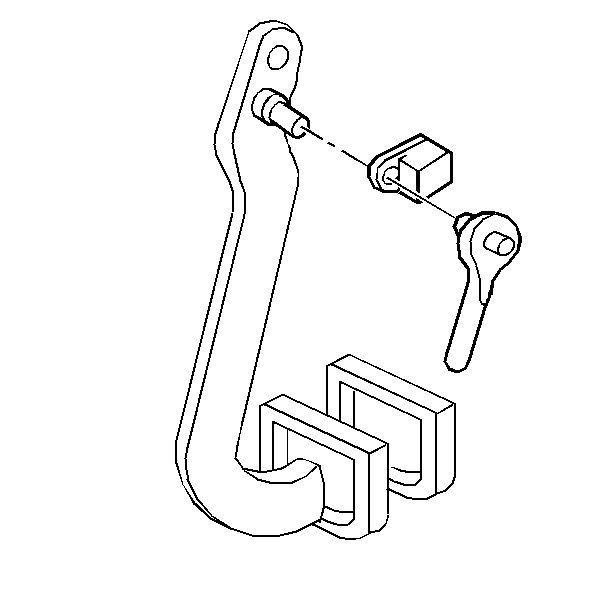
- Disconnect the pin retainer from the clutch
pushrod.
- Disconnect the clutch pushrod from the clutch pedal assembly pin.
Notice: Disconnect the clutch master cylinder pushrod before removing the clutch
actuator cylinder assembly. The actuator cylinder could be permanently damaged
if the clutch pedal is depressed with the actuator disconnected.
Important: Do not allow the clutch actuator cylinder to hang from the hydraulic
line. Retain the actuator cylinder with mechanic's wire.
- Remove the following parts:
| 15.2. | The clutch actuator cylinder |
| 15.3. | The actuator spacer |
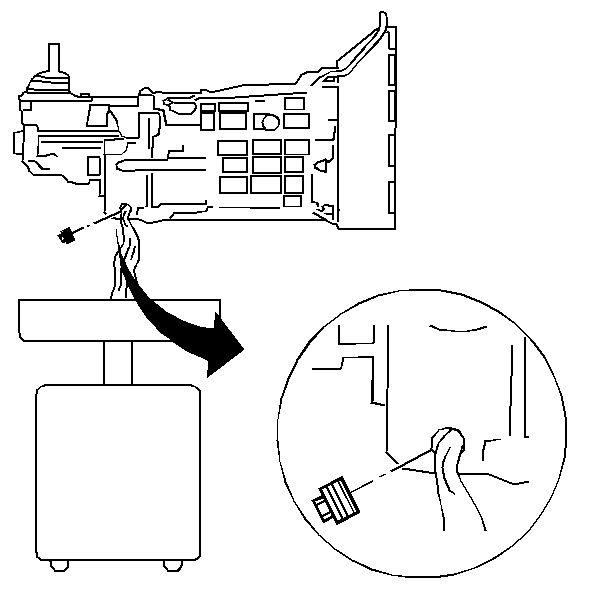
- Pull the clutch fork assembly down until
it disengages from the release bearing.
- Support the engine with a safety stand.
- Support the transmission assembly with a safety stand.
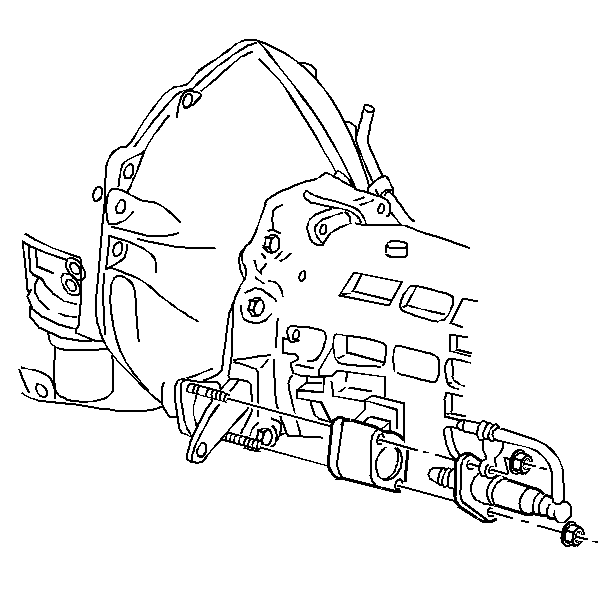
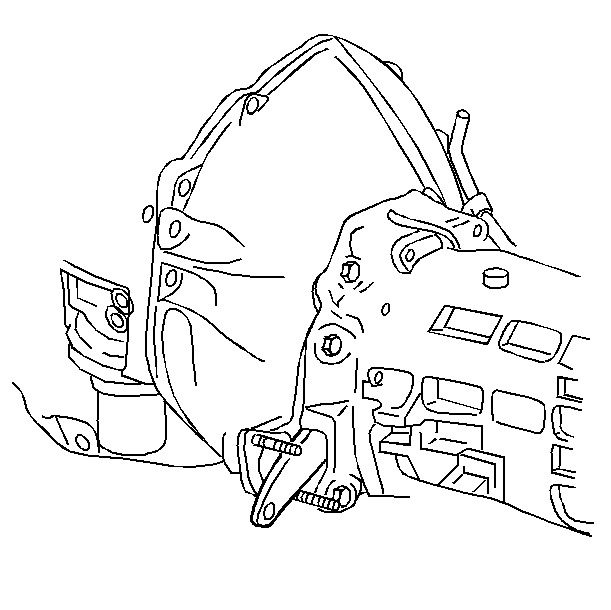
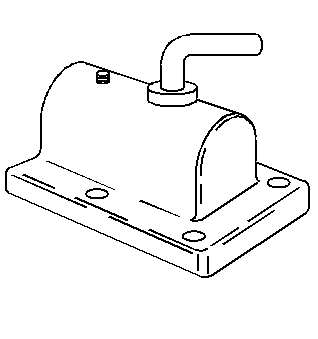
- Remove the transmission support-mount assembly. Refer to Transmission Support and Mount Assembly
.
Notice: Disengage the clutch fork assembly from the release bearing assembly.
This will prevent damage to the clutch system.
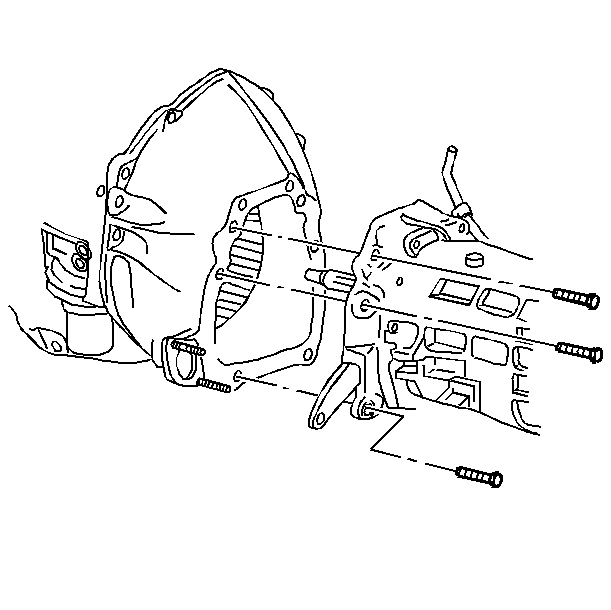
- Remove the transmission to flywheel housing
bolts.
- Remove the transmission assembly from the vehicle
- Install the transmission J 39430
.
Mount the transmission on a workbench using the J 3289-20
.
