Front Lower Control Arm Bushing Replacement Front
Disassembly Procedure
Tools Required
| • | J 39876 Lower
Control Arm Bushing Receiver |
- Remove the lower control arm. Refer to
Lower Control Arm Replacement
.
- Perform the following
procedure in order to remove the lower control arm front bushing from the
lower control arm (1):
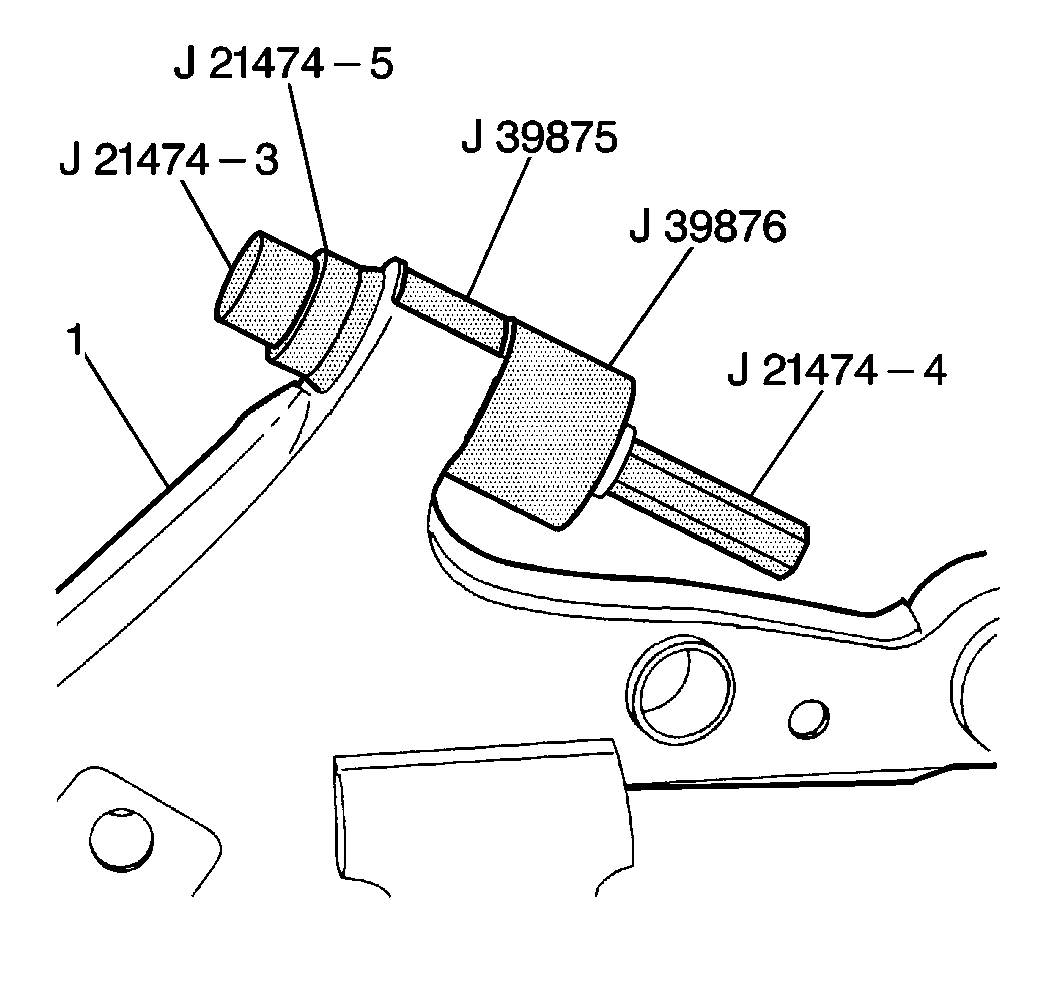
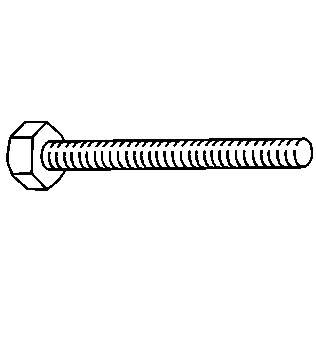
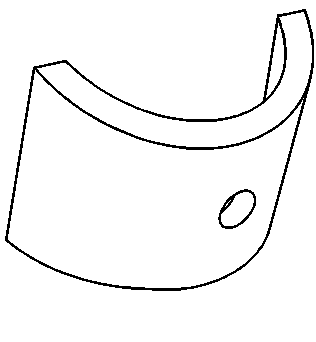
| 2.3. | Place the thrust washer onto J 21474-3
with the seam facing toward the front bushing. |
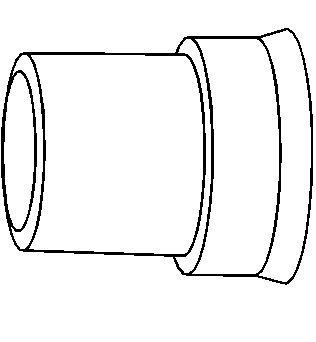
| 2.4. | Install J 39875
around
the outside of the bushing in order to avoid metal distortion during removal. |
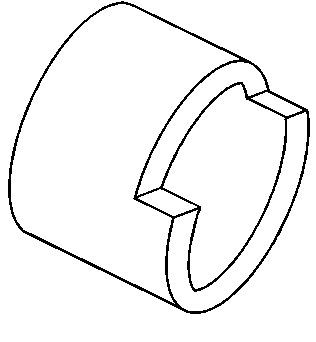
| 2.5. | Ensure that all tools properly line up with the front bushing
and the control arm (1), then install J 21474-4
and tighten until the bushing is pushed all the way out (the
bushing makes a popping noise upon removal). |
Assembly Procedure
- Perform the following
steps in order to install the lower control arm front bushing:
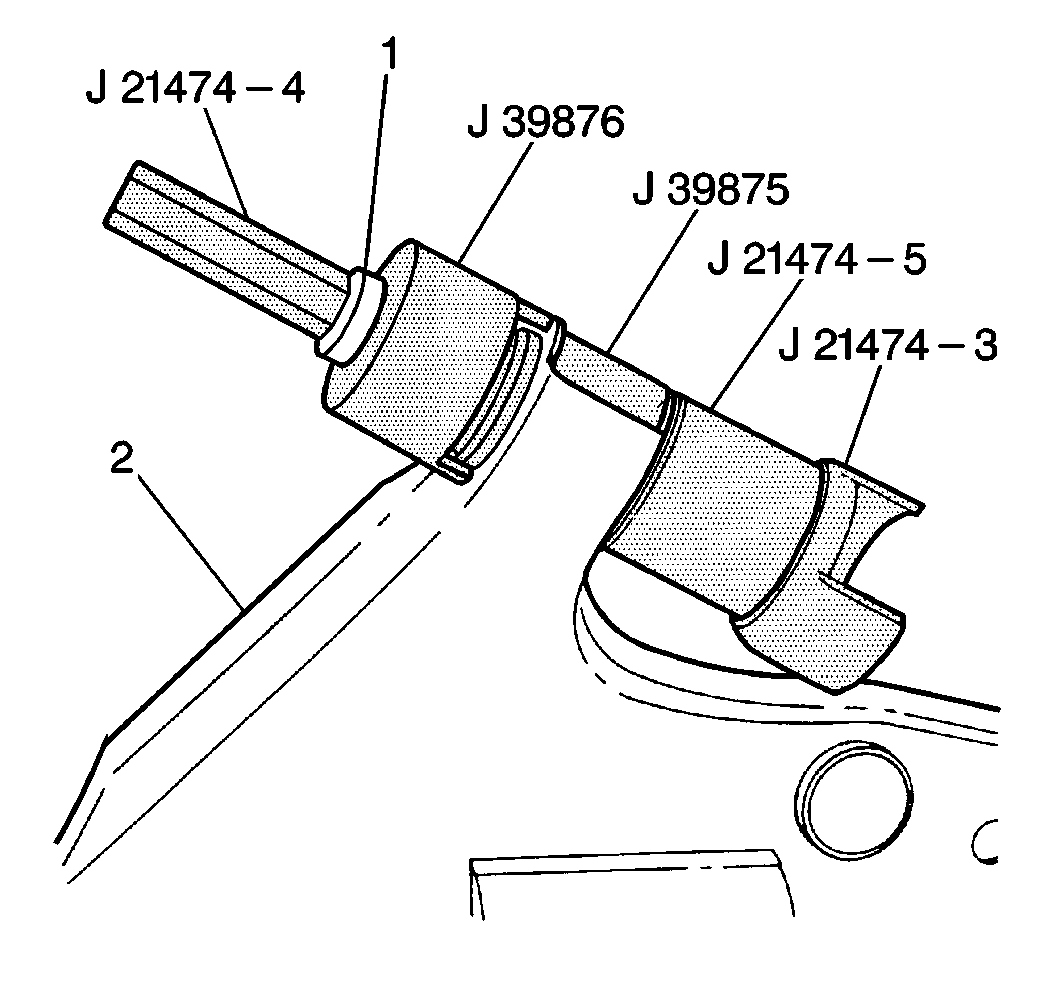
| 1.2. | Install J 21474-3
through the new front bushing and into the lower control arm (2). |
| 1.3. | Thread J 21474-3
and accessories into the front lower control arm. |
| 1.5. | Install J 39875
around
the outside of the bushing in order to avoid metal distortion during installation. |
| 1.6. | Place the thrust washer (1) onto the threaded end of J 21474-3
with the seam facing toward the control
arm. |
| 1.7. | Ensure that all tools properly line up with the front bushing
and the control arm, then install J 21474-4
onto J 21474-3
. |
| 1.8. | Tighten J 21474-4
and J 21474-3
until
the bushing becomes flush with the control arm. |
- Install the lower control arm. Refer to
Lower Control Arm Replacement
.
Front Lower Control Arm Bushing Replacement Rear
Disassembly Procedure
Tools Required
| • | J 39874 Lower
Control Arm Bushing Receiver |
| • | J 39931 Lower
Control Arm Bushing Receiver |
- Remove the lower control arm. Refer to
Lower Control Arm Replacement
.
- Perform the following
steps in order to remove the lower control arm rear bushing from the lower
control arm (1):
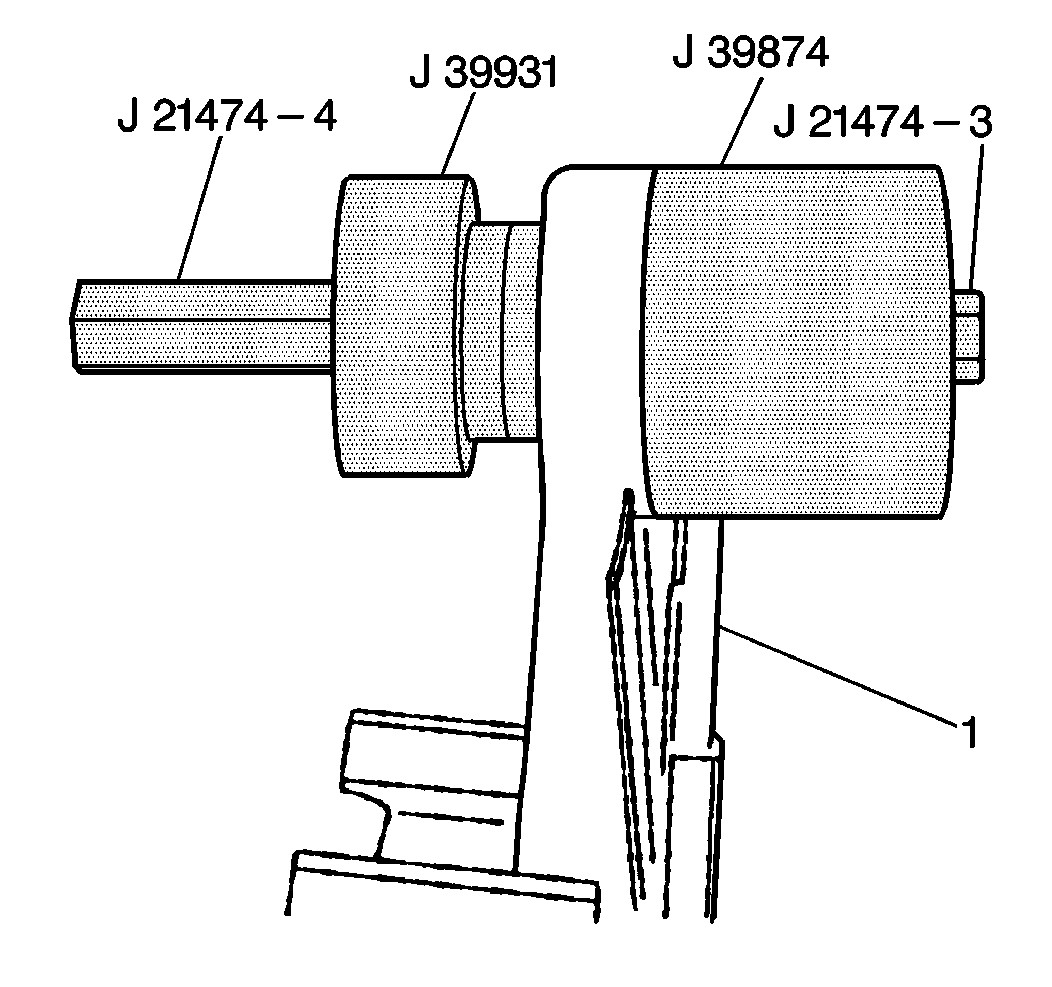
| 2.2. | Run the J 21474-3
through the control arm bushing, the control arm and into the small
end of J 39931
. |
| 2.3. | Install the thrust washer onto J 21474-3
with the seam facing toward the control arm. |
| 2.4. | Install J 21474-4
onto J 21474-3
and
ensure that all parts are lined up with the control arm bushing. |
| 2.5. | Tighten until you are able to remove the control arm bushing (the
bushing may make a popping noise upon removal). |
Assembly Procedure
- Perform the following
steps in order to install the lower control arm rear bushing:
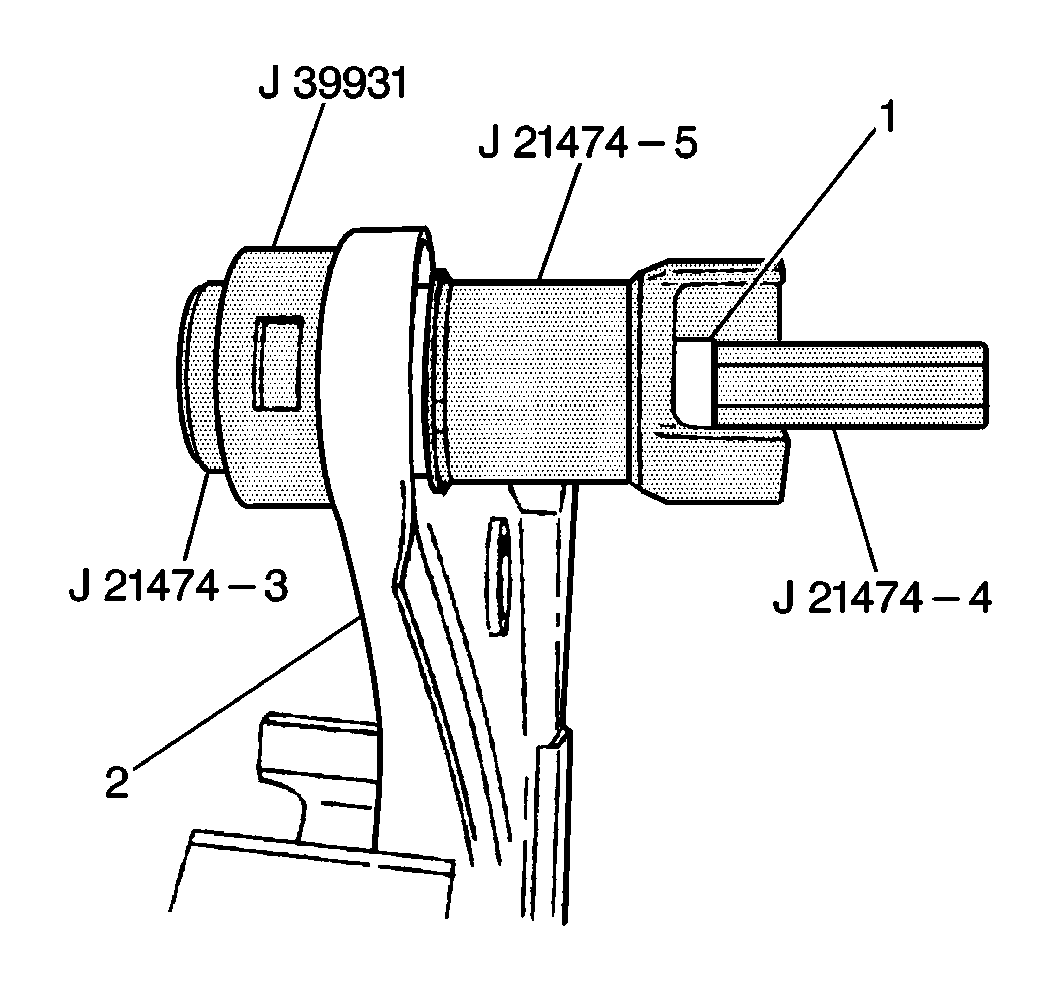
| 1.1. | Secure the lower control arm (2) in a vise, then place J 21474-3
through the small end of J 39931
. |
| 1.2. | Install J 21474-3
through the new rear bushing, then through the closed end of the rear
lower control arm. |
| 1.4. | Install the thrust washer (1) onto J 21474-3
with the seam of the washer facing toward the control arm. |
| 1.5. | Ensure that all the tools are lined up with the bushing and the
control arm, and that the window is facing straight up and visible on J 39931
. |
- Install the lower control arm. Refer to
Lower Control Arm Replacement
.
