For 1990-2009 cars only
Removal Procedure
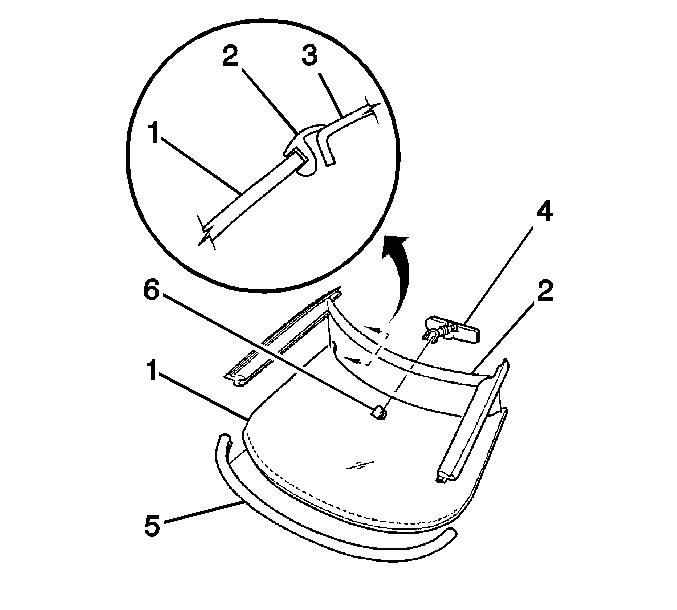
- Use a screwdriver in order to carefully pry the end of the reveal molding (2) out approximately 76 mm (3 in) away from the body (3).
- Use pliers in order to grasp the reveal molding (2).
- Inspect the reveal molding (2).
- If the original reveal molding (2) cannot be reused, discard the old reveal molding. Replace with a new reveal molding.
- Pre-fit the new reveal molding. Determine and verify the location and correct size of the new reveal molding (2) on the body (3) before installation.
- Use an alcohol-dampened cloth in order to clean the windshield (1) of all traces of urethane.

Slowly pull the reveal molding (2) away from the body (3).
Installation Procedure
- Apply the glass preparation primer #1 (clear) from the urethane adhesive kit to the glass edge channel of the reveal molding (2).
- Apply the glass primer #2 (black) from the urethane adhesive kit over the clear primer.
- Evenly apply the urethane adhesive from the kit in the glass edge channel of the reveal molding (2) over the black primer.
- Install the reveal molding (2).
- Start from the center and hand press the reveal molding (2) in place over the edge of the windshield (1).
- Apply tape in order to keep the reveal molding (2) flush with the body (3).
- Flood the reveal molding (2) with warm water in order to accelerate the setup of the adhesive.

