For 1990-2009 cars only
Removal Procedure
Tools Required
J 38778 Door Trim Pad and Garnish Clip Remover
- Remove the accessory switch panel.
- Remove the inside handle bezel. Refer to Handle Bezel Replacement - Inside.
- Remove the window regulator handle and spacer, if equipped.
- Remove the outside rearview mirror bezel. Refer to Outside Rearview Mirror Replacement .
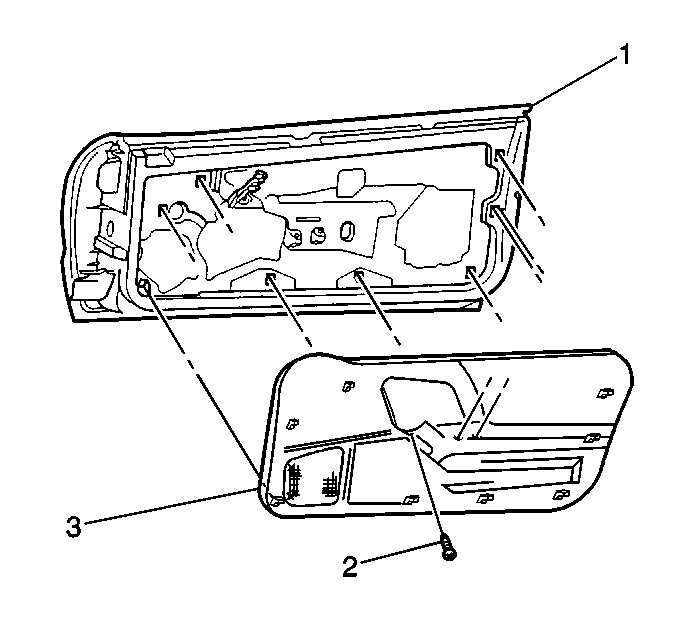
- Remove the side door armrest bolts (2).
- Remove the front side door trim from the door inner panel.
- Pull the side door trim up from the door, making sure the hooks release from the holes in the door inner.
- Disconnect the door speaker electrical connectors.
- Remove the courtesy lamp socket from the door trim.
Important: To avoid breaking the trim panel fasteners be sure to insert the J 38778 between the male fastener which is attached to the door trim panel and the female retainer which is in the door. Do not insert the J 38778 between the female retainer and the door.
Installation Procedure
- Install the courtesy lamp socket to the door trim.
- Connect the door speaker electrical connectors.
- Pull the side door trim up from the door, making sure the hooks release from the holes in the door inner.
- Install the front side door trim to the door inner panel.
- Install the side door armrest bolts (2).
- Install the outside rearview mirror bezel. Refer to Outside Rearview Mirror Replacement .
- Install the window regulator handle and spacer, if equipped.
- Install the inside handle bezel. Refer to Handle Bezel Replacement - Inside.
- Install the accessory switch panel.
Tighten
Tighten the side door armrest bolts to 4.5 N·m (40 lb in).
