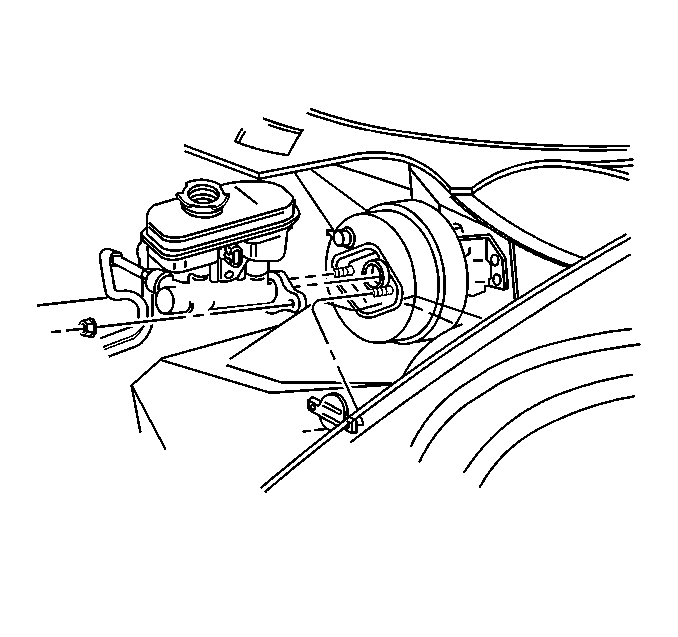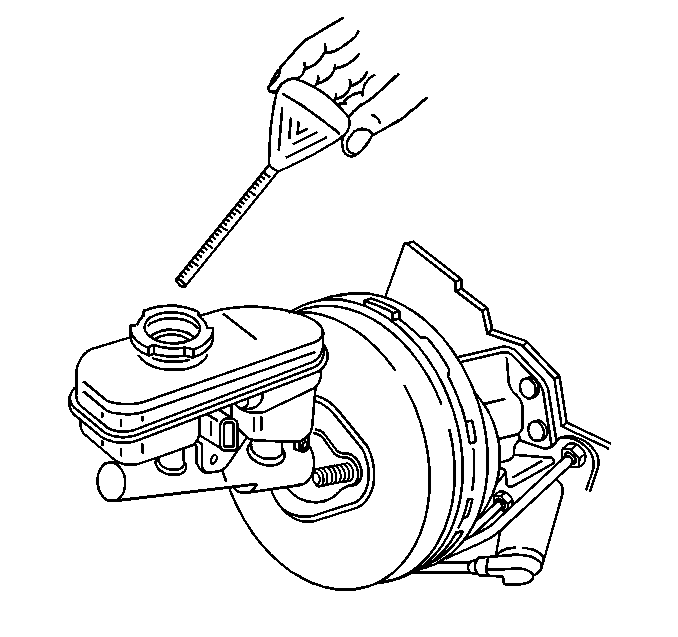
- Bench bleed the master
cylinder. Refer to
Master Cylinder Bench Bleeding
- Install the master cylinder.
Notice: Use the correct fastener in the correct location. Replacement fasteners
must be the correct part number for that application. Fasteners requiring
replacement or fasteners requiring the use of thread locking compound or sealant
are identified in the service procedure. Do not use paints, lubricants, or
corrosion inhibitors on fasteners or fastener joint surfaces unless specified.
These coatings affect fastener torque and joint clamping force and may damage
the fastener. Use the correct tightening sequence and specifications when
installing fasteners in order to avoid damage to parts and systems.
- Install the master
cylinder nuts.
Tighten
Tighten the brake master cylinder nuts to 29 N·m (21 lb ft).
- Fill the master cylinder reservoir. Refer to
Master Cylinder Reservoir Filling
.
- Install the brake combination valve pipes onto the master cylinder
one at a time. Complete the following steps:
| 5.1. | Remove the locally fabricated plugs. |
| 5.2. | Install the brake pipe fitting finger tight. |
| 5.3. | Have an assistant depress the brake pedal in order to remove air
at the loose brake pipe fittings. |
Tighten
Tighten the brake combination valve pipe fittings to 32 N·m
(24 lb ft).
| 5.4. | Have an assistant quickly release and pump the brake pedal several
times. |
| 5.5. | If the brake pedal remains high and firm, start the vehicle. If
the brake pedal still feels firm, test drive the vehicle. |
If the brake pedal feels soft or spongy, bleed the entire brake hydraulic
system. Refer to
Hydraulic Brake System Bleeding
- Connect the brake fluid level sensor connector.


