For 1990-2009 cars only
Important: Do not operate the park brake lever while the rotor is removed.
- Remove the rear tires and wheels. Refer to Tire and Wheel Removal and Installation in Tires and Wheels.
- Disconnect the rear cable from the brake shoe lever.
- Pull on the lever until there is a firm stop. Release the lever and measure free lever travel at the cable interface. If the travel is less than 10 mm, adjustment is complete. If the travel is more than 10 mm, further adjust brake shoe.
- Remove the brake rotor. Refer to Brake Rotor Replacement in Disc Brakes.
- Rotate the adjustment nut with a screwdriver in order to extend the slotted tappet in order to increase the gap between the adjuster nut and the screw by .38 mm.
- Install the rotor onto the axle mounting flange.
- Measure the lever (free) travel per step 2. Repeat the adjuster in order to obtain the ideal 3-8 mm free travel of the brake shoe lever.
- Check the rotor for drag. The rotor must rotate freely within the stud hole clearance.
- Install rear tires and wheels. Refer to Tire and Wheel Removal and Installation in Tires and Wheels.
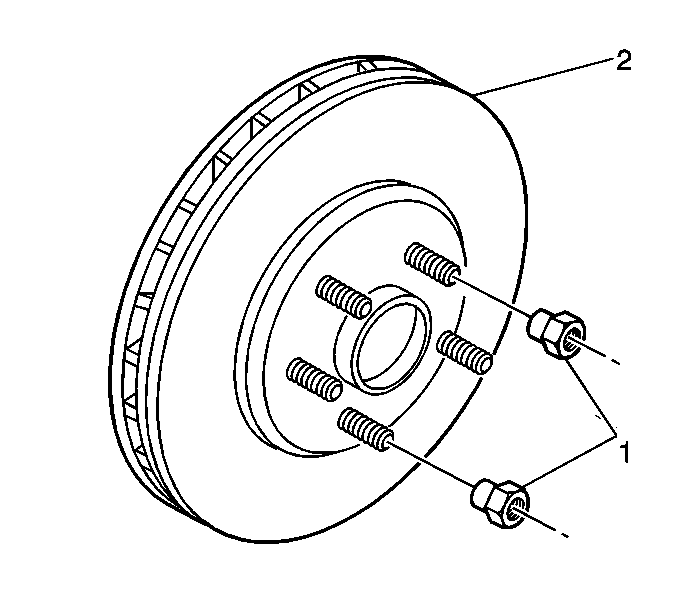
Ensure that the rotor is flush against the flange. Use two hand-tightened lugnuts (1) in order to keep the rotor (2) in position.
