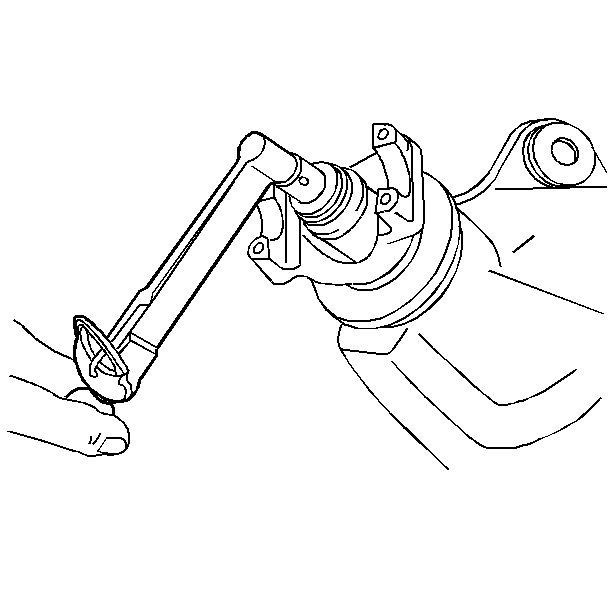
- Install the pinion gear
shaft into a suitable press.
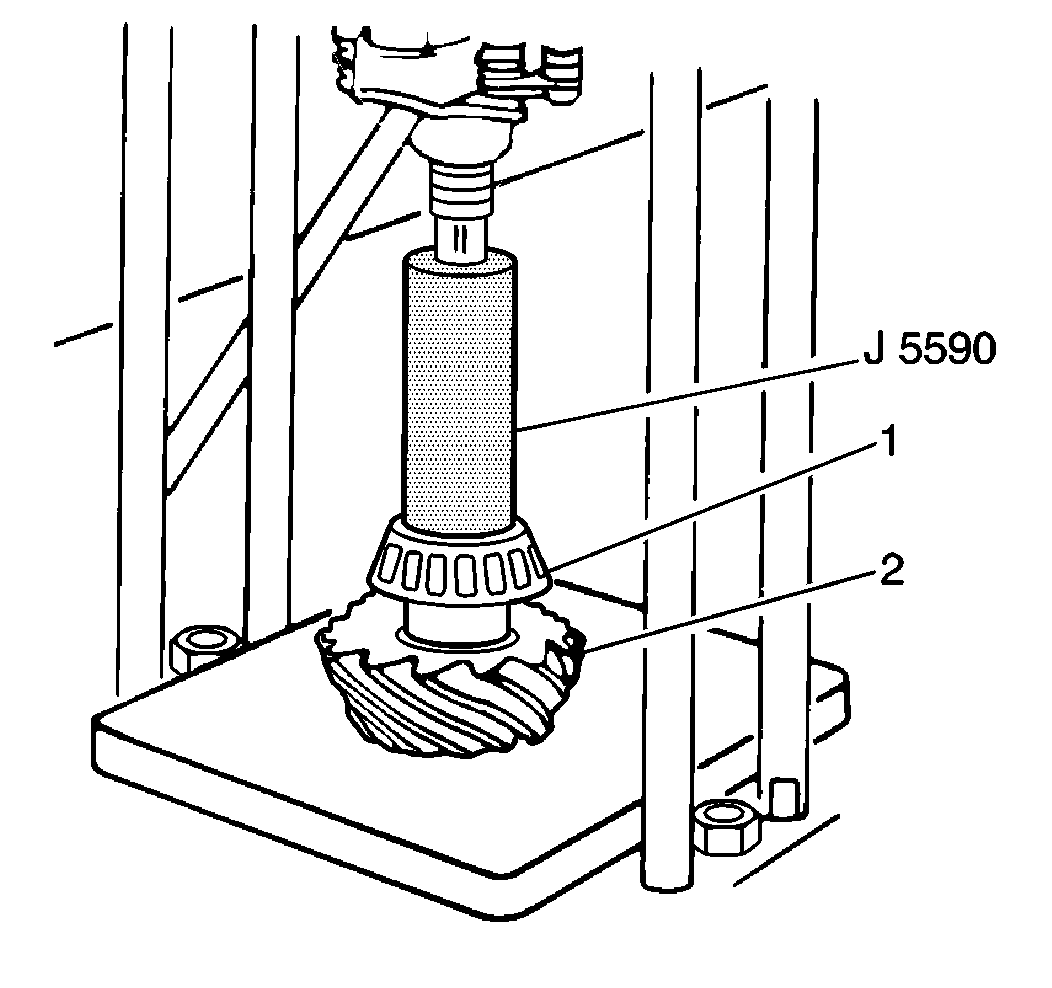
- Using the J 5590
,
press the inner drive pinion gear bearing (1) onto the drive pinion
gear (2).
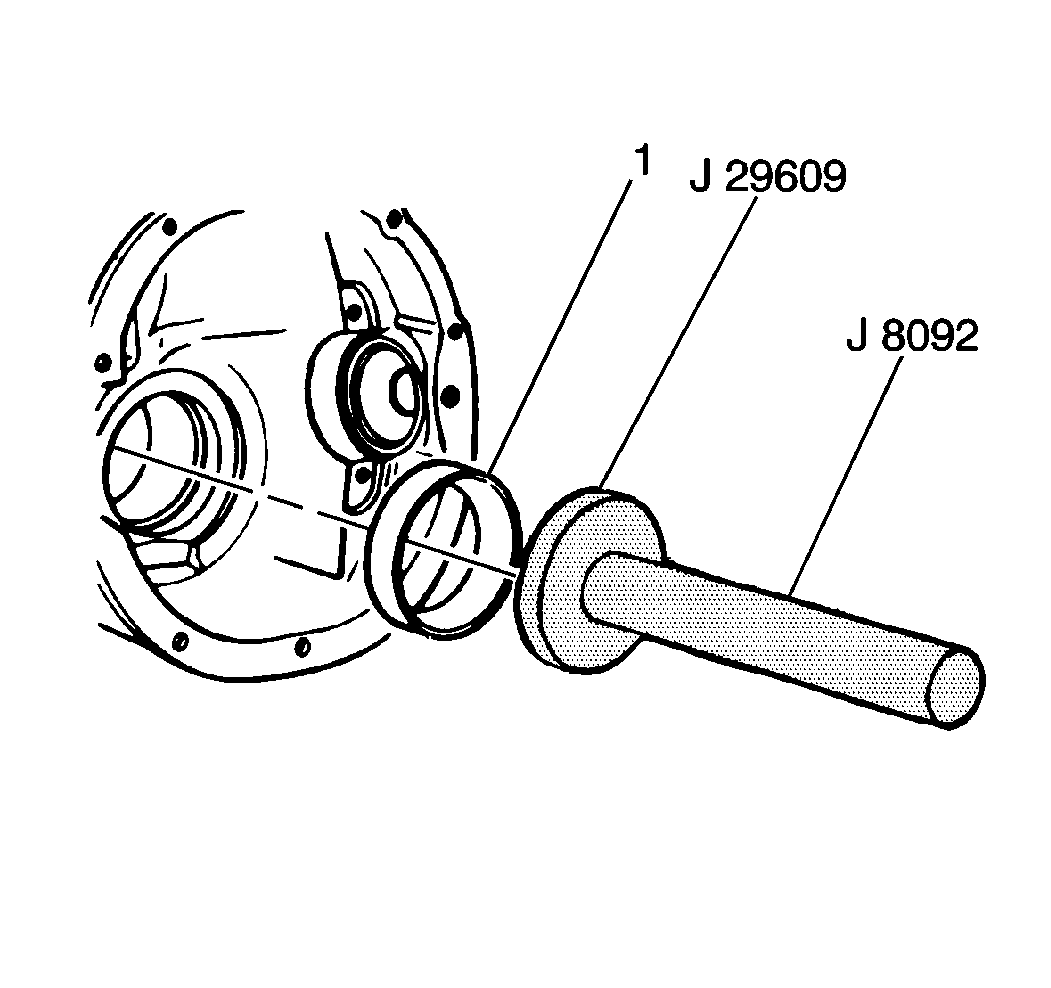
- If replacing the inner
pinion gear bearing, drive the inner bearing race into the axle housing using
the J 8092
and theJ 29609
.
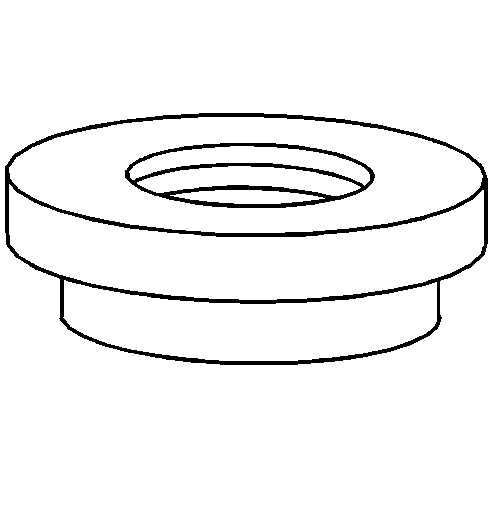
- Install the new drive pinion gear bearing spacer onto the drive
pinion gear.
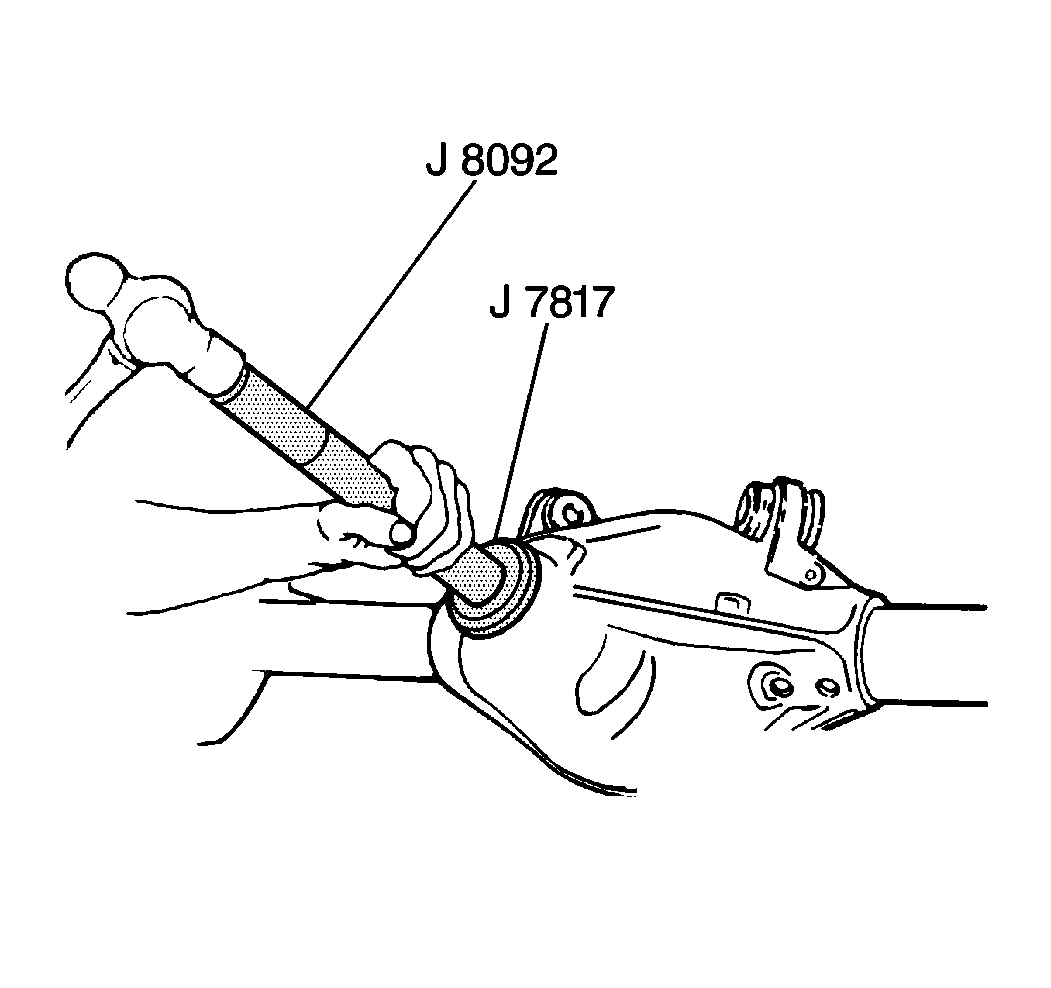
- If replacing the outer
pinion gear bearing, drive the outer bearing race into the axle housing using
the J 8092
and the J 7817
.
- Install the drive pinion gear outer bearing into the rear axle
housing.
- If a new ring gear and a new drive pinion gear will be installed,
measure the differential drive pinion gear depth. Refer to
Pinion Depth Adjustment
.
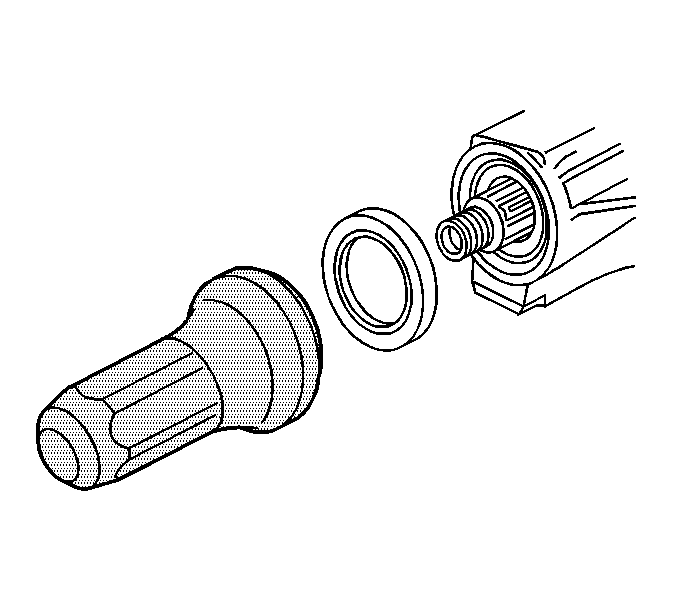
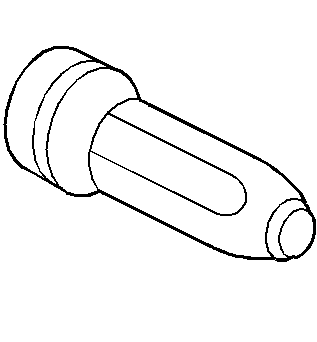
- Install the drive pinion gear into the rear axle housing.
- On early model year vehicle, install the new drive pinion gear oil seal
using the J 23911
.
On late model year vehicles, install the new drive pinion gear oil seal
using the J 33782
.
- Apply sealant, GM P/N 12346004 (Canadian P/N 10953480)
or equivalent, onto the pinion shaft splines.
- Install the drive pinion gear yoke. Refer to
Drive Pinion Flange/Yoke and/or Oil Seal Replacement
.
Notice: Use the correct fastener in the correct location. Replacement fasteners
must be the correct part number for that application. Fasteners requiring
replacement or fasteners requiring the use of thread locking compound or sealant
are identified in the service procedure. Do not use paints, lubricants, or
corrosion inhibitors on fasteners or fastener joint surfaces unless specified.
These coatings affect fastener torque and joint clamping force and may damage
the fastener. Use the correct tightening sequence and specifications when
installing fasteners in order to avoid damage to parts and systems.
- Perform the following in order to tighten the drive pinion gear
nut.
| • | Rotate the drive pinion gear in order to seat the inner and outer
drive pinion gear bearings. |
| • | While rotating the drive pinion gear, tighten the drive pinion
gear nut until the end play is removed. |
- Preload specifications are being approached when there is no further
drive pinion gear end play.
Important: Do not exceed the preload torque specifications. If the preload torque
specification is exceeded, the collapsible pinion gear spacer must be replaced.
- Set the preload to the following specifications on the inner and outer
drive pinion gear bearings:
Tighten
| • | Tighten the pinion flange nut to 1.7-3.4 N·m
(15-30 lb in) on new drive pinion gear bearings. |
| • | Tighten the pinion flange nut to 1.0-1.7 N·m
(10-15 lb in) on used drive pinion gear bearings. |
- Rotate the drive pinion gear several times.
Ensure
that the inner and outer drive pinion gear bearings seat.
- Measure the pinion gear bearing preload again.
- Reset the preload to specifications if the preload decreased by
rotating the drive pinion gear.
- Install the differential carrier. Refer to
Differential Carrier Assembly Replacement
.
