Removal Procedure
Notice: Do not strike or drop the propeller shaft, or allow the universal joints
to bend to extreme angles, as internal joint damage might occur.
- Raise and support the vehicle. Refer to
Lifting and Jacking the Vehicle
in General Information.
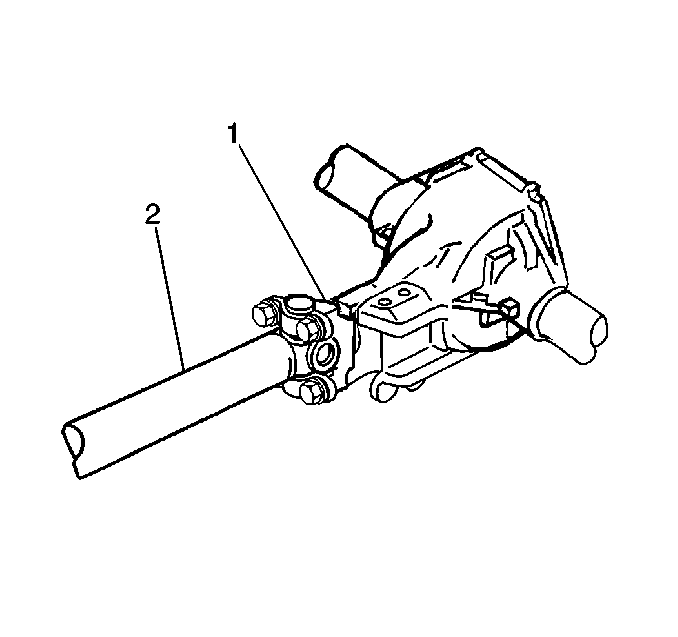
- Mark the relationship
of the propeller shaft (2) to the pinion gear yoke (1).

- Remove the propeller shaft
bolts (2).
- Remove the propeller shaft retainers (1).
Important: Support the propeller shaft during removal.
- Perform the following
steps in order to remove the propeller shaft:
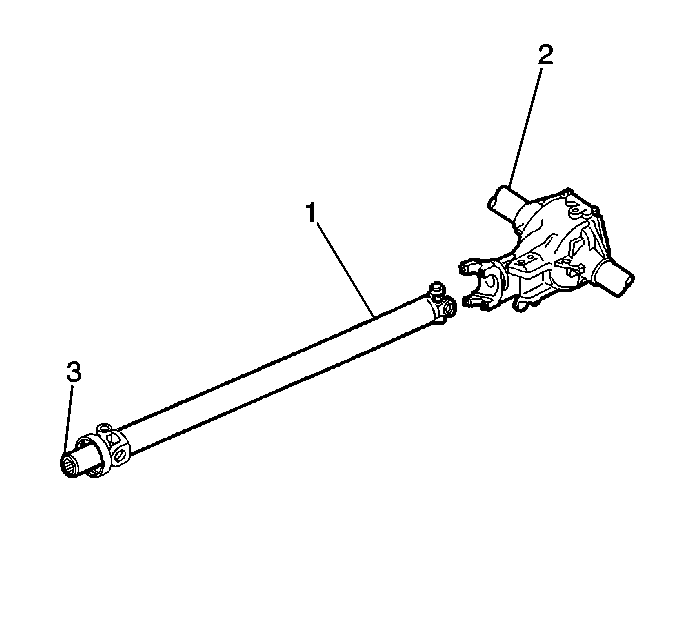
| 5.1. | Withdraw the slip yoke (3) from the transmission. |
| 5.2. | Move the propeller shaft (1) rearward and pass the propeller shaft
under the housing (2). |
Tape the bearing caps together in order to prevent the loss of the needle
roller bearings.
- Inspect the transmission output shaft splines for burrs.
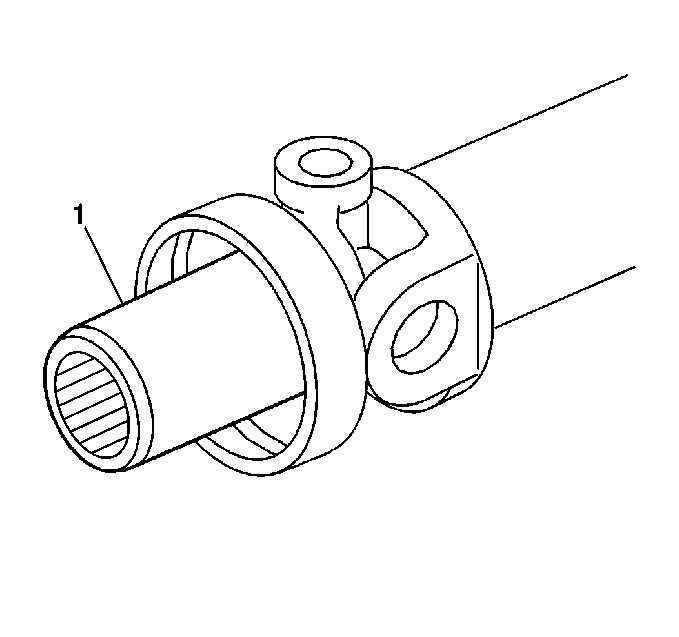
- Inspect the outer diameter
of the slip yoke (1) for burrs.
- Inspect the splines of the slip yoke (1) for the following conditions:
- Inspect the relationship of the splines of the slip yoke (1) to
the transmission output shaft splines. The outer splines of the slip yoke
should meet the following requirements:
| • | The outer splines should agree in number with the transmission
output shaft splines. |
| • | The outer splines should fit with the transmission output shaft
splines. |
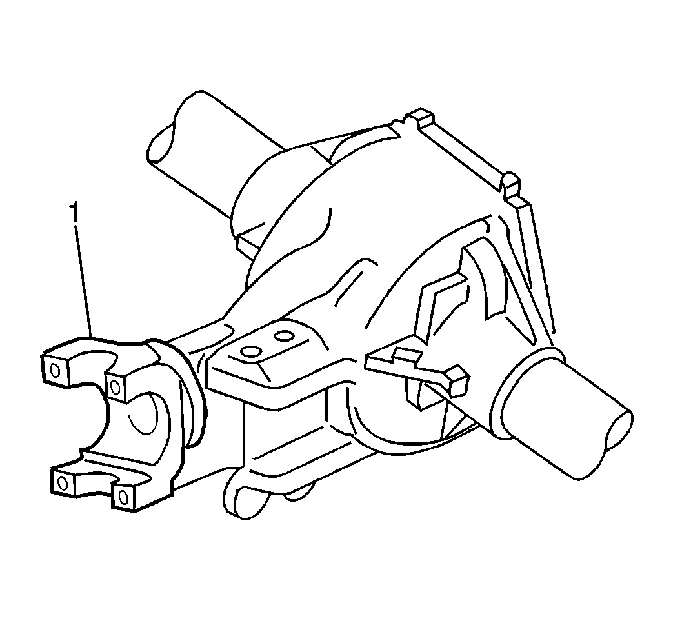
- Inspect the pinion gear
yoke (1) at the universal joint cap mating surface for the following conditions:
Installation Procedure
Notice: The propeller shaft must be supported carefully during handling to avoid
jamming or bending of parts.
- Lubricate the slip yoke with chassis lubricant.
- Install the slip yoke onto the transmission output shaft.
Important: Align the reference marks on the propeller shaft with the reference
marks on the pinion yoke to ensure the proper propeller shaft/pinion yoke
relationship.
- Install the rear of the
propeller shaft (2) to the pinion gear yoke (1).
- Install the rear universal joint to the pinion gear yoke.
Ensure that the bearing caps are properly seated.
- Install the propeller
shaft retainers (1).
Notice: Use the correct fastener in the correct location. Replacement fasteners
must be the correct part number for that application. Fasteners requiring
replacement or fasteners requiring the use of thread locking compound or sealant
are identified in the service procedure. Do not use paints, lubricants, or
corrosion inhibitors on fasteners or fastener joint surfaces unless specified.
These coatings affect fastener torque and joint clamping force and may damage
the fastener. Use the correct tightening sequence and specifications when
installing fasteners in order to avoid damage to parts and systems.
- Install the propeller
shaft bolts (2).
Tighten
Tighten the propeller shaft bolts evenly to 22 N·m (16 lb ft).
- Lower the vehicle.
