Tools Required
J 36660-A Torque Angle Meter
Removal Procedure
- Remove the drive belt. Refer to Drive Belt Replacement .
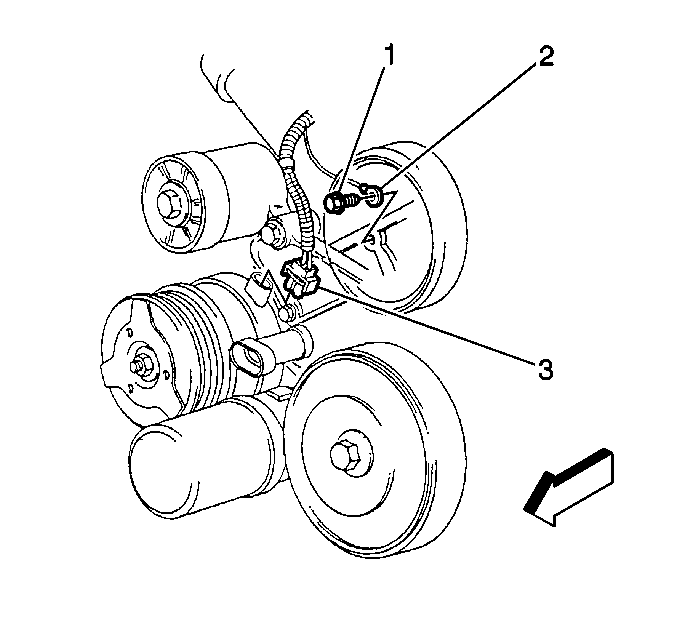
- Remove the engine ground strap bolt (1) and ground strap (2).
- Disconnect the A/C compressor electrical connector (3).
- Raise and suitably support the vehicle. Refer to Lifting and Jacking the Vehicle in General Information.
- Drain the engine oil. Refer to Engine Oil and Oil Filter Replacement .
- Remove the A/C compressor mounting bracket. Refer to Compressor Mounting Bracket Replacement in Heating, Ventilation and Air Conditioning.
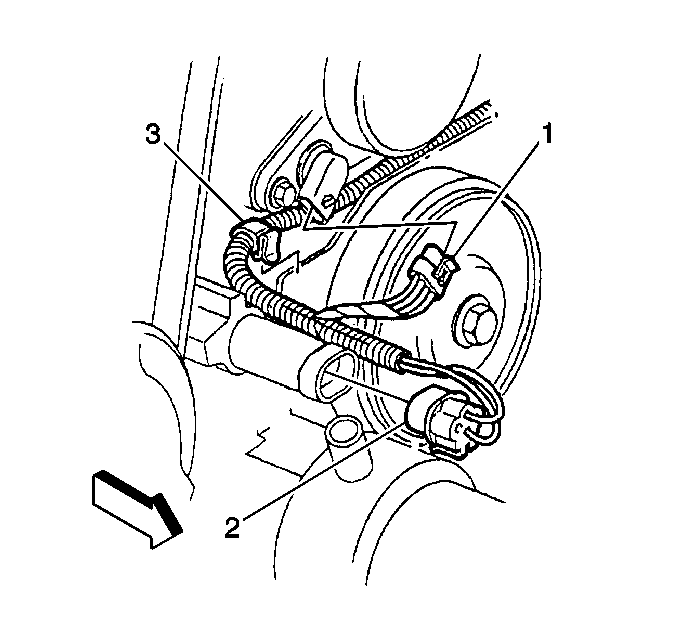
- Disconnect the oil pressure sensor electrical connector (2).
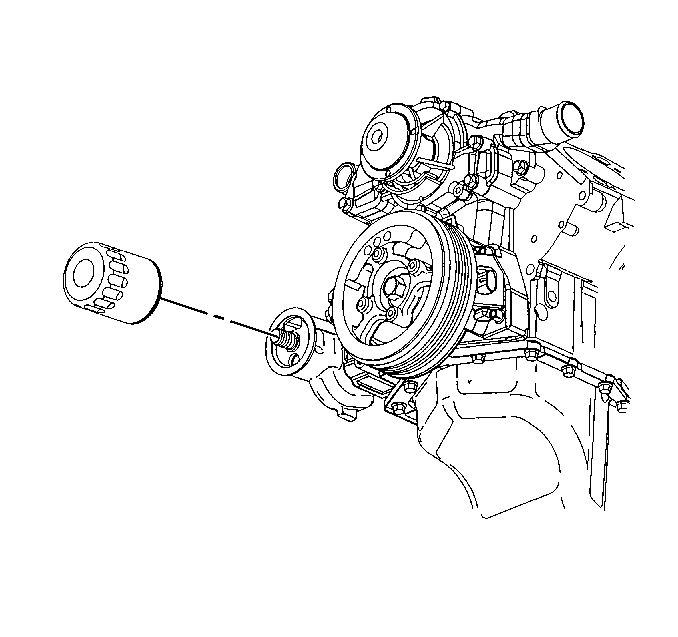
- Remove the oil pressure sensor.
- Remove the engine oil filter. Refer to Engine Oil and Oil Filter Replacement .
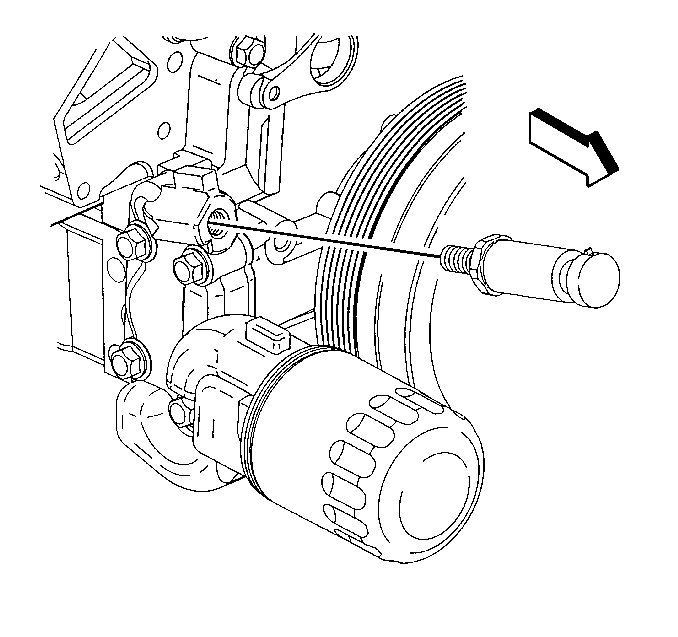
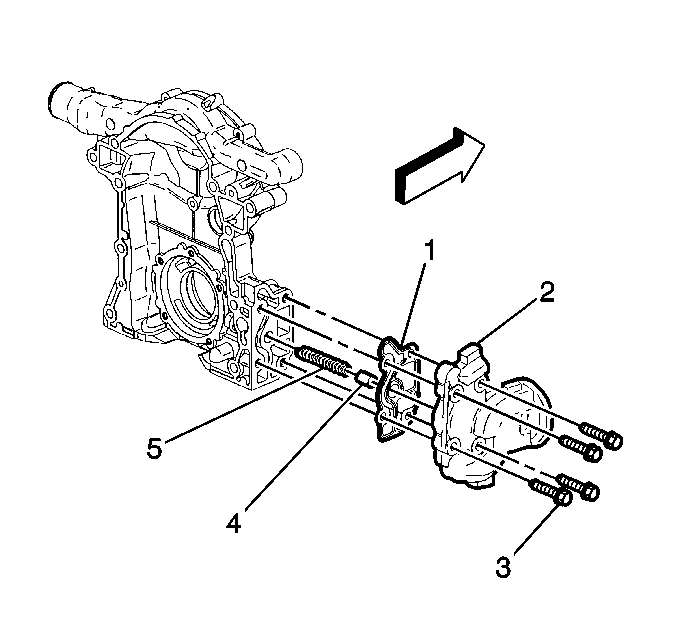
- Remove the oil filter adapter bolts (3).
- Remove the oil filter adapter (2) and gasket (1).
- Remove the pressure relief valve (4) and spring (5).
- Clean the parts in a suitable solvent. Dry the parts.
- Clean all of the gasket sealing surfaces.
- Inspect the following areas:
| • | The oil pressure relief valve (4) and the valve bore for burrs. |
| • | The spring (5) for loss of tension, replace the spring if necessary. |
Installation Procedure
- Install the pressure relief valve (4) and spring (5).
- Install the oil filter adapter (2) and gasket (1).
- Install the oil filter adapter bolts (3).
- Install a new oil filter. Refer to Engine Oil and Oil Filter Replacement .
- Install the oil pressure sensor.
- Connect the oil pressure sensor electrical connector (2).
- Install the A/C compressor mounting bracket. Refer to Compressor Mounting Bracket Replacement in Heating, Ventilation and Air Conditioning.
- Lower the vehicle.
- Connect the A/C compressor electrical connector (3).
- Install the engine ground strap (2) and bolt (1).
- Install the drive belt. Refer to Drive Belt Replacement .
- Fill the crankcase with engine oil. Refer to Engine Oil and Oil Filter Replacement .
Notice: Use the correct fastener in the correct location. Replacement fasteners must be the correct part number for that application. Fasteners requiring replacement or fasteners requiring the use of thread locking compound or sealant are identified in the service procedure. Do not use paints, lubricants, or corrosion inhibitors on fasteners or fastener joint surfaces unless specified. These coatings affect fastener torque and joint clamping force and may damage the fastener. Use the correct tightening sequence and specifications when installing fasteners in order to avoid damage to parts and systems.
Tighten
Tighten the oil filter adapter bolts (3) to 15 N·m
(11 lb ft). Use the J 36660-A
to torque the oil filter adapter bolts (3) an additional
50 degrees.
Tighten
Tighten the oil pressure sensor to 16 N·m (12 lb ft).
Tighten
Tighten the engine ground strap bolt to 25 N·m (18 lb ft).
