For 1990-2009 cars only
Removal Procedure
- Remove the air cleaner outlet resonator. Refer to Air Cleaner Outlet Resonator Replacement .
- Remove the throttle body. Refer to Throttle Body Assembly Replacement .
- Disconnect the positive crankcase ventilation (PCV) hose.
- Disconnect the purge solenoid tube.
- Disconnect the brake booster hose.
- Remove the oil level indicator tube bolt.
- Remove the fuel rail. Refer to Fuel Injection Fuel Rail Assembly Replacement .
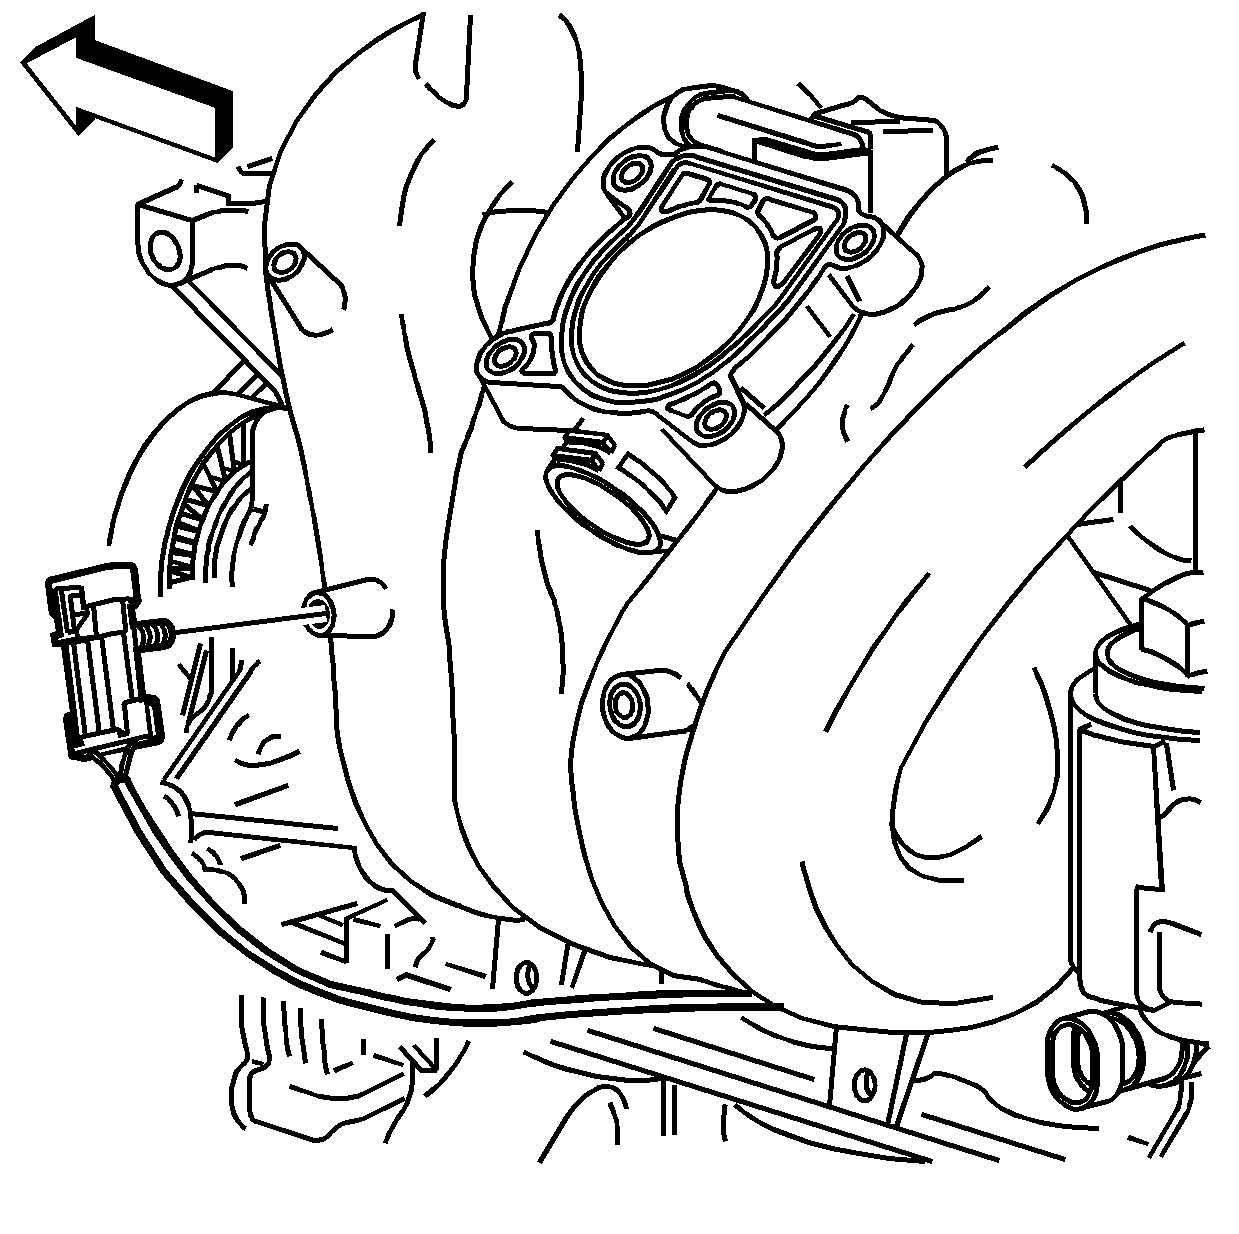
- Disconnect the knock sensor electrical connector.
- Remove the knock sensor harness connector from the intake manifold.
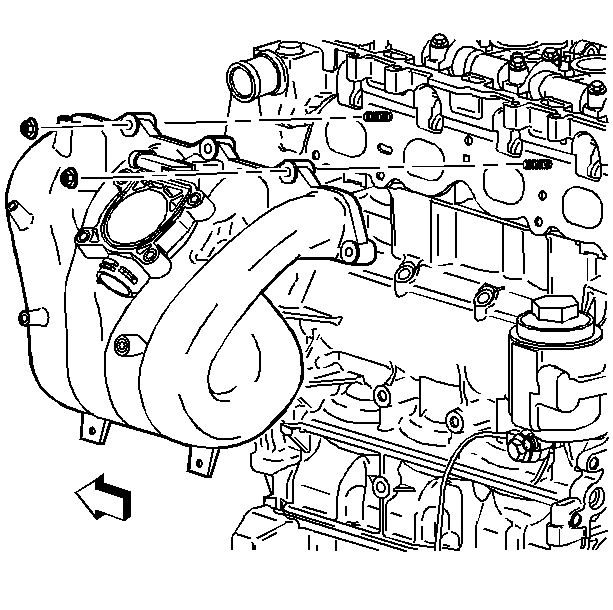
- Remove the intake manifold nuts and bolts.
- Remove the intake manifold.
- If applicable, remove the intake manifold gasket.


Important: The intake manifold gasket is reusable, only replace the gasket if damage has occurred.
Installation Procedure
- If applicable, install the intake manifold gasket.
- Install the intake manifold.
- Install the intake manifold nuts and bolts.
- Install the knock sensor harness connector to the intake manifold.
- Connect the knock sensor electrical connector.
- Install the fuel rail. Refer to Fuel Injection Fuel Rail Assembly Replacement .
- Install the throttle body.
- Install the oil level indicator tube bolt.
- Connect the brake booster hose.
- Connect the purge solenoid tube.
- Connect the PCV hose.
- Install the throttle body. Refer to Throttle Body Assembly Replacement .
- Install the air cleaner outlet resonator. Refer to Air Cleaner Outlet Resonator Replacement .
Notice: Refer to Fastener Notice in the Preface section.

Tighten
Tighten the intake manifold nuts and bolts to 10 N·m (89 lb in).

Tighten
Tighten the oil level indicator tube bolt to 10 N·m (89 lb in).
