For 1990-2009 cars only
Catalytic Converter Replacement LAP
Removal Procedure
- Raise and support the vehicle. Refer to Lifting and Jacking the Vehicle.
- Remove the wheel drive shaft heat shield. Refer to Wheel Drive Shaft Heat Shield Replacement.
- Remove the heated oxygen sensor (HO2S). Refer to Heated Oxygen Sensor 2 Replacement.
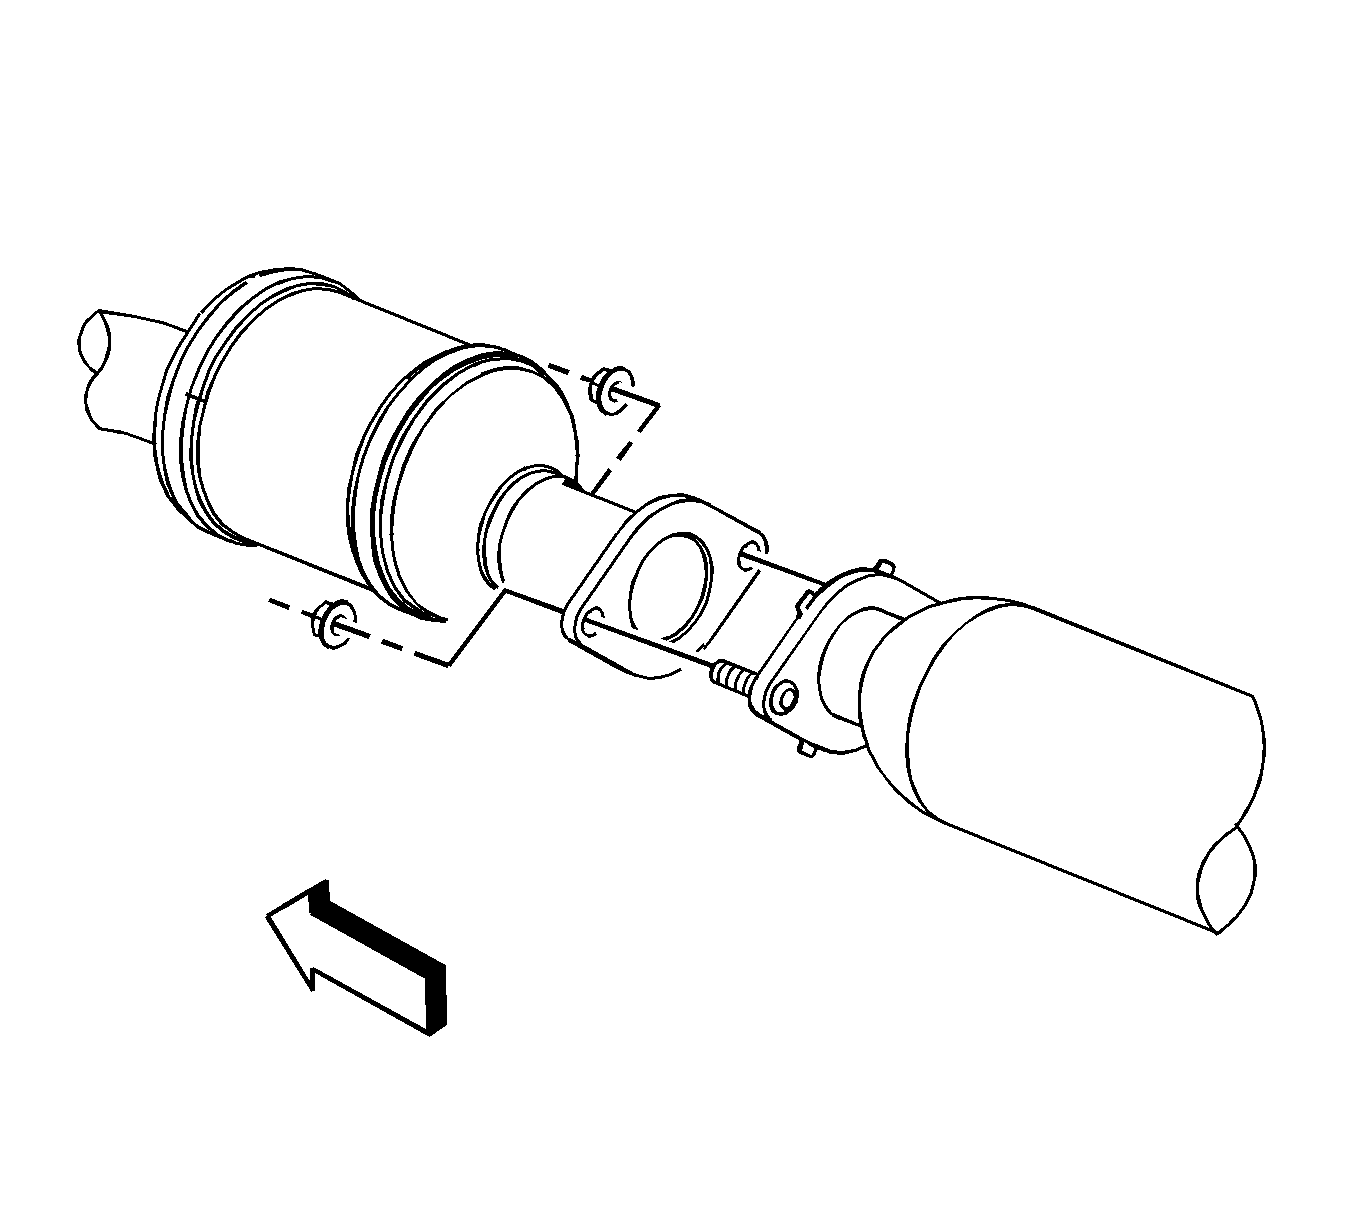
- Remove the catalytic converter to the resonator pipe nuts.
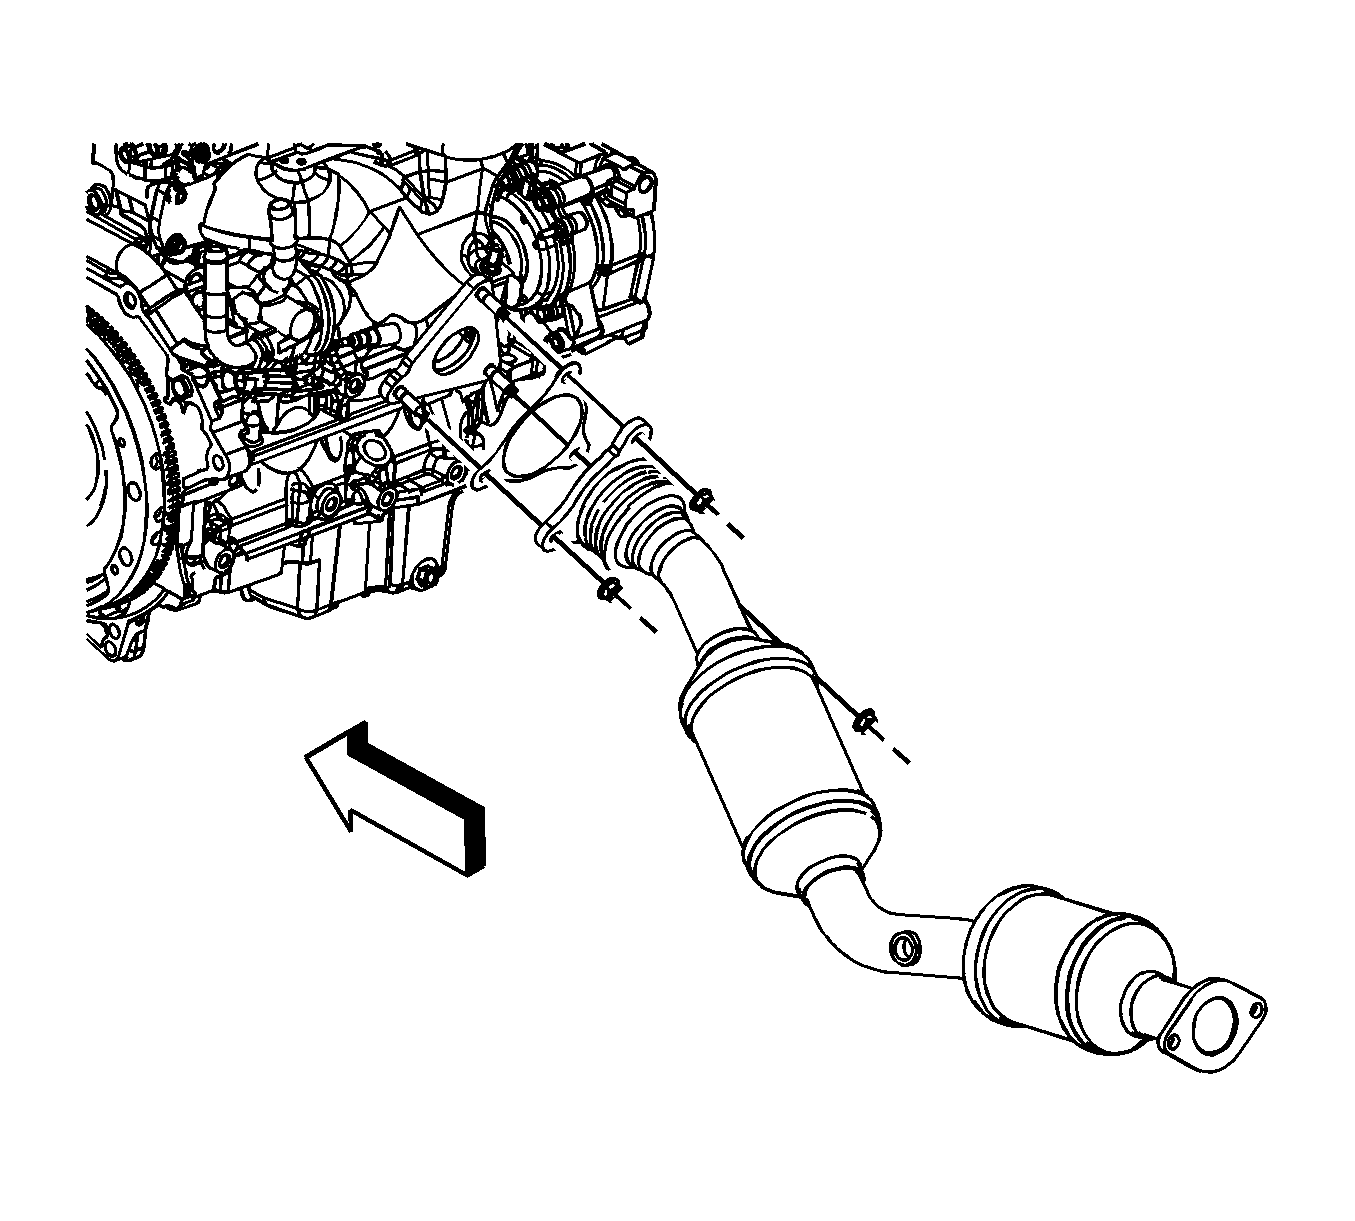
- Remove the catalytic converter to exhaust manifold nuts.
- Remove the catalytic converter.
- Discard the exhaust gaskets.
- Clean the flange mating surfaces of any remaining gasket material.


Installation Procedure
- Remove the catalytic converter to exhaust manifold nuts.
- Remove the catalytic converter.
- Discard the exhaust gaskets.
- Clean the flange mating surfaces of any remaining gasket material.
- Install a NEW gasket onto the resonator pipe studs.
- Install the catalytic converter to the resonator pipe nuts and tighten to 30 N·m (22 lb ft).
- Install the (HO2S). Refer to Heated Oxygen Sensor 2 Replacement.
- Install the wheel drive shaft heat shield. Refer to Wheel Drive Shaft Heat Shield Replacement.
- Inspect the exhaust system for leaks.


Caution: Refer to Fastener Caution in the Preface section.
Catalytic Converter Replacement LNF

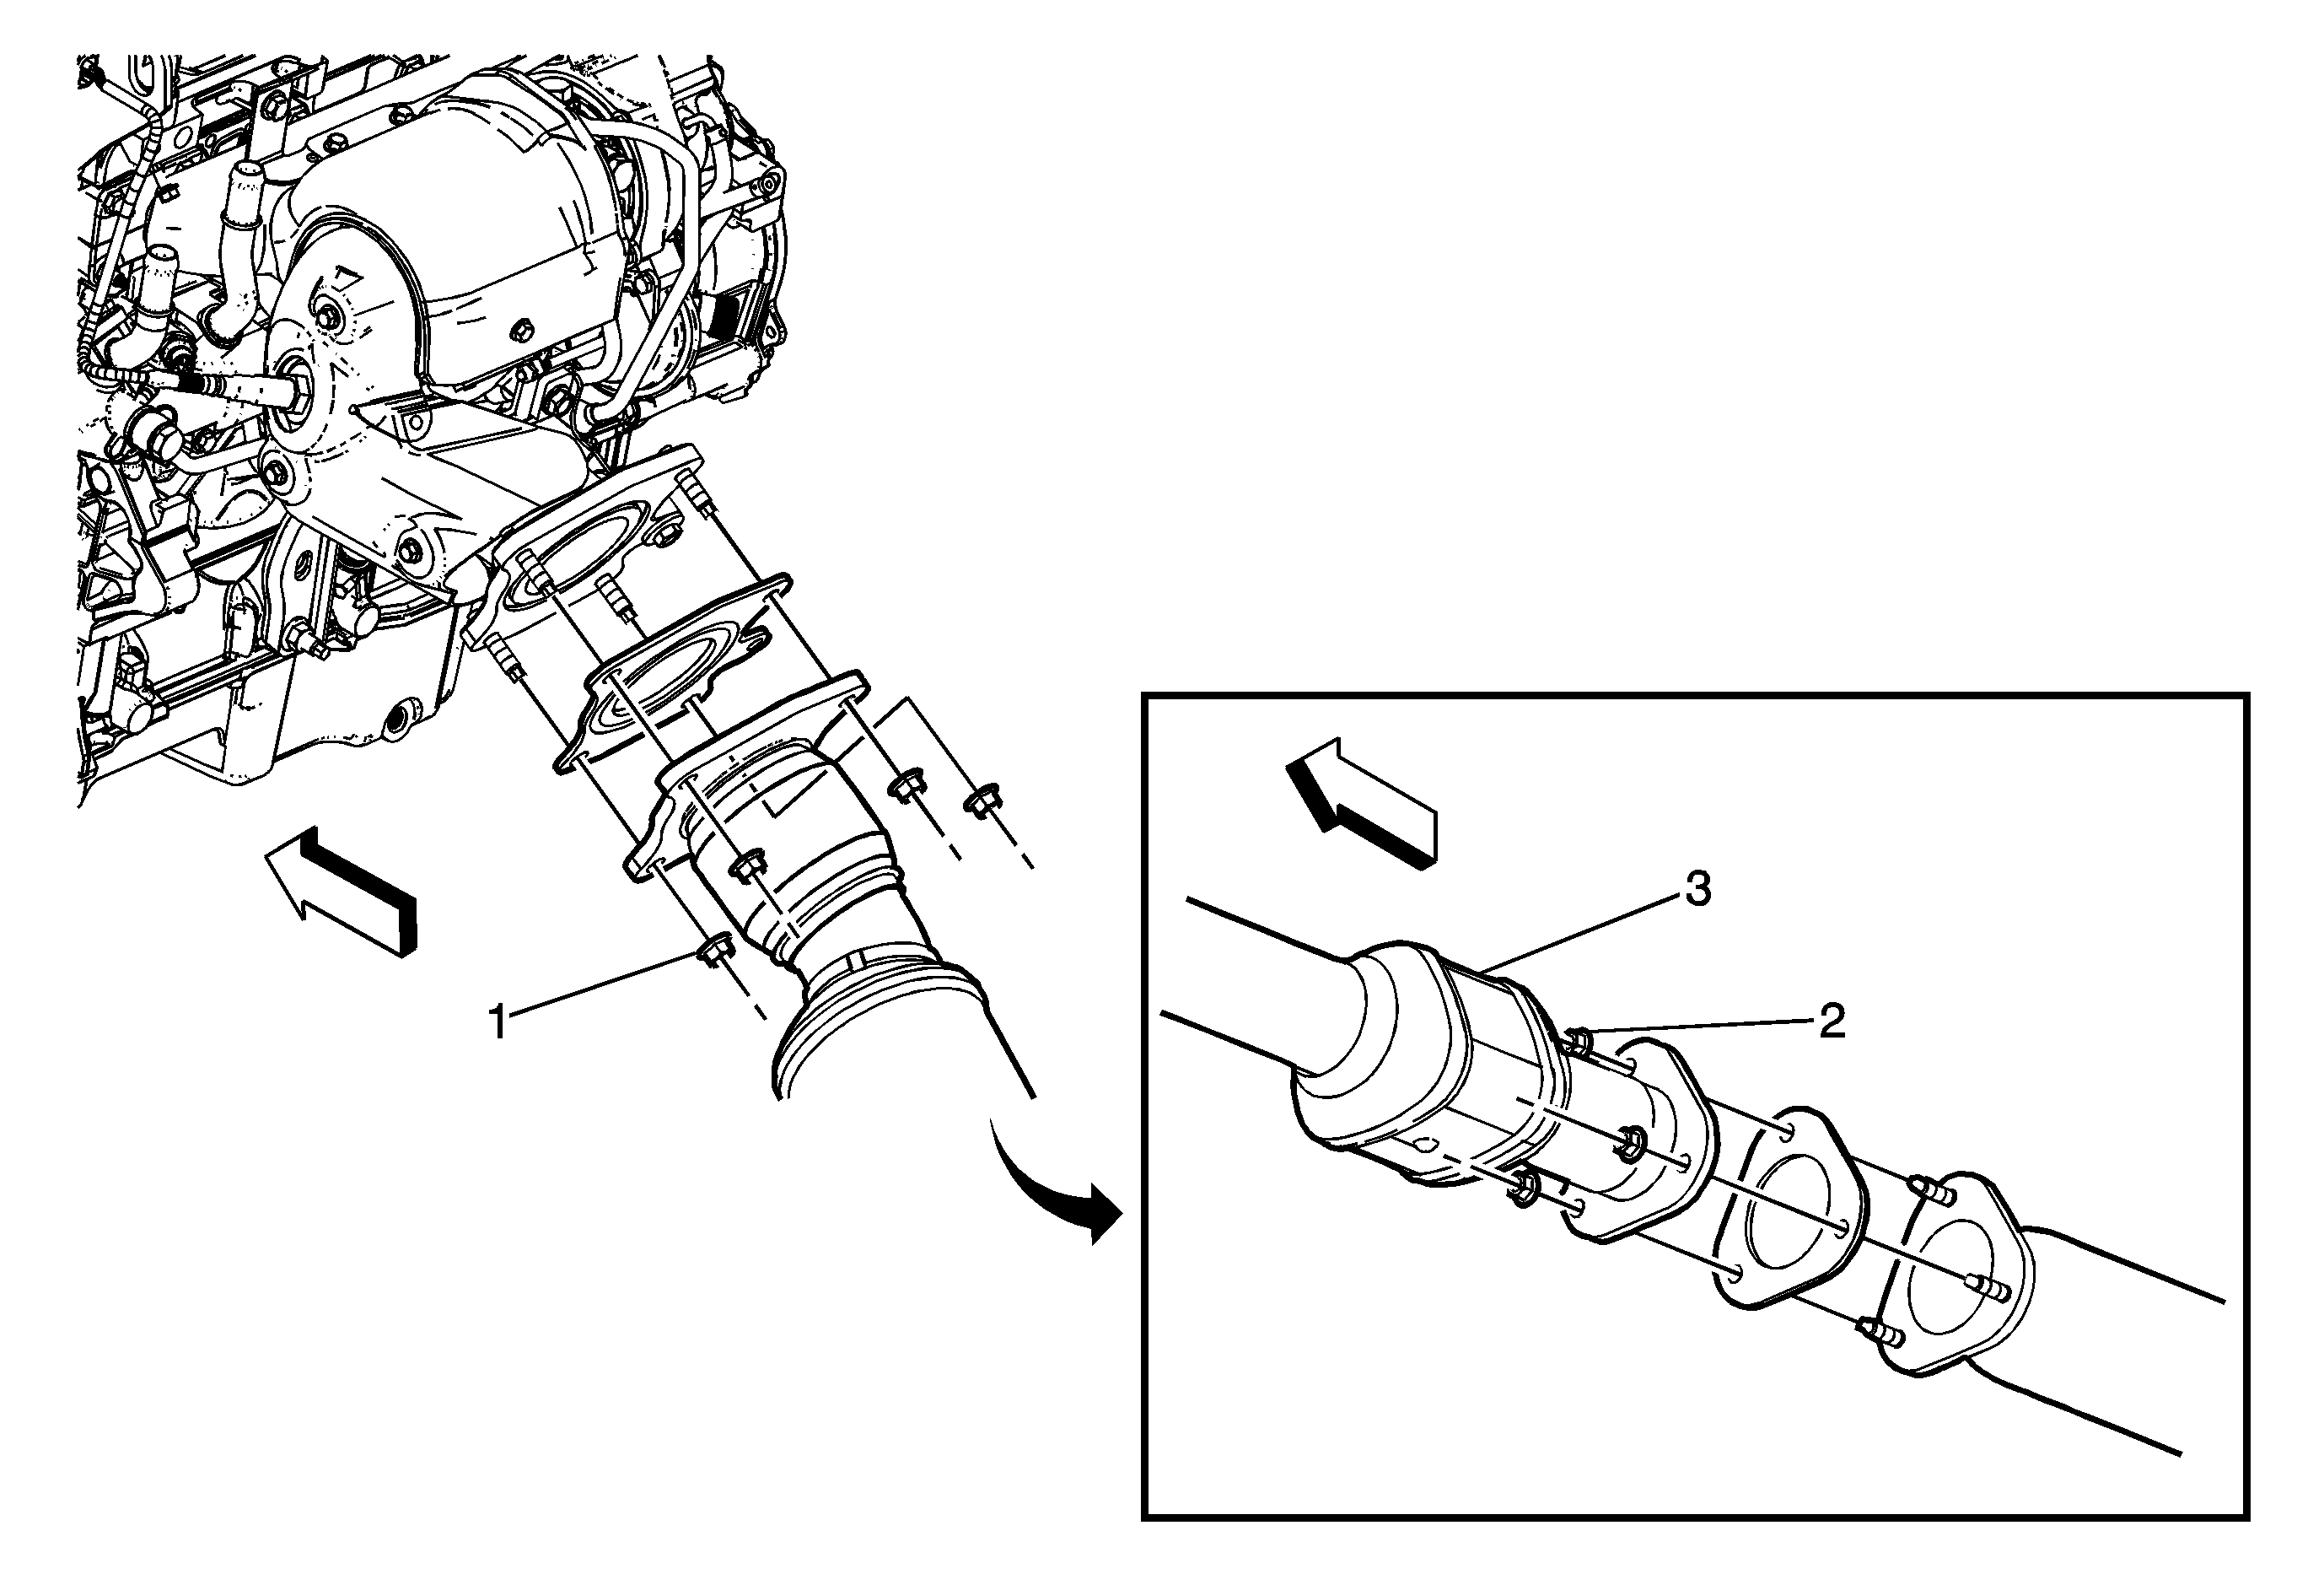
Callout | Component Name |
|---|---|
Preliminary Procedure
| |
1 | Turbocharger Exhaust Pipe Nut (Qty: 4) Caution: Refer to Fastener Caution in the Preface section. Tighten |
2 | Catalytic Converter Nut (Qty: 3) Tighten |
3 | Catalytic Converter Procedure
|
