For 1990-2009 cars only
Removal Procedure
- Remove the fuse labeled HVAC CTRL (BATT).
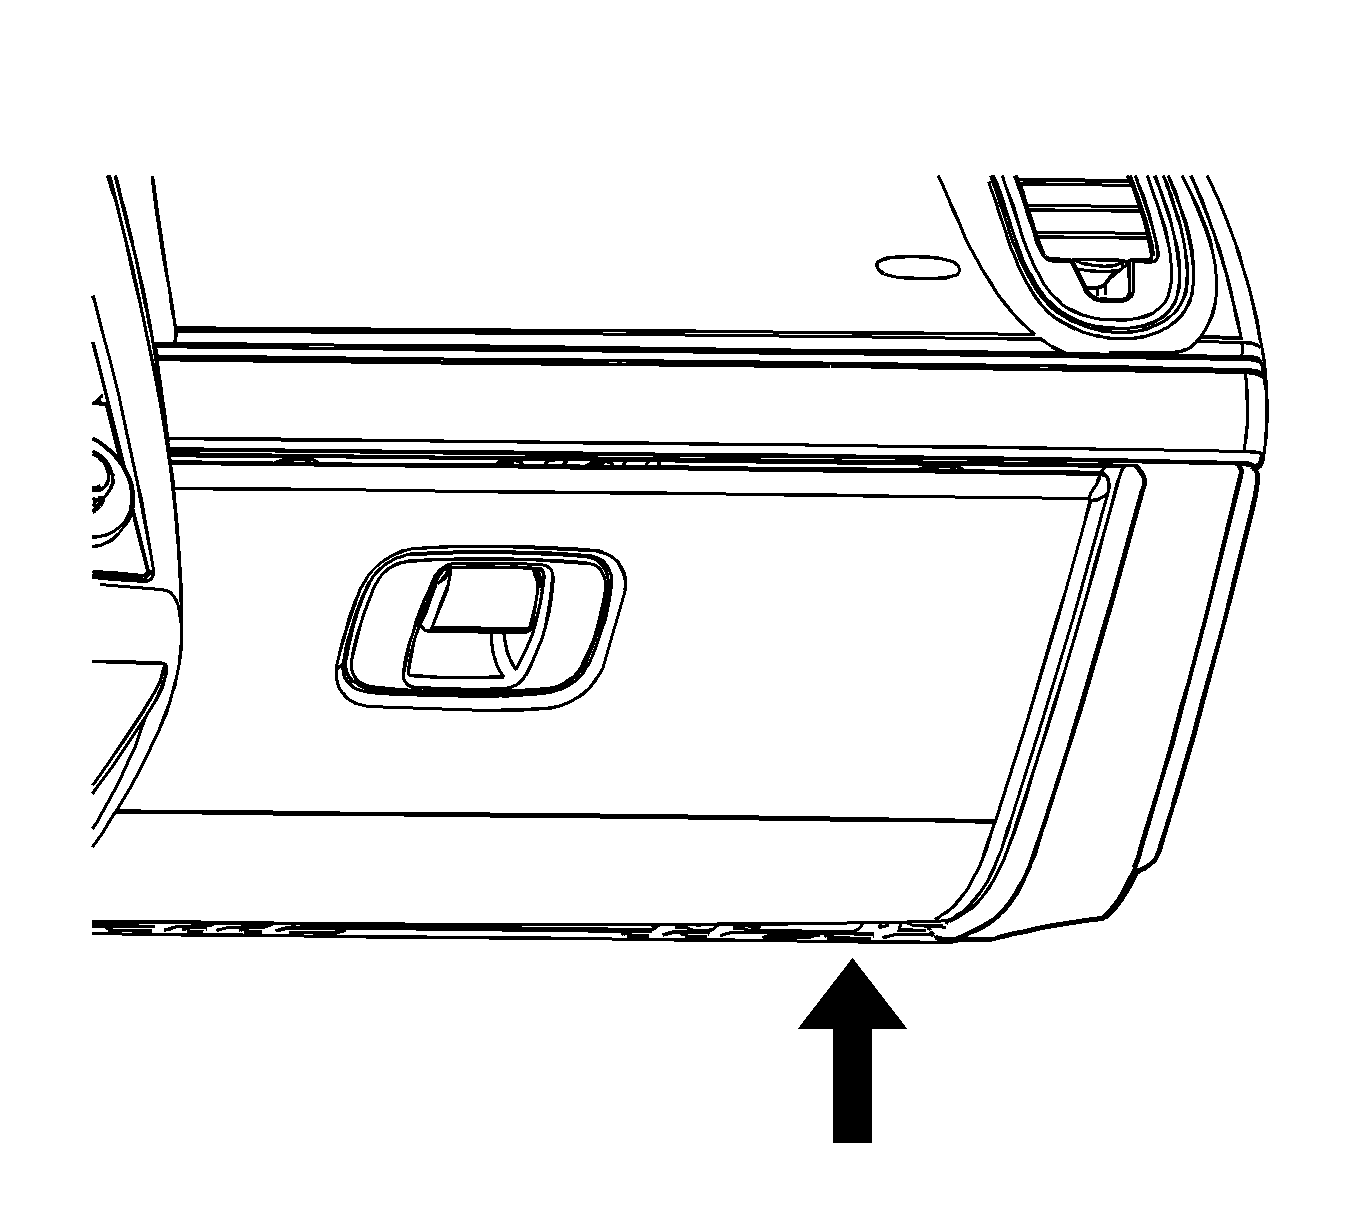
- Remove the right closeout panel. Refer to Instrument Panel Insulator Panel Replacement - Right Side.
- If equipped with OnStar, remove the communication interface module. Refer to Communication Interface Module Replacement.
- If equipped, remove the OnStar module bracket. Refer to Communication Interface Module Bracket Replacement.
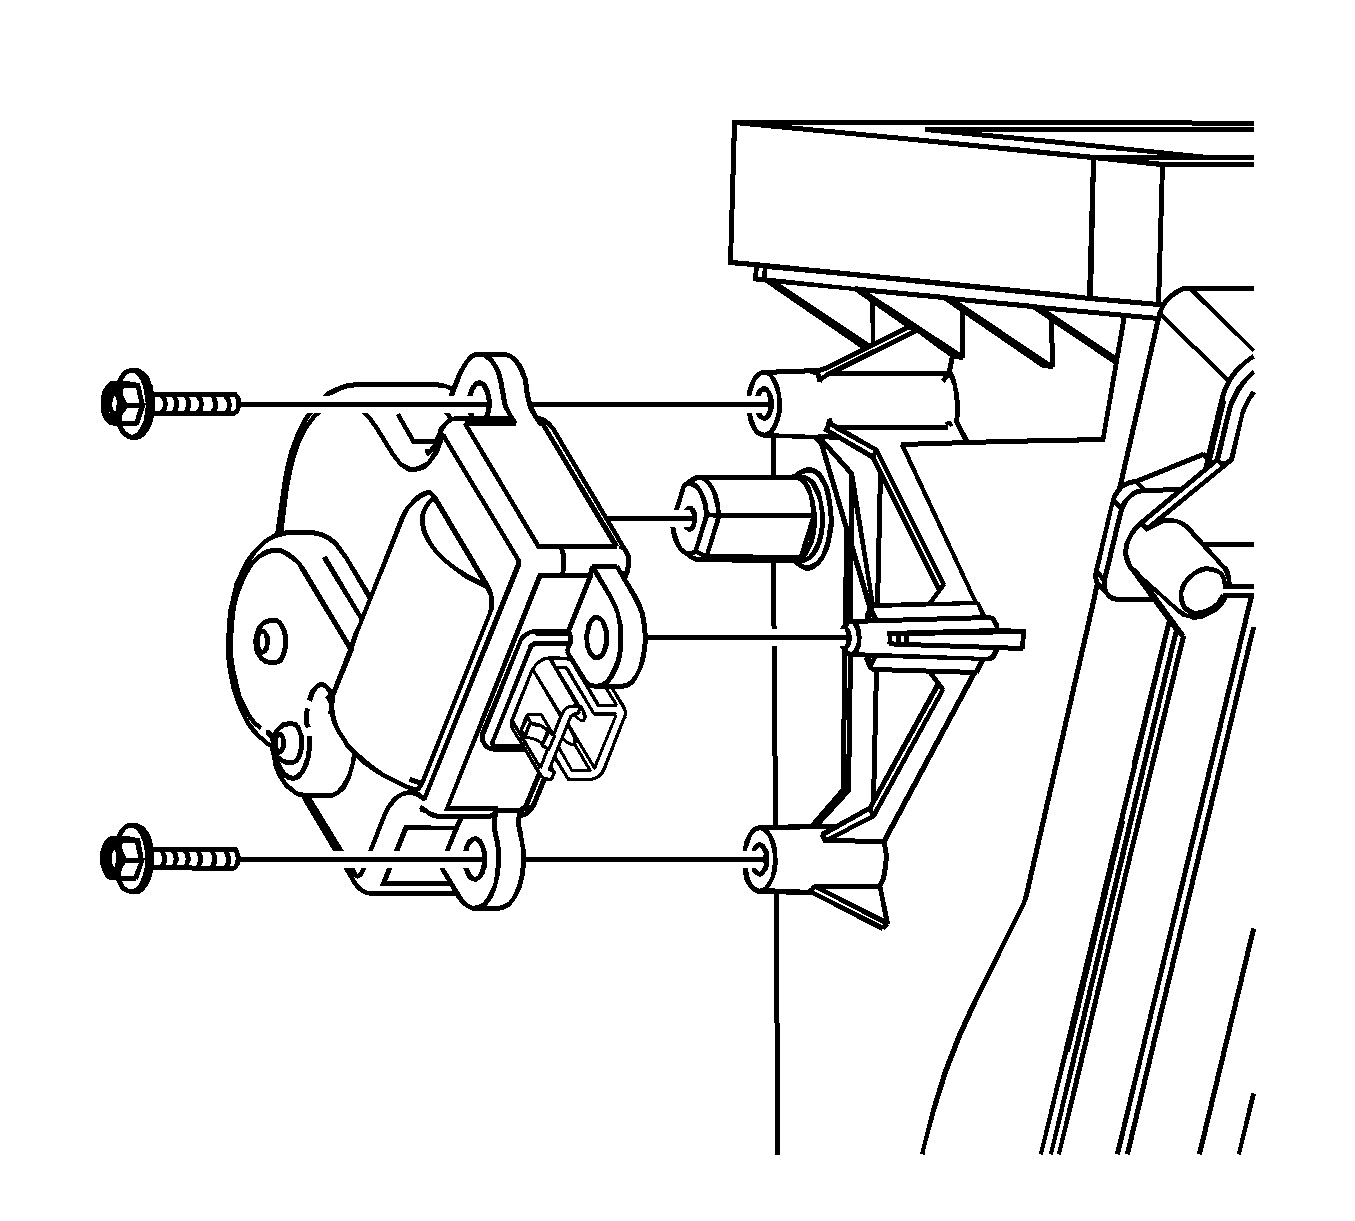
- Remove the recirculation door actuator screws.
- Remove the recirculation door actuator.
- Remove the recirculation door actuator wire harness connector.


Installation Procedure
- Install the recirculation door actuator wire harness connector.
- Install the recirculation door actuator.
- Tighten the recirculation door actuator screws.
- If equipped, install the OnStar module bracket. Refer to Communication Interface Module Bracket Replacement.
- If equipped, install the communication interface module. Refer to Communication Interface Module Replacement.
- Install the right closeout panel. Refer to Instrument Panel Insulator Panel Replacement - Right Side.
- Install the fuse labeled HVAC CTRL (BATT).
- Calibrate the actuator. Refer to Actuator Recalibration.

Caution: Refer to Fastener Caution in the Preface section.
Tighten
Tighten the screws to 1.5 N·m (13 lb in).
