Tools Required
| • | J 7872 Magnetic Base Dial Indicator Set |
| • | J 43690 Rod Bearing Checking Tool |
| • | J 43690-100 Rod Bearing Checking Tool - Adapter Kit |
Cleaning Procedure
- Clean the crankshaft (1) with solvent.
- Thoroughly clean all oil passages and inspect for restrictions or burrs.
- Dry the crankshaft (1) with compressed air.
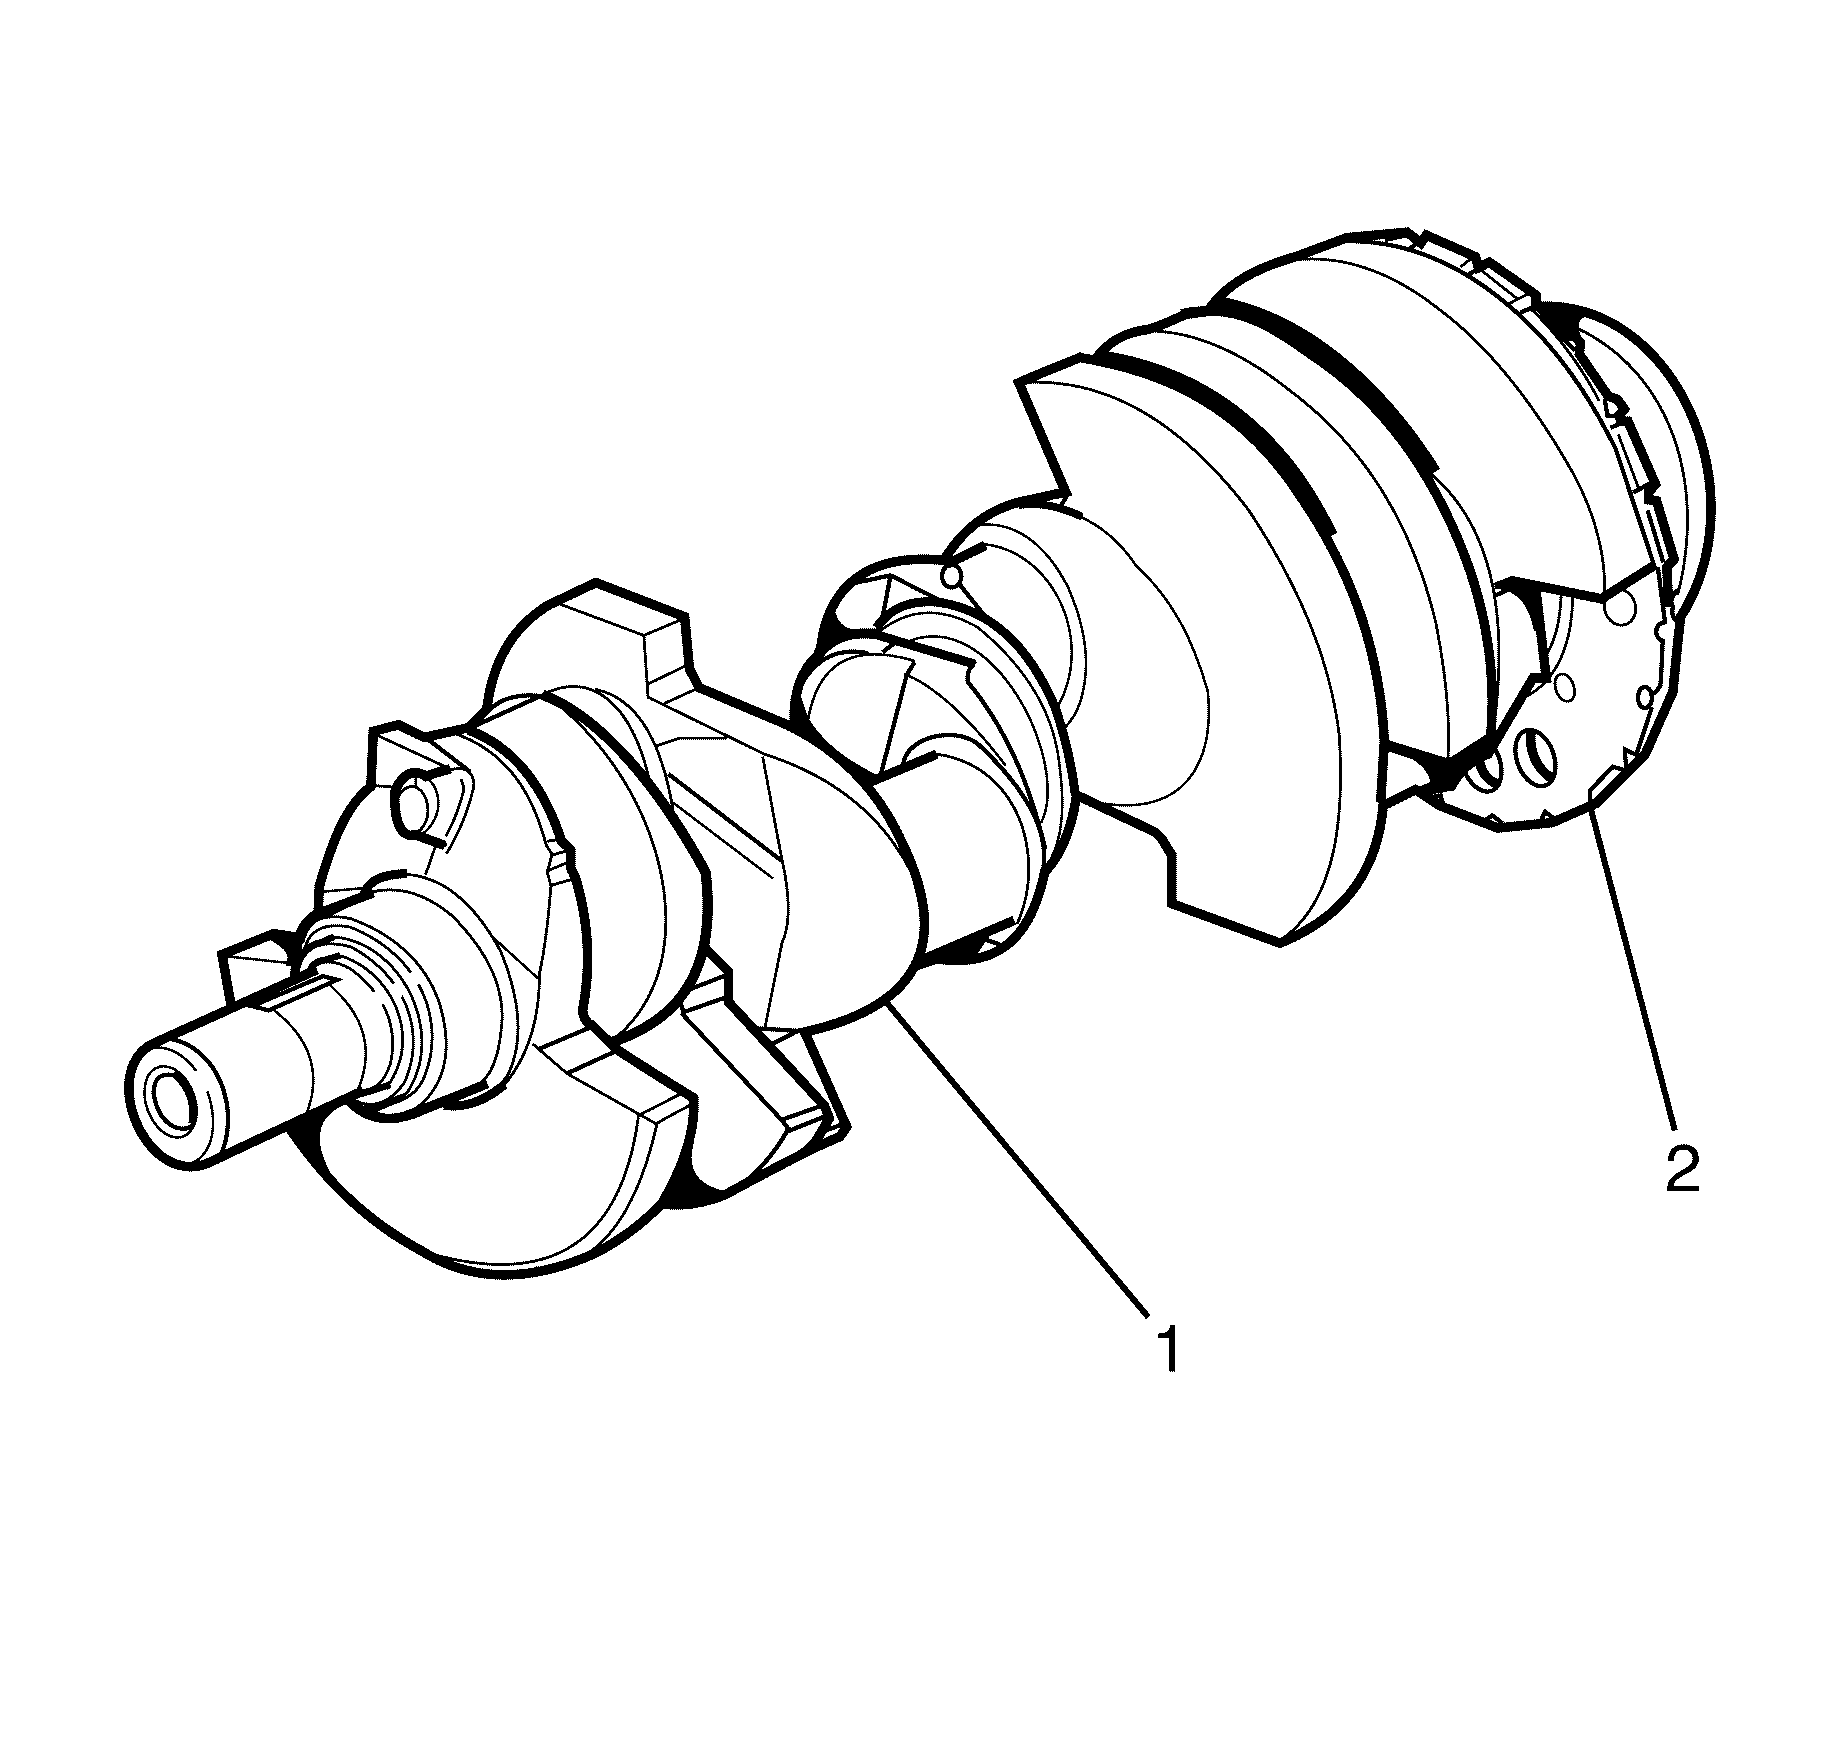
Important: Use care when handling the crankshaft (1). Avoid damage to the crankshaft position (CKP) sensor reluctor ring teeth (2). Nicks, burrs, or other damage to the teeth may effect on-board diagnostics (OBD) II system performance.
Caution: Refer to Safety Glasses Caution in the Preface section.
Inspection Procedure
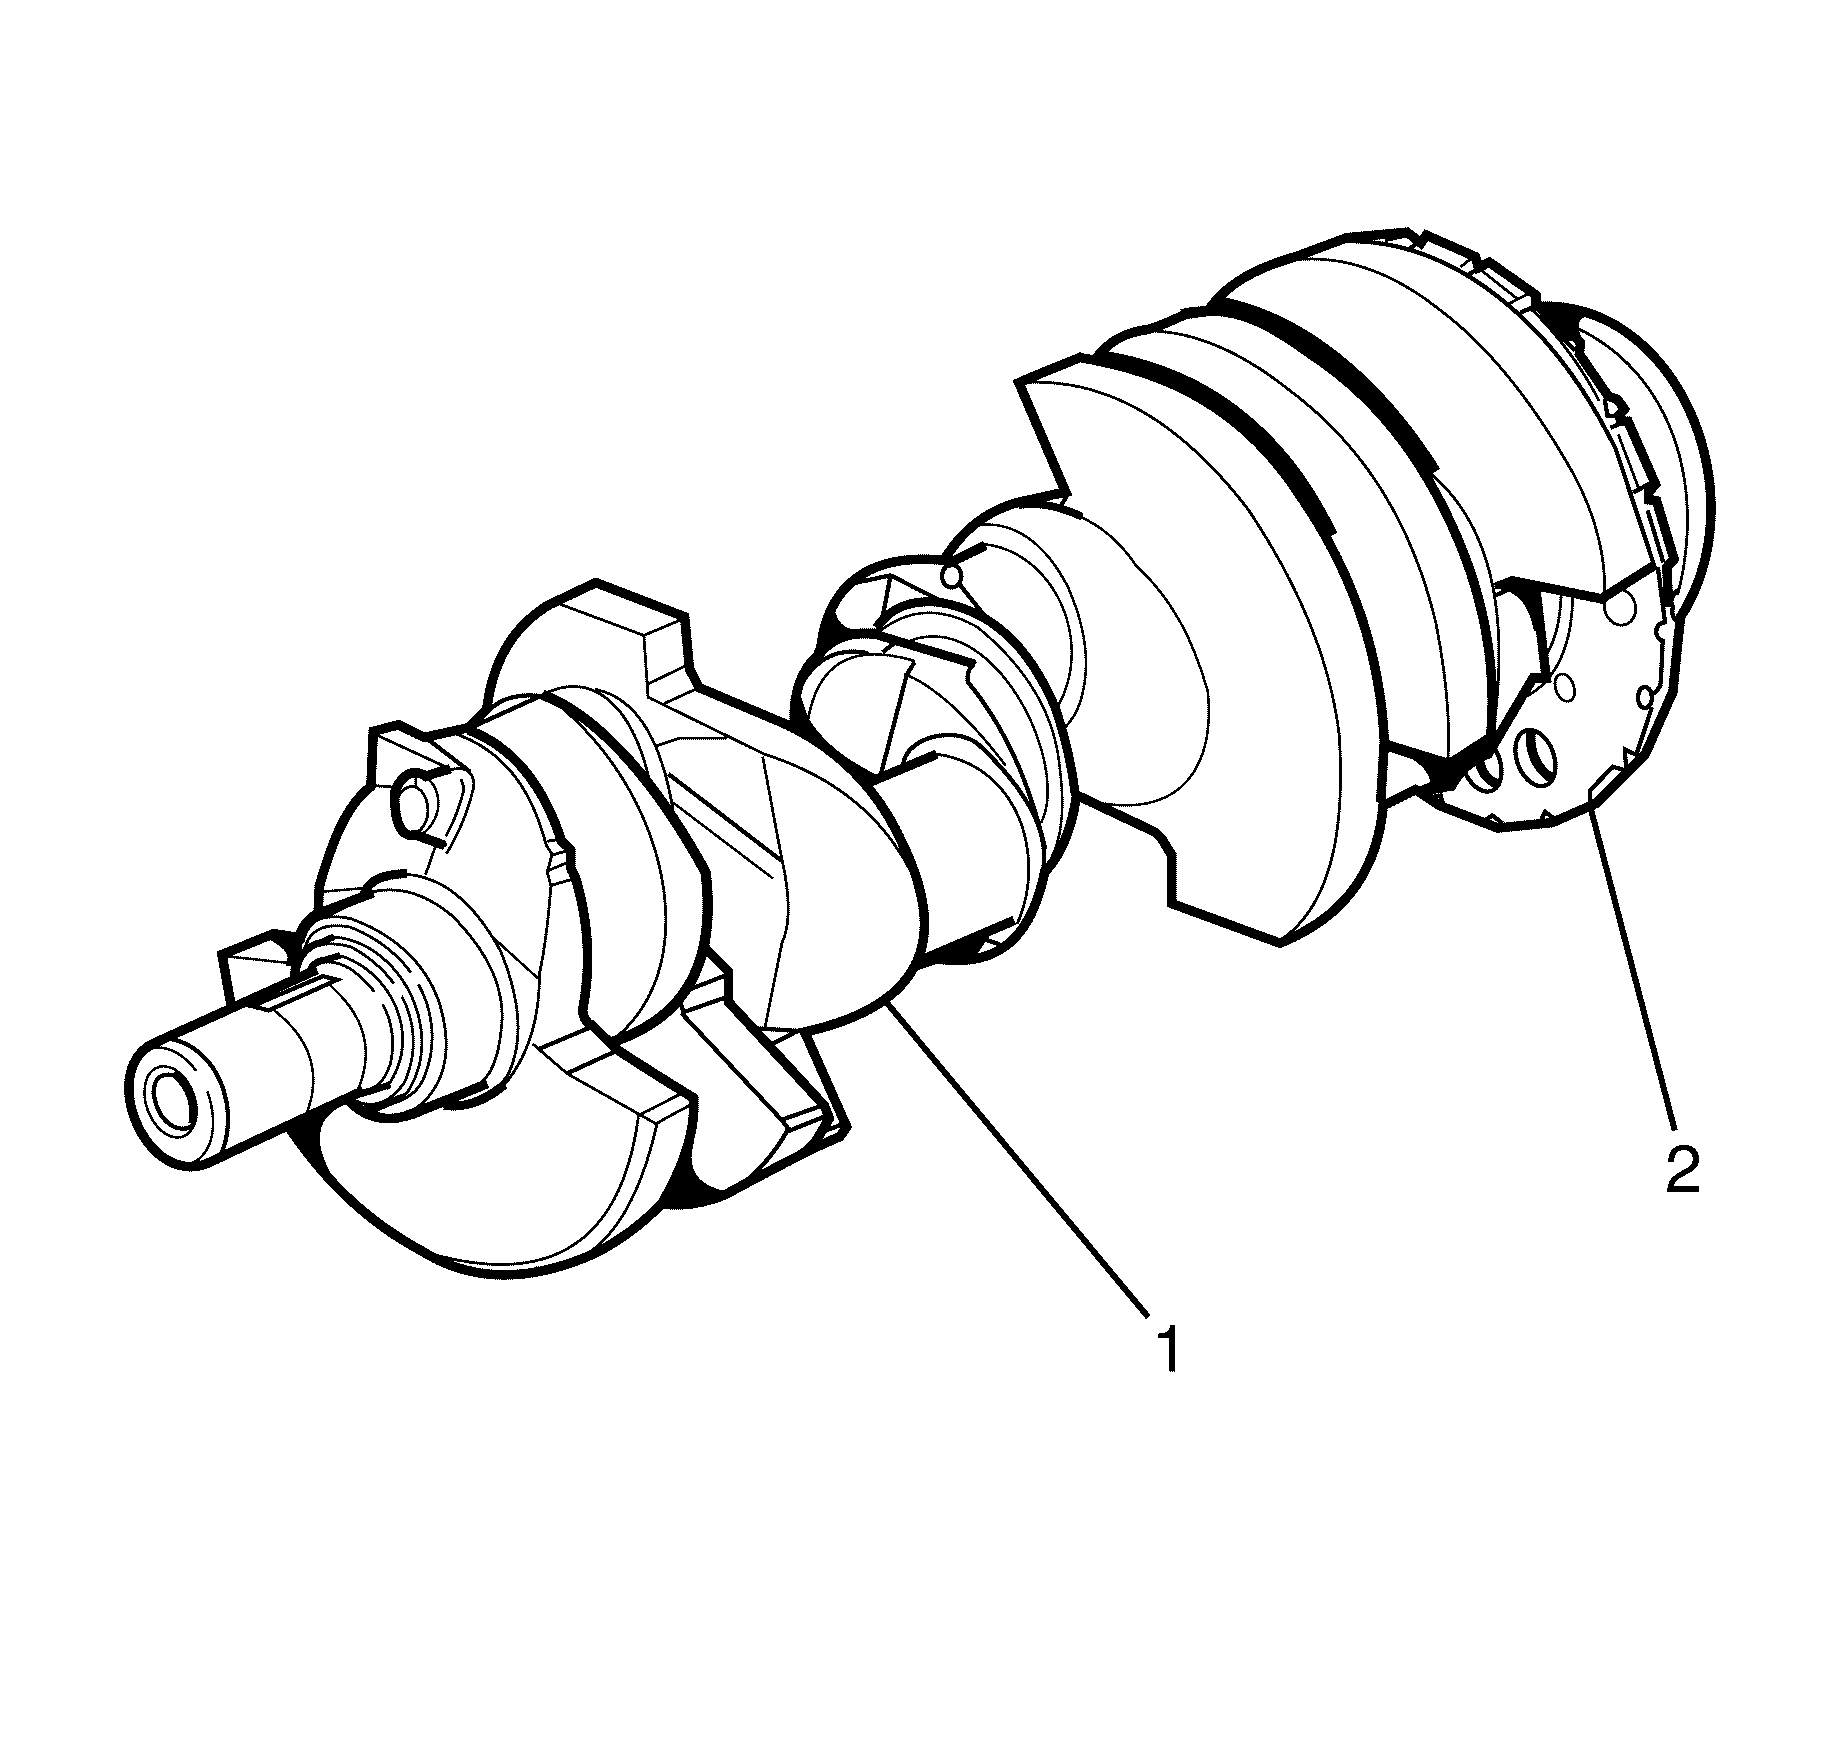
- Perform a visual inspection of the crankshaft (2) for damage.
- Inspect the CKP reluctor ring teeth (1) for damage.
- Inspect the crankshaft journals (1) for wear.
- Inspect the crankshaft journals for grooves or scoring (2).
- Inspect the crankshaft journals for scratches or wear (3).
- Inspect the crankshaft journals for pitting or embedded bearing material (4).
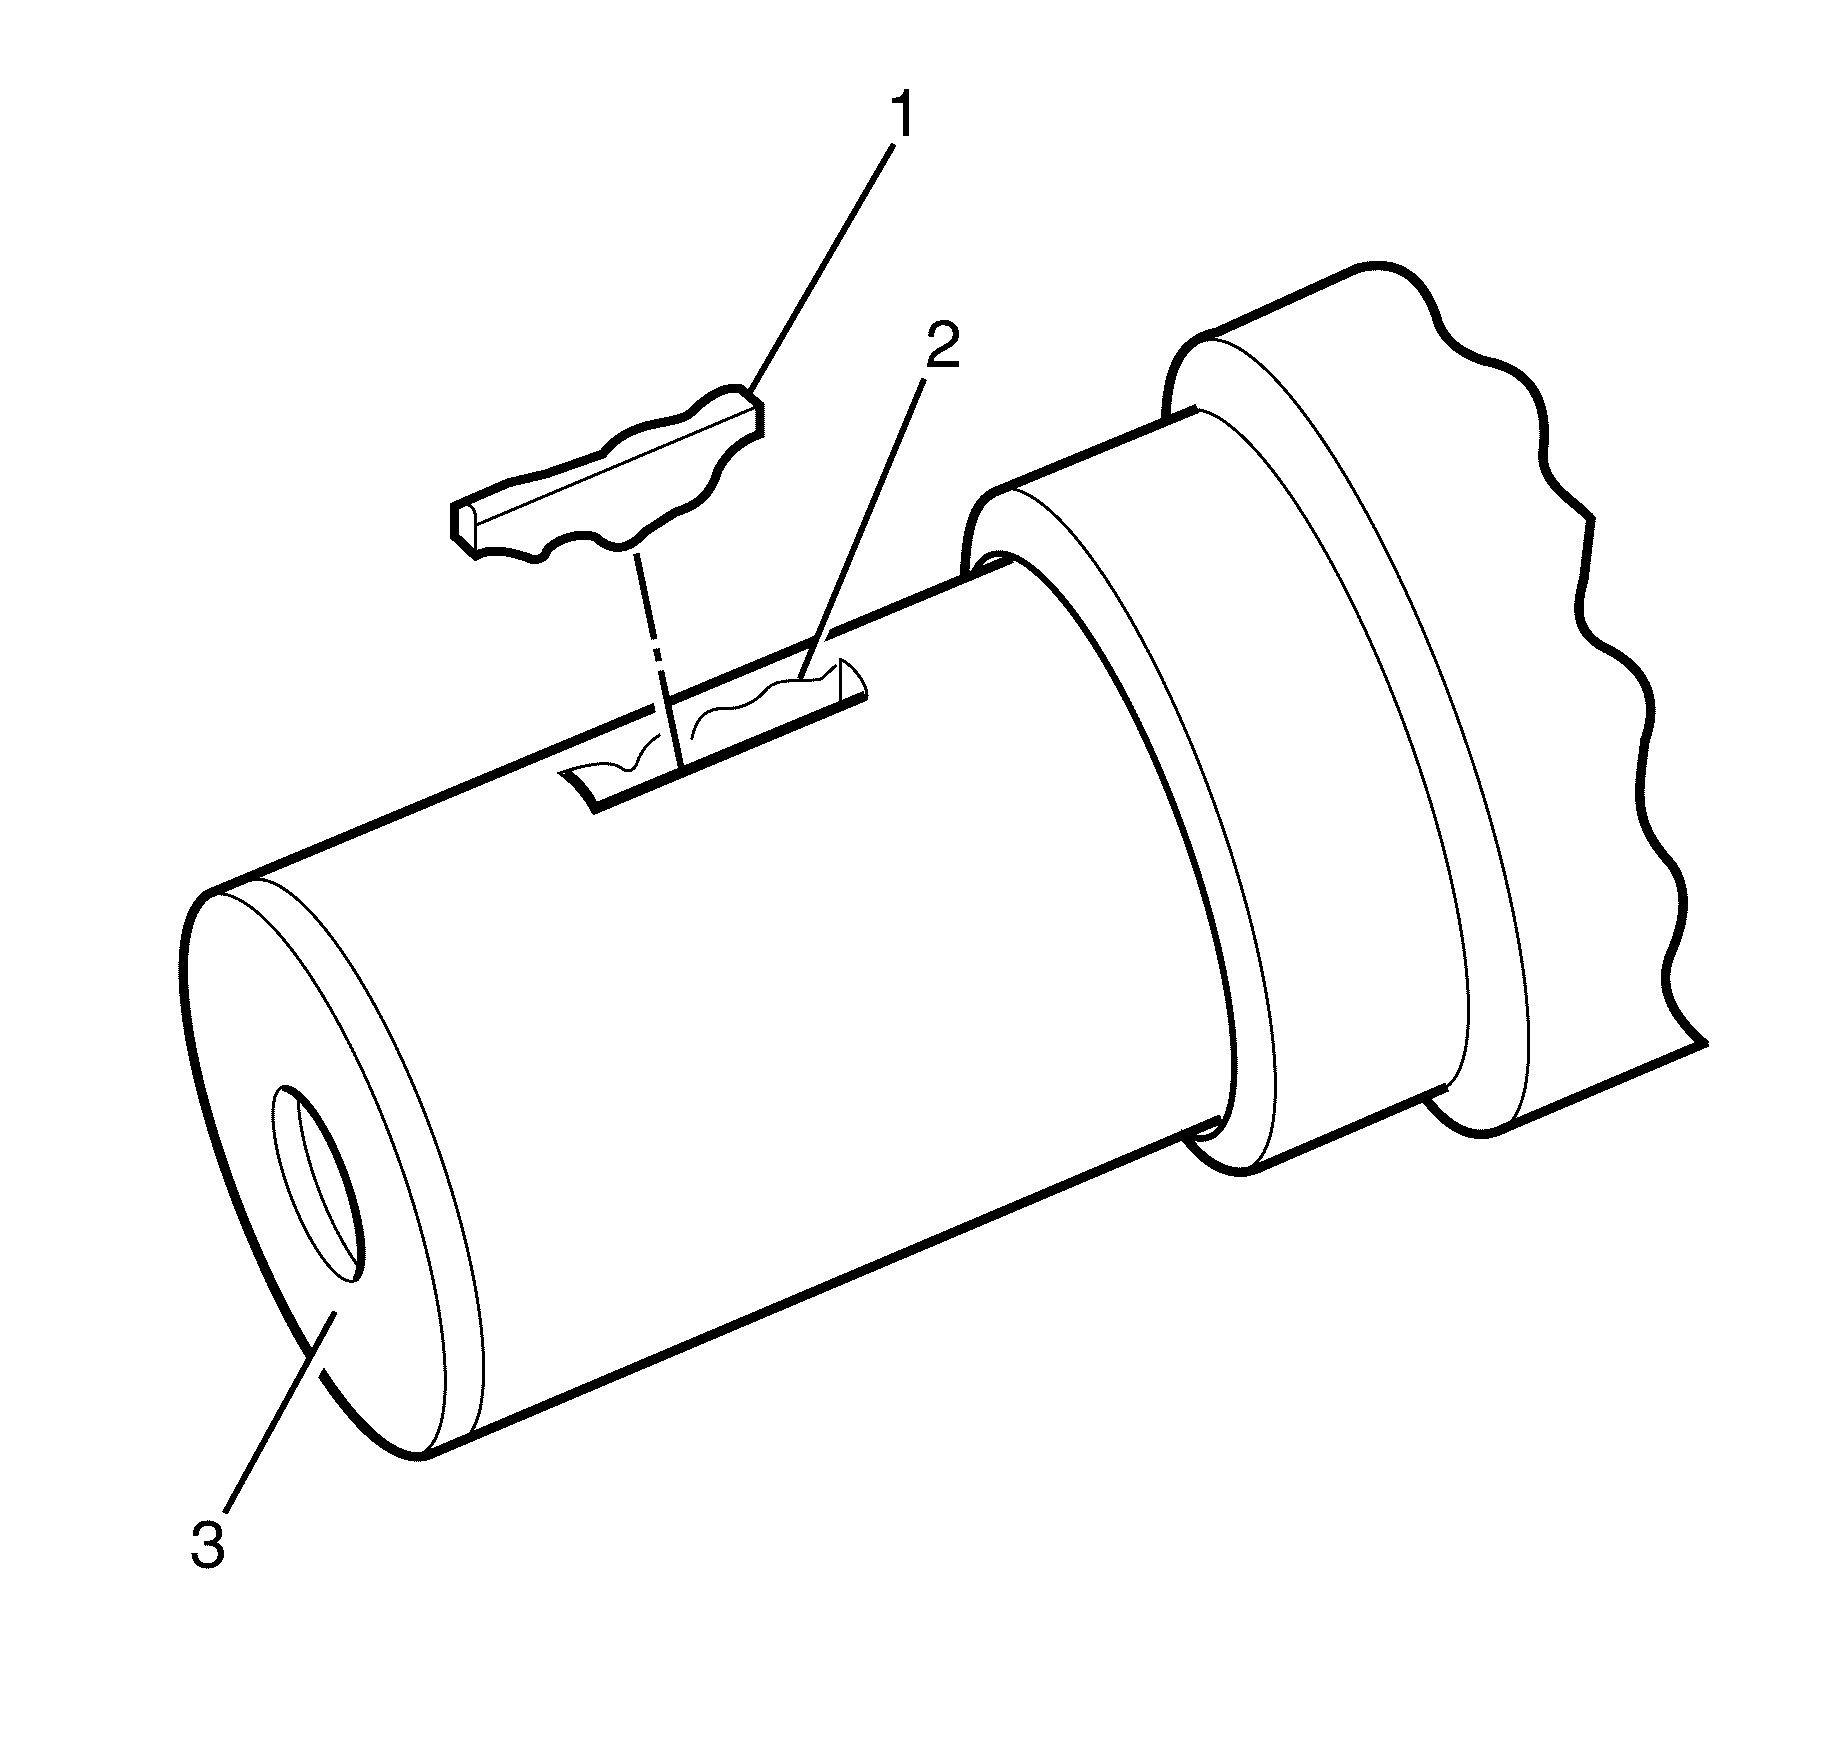
- Inspect the crankshaft key (1), key way (2), and threaded hole (3) for damage. Compare your results with the Engine Mechanical Specifications .
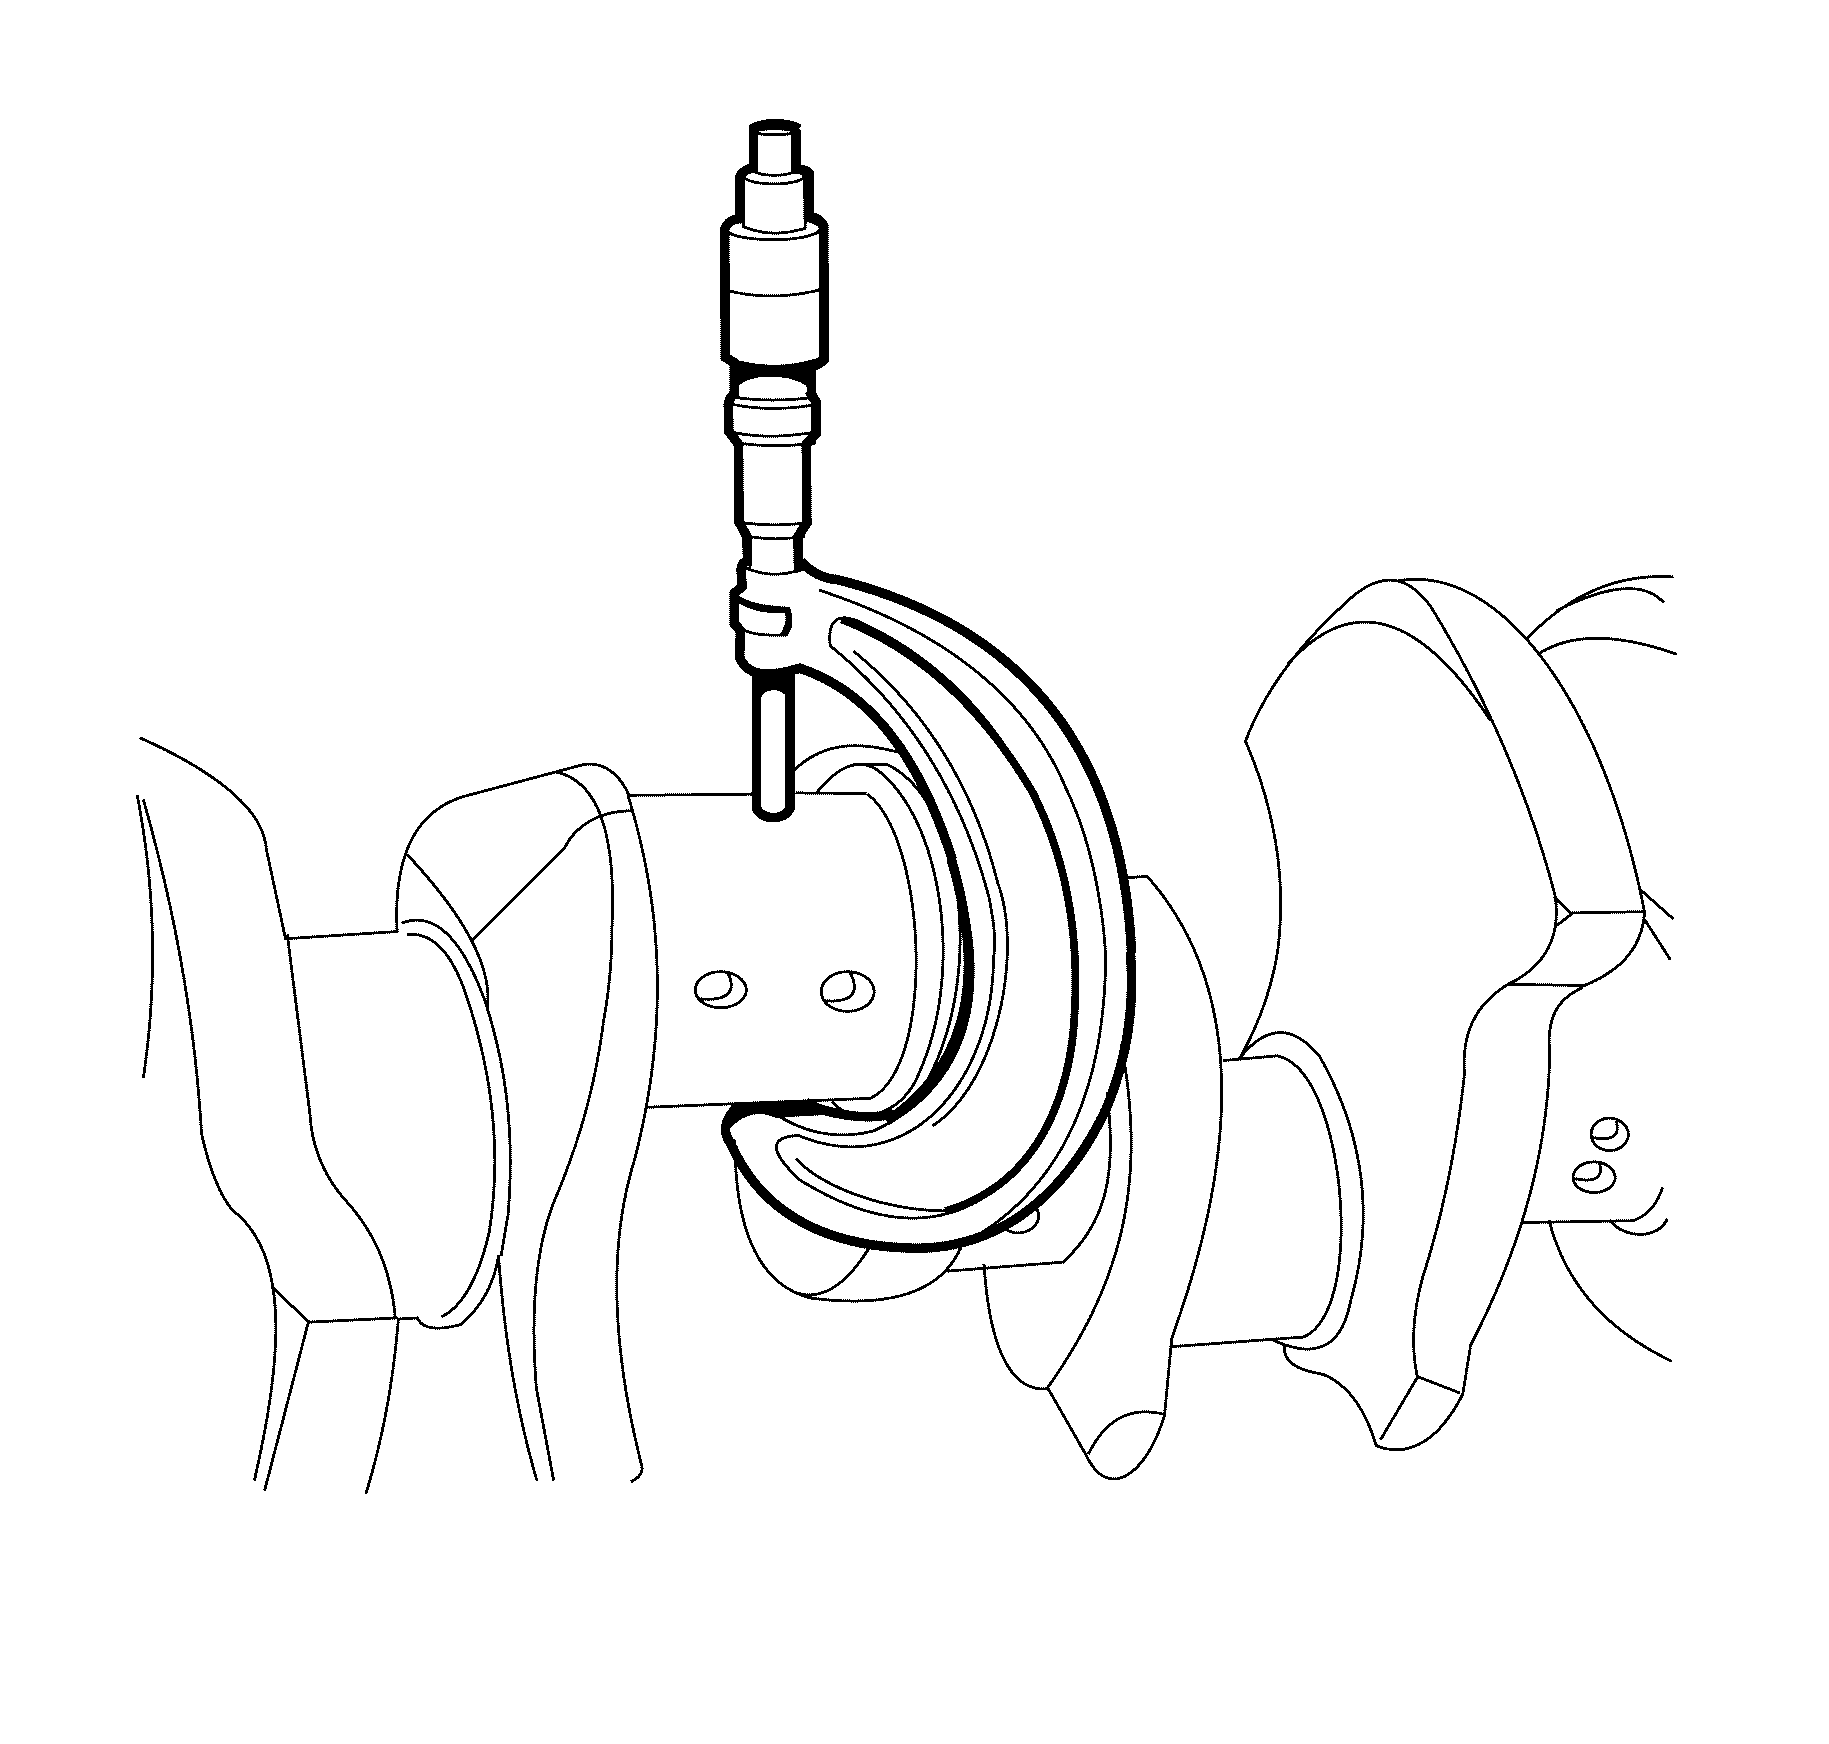
- Measure the crankpins for the out-of-round. Compare your results with the Engine Mechanical Specifications .
- Measure the crankpins for taper. Compare your results with the Engine Mechanical Specifications .
- Measure the crankshaft thrust wall width. Compare your results with the Engine Mechanical Specifications .
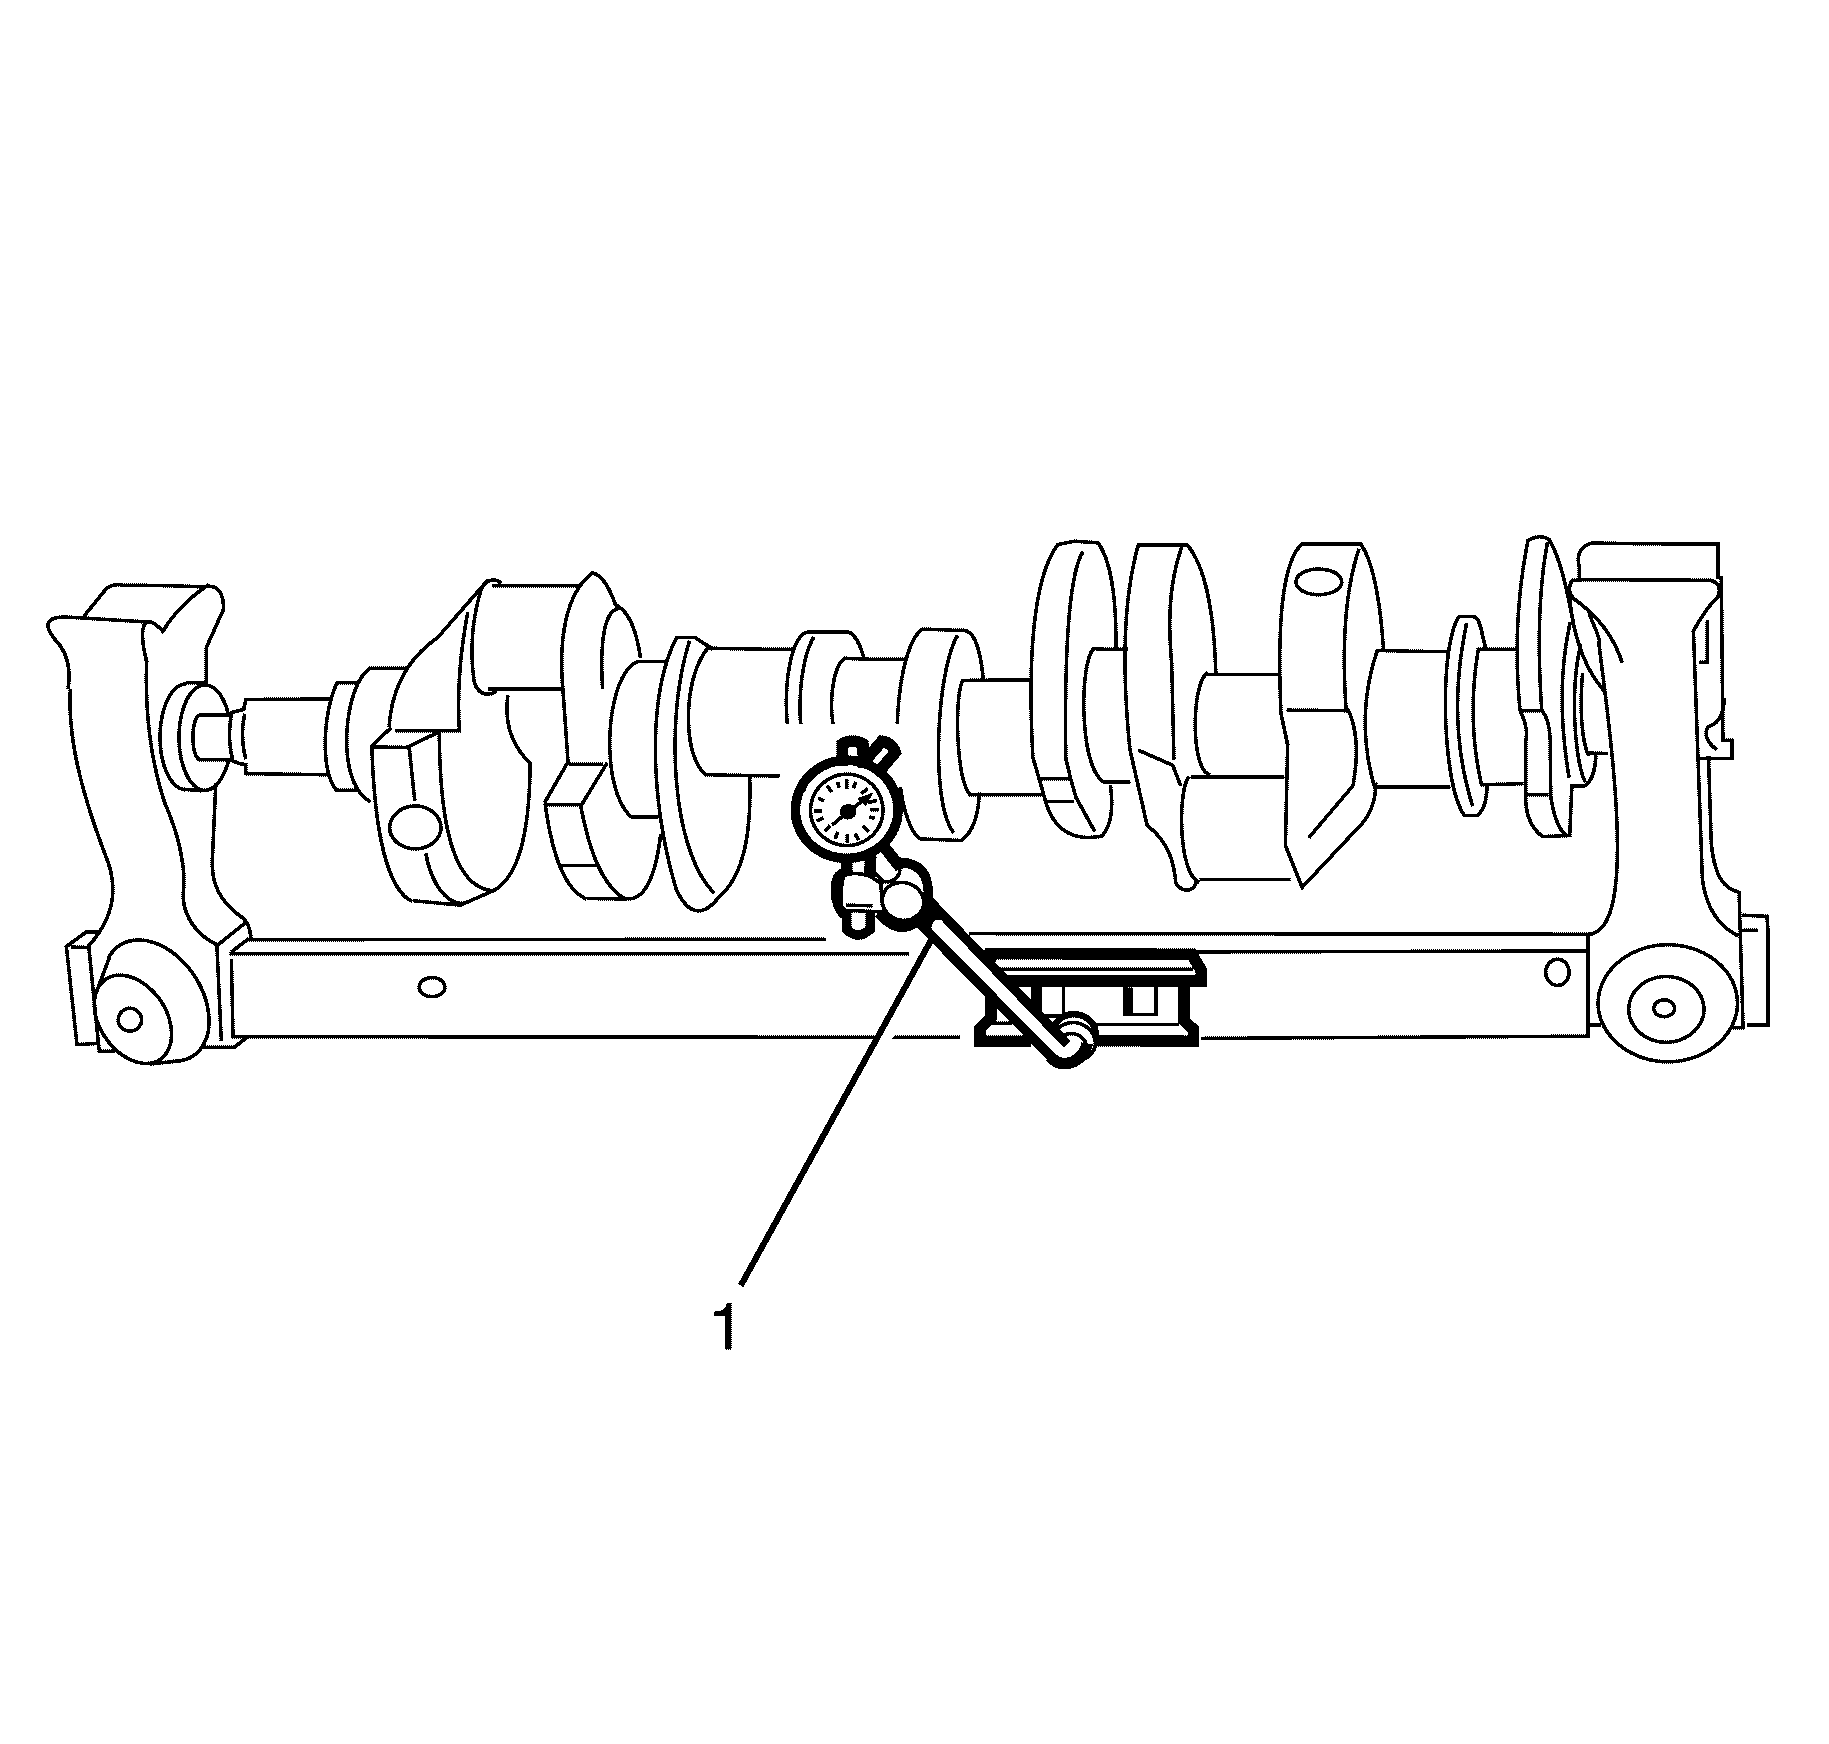
- Measure the crankshaft runout.
- Use the J 7872 in order to measure the crankshaft run out at the front and rear intermediate journals. Compare your results with the Engine Mechanical Specifications .
- Use the J 7872 in order to measure the run out of the crankshaft rear flange. Compare your results with the Engine Mechanical Specifications .
- Use the J 7872 in order to measure the run out of the crankshaft position reluctor ring. Compare your results with the Engine Mechanical Specifications .
- Check the rear crankshaft oil gallery plug (1) for a loose fit or evidence of leaking.
- If replacement is required, apply sealant such as Loctite 242 or equivalent, to the sides of a new plug (1) and install to the correct depth.
- Inspect crankshaft bearings for craters or pockets. Flattened sections on the bearing halves also indicate fatigue.
- Inspect the crankshaft bearings for above acceptable scoring or discoloration.
- Inspect the crankshaft bearings for dirt or debris embedded into the bearing material.
- Inspect the crankshaft bearings for incorrect seating indicated by bright, polished sections of the bearing.
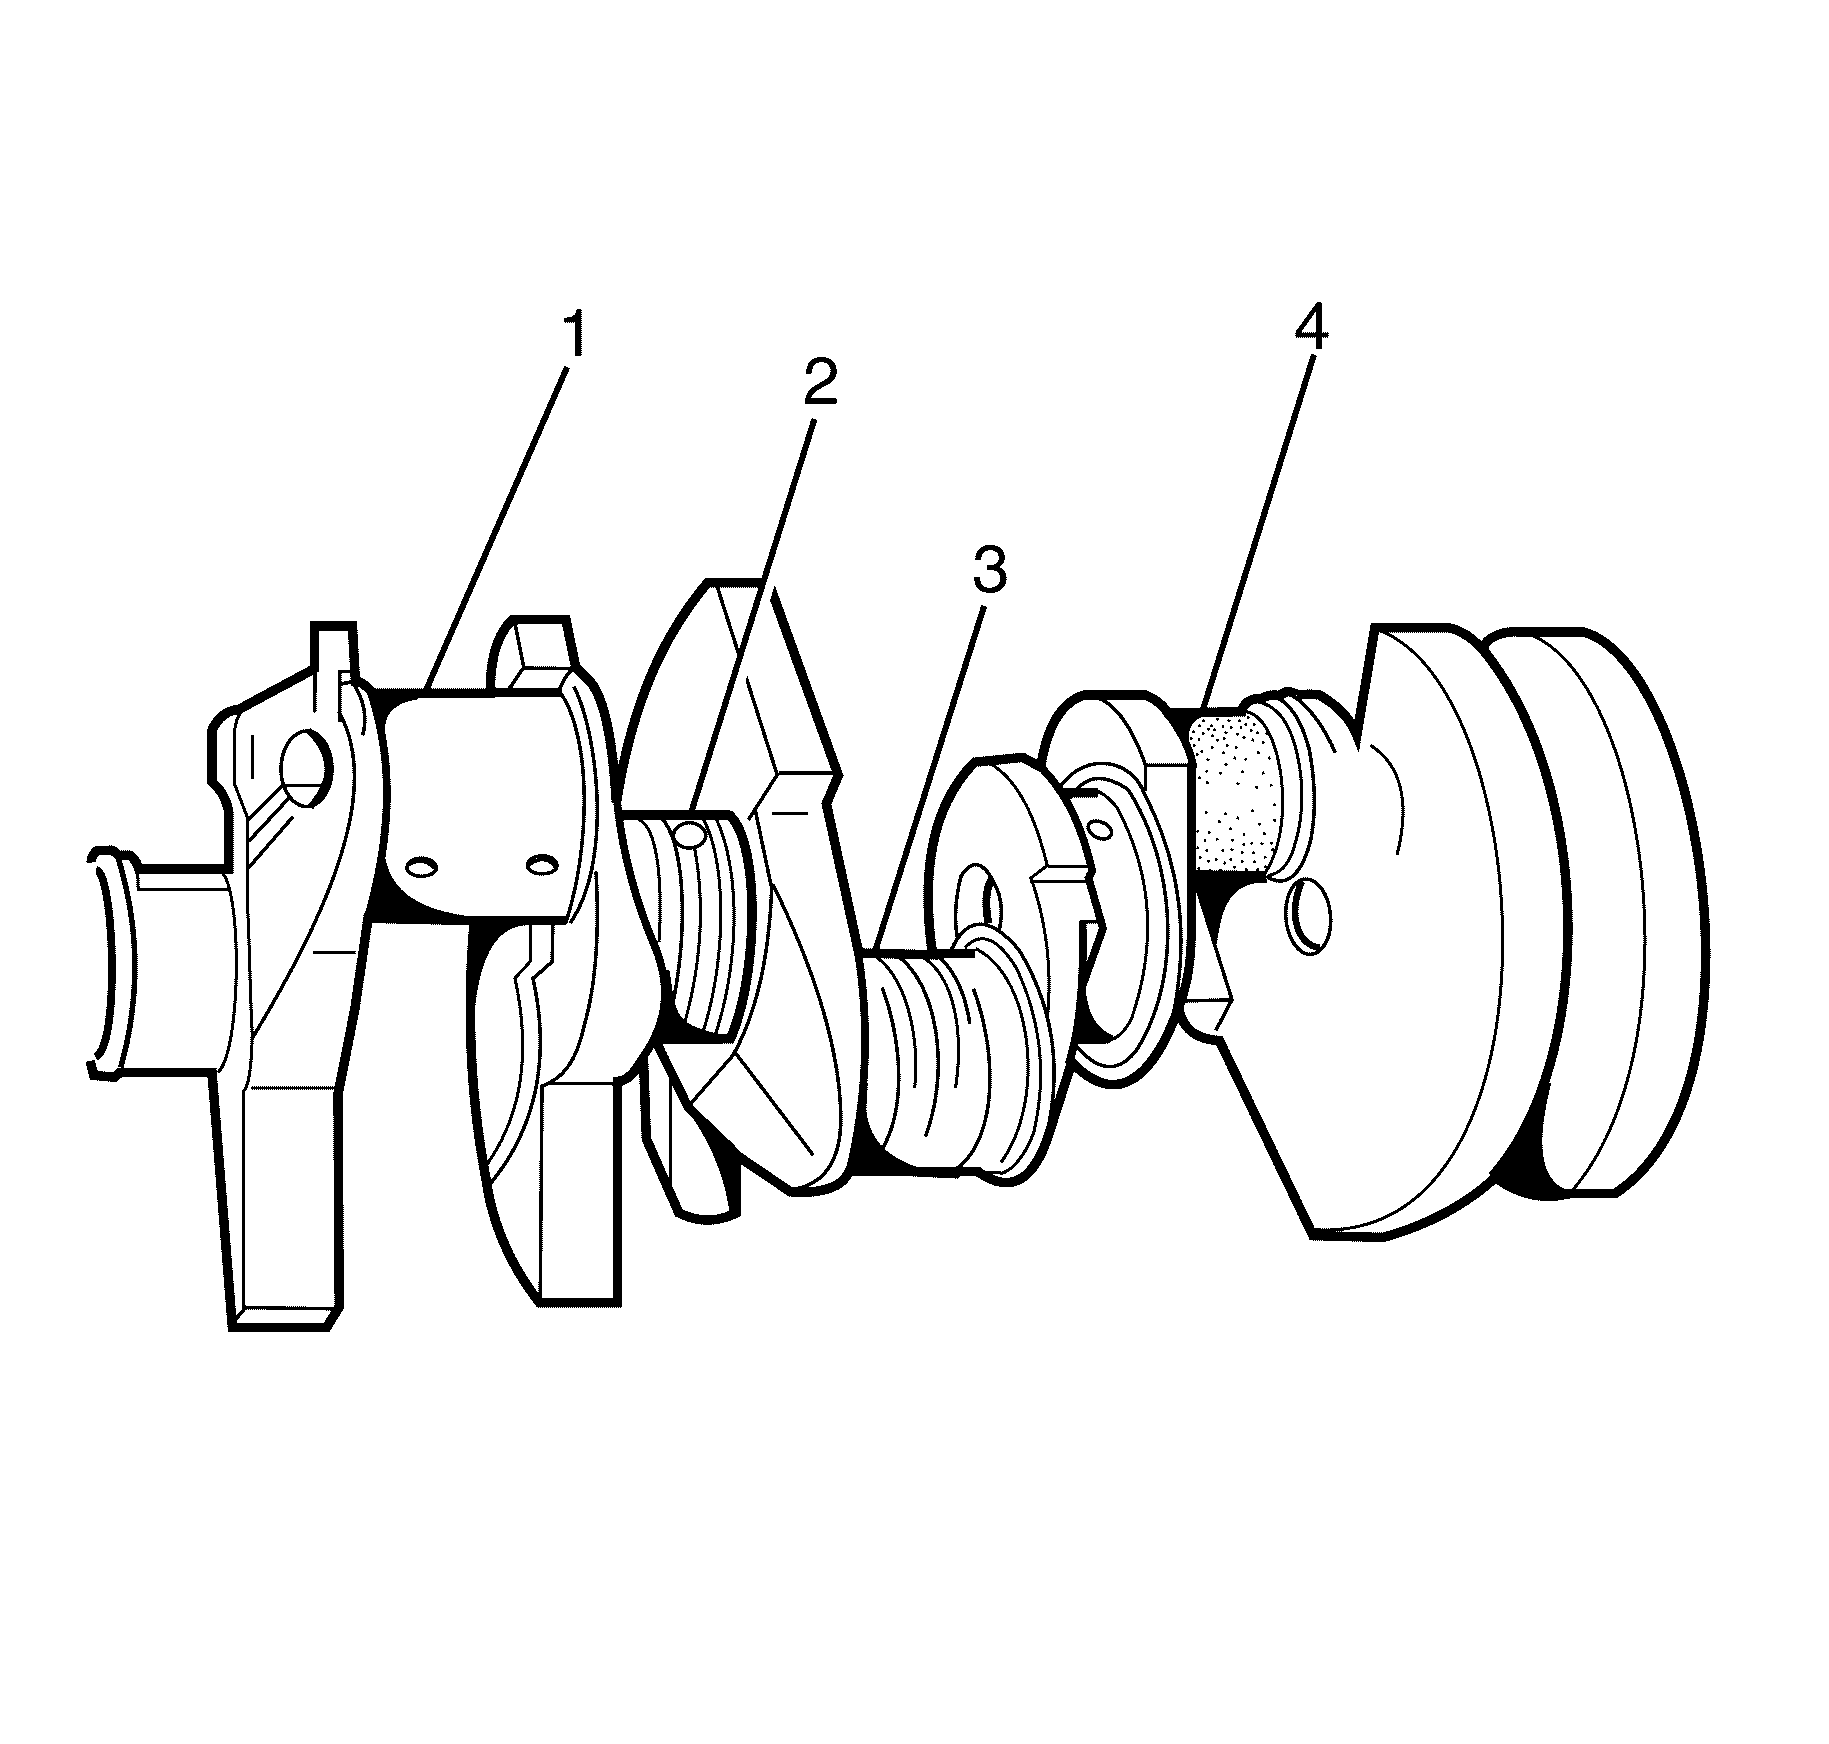
Journals should be smooth with no signs of scoring, wear, or damage.
Journals should be smooth with no signs of scoring, wear, or damage. If not replace the crankshaft.
Journals should be smooth with no signs of scoring, wear, or damage. If not replace the crankshaft.
Journals should be smooth with no signs of scoring, wear, or damage. If not replace the crankshaft.
Use wooden V blocks or a fixture to support the crankshaft on the front and rear journals.
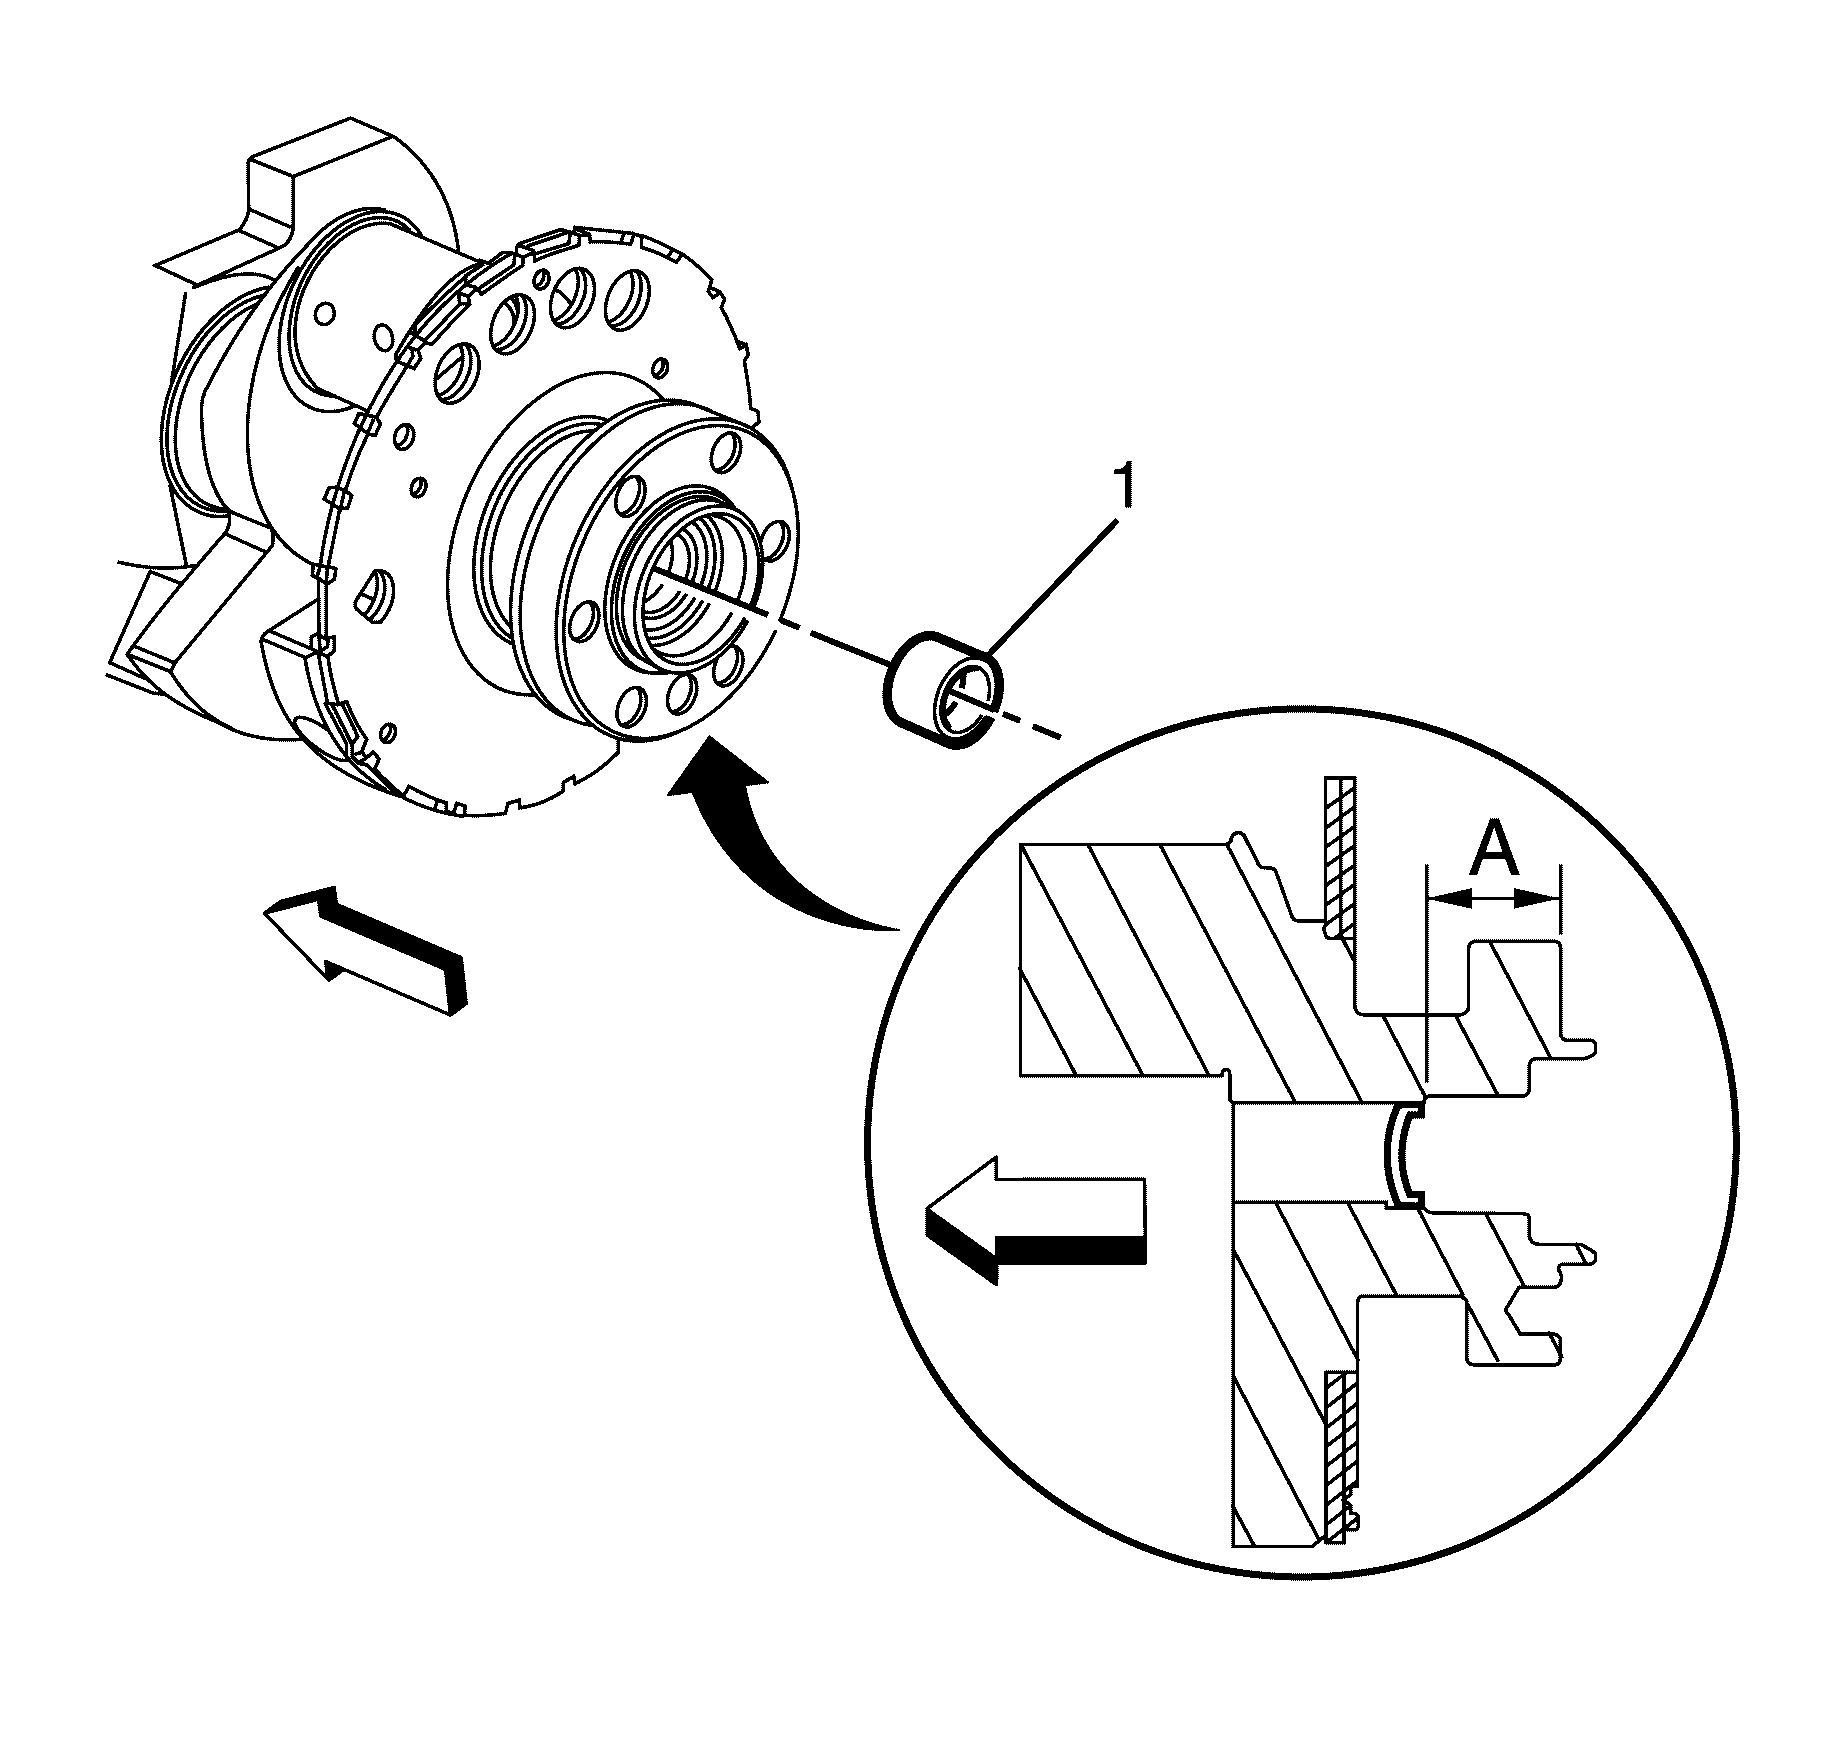
Important: If a manual transmission is fitted to the vehicle, it will be necessary to first remove the clutch pilot bearing. Refer to Clutch Pilot Bearing Installation .
Specification
Crankshaft rear oil gallery plug depth specification:
Distance A 31.2 - 31.6 mm.
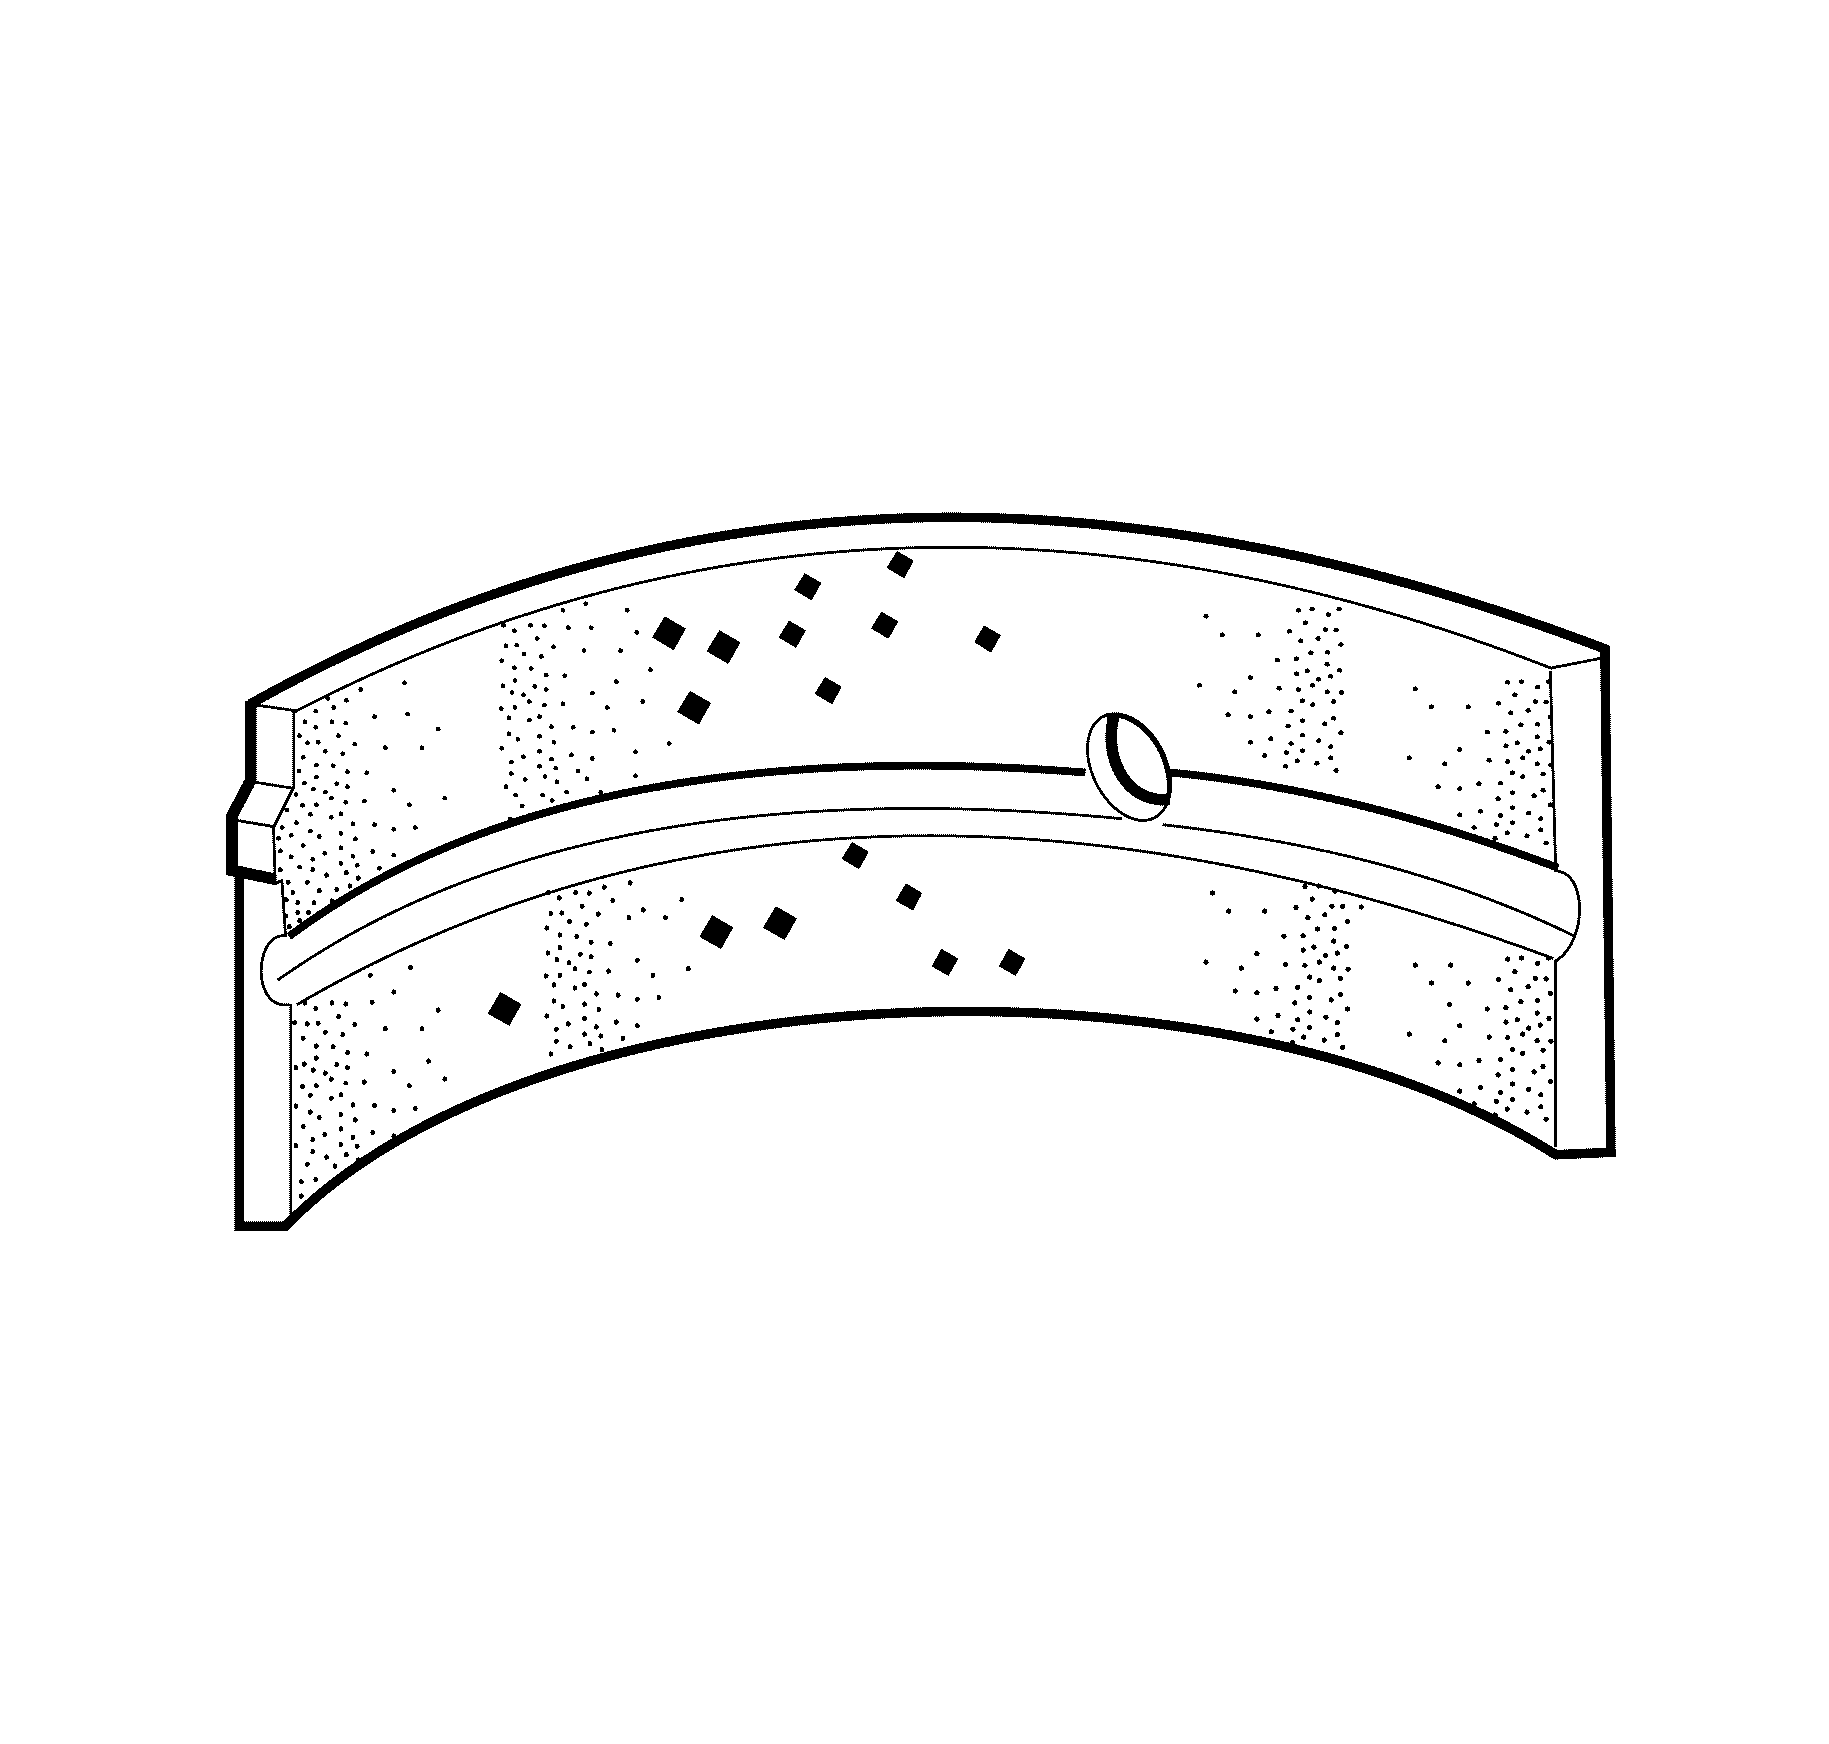

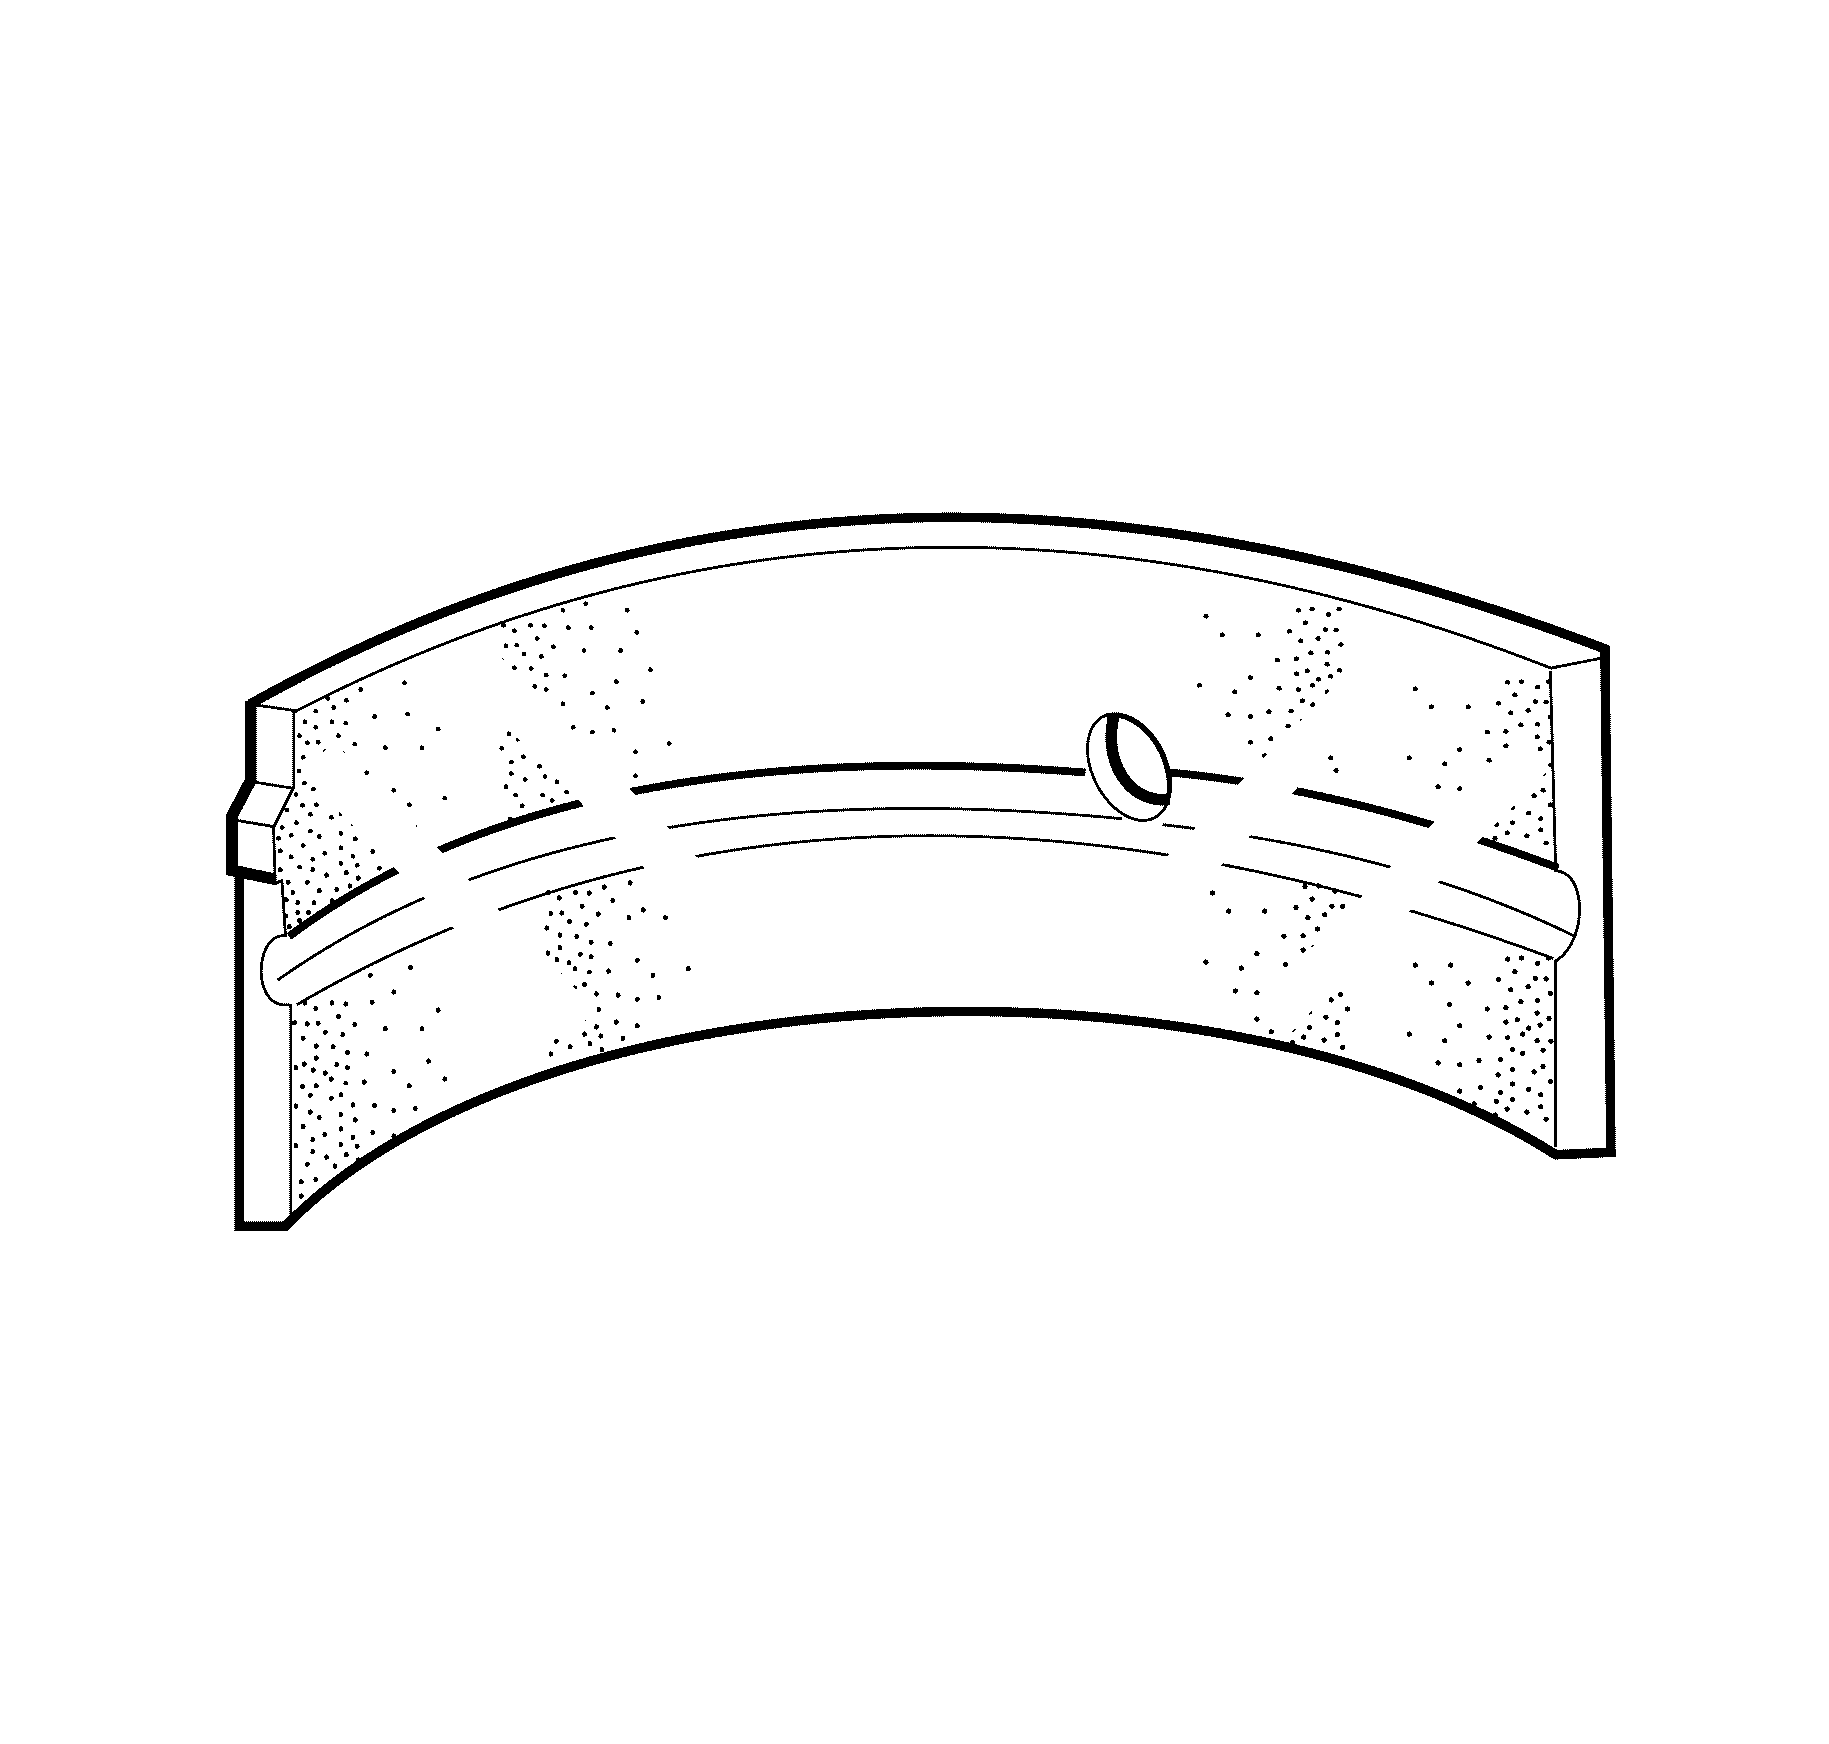
If the lower half of the bearing is worn or damaged, both upper and lower halves should be replaced.
Generally, if the lower half is suitable for use, the upper half should also be suitable for use.
Measuring Main Bearing Clearance - Gauging Plastic Method
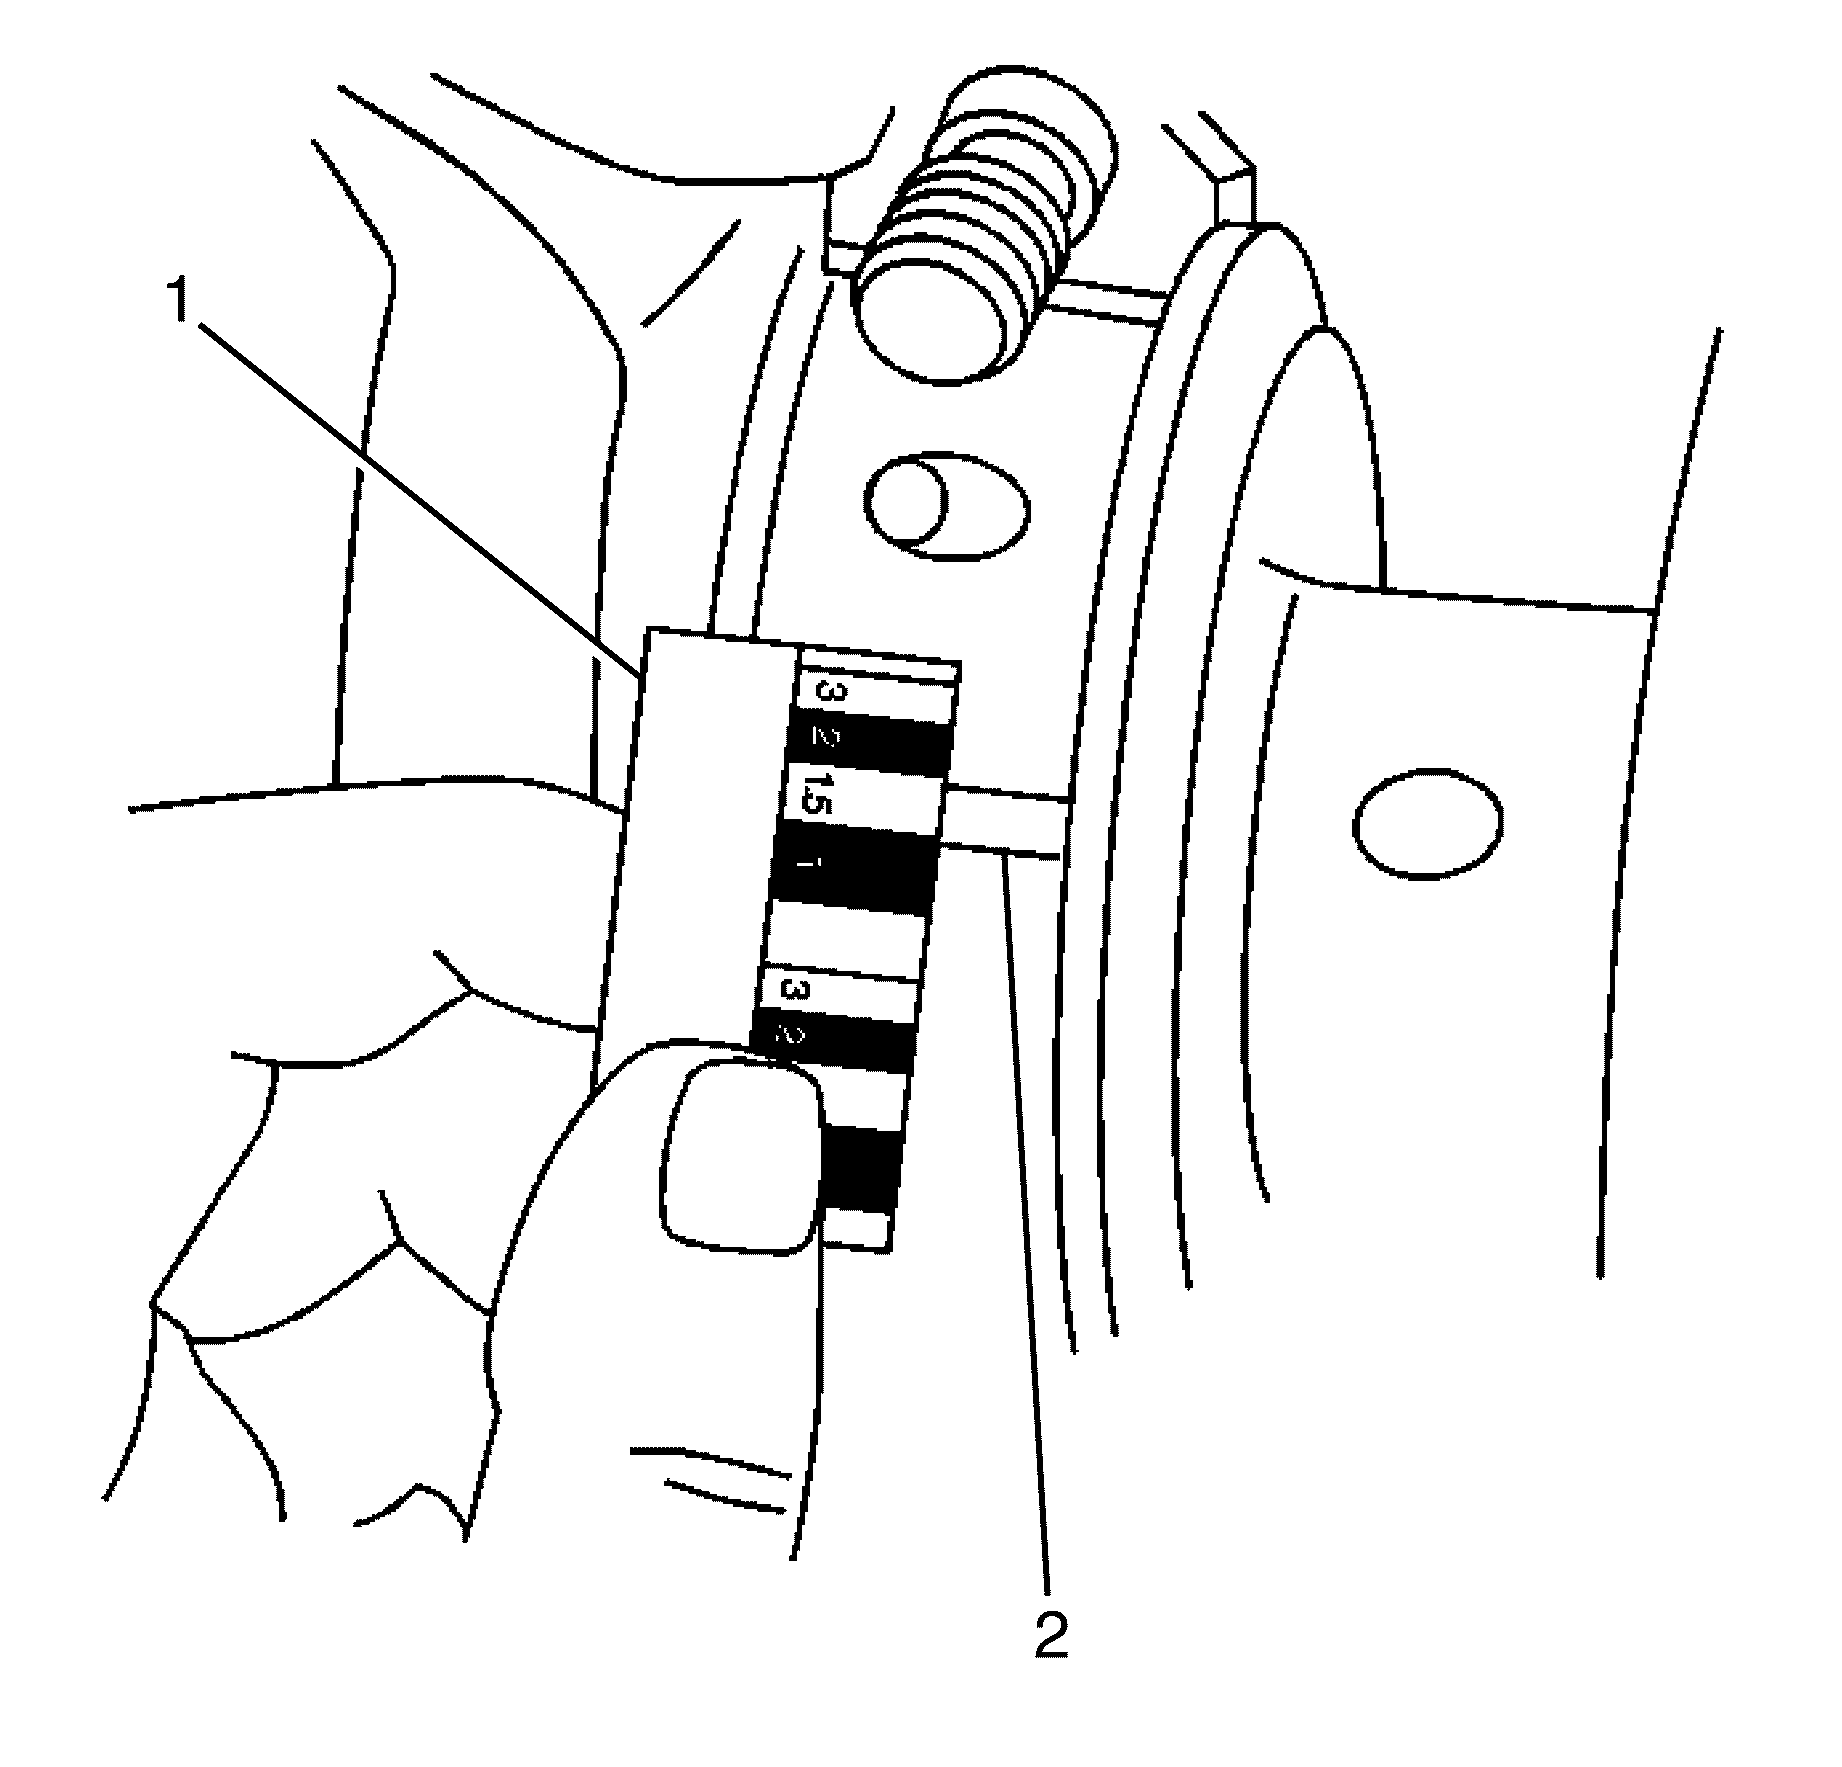
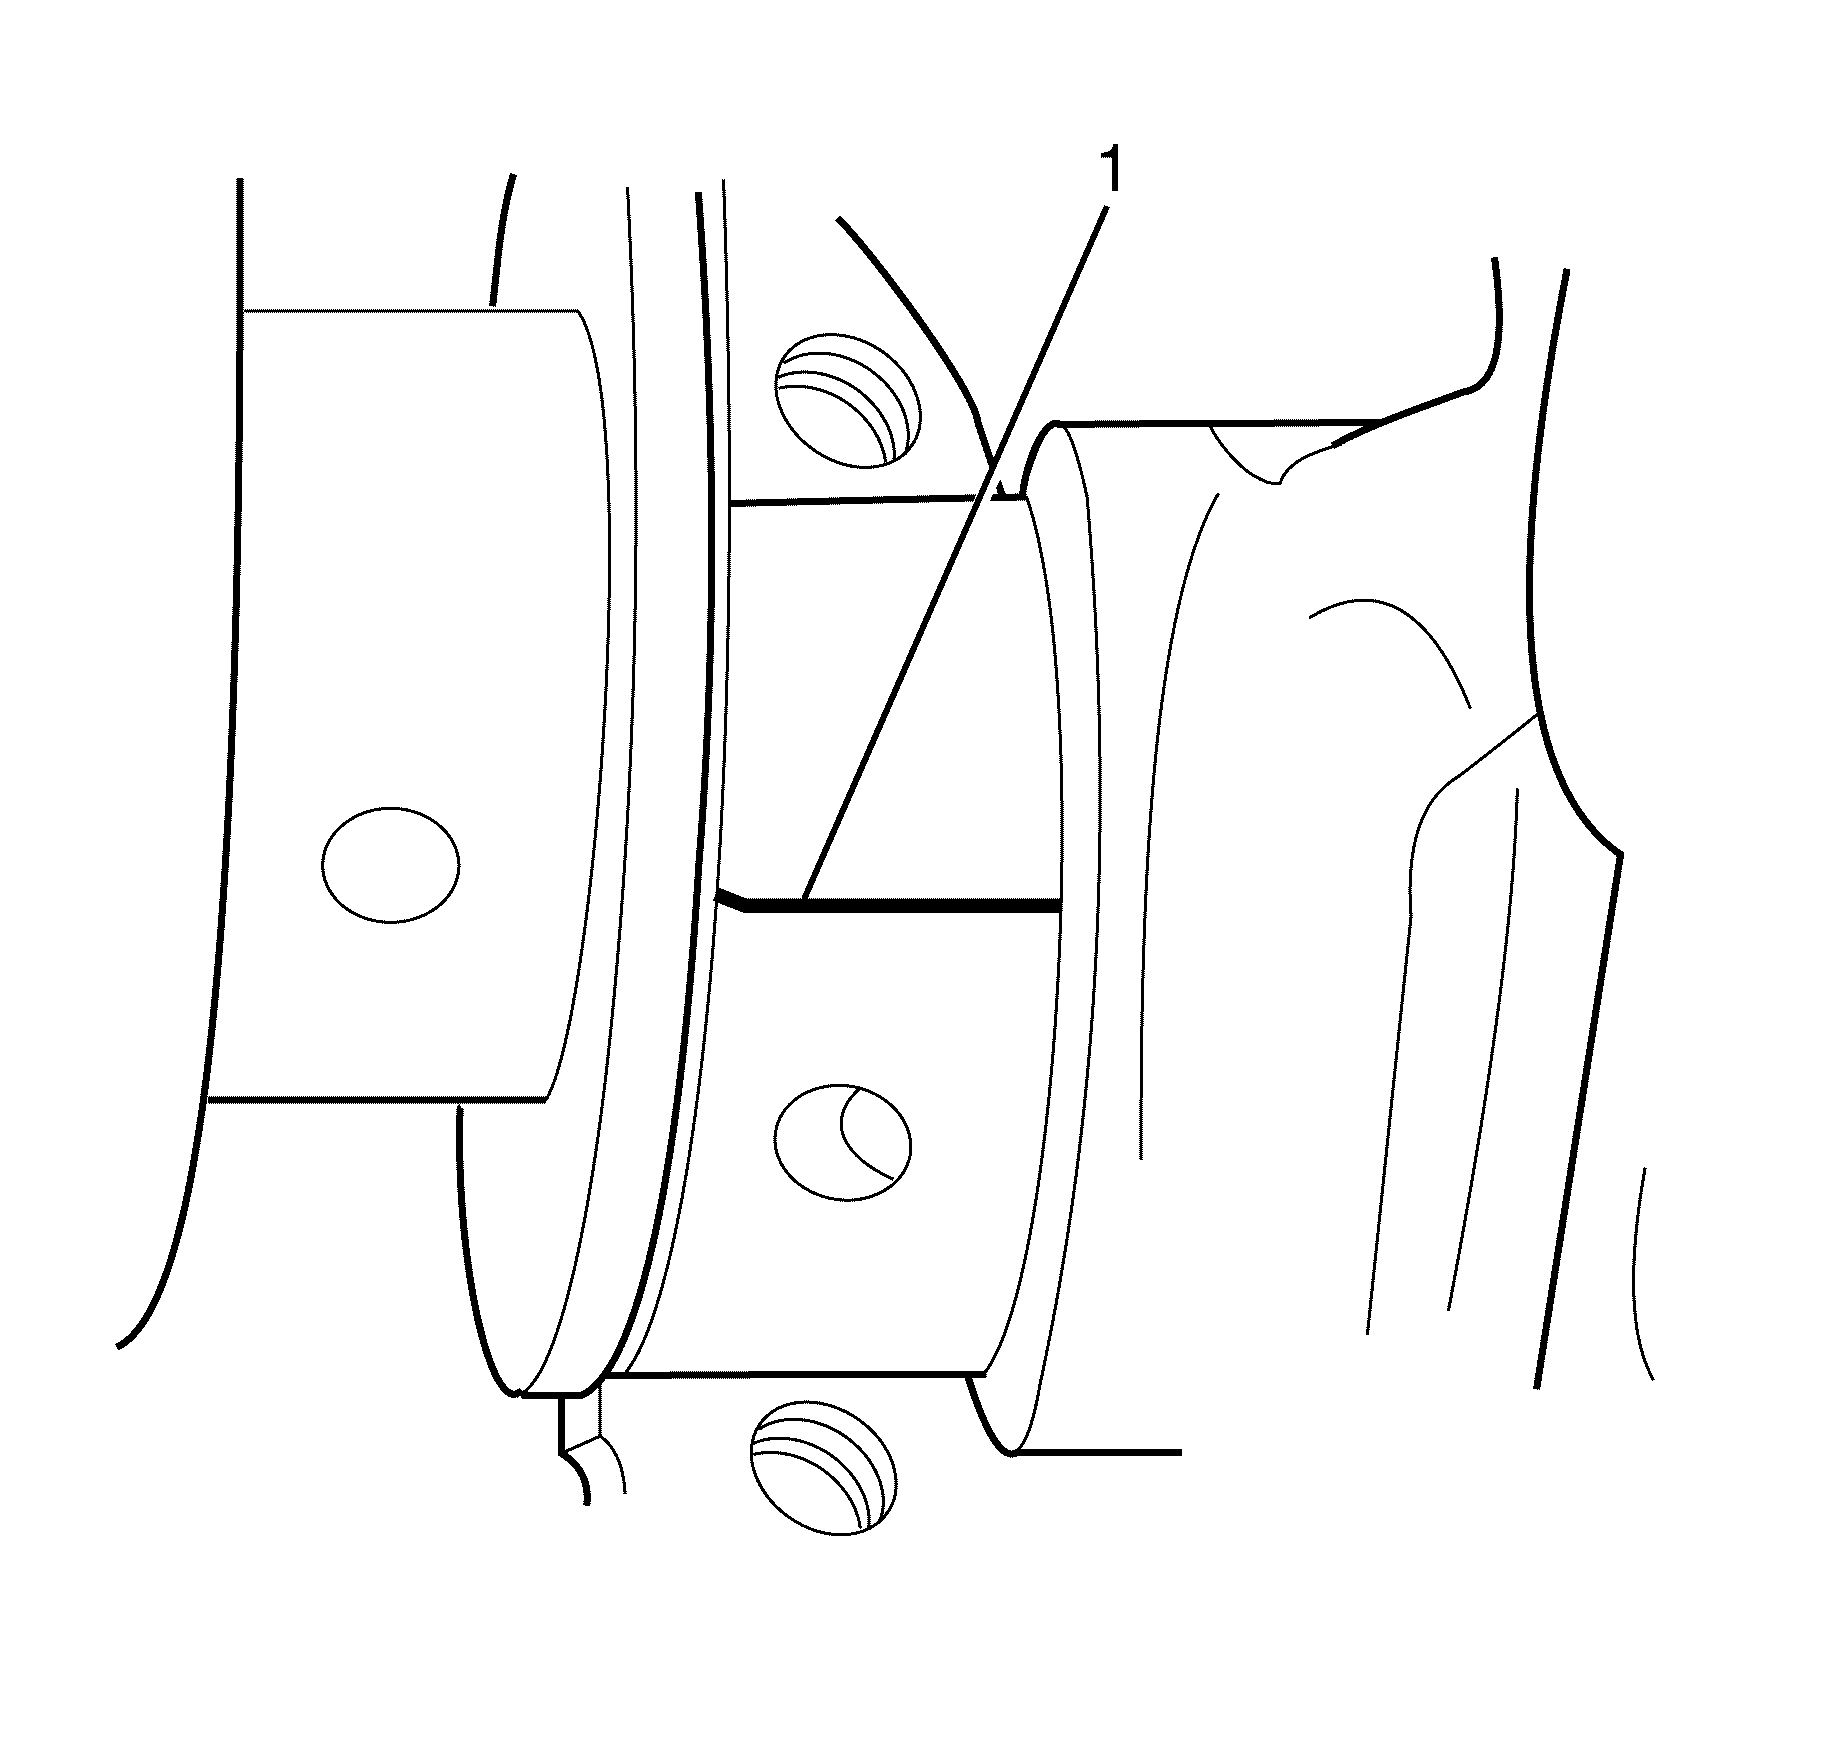
- Install gauging plastic (1) onto the crankshaft journal. Install the gauging plastic the full width of the crankshaft bearing journal.
- Install the bearing caps, bearing half, and bolts. Refer to Crankshaft and Bearing Installation .
- Remove the bearing caps, bearing half, and bolts. Refer to Crankshaft and Bearing Removal .
- Measure the gauging plastic at its widest area using the scale supplied with the plastic gauging kit.
Important:
• The crankshaft main bearings are a precision insert type. Main bearing
caps are machined with the engine block for correct clearance and cannot be shimmed
or filed for bearing fit. If the clearances are found to be above acceptable tolerances,
new bearings and/or engine block and cap repair or replacement may be required. • Do not rotate the crankshaft while gauging plastic is between the crankshaft
journal and the bearing surface. • The crankshaft bearing clearances are critical. Above acceptable bearing
clearance may effect CKP sensor signals and may effect on-board diagnostics
(OBD) II system operation. • Remove the bearing cap side bolts prior to cap removal.
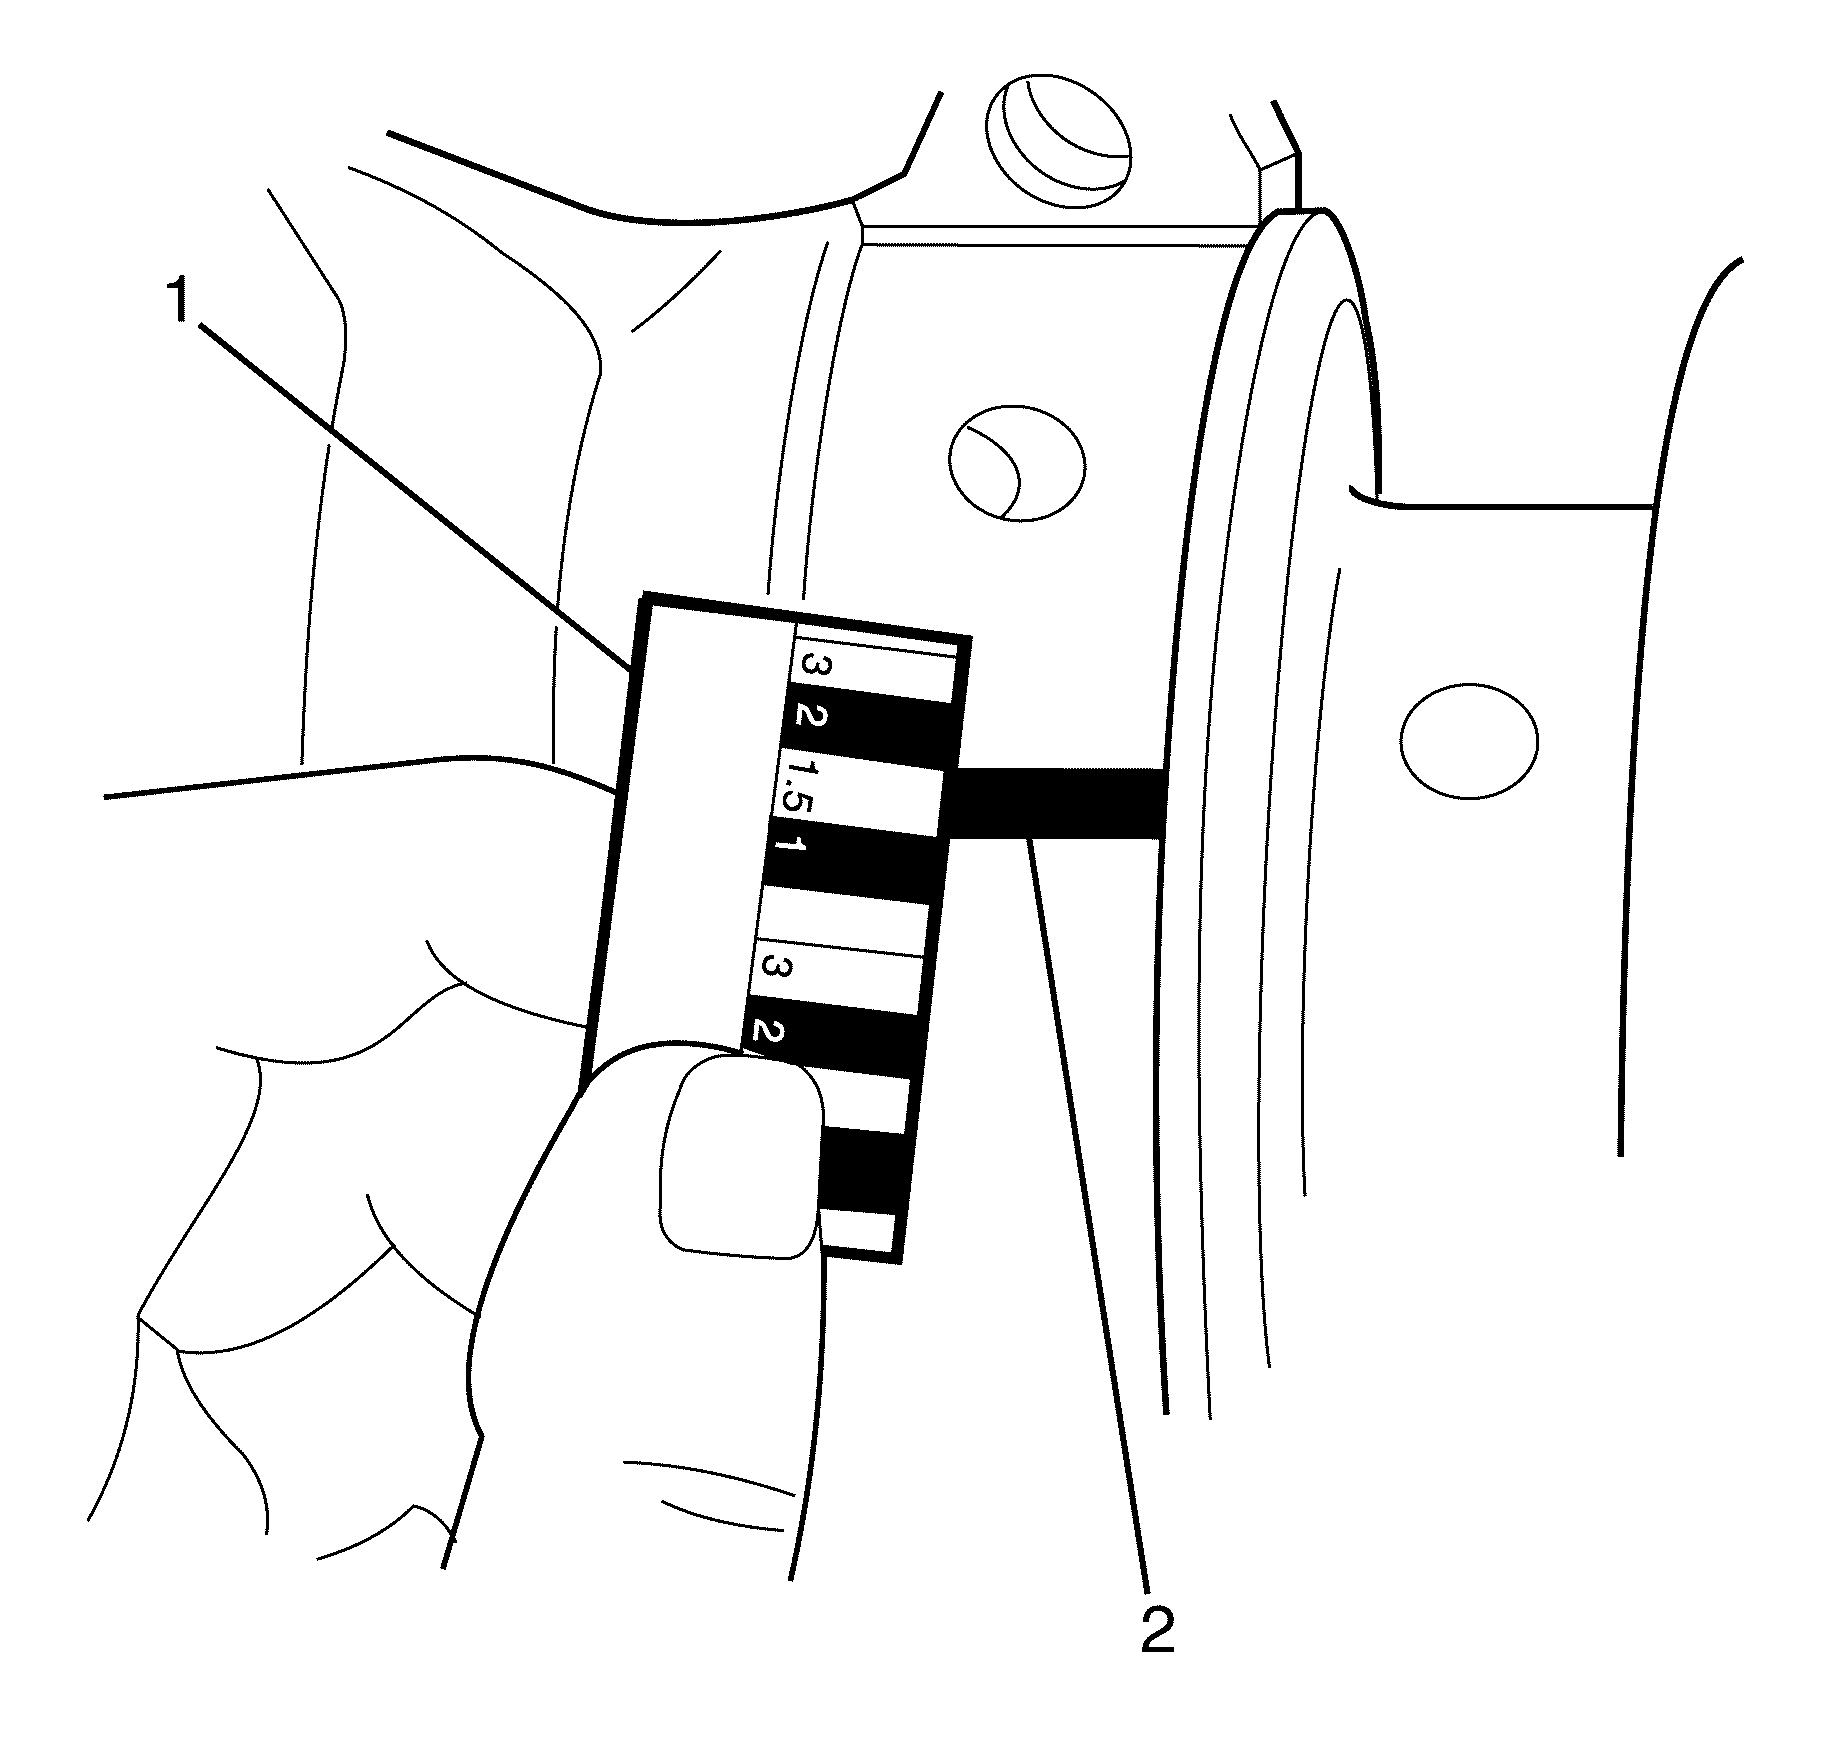
| • | If the gauging plastic shows irregularity in the journal exceeding 0.025 mm (0.001 in), remove the crankshaft and measure the journal with a micrometer. |
| • | If clearance cannot be brought to specifications, replace the crankshaft or engine block as required. Refer to Engine Mechanical Specifications . |
Measuring Connecting Rod Bearing Clearance - Gauging Plastic Method
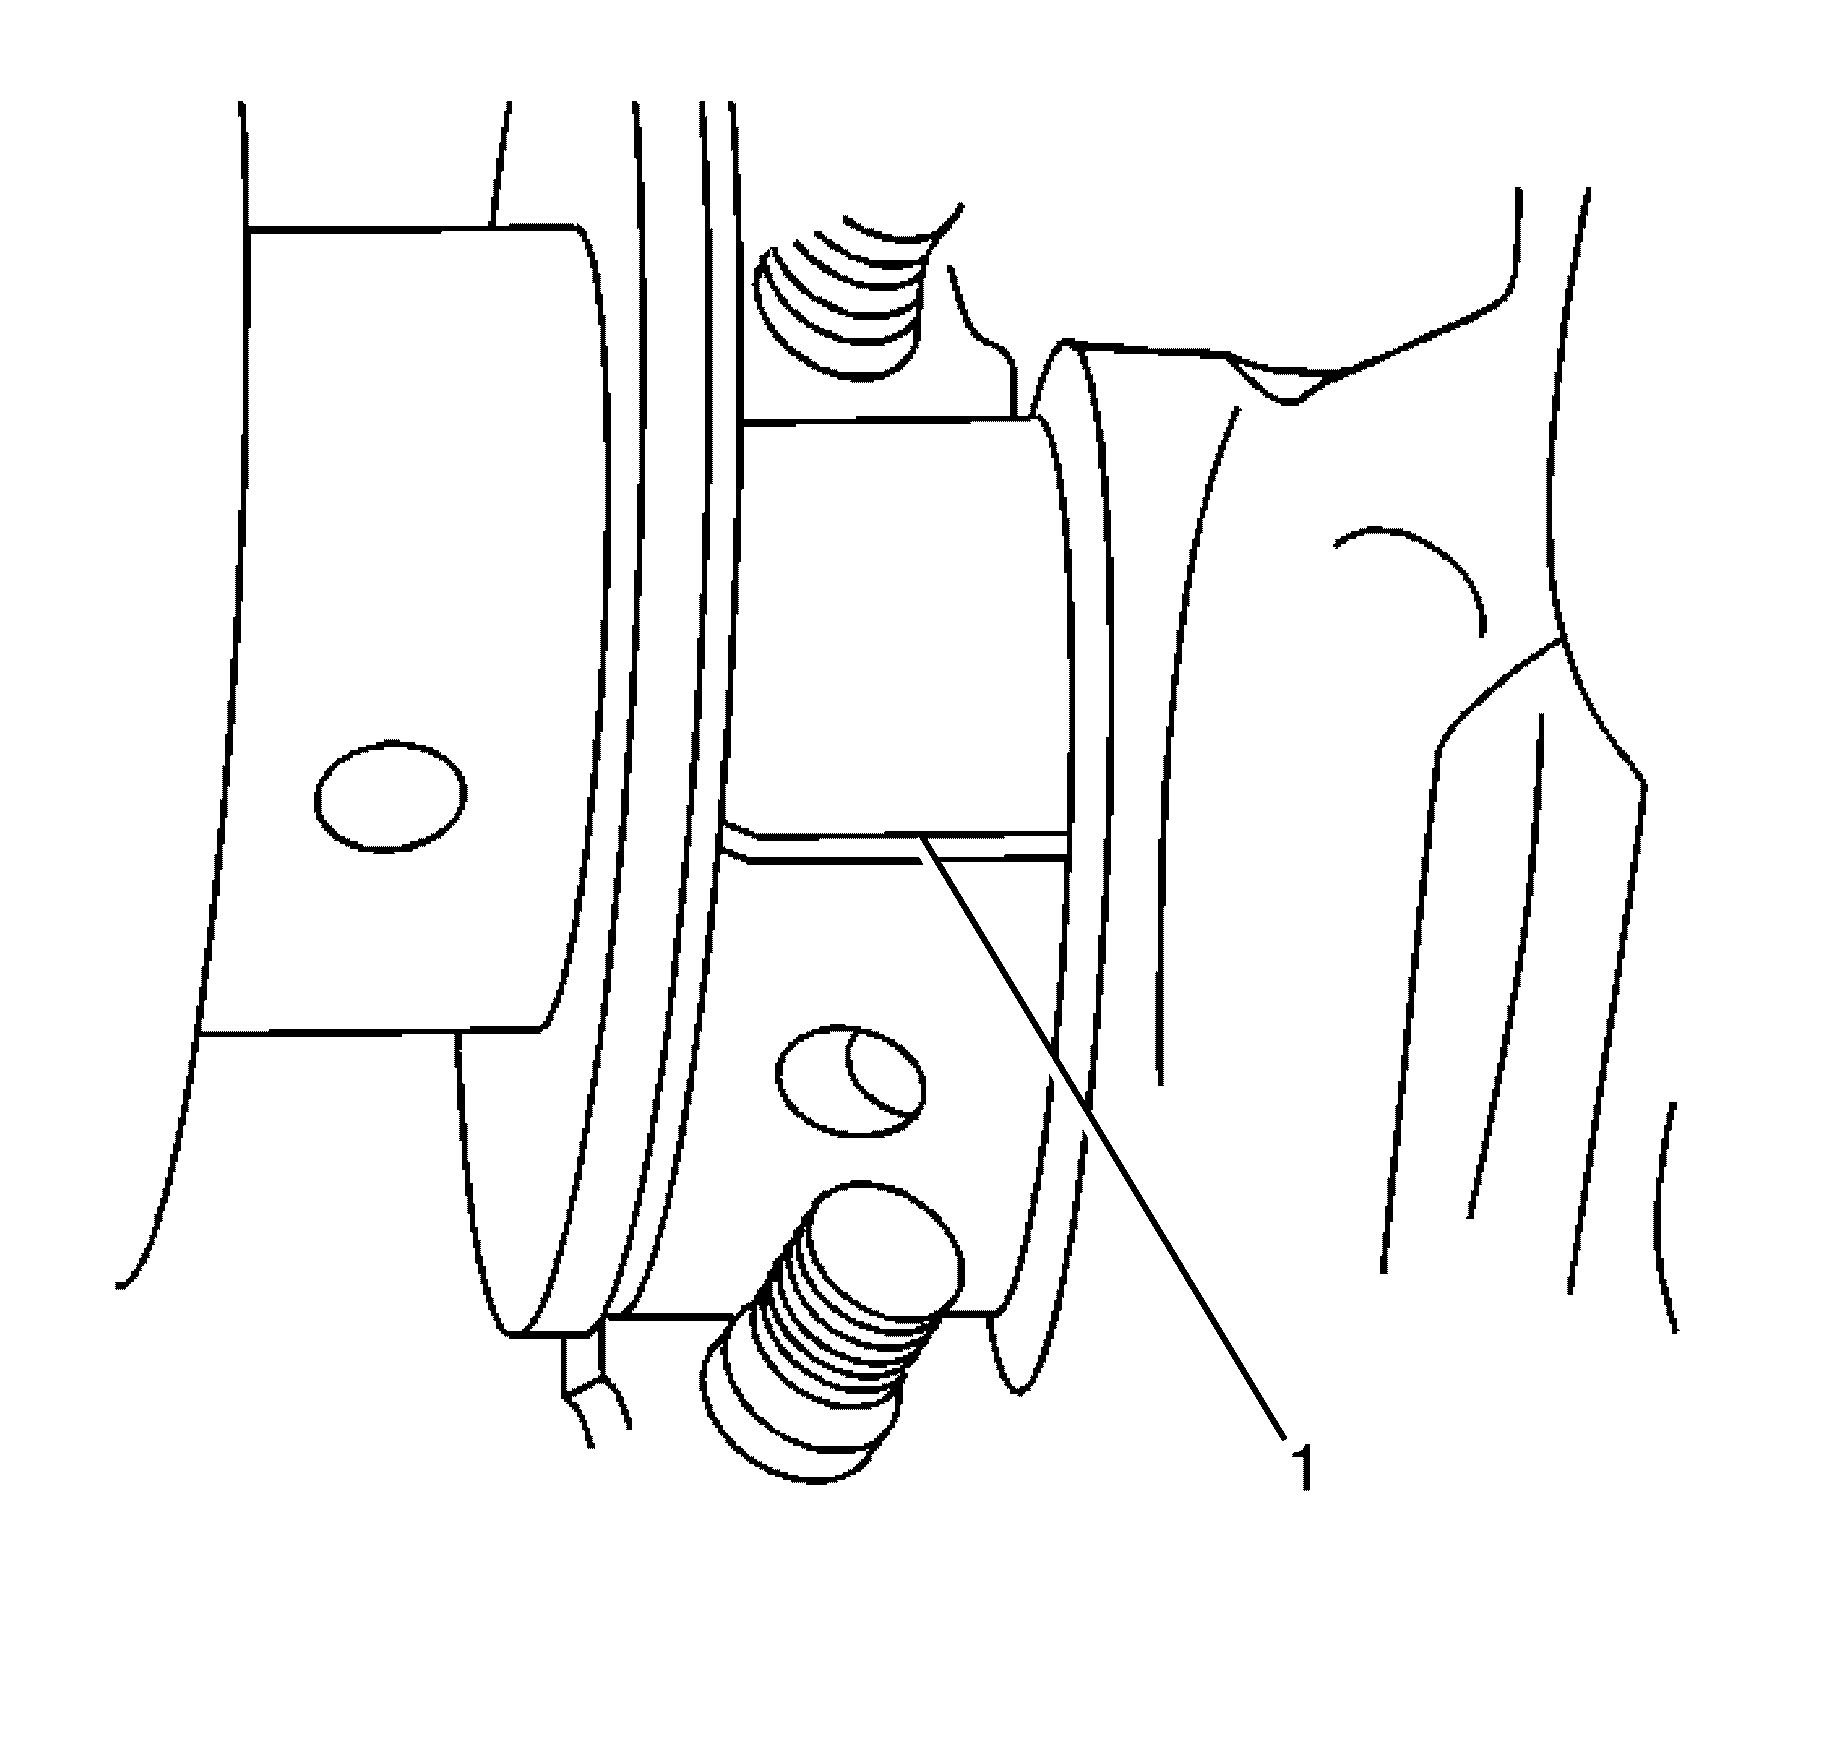
- Install the gauging plastic (1) onto the connecting rod bearing journal.
- Install the bearing cap, bearing half, and bolts. Refer to Piston, Connecting Rod, and Bearing Installation .
- Remove the bearing cap, bearing half and bolts. Refer to Piston, Connecting Rod, and Bearing Removal .
- Measure the gauging plastic at its widest area using the scale supplied with the plastic gauging kit. Refer to Engine Mechanical Specifications .
Important:
• Connecting rod bearings are a precision insert type. Connecting rods are
of a powdered metal design and cannot be shimmed or filed for bearing fit. If clearances
are found to be above acceptable tolerances, a new bearing and/or connecting rod are
required. • Do not rotate the crankshaft while gauging plastic is between the crankshaft
journal and the bearing surface.
Important: Install the gauging plastic (1) the full width of the journal.
