For 1990-2009 cars only
Removal Procedure
- Remove the seat back assembly. Refer to Front Seat Back Replacement.
- Remove the seat belt lower retaining bolt. Refer to Front Seat Belt Replacement.
- Remove the trim panel - rear quarter lower. Refer to Quarter Lower Rear Trim Panel Replacement.
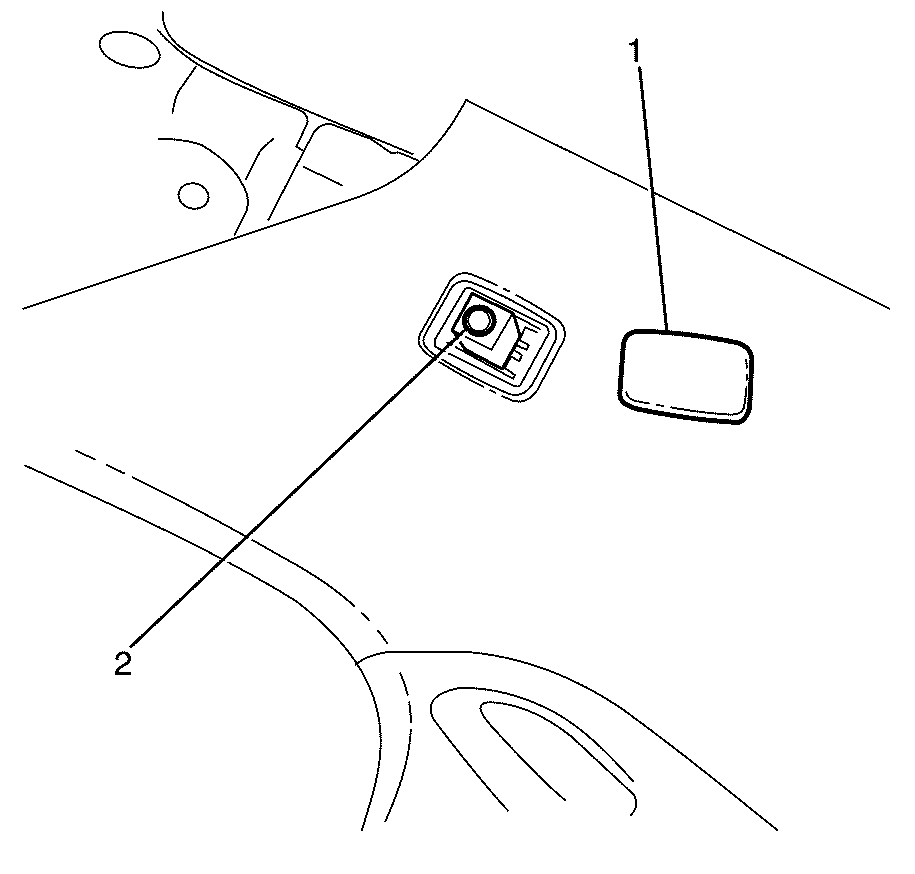
- Remove the retaining torx screw cover (1).
- Remove the upper quarter trim panel retaining torx screw (2).
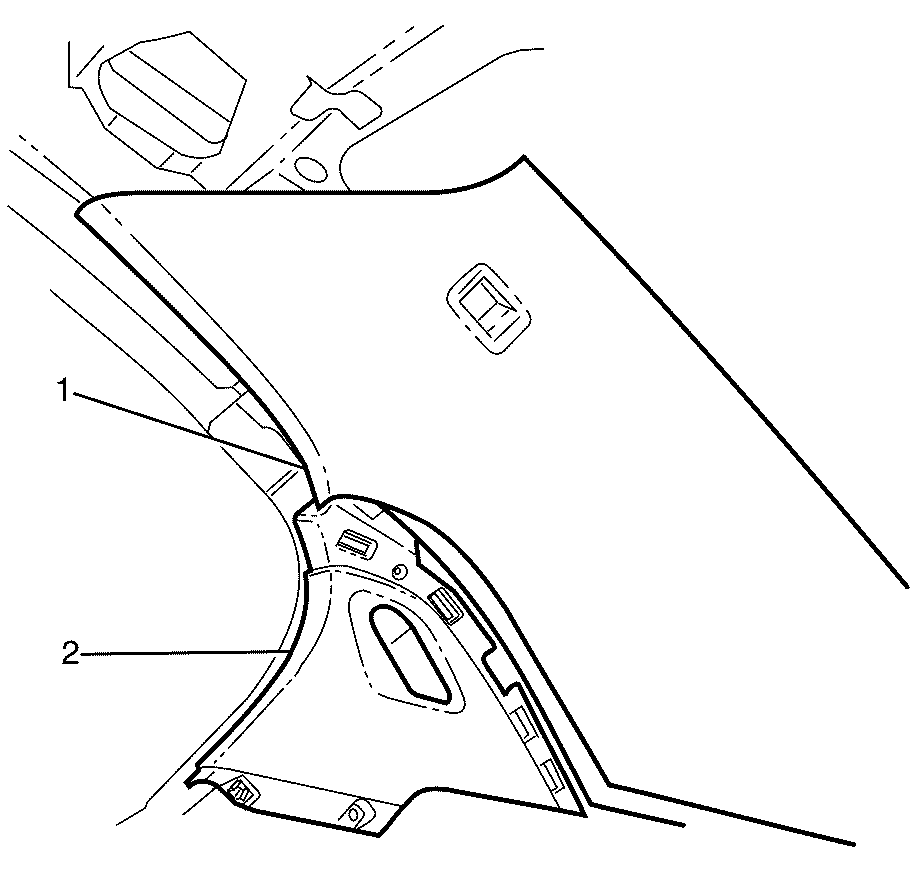
- Working from the top of the upper quarter trim panel (1) disengage the retaining trim clips from the lower section (2).
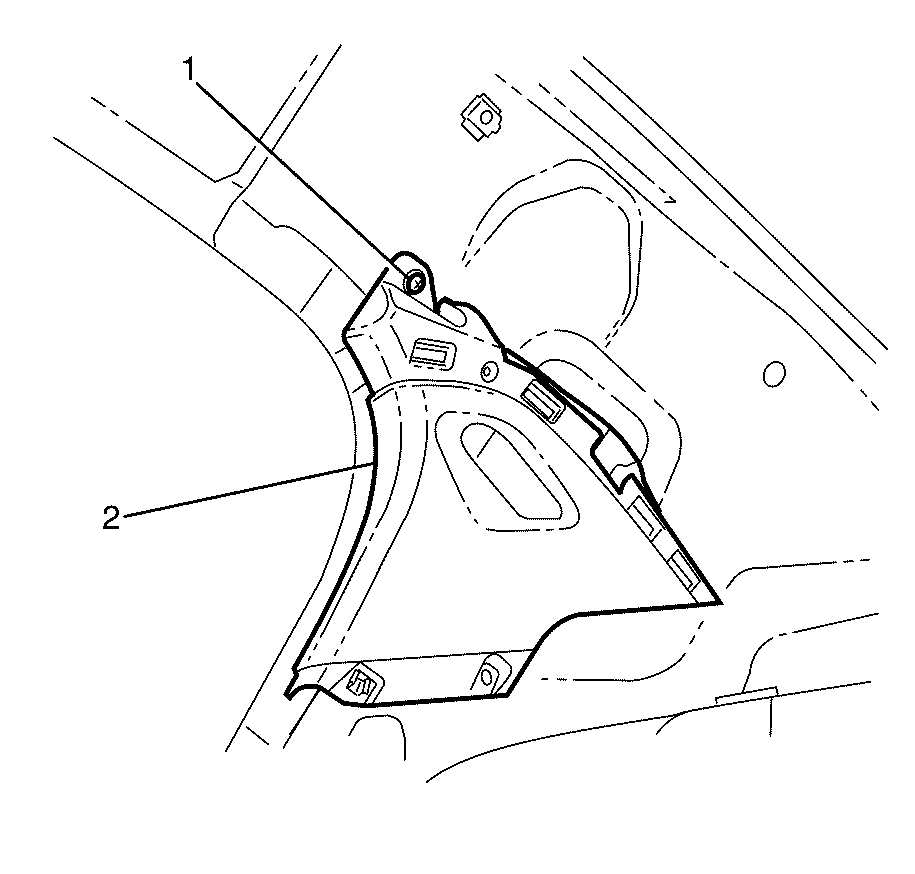
- Remove the lower section retaining torx screw (1).
- Remove the trim panel (2).


Installation Procedure
- Install the lower section of the upper quarter trim panel (2) and tighten to 2.0 N·m (18 lb in).
- Install the upper quarter trim panel (1) by firmly pushing it into the lower section of the trim panel (2).
- Install the upper quarter panel retaining torx screw (2) and tighten to 2.0 N·m (18 lb in).
- Install the retaining torx screw cover (1).
- Install the seat belt lower retaining bolt. Refer to Front Seat Belt Replacement.
- Install the seat back assembly. Refer to Rear Seat Back Replacement.
- Attach the rear door weatherstrip. Refer to Rear Door Opening Weatherstrip Replacement.
Caution: Refer to Fastener Caution in the Preface section.

Note: When installing the upper quarter panel trim, ensure that the seat belt is correctly fed through the seat belt access hole.

Note: Make sure datum pins on the upper trim line up with the hole on the mid trim.

