For 1990-2009 cars only
Inspection Procedure
- Shift the transmission into NEUTRAL.
- Raise and support the vehicle. Refer to Lifting and Jacking the Vehicle in General Information.
- Support the rear suspension with jacks in order to maintain the correct angle of the lower control arms.
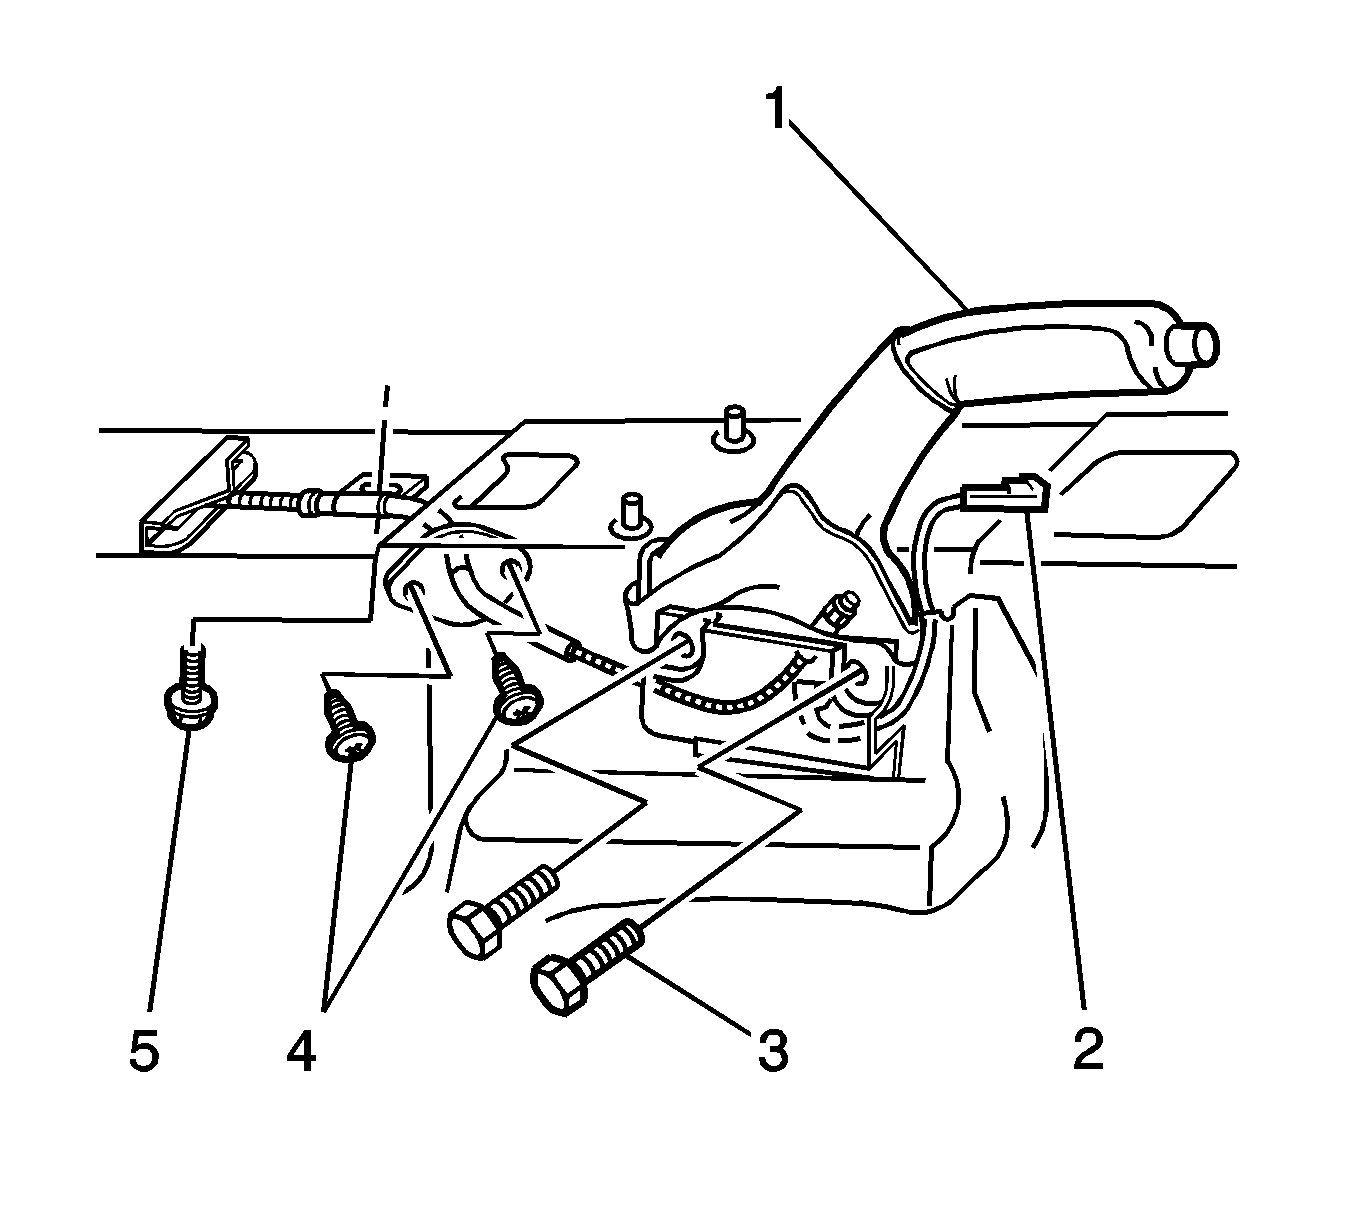
- Apply the park brake (1).
- Attempt to rotate the rear wheels. Verify the rear wheels do not rotate.
- Release the park brake.
- Attempt to rotate the rear wheels. Verify the rear wheels rotate freely.
- Turn the ignition switch to the ON position. Verify the red BRAKE warning indicator is OFF.
- Turn the ignition switch to the OFF position.
- If the park brake lever travel is correct, lower the vehicle.

Count the number of clicks or ratchet notches.
Specification
| • | The minimum number of clicks is 4. |
| • | The maximum number of clicks is 6. |
If the park brake lever travel is not correct, complete the Adjustment Procedure.
Adjustment Procedure
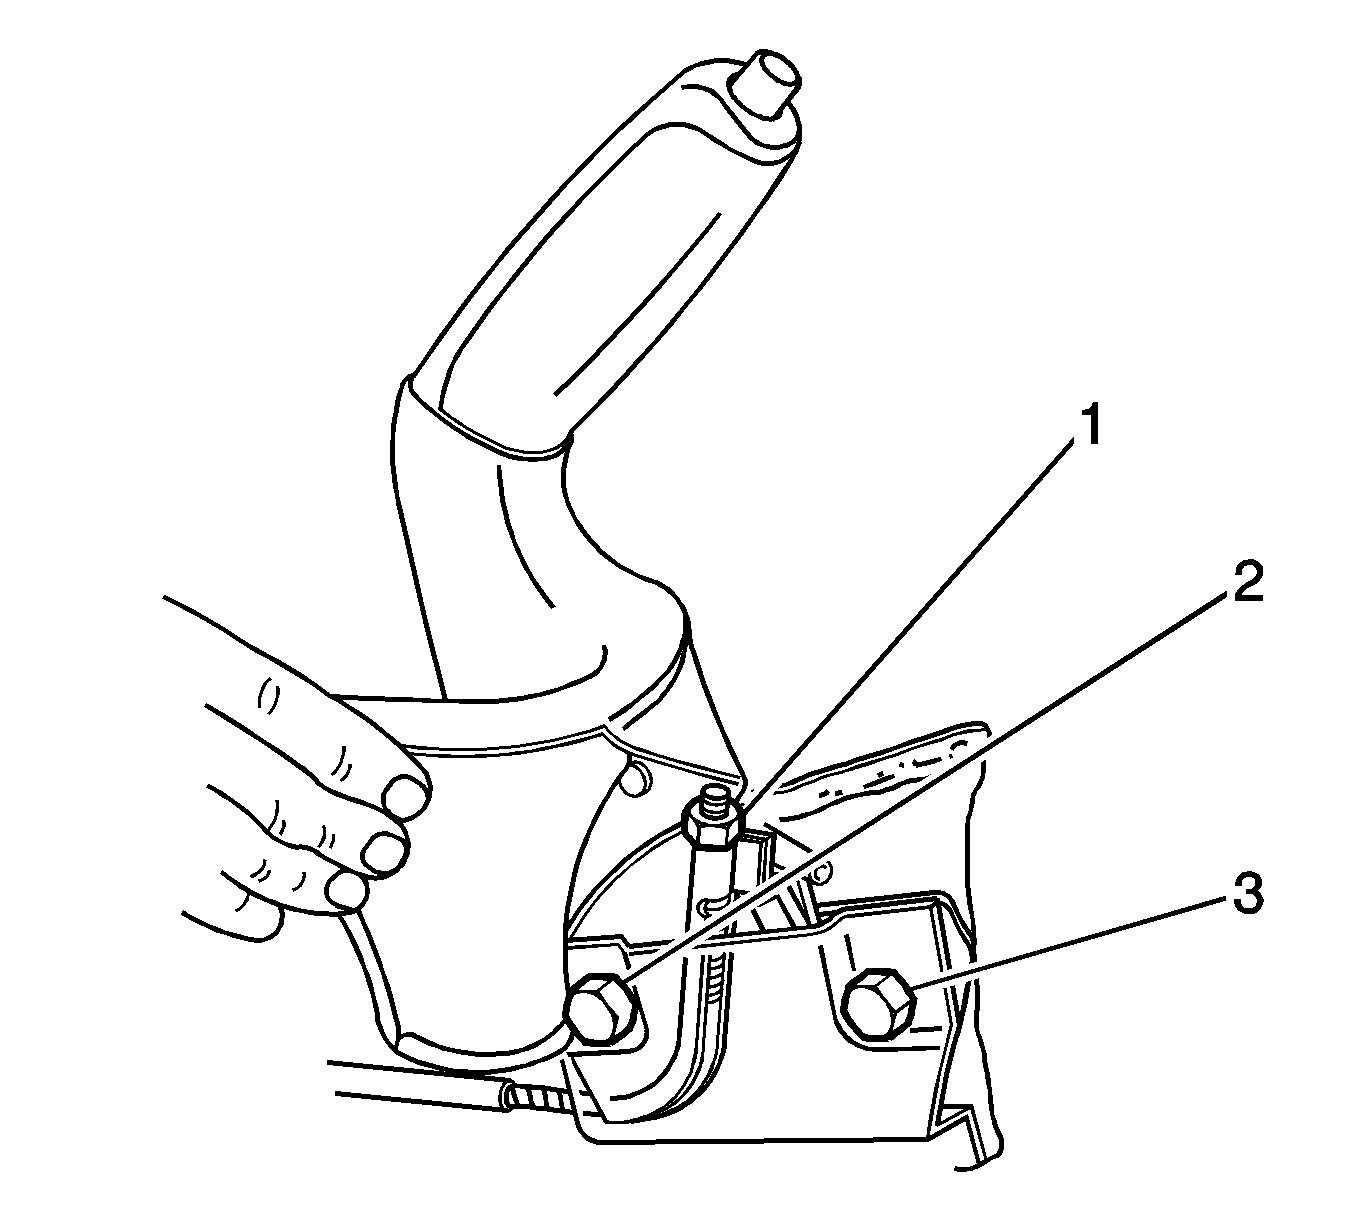
- Pull the park brake lever boot to the side.
- Loosen the park brake cable adjustment nut (1).
- Apply the park brake 5 clicks.
- Use a dial-type torque wrench and a deep socket in order to tighten the adjustment nut.
- Attempt to rotate the rear wheels. Verify the rear wheels do not rotate.
- If the park brake lever travel is correct, lower the vehicle.
- Release the park brake.
- Remove the rear tire and wheel assemblies. Refer to Tire and Wheel Removal and Installation in Tires and Wheels.
- If necessary, loosen the park brake cable adjustment nut in order to ensure slack in the park brake cables.
- If necessary, reposition and support the rear caliper and the rear pads. Refer to Rear Disc Brake Pads Replacement in Disc Brakes.
- If necessary, clean and secure the rear brake rotor to the hub. Refer to the cleaning and securing procedure in Brake Rotor Assembled Lateral Runout Measurement in Disc Brakes.
- Remove the 2 park brake adjuster hole covers from the rotor.
- Insert a screwdriver, or an equivalent lever, through an access hole in the rotor.
- Tighten the adjuster in order to expand the park brake shoe until the rotor locks.
- Loosen the adjuster approximately 4 notches in order to adjust the shoe to the proper distance away from the drum portion of the rotor.
- Attempt to rotate the rear rotors. Verify the rear rotors rotate freely.
- Verify the park brake adjustment is correct. Complete the Inspection Procedure.
- Verify the park brake cable adjustment nut is properly adjusted.
- Install the 2 adjuster hole covers to the rotor.
- If you repositioned the caliper and the pads, install the caliper and the pads. Refer to Rear Disc Brake Pads Replacement in Disc Brakes.
- Install the tire and wheel assemblies. Refer to Tire and Wheel Removal and Installation in Tires and Wheels.
- Remove the jacks.
- Lower the vehicle.

Notice: Refer to Fastener Notice in the Preface section.
Tighten
Tighten the adjustment nut to 2.0 N·m (17.7 lb in).
If the park brake lever travel is not correct, continue with this procedure.
