For 1990-2009 cars only
Removal Procedure
- Remove the shift control assembly. Refer to Shift Control Assembly Replacement .
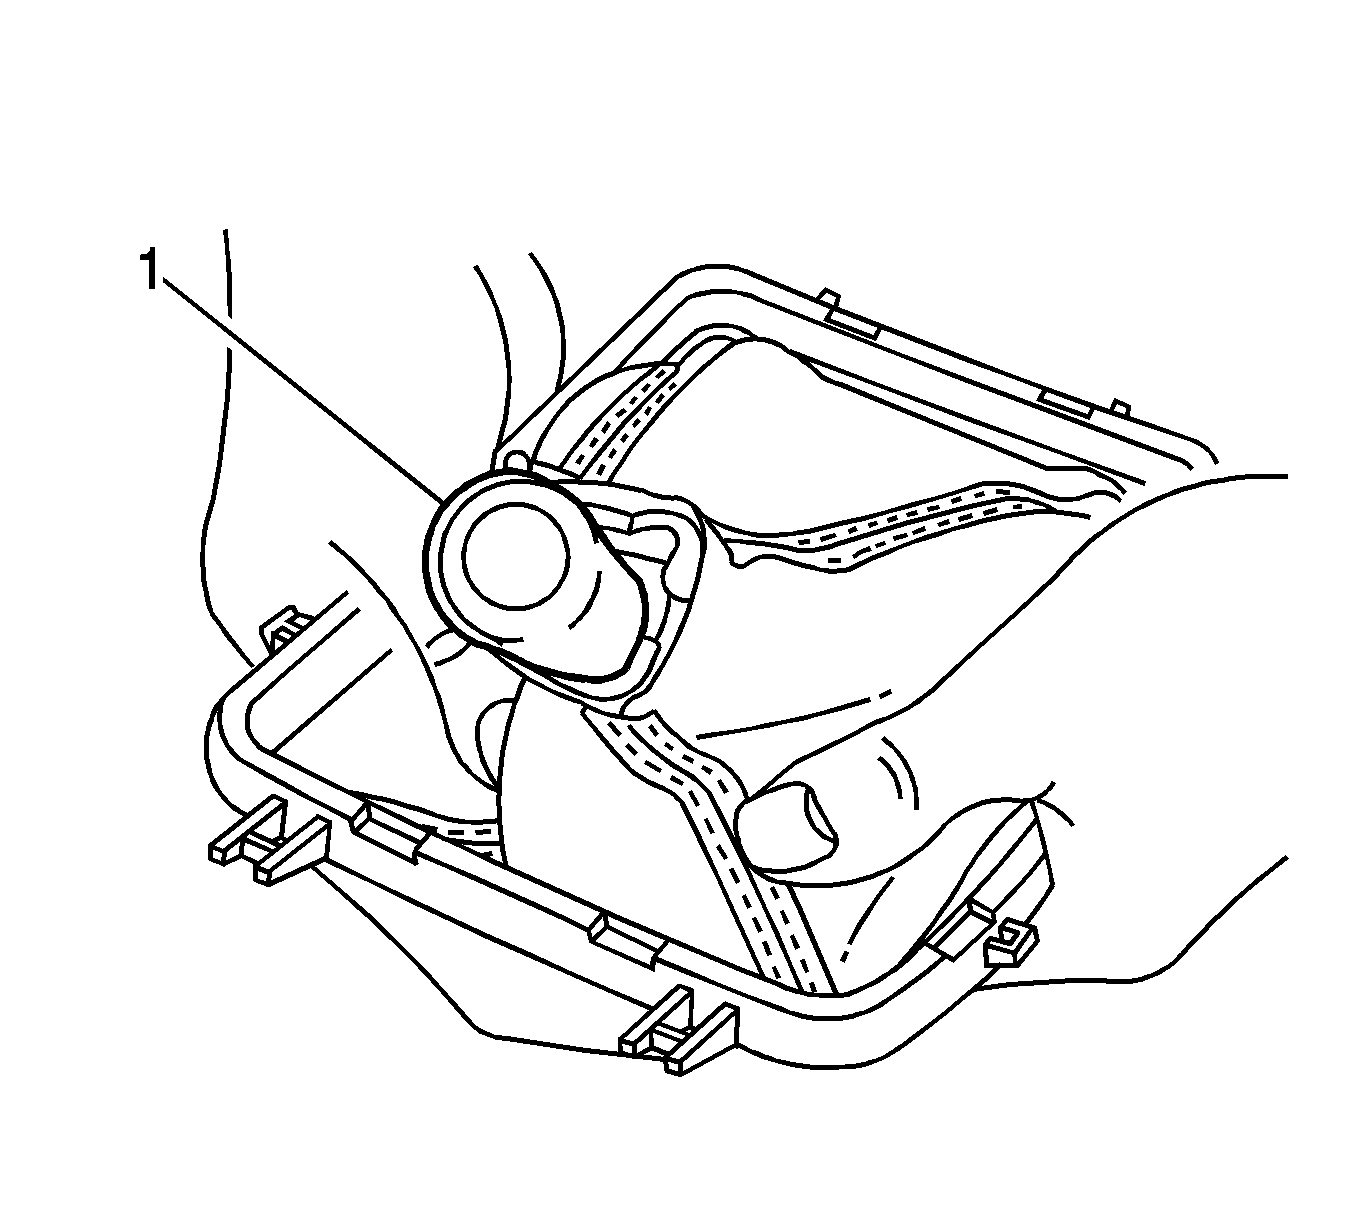
- Turn the shift control boot inside out.
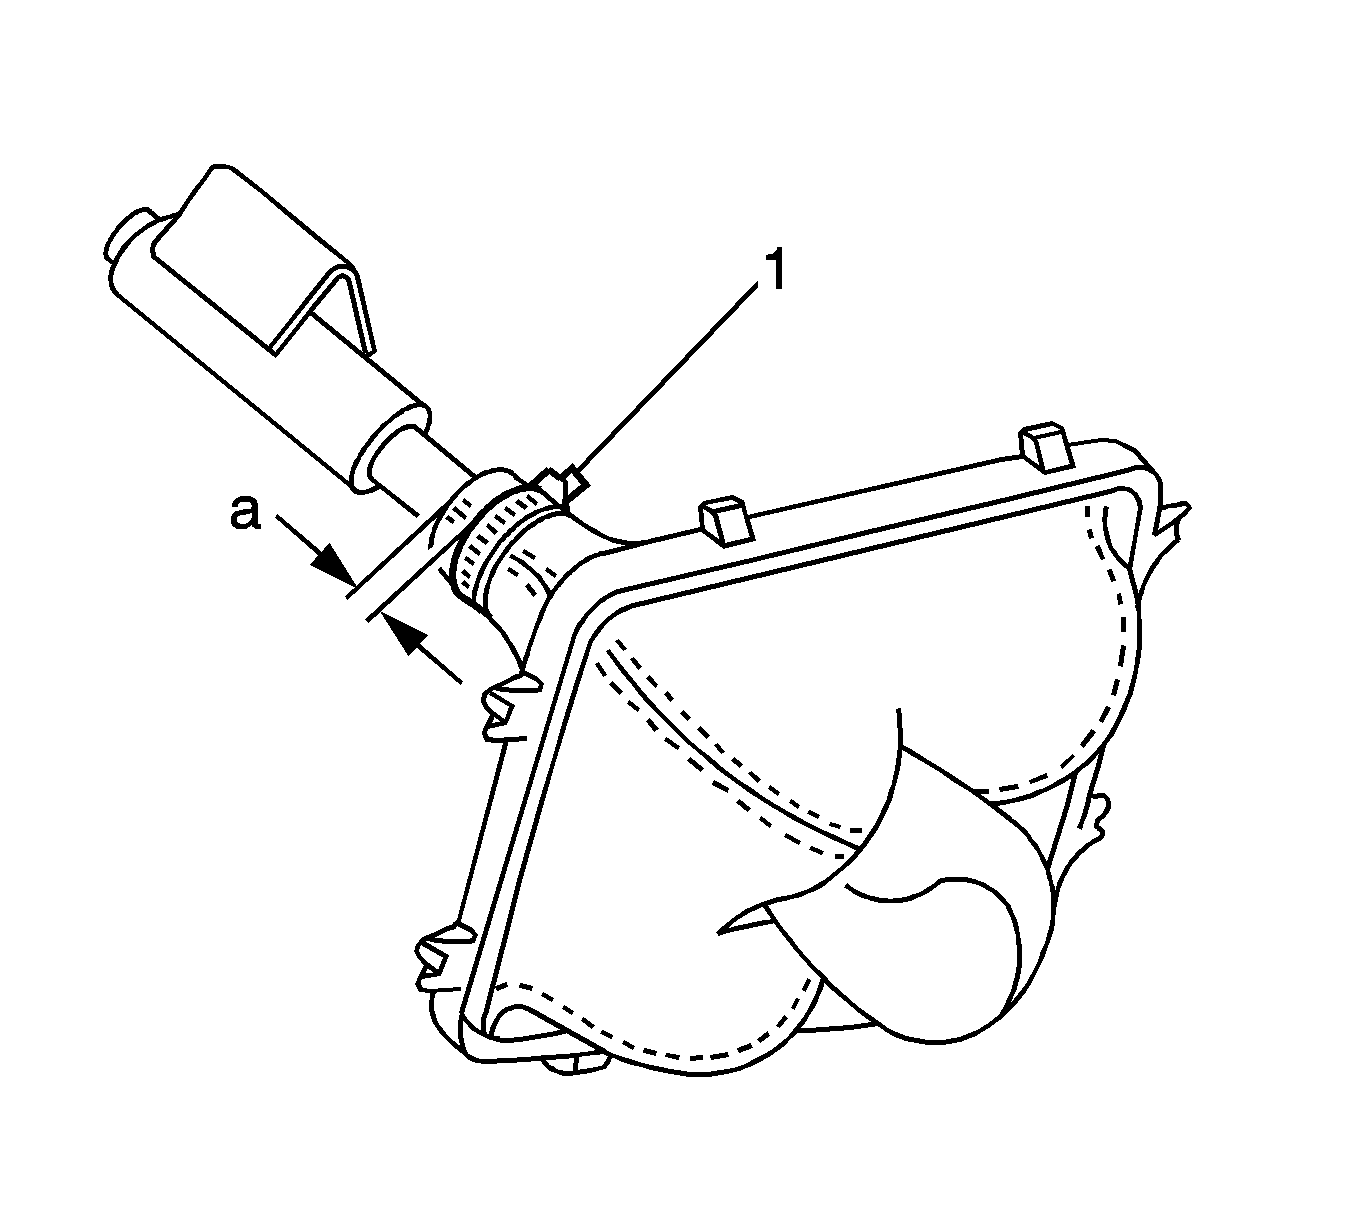
- Remove the control lever boot tie strap (1) from the control lever.
- Carefully remove the shift lever control boot over the knob.
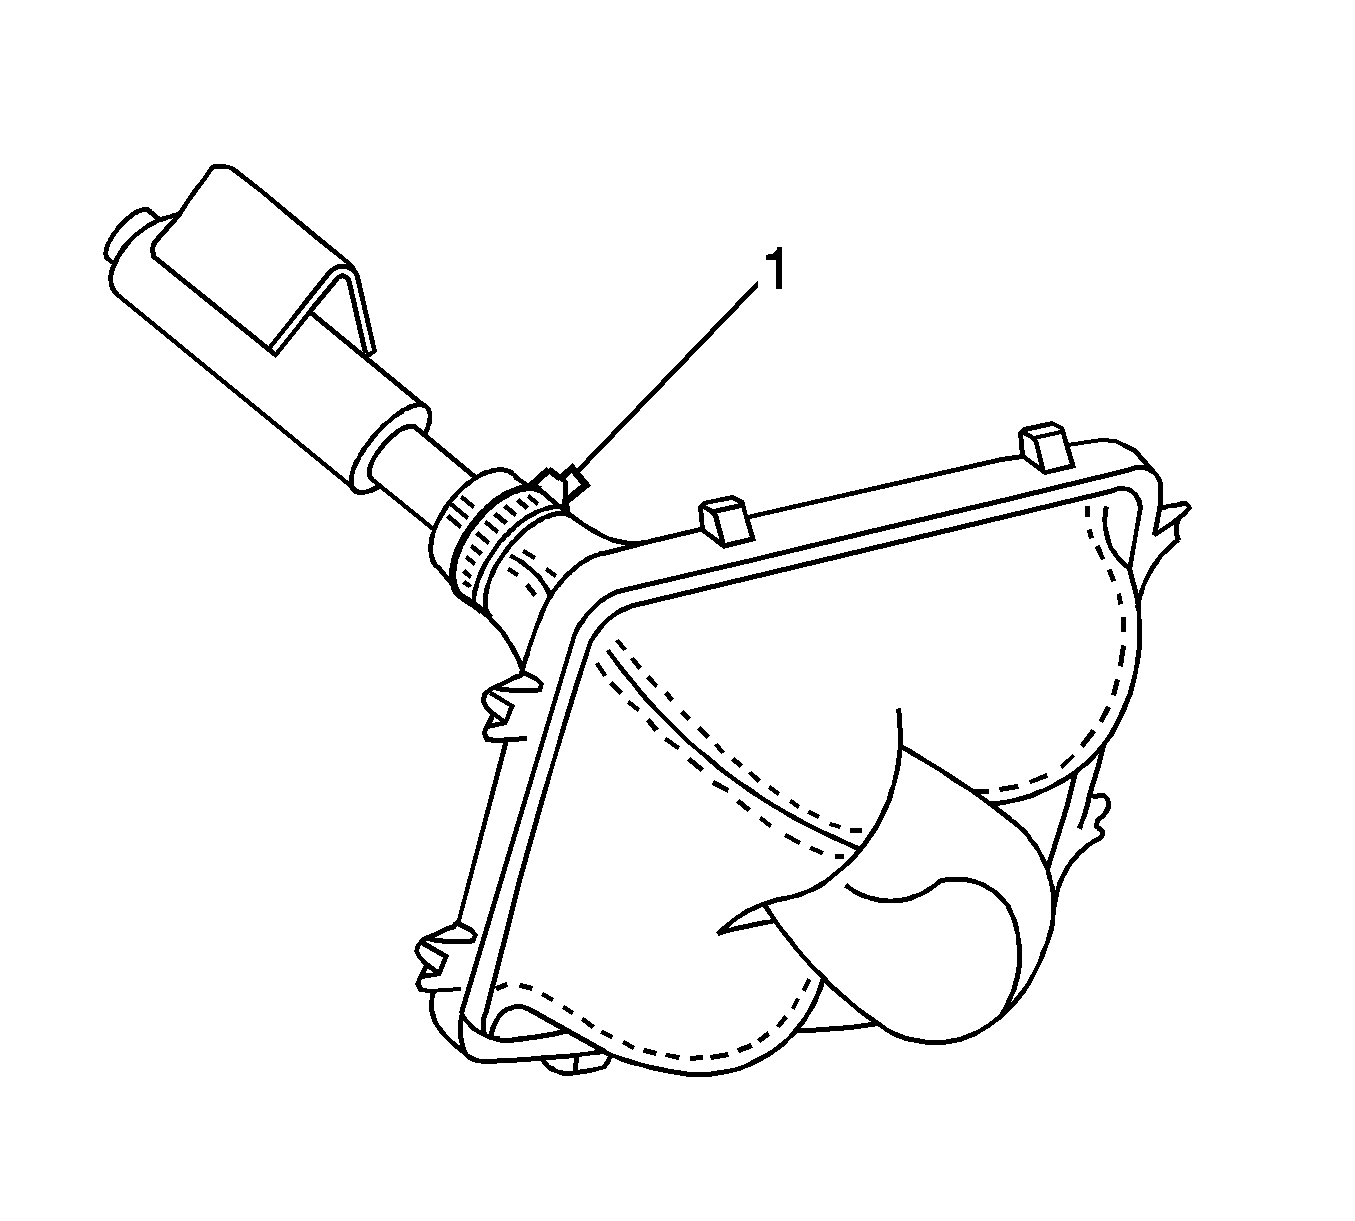
Important: The gearshift lever knob and gearshift lever are permanently bonded together and are not serviced separately.
Installation Procedure
- Turn the new boot inside out, then begin the installation by locating the lever attaching lug (1), inside and against on of the long sides of the boot assembly.
- Gradually slide the boot opening over the rounded section (2) of the lever assembly.
- Continue to apply a constant pressure to the boot, sliding the boot over the lever end (1). Pull the boot down past the mounting flange.
- Slide the boot into place over the groove in the gear shift lever.
- Install a new retaining tie strap (1) around the boot 5 mm (0.20 in) from the end of the boot and aligns with the groove in the shift lever.
- Install the shift control assembly. Refer to Shift Control Assembly Replacement .
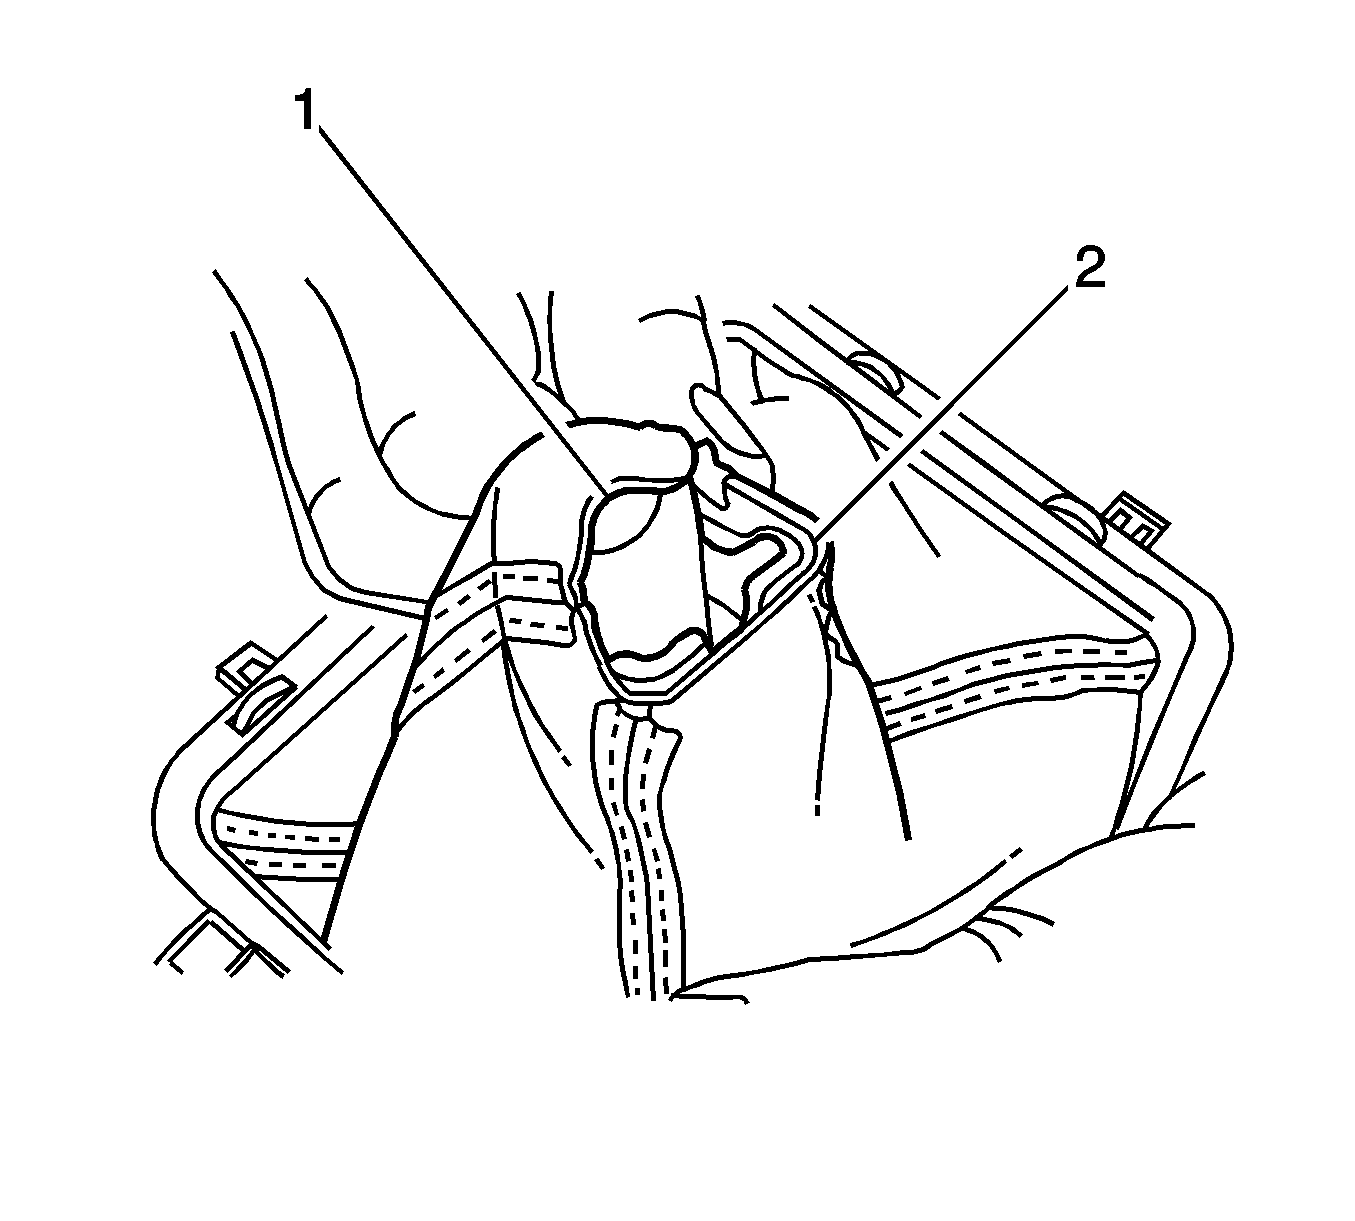
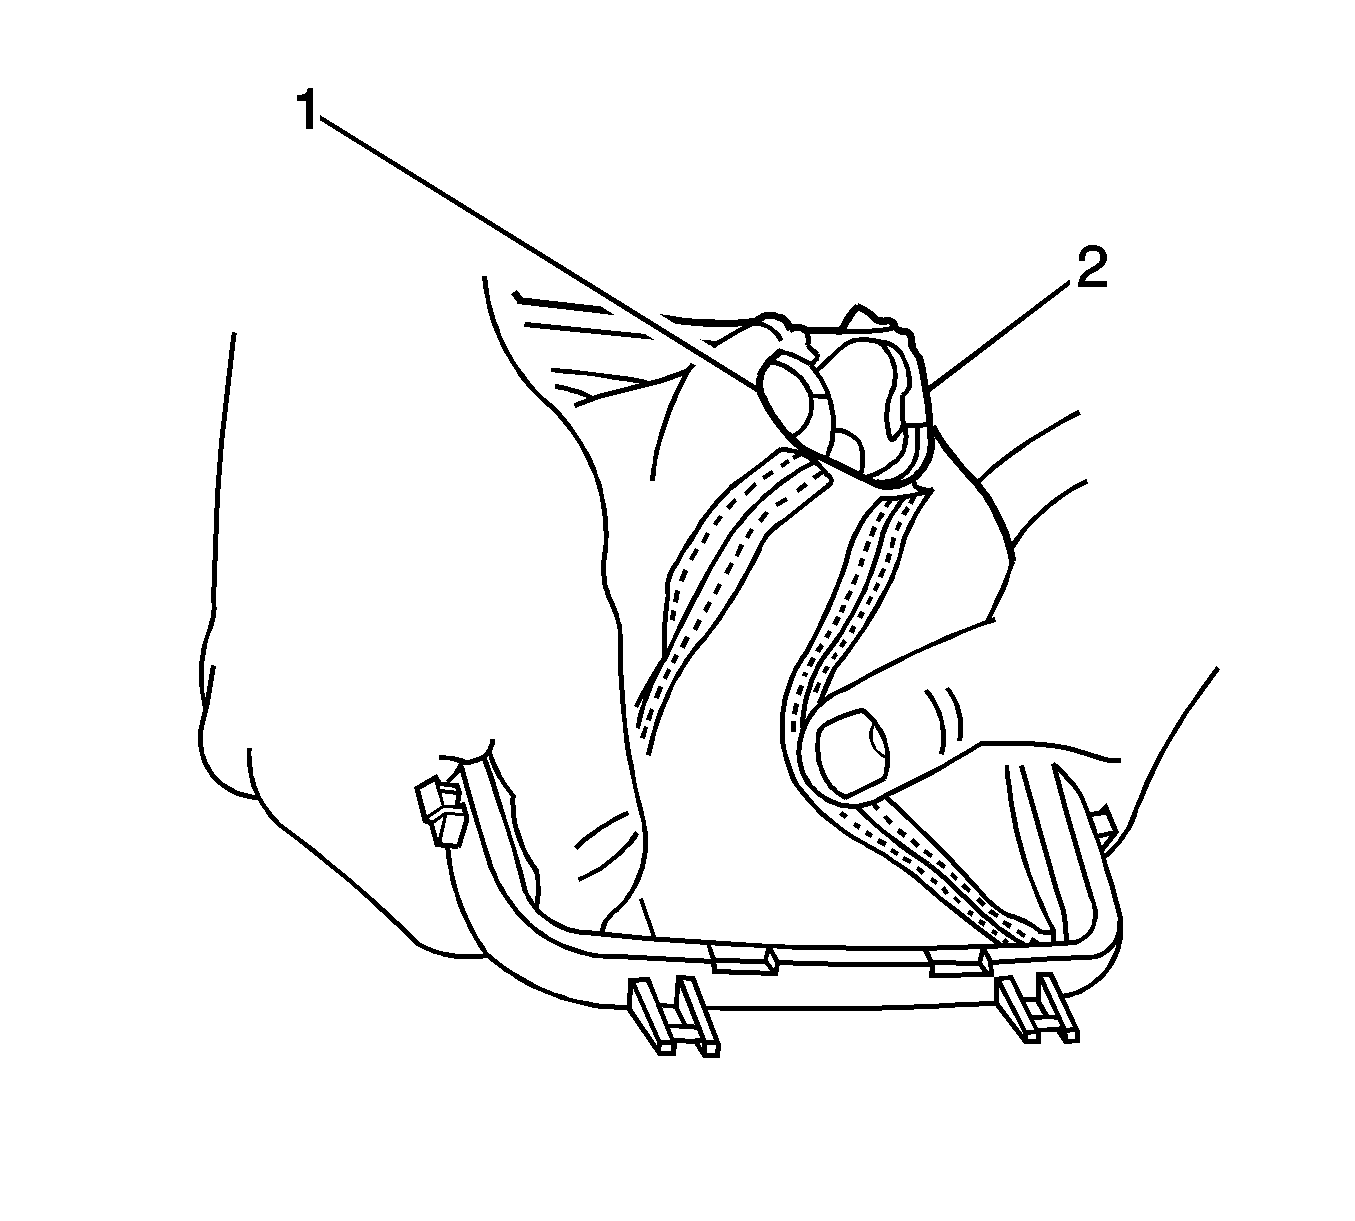
Important: During the installation process, apply a firm but constant to ease the boot over the lever attaching lug (1) to prevent damage to the boot stitching.
