Piston, Connecting Rod, and Bearing Replacement for Pontiac Grand Am 1999
Removal Procedure
- Disconnect the negative battery cable.
- Depressurize the fuel system. Refer to Fuel Pressure Relief in Engine Controls - 3.4L.
- Drain the cooling system. Recover the cooling system. Refer to Cooling System Draining and Filling in Engine Cooling.
- Remove the cylinder heads. Refer to Cylinder Head Replacement .
- Remove the oil pan. Refer to Oil Pan Replacement .
- Mark the piston with the number of the cylinder from which the piston is being removed.
- Mark the connecting rod and the rod cap so that you can correctly assemble the parts.
- Turn the crankshaft to bottom dead center.
- Clean the carbon from the top end of the cylinder.
- Remove the connecting rod cap.
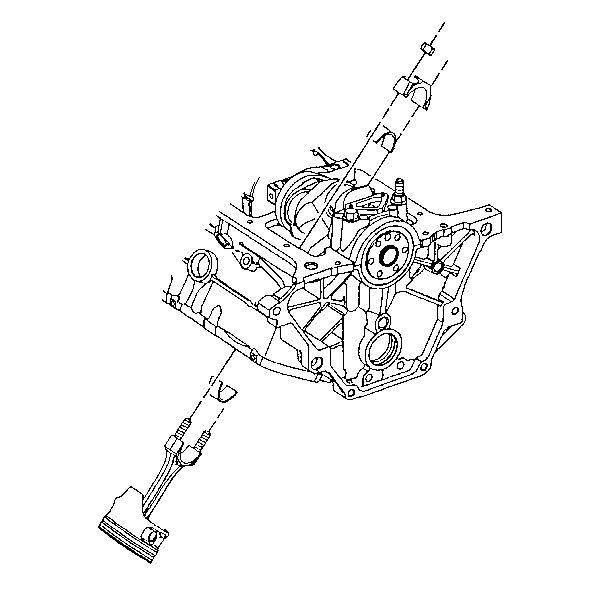
- Remove the piston and the rod assembly using a suitable tool.
Caution: Unless directed otherwise, the ignition and start switch must be in the OFF or LOCK position, and all electrical loads must be OFF before servicing any electrical component. Disconnect the negative battery cable to prevent an electrical spark should a tool or equipment come in contact with an exposed electrical terminal. Failure to follow these precautions may result in personal injury and/or damage to the vehicle or its components.
Installation Procedure
Tools Required
J 8037 Universal Piston Ring Compressor

- Lubricate the cylinder wall and the piston rings. Use clean engine oil.
- Turn the crankshaft to bottom dead center.
- Install the connecting rod stud thread protector.
- Install the J 8037 .
- Install the piston and the connecting rod assembly.
- Remove the thread protectors.
- Install the connecting rod bearing.
- Seat the bearing caps.
- Install the rod bearing cap nuts.
- Inspect the connecting rod for binding. Pry the rod back and forth using a suitable tool. Loosen the bearing cap if the rod binds. Retighten the bearing cap.
- Install the oil pan. Refer to Oil Pan Replacement .
- Install the cylinder head. Refer to Cylinder Head Replacement .
- Fill the cooling system. Refer to Cooling System Draining and Filling in Engine Cooling.
- Connect the negative battery cable.
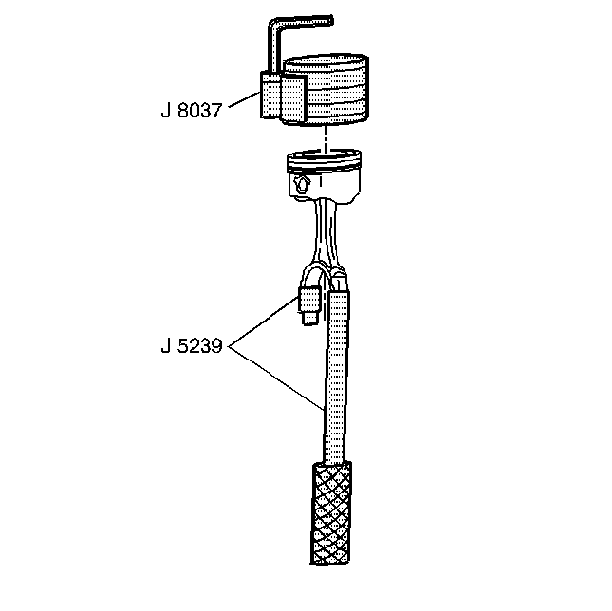
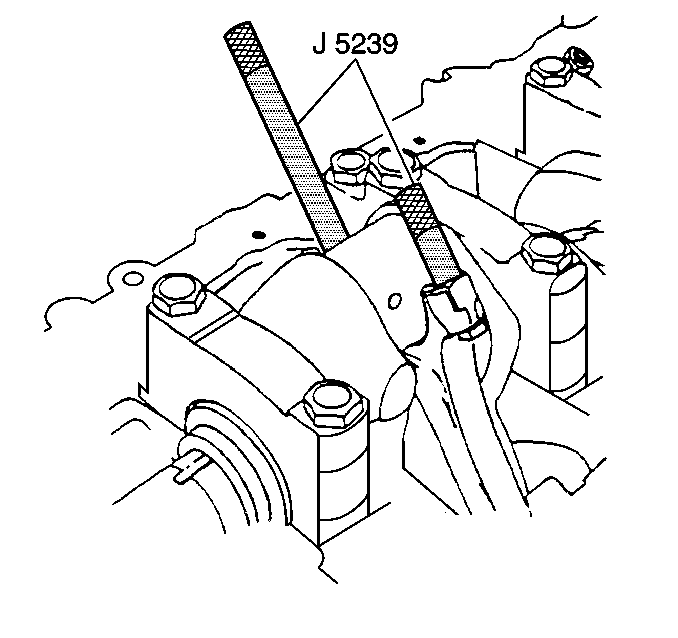
Notice: Guide the lower connecting rod end carefully to avoid damaging the crankshaft journal.
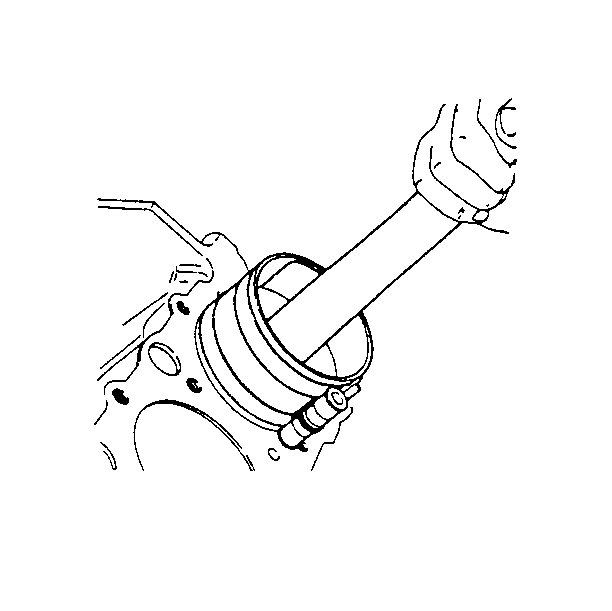
Important: Ensure that the arrow on the top of the piston faces towards the front of the engine.
Important: Carefully tap the bearing cap into place using a suitable tool. Do not pull the cap down with the cap bolts or the nuts.
Notice: Use the correct fastener in the correct location. Replacement fasteners must be the correct part number for that application. Fasteners requiring replacement or fasteners requiring the use of thread locking compound or sealant are identified in the service procedure. Do not use paints, lubricants, or corrosion inhibitors on fasteners or fastener joint surfaces unless specified. These coatings affect fastener torque and joint clamping force and may damage the fastener. Use the correct tightening sequence and specifications when installing fasteners in order to avoid damage to parts and systems.
Tighten
Tighten the rod cap nuts to 20 N·m (15 lb ft).
Use the J 36660-A
in order
to tighten the nuts an additional 75 degrees.