For 1990-2009 cars only
Removal Procedure
- Disconnect the negative battery cable. Refer to Battery Negative Cable Disconnection and Connection in Engine Electrical.
- Remove the console trim plate. Refer to Front Floor Console Trim Plate Replacement in Instrument Panel, Gages, and Console.
- Remove the I/P accessory trim plate. Refer to Instrument Panel Accessory Trim Plate Replacement in Instrument Panel, Gages and Console.
- Remove the instrument panel cluster. Refer to Instrument Cluster Replacement in Instrument Panel, Gages, and Console.
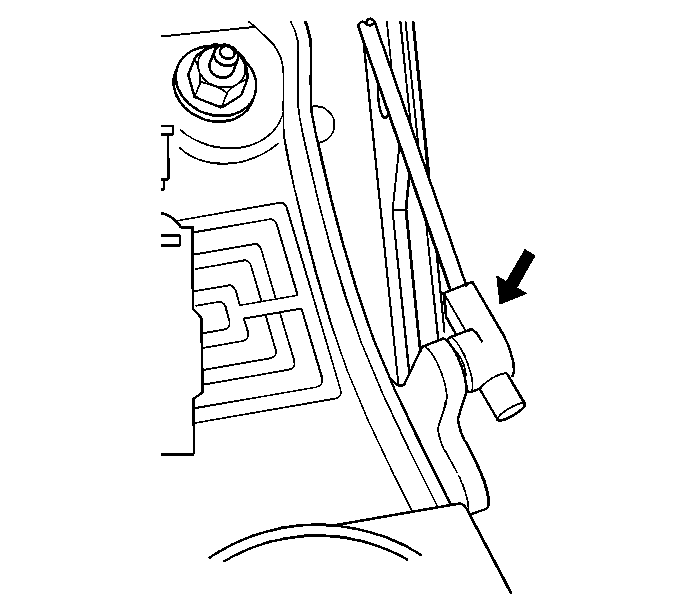
- Disconnect the reverse lockout cable from the shifter.
- Remove the reverse lockout cable from the shifter bracket.
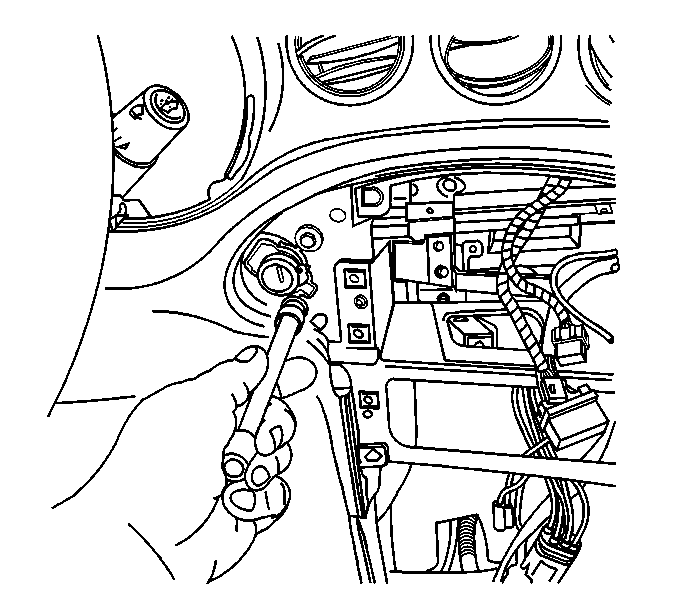
- Remove the ignition switch bolts.
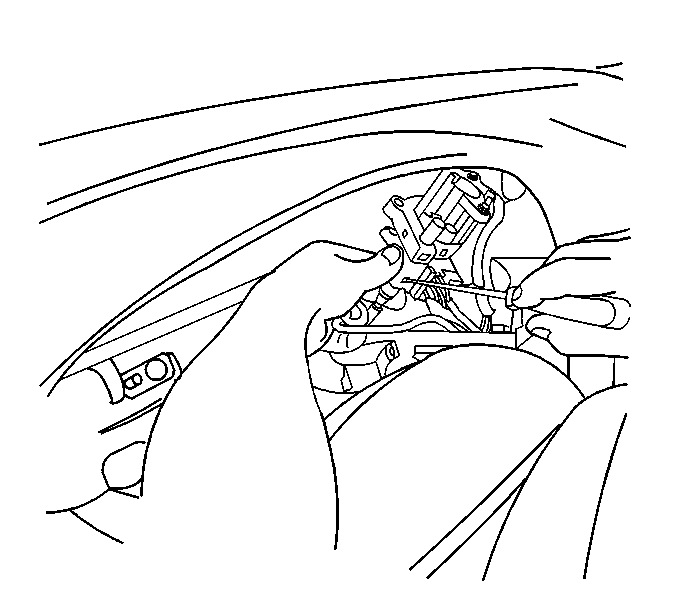
- Position the ignition switch in the I/P cluster opening.
- Turn the ignition key to the on position.
- Use a flat bladed tool to release the lock from the ignition switch.
- Tie a string to the ignition switch end of the cable.
- Feed the cable from the I/P and from under the carpet at the shifter location.
Installation Procedure
- Tie the string to the ignition switch end of the new cable.
- Use the string to guide the new cable to the original routing position.
- Remove the string.
- Install the cable to the ignition switch.
- Position the ignition switch in the I/P.
- Install the ignition switch bolts.
- Install the I/P accessory trim plate. Refer to Instrument Panel Accessory Trim Plate Replacement in Instrument Panel, Gages, and Console.
- Install the instrument panel cluster. Refer to Instrument Cluster Replacement in Instrument Panel, Gages, and Console.
- Install the reverse lockout cable to the shifter bracket.
- Connect the reverse lockout cable to the shifter.
- Install the console trim plate. Refer to Front Floor Console Trim Plate Replacement in Instrument Panel, Gages, and Console.
- Connect the negative battery cable. Refer to Battery Negative Cable Disconnection and Connection in Engine Electrical.
