For 1990-2009 cars only
Removal Procedure -- Left Insulator
Tools Required
J 38778 Door Trim Pad and Garnish Clip Remover
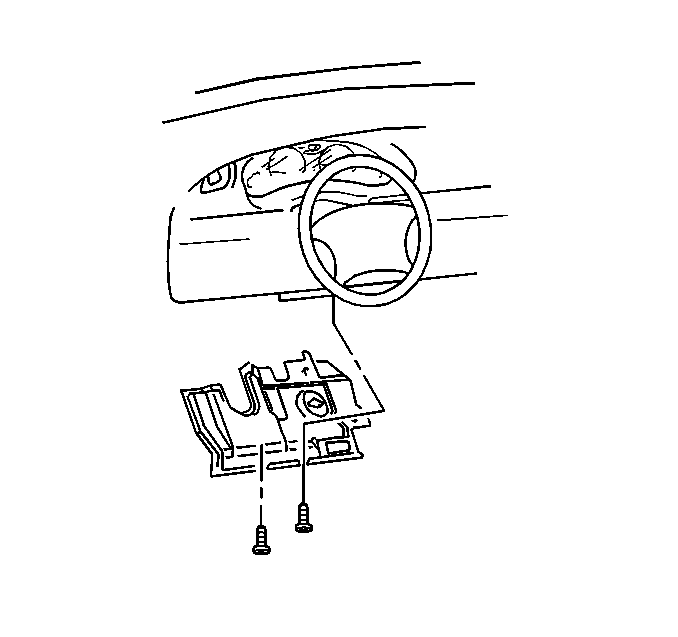
- Use the J 38778 in order to remove the push-in retainers from the LH instrument panel (IP) insulator.
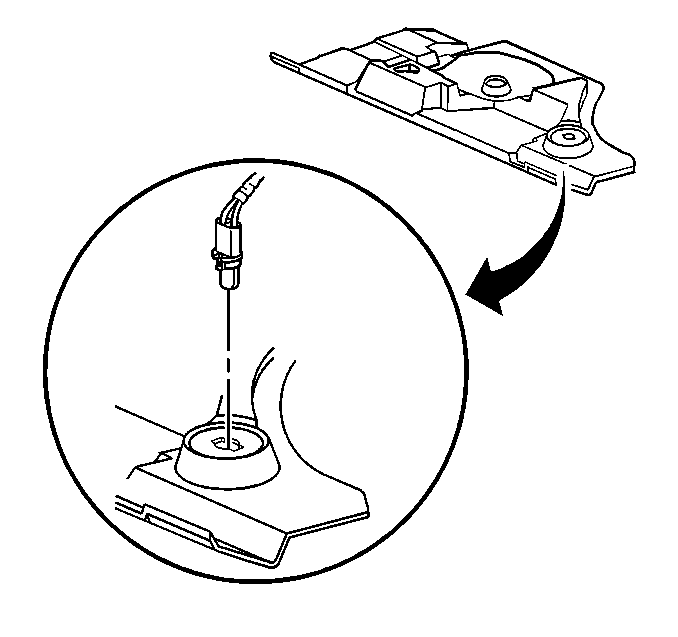
- Remove the courtesy lamp from the LH IP insulator. Refer to Instrument Panel Courtesy Lamp Bulb Replacement in Lighting Systems.
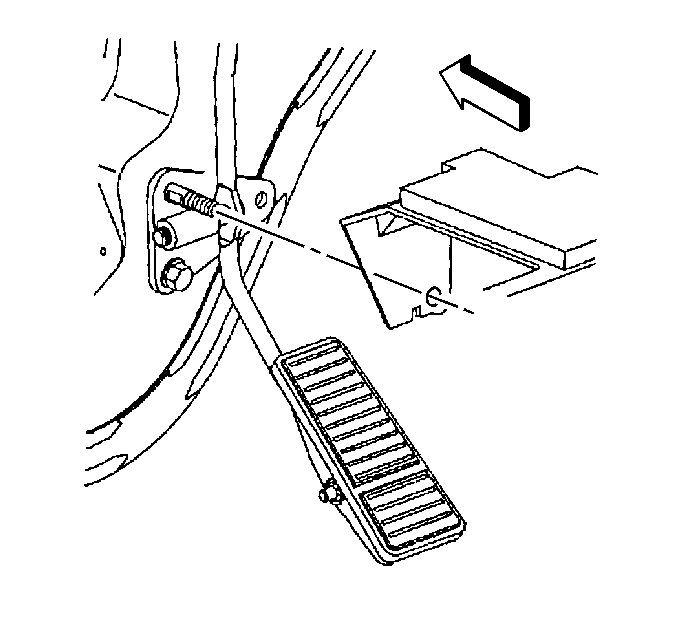
- Pull the LH IP insulator rearward from the stud at the accelerator pedal.
- Remove the LH IP insulator from the IP.


Installation Procedure -- Left Insulator
- Install the LH instrument panel (IP) insulator onto the IP.
- Install the courtesy lamp to the LH IP insulator. Refer to Instrument Panel Courtesy Lamp Bulb Replacement in Lighting Systems.
- Align the IP insulator with the stud at the accelerator pedal.
- Install the push in the retainers to the LH IP insulator.
- Push up on the LH forward side of the LH IP insulator in order to locate the ledge in the dash mat.


Removal Procedure -- Right Insulator
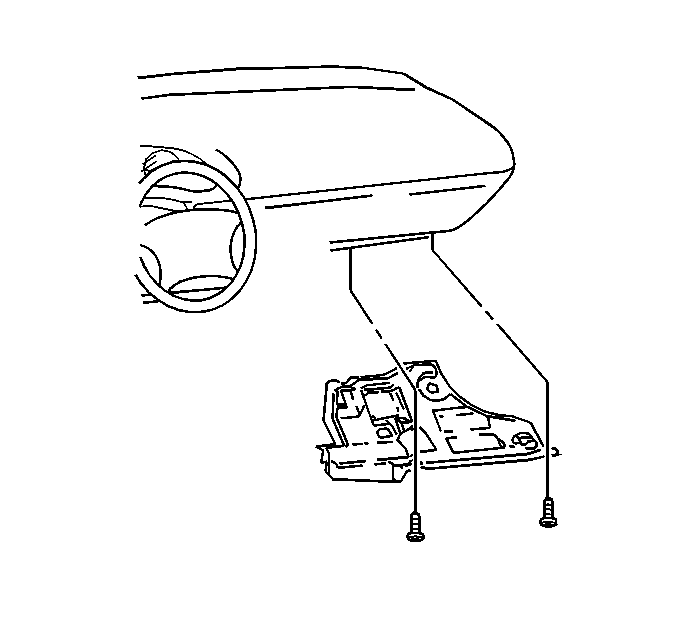
- Use the J 38778 in order to remove the push-in retainers from the RH instrument panel (IP) insulator.
- Remove the RH IP insulator from the IP.
- Remove the courtesy lamp to the RH IP insulator. Refer to Instrument Panel Courtesy Lamp Bulb Replacement in Lighting Systems.


Installation Procedure -- Right Insulator
- Install the courtesy lamp to the RH IP insulator. Refer to Instrument Panel Courtesy Lamp Bulb Replacement in Lighting Systems.
- Install the RH IP insulator onto the IP.
- Install the push-in retainers to the RH IP insulator.
- Push up and forward on the RH IP in order to locate the ledge in the dash mat.


Important: Make sure that the RH instrument panel (IP) insulator does not block the floor heater outlet.
