For 1990-2009 cars only
Removal Procedure
- Disconnect the battery negative cable. Refer to Battery Negative Cable Disconnection and Connection in Engine Electrical.
- Position the transaxle selector in the (1) low range.
- Raise the front floor console armrest.
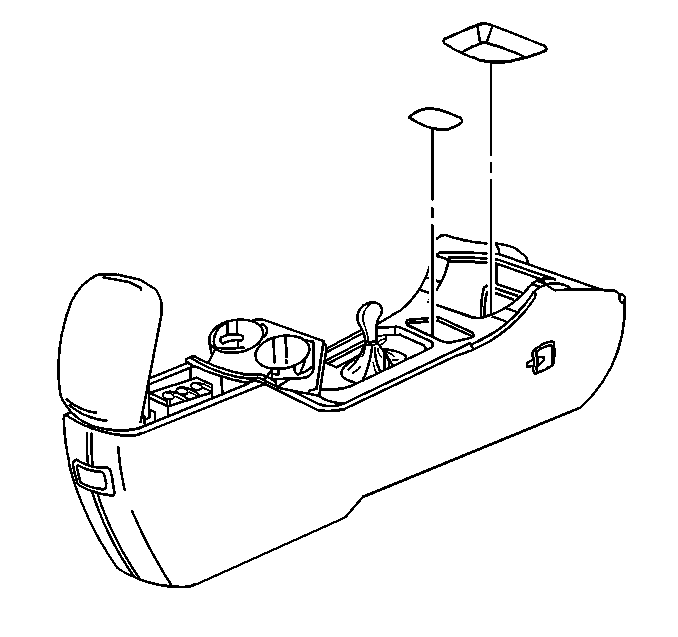
- Remove the front floor console storage compartment from the front floor console base.
- Remove the front floor console storage compartment mat from the front floor console storage compartment.
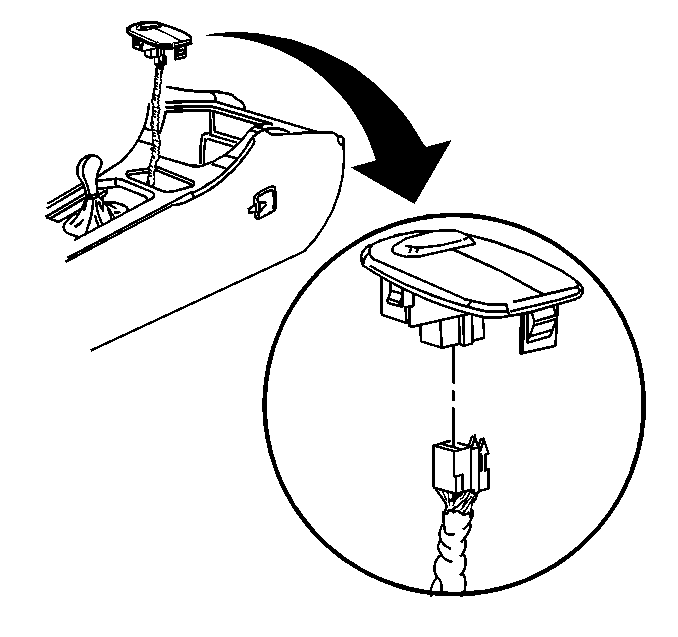
- Disconnect the electrical connectors from the driver's seat heater switch, if equipped.
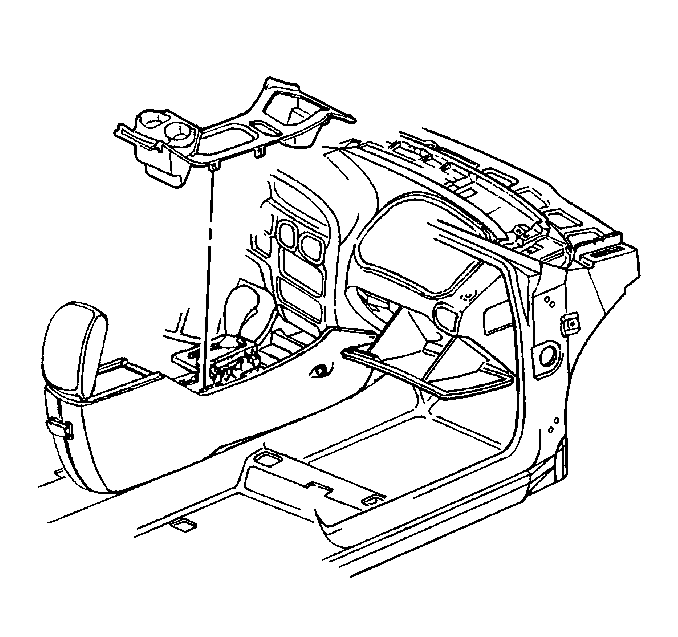
- Pull up on the front floor console trim plate.
- Remove the front floor console trim plate from the front floor console base.


Start pulling up the trim plate from the rear two clips behind the cup holder and work your way forward.
Installation Procedure
- Align the front floor console trim plate to the front floor console base.
- Press the trim plate down to snap in firmly until fully seated.
- Position the transaxle selector in park.
- Connect the electrical connectors to the driver's seat heater switch, if equipped.
- Install the front floor console storage compartment to the front floor console.
- Install the front floor console storage compartment mat to the front floor console storage compartment.
- Lower the front floor console armrest.
- Connect the battery negative cable. Refer to Battery Negative Cable Disconnection and Connection in Engine Electrical.


