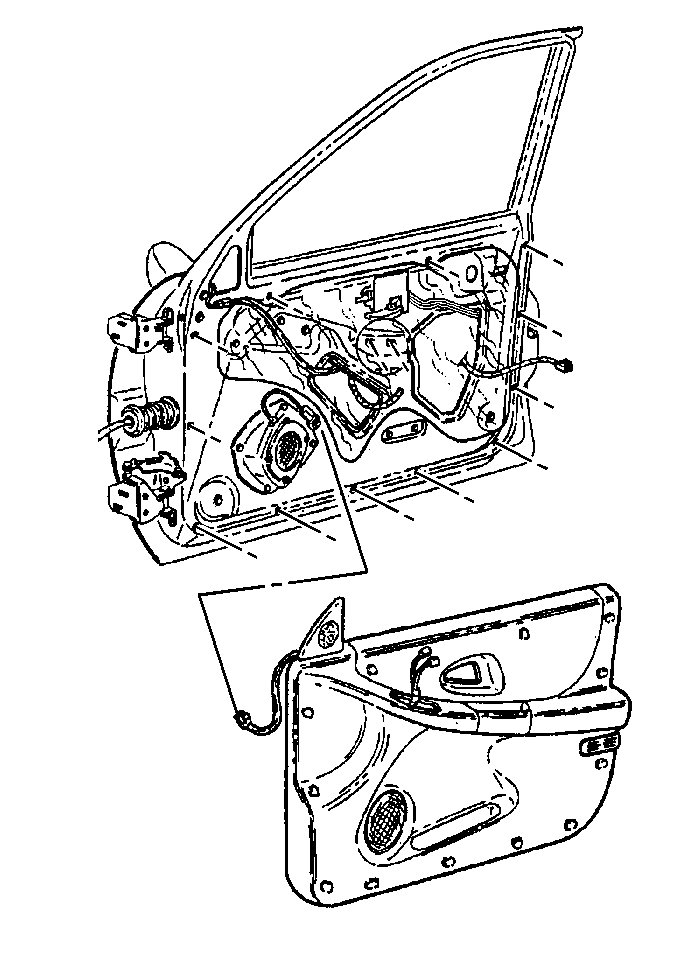
For 1990-2009 cars only
Tools Required
J 38778 Door Trim Pad and Garnish Clip Remover
Removal Procedure
- Remove the front door switch mounting plate. Refer to Door Lock and Side Window and Outside Rearview Mirror Remote Control Switch Replacement .
- Remove the 2 trim panel plugs from under the pull handle.
- Remove the screws from behind the trim plugs.
- Use J 38778 to disengage the push-in retainers. Remove the trim panel from the front door inner panel.
- Disconnect the electrical connectors from the speaker and the door reflector light.
- Remove the trim panel from the vehicle.

Begin at the lower rear of the panel. Support the front door trim panel while disconnecting the electrical connectors.
Installation Procedure
- Install the new retainers to the front door trim panel.
- Connect the electrical connectors to the speaker and the door reflector light.
- Position the trim panel to the front door inner panel, extending the door handle through the bezel.
- Install the trim panel. Press on the retainers until fully seated.
- Install the trim panel screws to the front door panel.
- Install the trim panel plugs over the screws.
- Install the switch mounting plate. Refer to Door Lock and Side Window and Outside Rearview Mirror Remote Control Switch Replacement .

Important: Before installing the front door trim panel to the inner door, discard the old trim panel retainers. Use new trim panel retainers in order to properly secure the front door trim panel to the front door inner panel.
Notice: Refer to Fastener Notice in the Preface section.
Tighten
Tighten the screws to 3 N·m (27 lb in).
