For 1990-2009 cars only
Removal Procedure
- Pull the instrument panel (I/P) accessory trim plate rearward slightly for access to the steering column filler. Refer to Instrument Panel Accessory Trim Plate Replacement.
- Remove the steering column filler. Refer to Steering Column Opening Filler Replacement.
- Tilt the steering wheel to the lowest position.
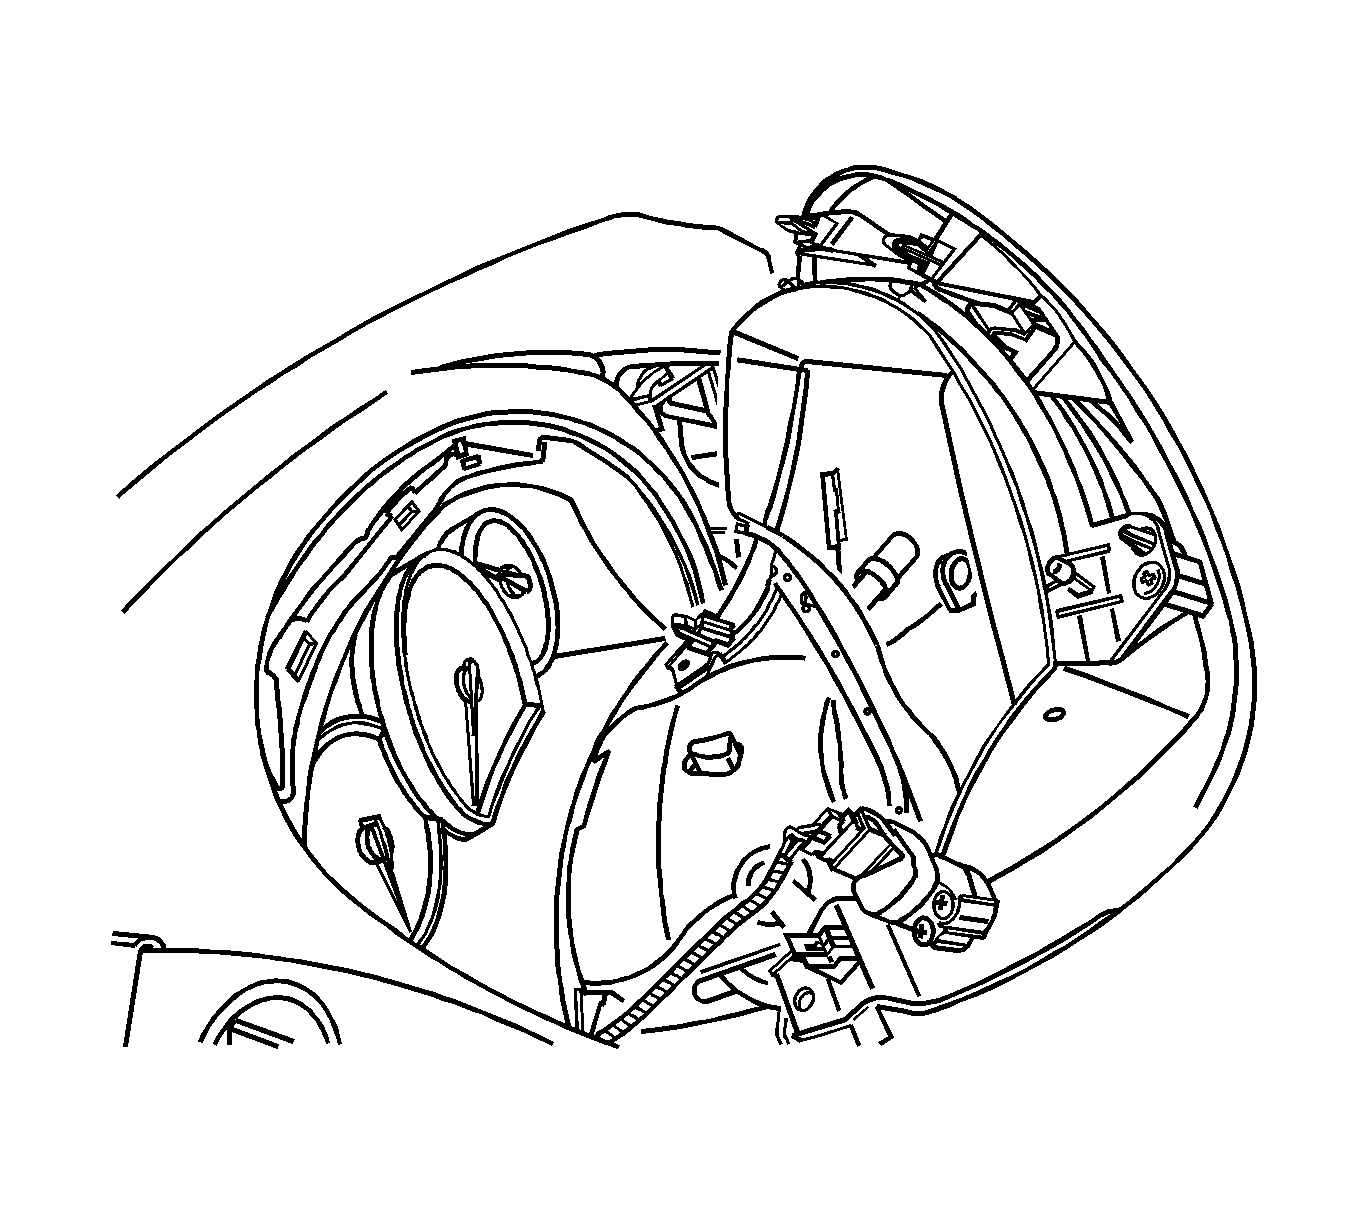
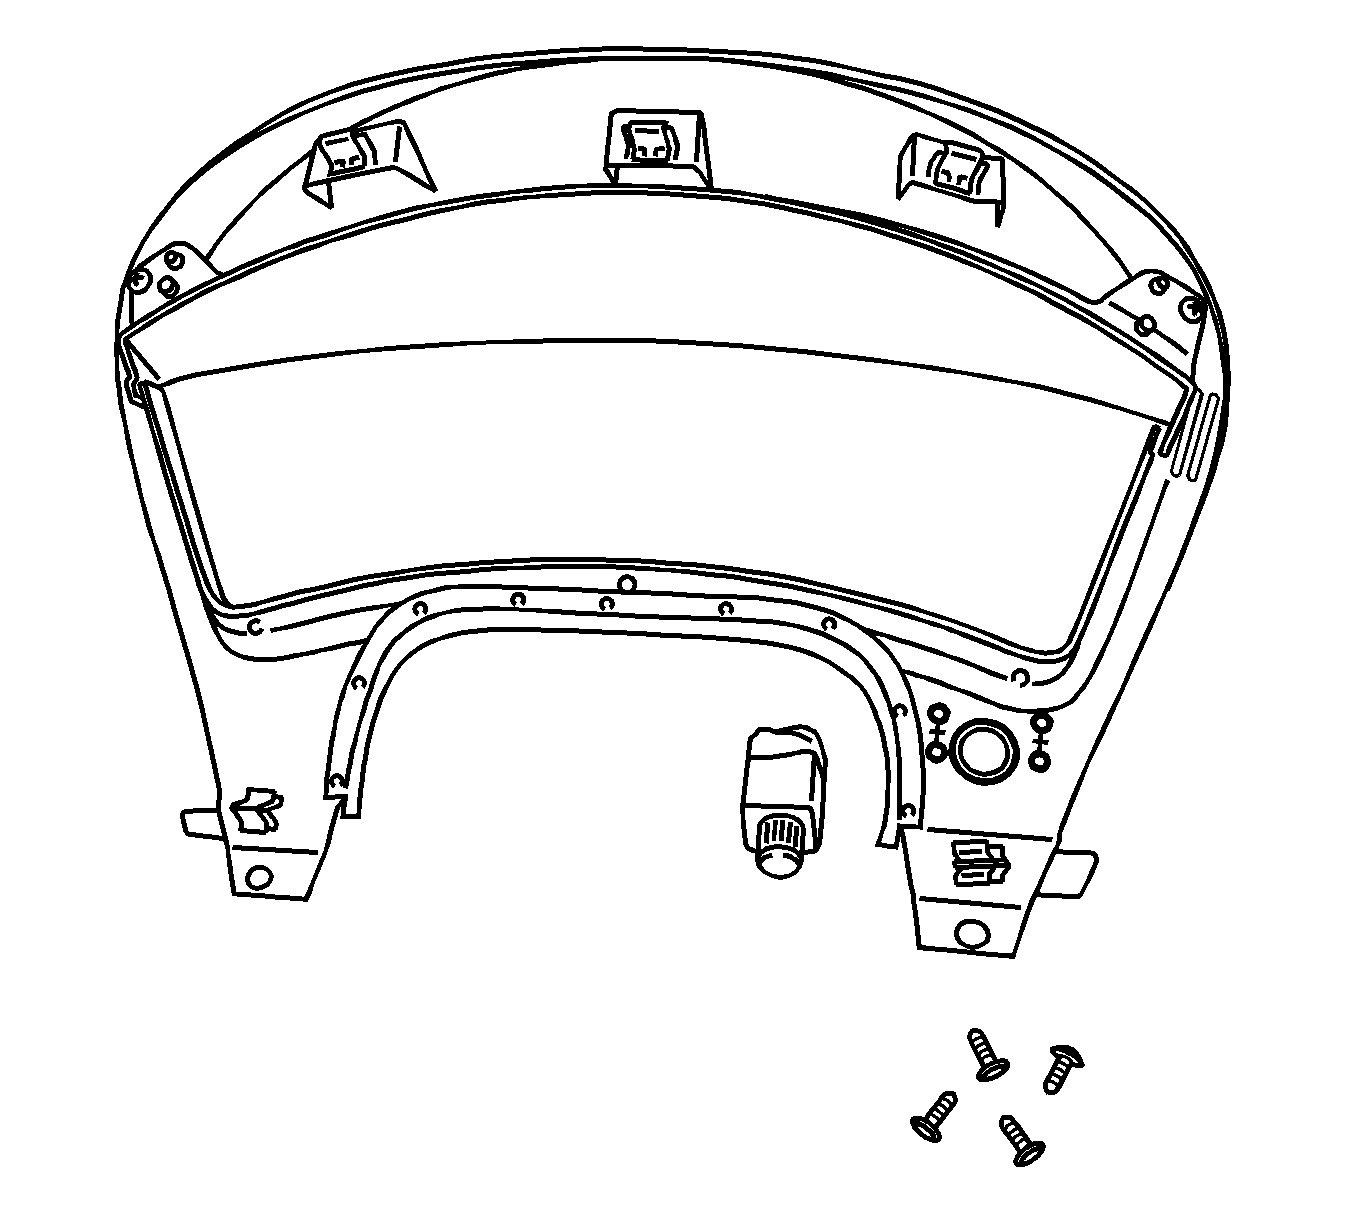
- Grasp the edge of the I/P cluster trim plate. Pull the plate rearward to disengage the retainers.
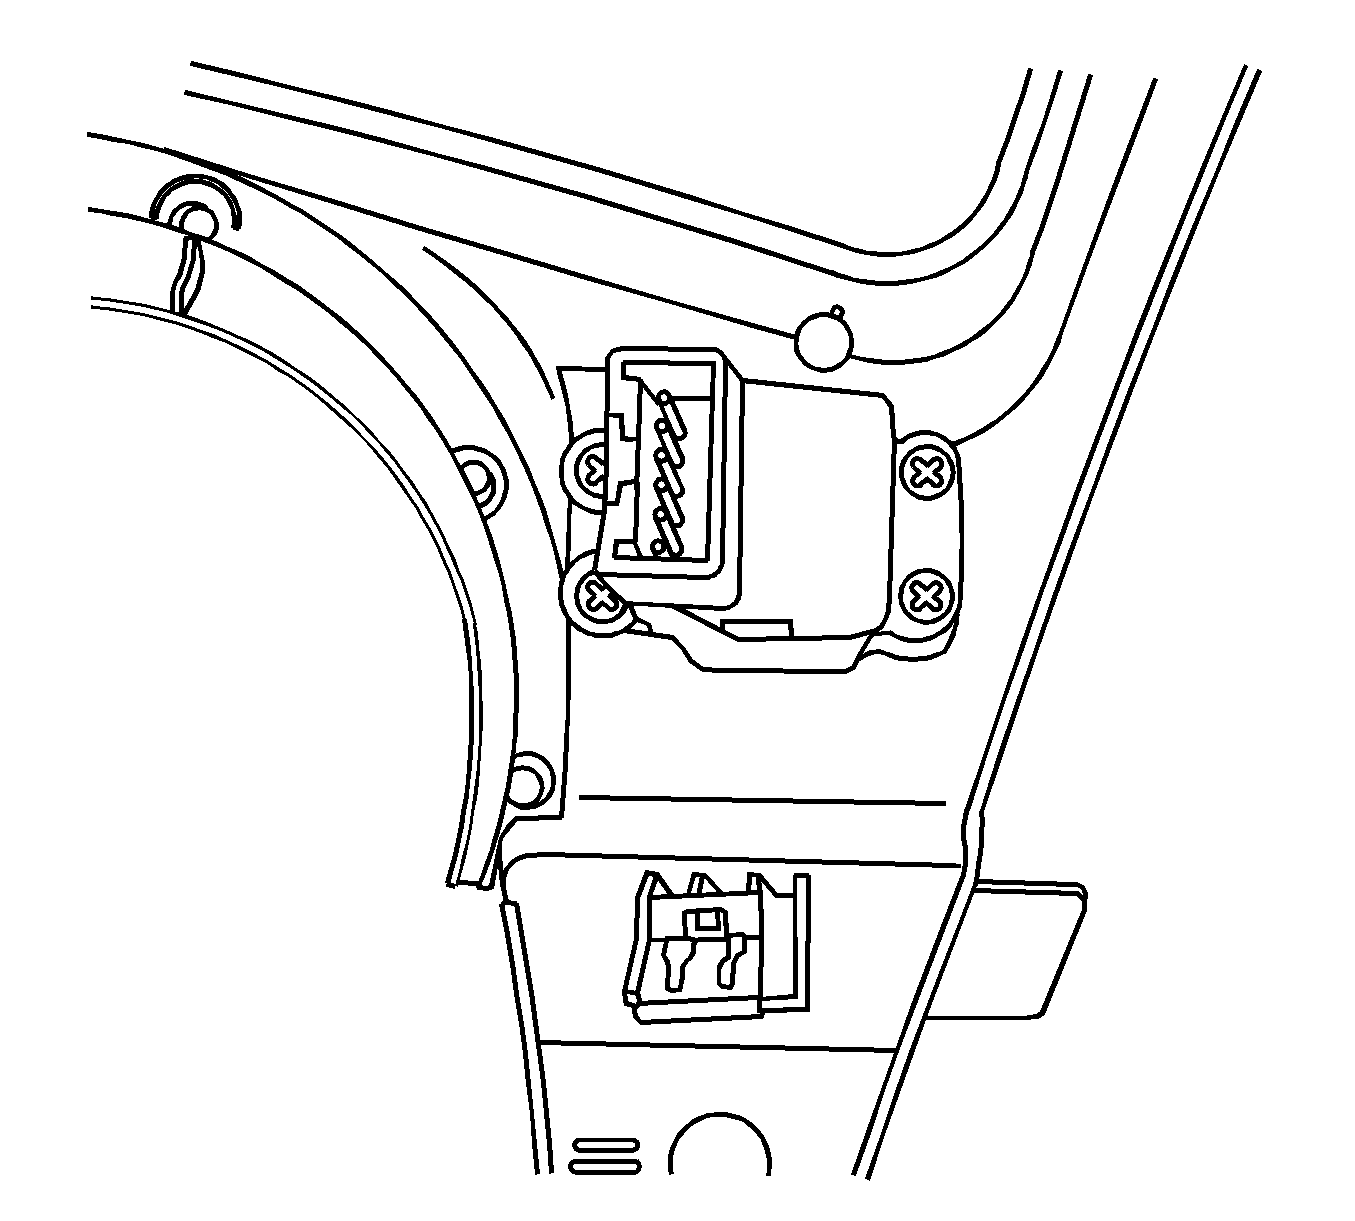
- Disconnect the electrical connector from the dimmer switch.
- Remove the screws from the dimmer switch.
- Remove the dimmer switch.
Installation Procedure
- Align the dimmer switch to the I/P cluster trim plate.
- Install the dimmer switch screws.
- Connect the electrical connector to the dimmer switch.
- Align the locating pins and the retainers on the I/P cluster trim plate to the openings in the I/P.
- Push in the trim plate at each of the retainer locations. Completely engage the retainers.
- Return the steering wheel to the original position.
- Install the steering column filler. Refer to Steering Column Opening Filler Replacement.
- Install the I/P accessory trim plate. Refer to Instrument Panel Accessory Trim Plate Replacement .
Notice: Refer to Fastener Notice in the Preface section.
Tighten
Tighten the screws to 2 N·m (18 lb in).
