For 1990-2009 cars only
Tools Required
J 38778 Door Trim Pad and Garnish Clip Remover
Removal Procedure
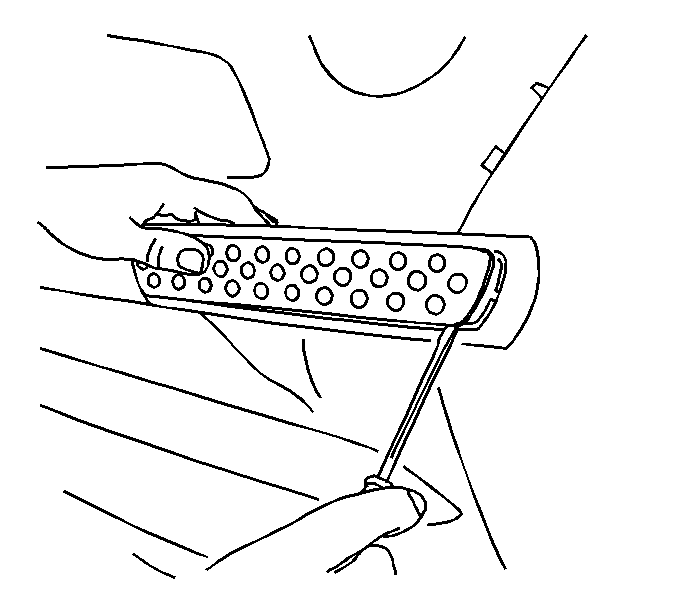
- Insert a flat-bladed tool at the front edge of the door handle bezel. Pull the bezel away from the door to disengage the retaining clips.
- Use a flat-bladed tool to remove the cover plate from the armrest pull handle.
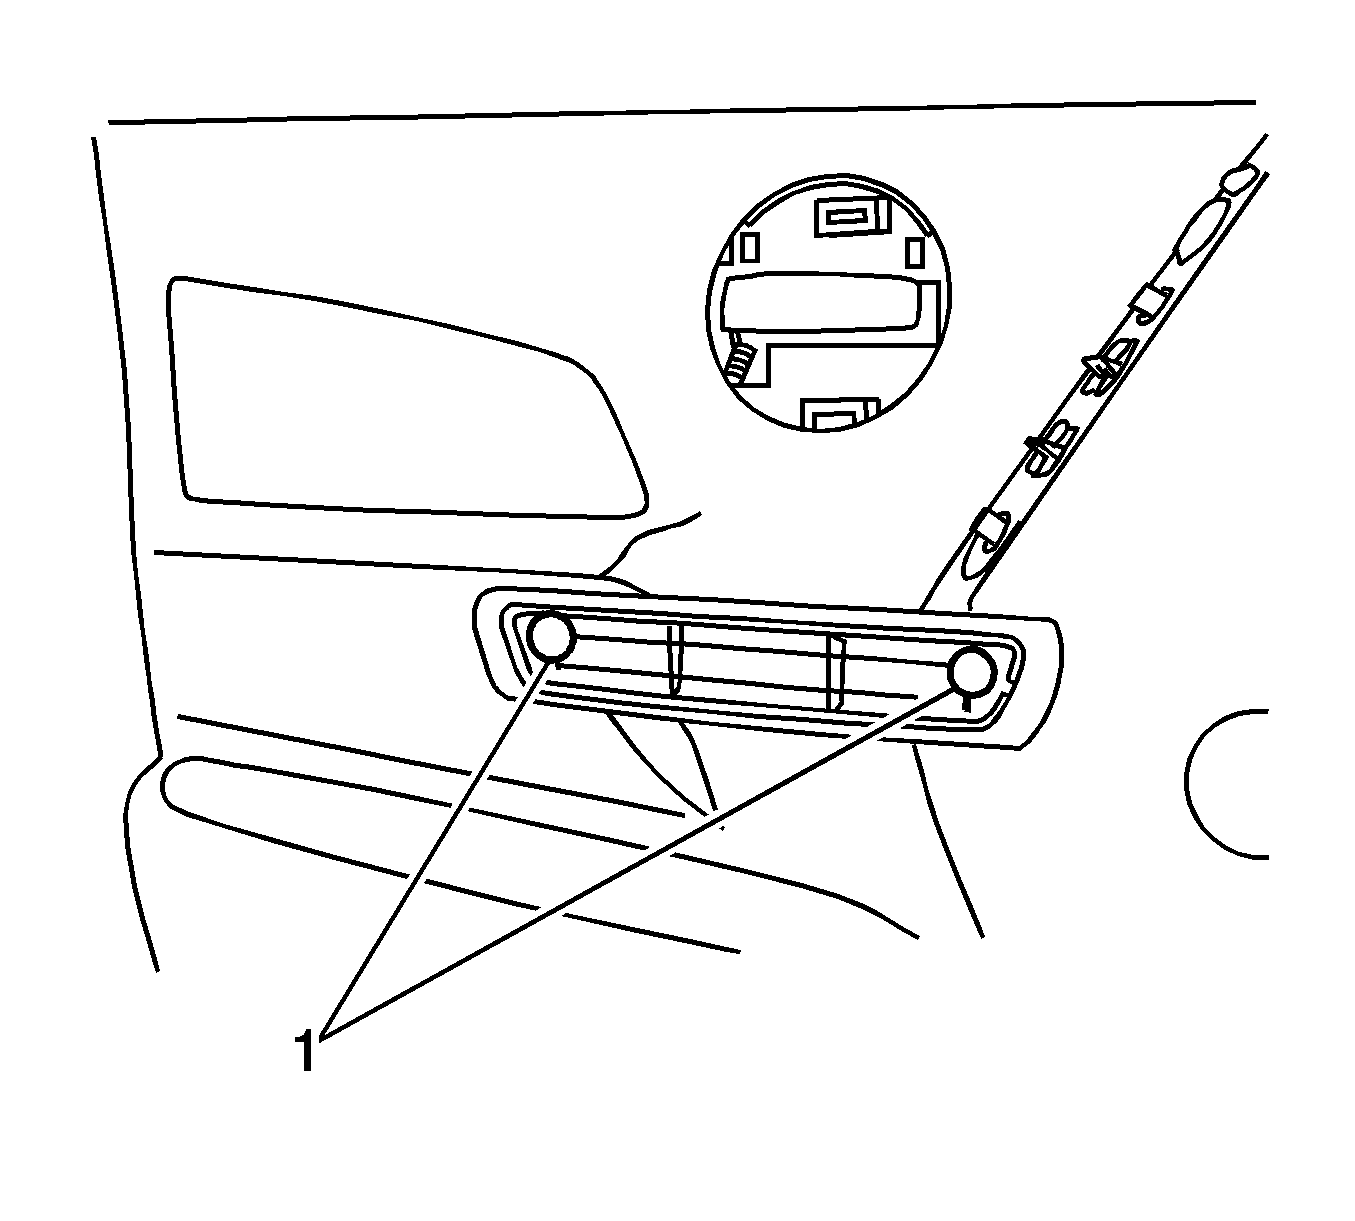
- Using a thin walled socket, remove the screws (1) from the pull handle.
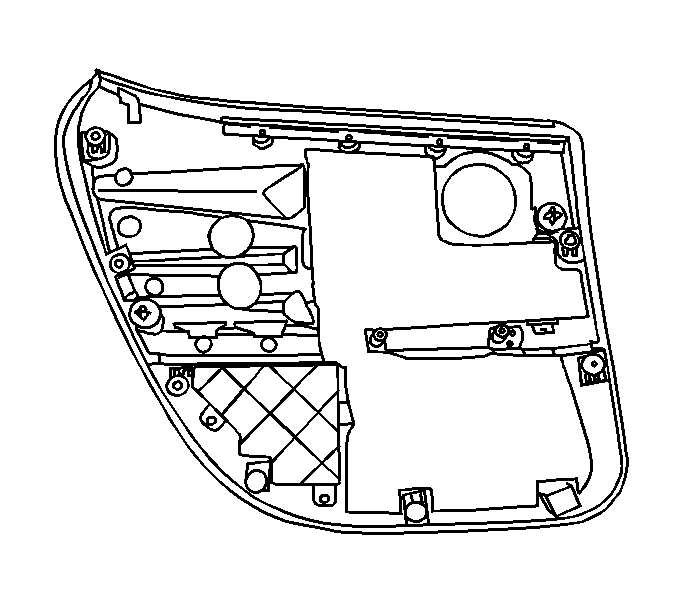
- Beginning at the lower rear of the door, use J 38778 to disengage the trim panel from the rear door inner panel.
- Lift the trim panel to disengage the channel at the top edge and to clear the door lock button.
- If equipped, disconnect the electrical connector for the power window switch.
- Remove the rear door trim panel from the vehicle.


Installation Procedure
- If equipped, connect the electrical connector for the power window switch.
- Position the trim panel to the rear door inner panel, verifying that the door handle comes through the bezel.
- Install the rear door trim panel pressing until the retainers are fully seated.
- Install the door trim retaining screws through the pull handle.
- Install the cover plate to the armrest pull handle. Press firmly until the plate is seated.

Notice: Refer to Fastener Notice in the Preface section.
Tighten
Tighten the screws to 3.5 N·m (31 lb in).
