For 1990-2009 cars only
Removal Procedure
- Disable the SIR system. Refer to SIR Disabling and Enabling .
- Disconnect the negative battery cable. Refer to Battery Negative Cable Disconnection and Connection .
- Remove all related panels and components.
- Repair as much of the damage as possible to factory specifications. Refer to Dimensions - Body .
- Note the location and remove the sealers and anti-corrosion materials from the repair area, as necessary. Refer to Anti-Corrosion Treatment and Repair .
Caution: Refer to Approved Equipment for Collision Repair Caution in the Preface section.
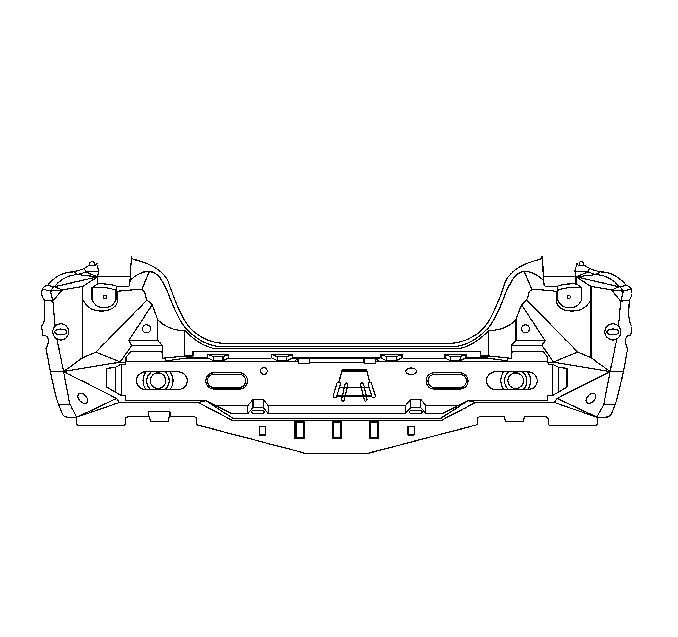
Important: The rear end panels is supplied as a complete assembly. Quarter panels extensions attach to the outside corners of the rear end panel. Service for this panel is performed at factory seams.
Caution: Refer to Foam Sound Deadeners Caution in the Preface section.
Installation Procedure
- Prepare the mating surfaces as necessary. Inspect or proper fit of the service panel.
- On the new panel, drill 8 mm (5/16 in) plug weld holes as necessary in the locations noted from the original panel.
- Apply GM-approved weld-thru coating or equivalent to all mating surfaces. Refer to Anti-Corrosion Treatment and Repair .
- Position the service panel, check with 3-dimensional measuring equipment. Refer to Dimensions - Body .
- Plug weld accordingly.
- Clean and prepare all welded surfaces.
- Apply the sealers and the anti-corrosion materials to the repair area, as necessary. Refer to Anti-Corrosion Treatment and Repair .
- Paint the repair area. Refer to Basecoat/Clearcoat Paint Systems .
- Install all related panels and components.
- Connect the negative battery cable. Refer to Battery Negative Cable Disconnection and Connection .
- Enable the SIR system. Refer to SIR Disabling and Enabling .
