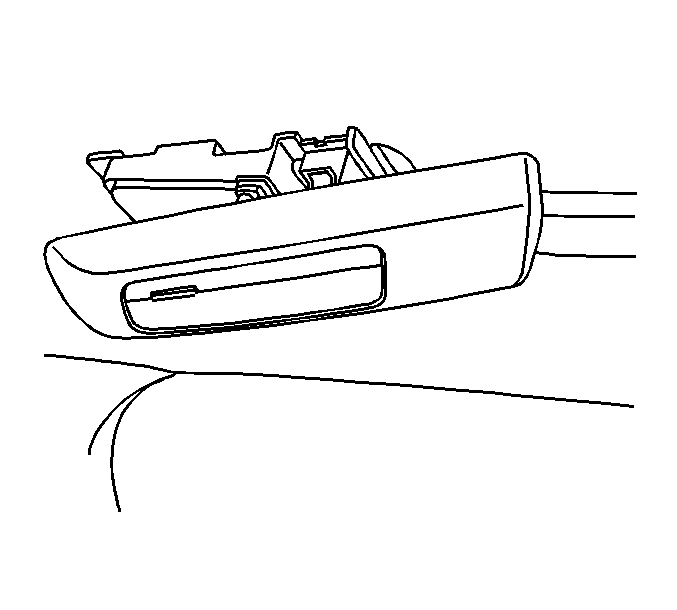
Removal Procedure
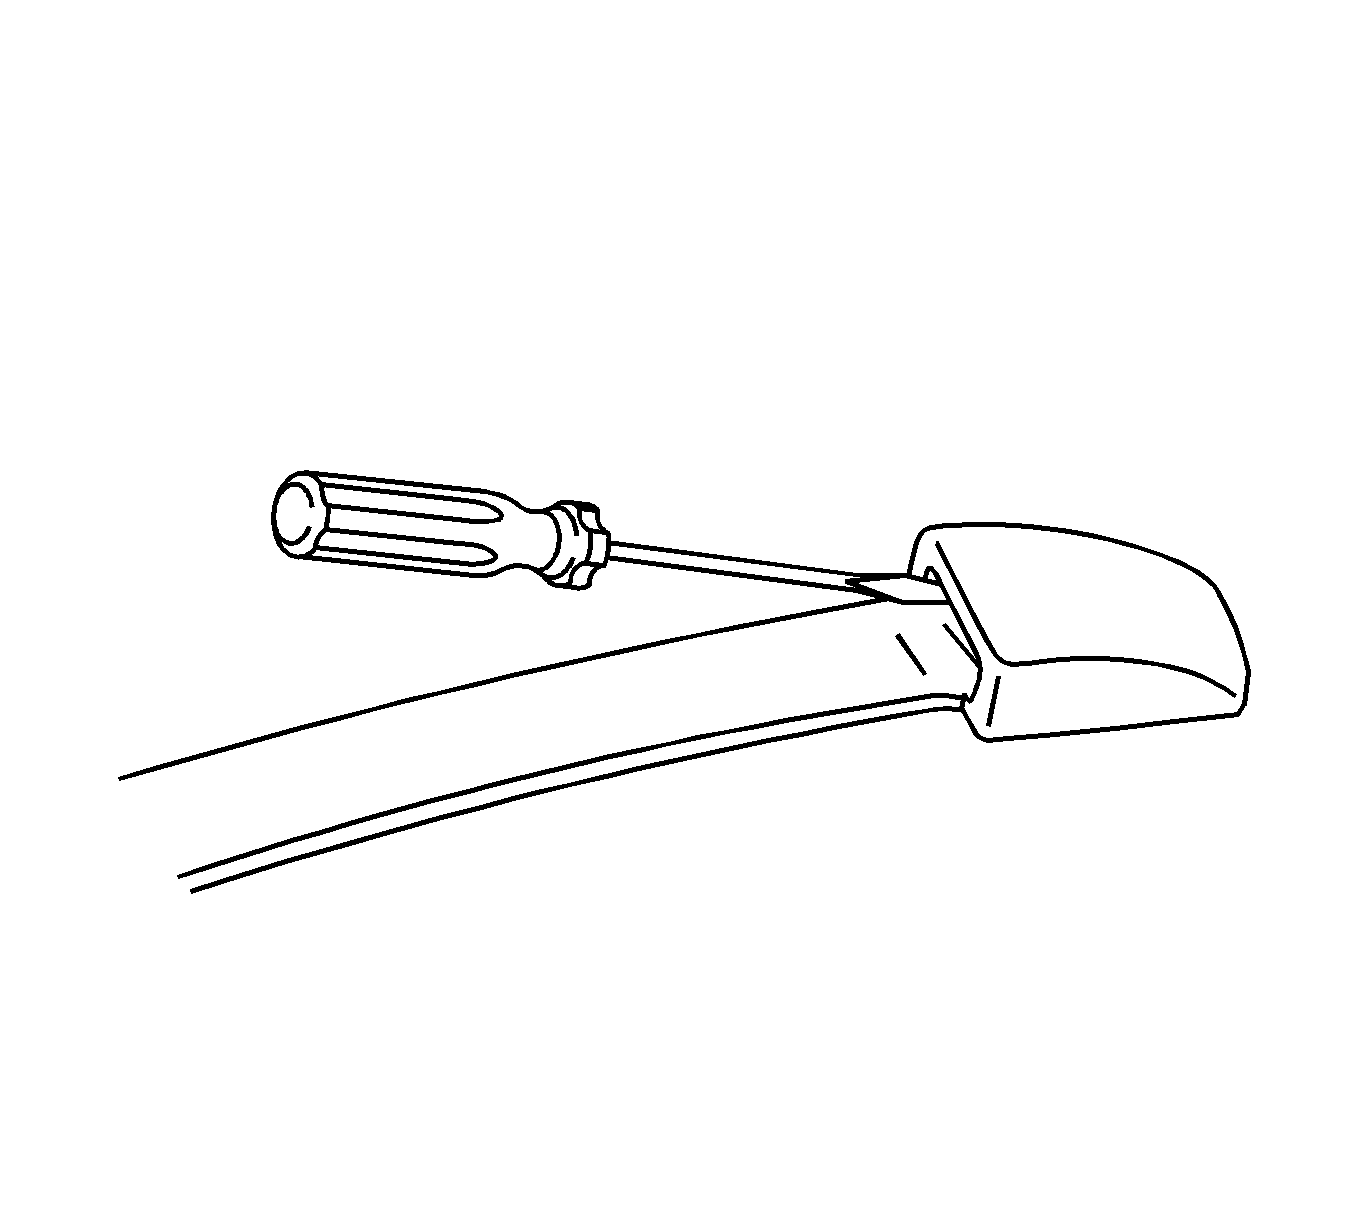
- Insert a flat-bladed tool at the handle end of the short end cover. Spread the cover end and pull down to disengage the cover.
- Slide the short cover onto the handle to expose the retaining screw.
- For the lamp end cover :
- Remove the screws under both end covers.
- Remove the plastic housings that the screws secured.
- Remove the handle from the headliner.
- Lower the headliner as required to access the backplate. Refer to Headlining Trim Panel Replacement .
- Disconnect the headliner harness electrical connector (1) from the lamp/switch assembly.
- Remove the backplate (3) from the headliner.
- Remove the lamp/switch assembly from the backplate.
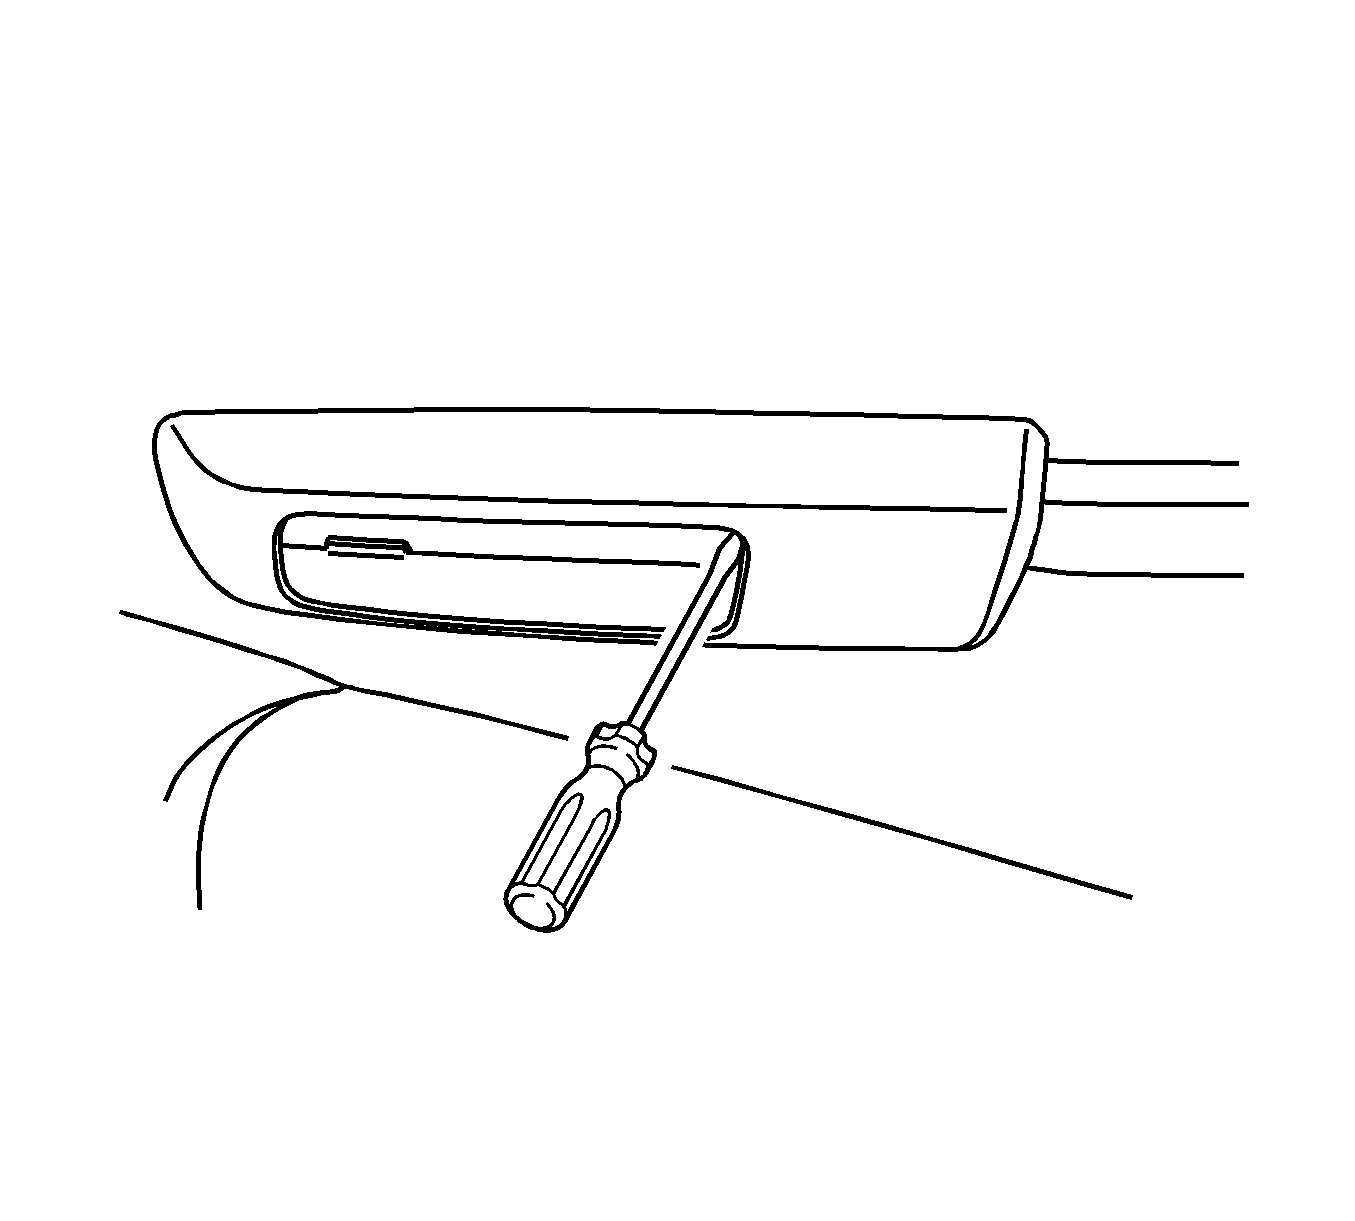
| • | Slide a flat-bladed tool between the lamp lens and the cover, near the handle end. Press out and down and remove the lens. |
| • | Using your fingers, spread the cover apart and pull down |
| • | Slide the lamp cover down the handle to expose the retaining screw |
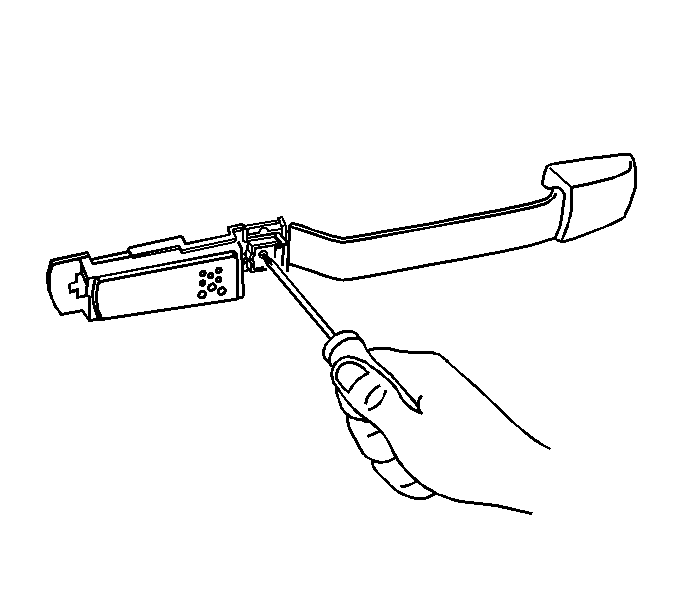
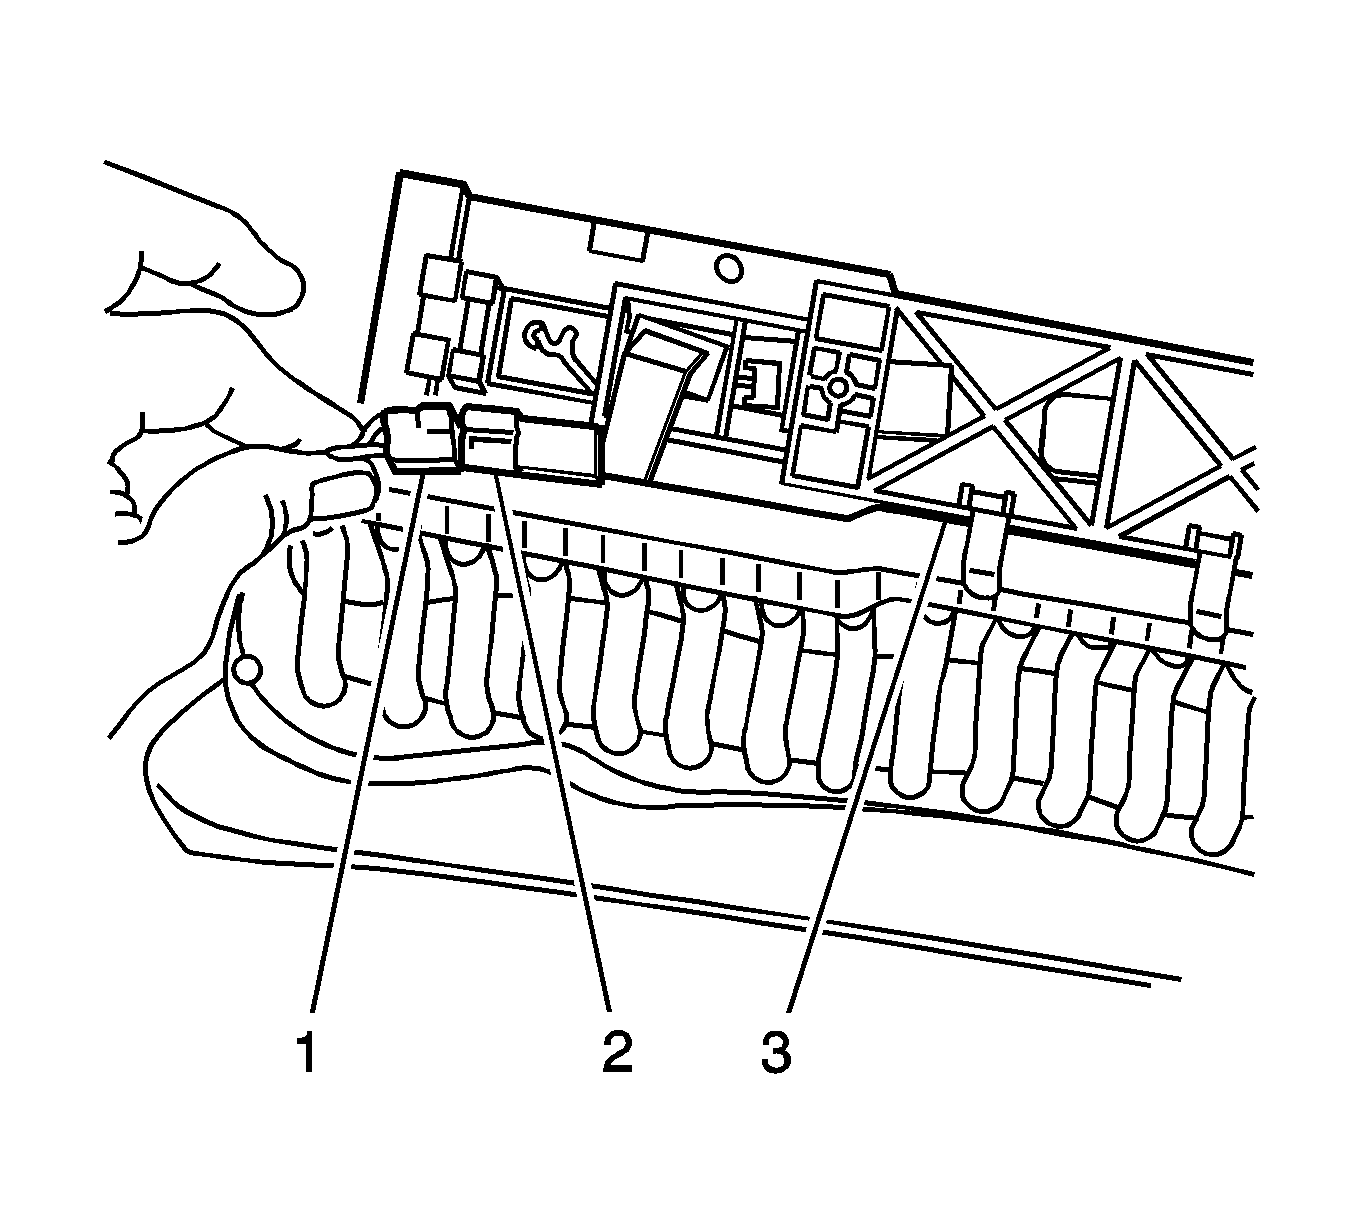
Important: On early production vehicles the lamp switch was glued onto the backplate. In this case the assembly cannot be removed from the backplate.
Installation Procedure
- Install the lamp/switch assembly (2) to the backplate.
- Position the backplate (3) on the headliner.
- Install the headliner harness connector (1) to the lamp/switch assembly (2).
- Install the headliner. Refer to Headlining Trim Panel Replacement .
- Install the plastic screw housings and loosely install the screws in the handle.
- Install the assist handle screws.
- Slide the end covers into position and press up to install both end covers.
- Install the lamp lens cover.


Notice: Use the correct fastener in the correct location. Replacement fasteners must be the correct part number for that application. Fasteners requiring replacement or fasteners requiring the use of thread locking compound or sealant are identified in the service procedure. Do not use paints, lubricants, or corrosion inhibitors on fasteners or fastener joint surfaces unless specified. These coatings affect fastener torque and joint clamping force and may damage the fastener. Use the correct tightening sequence and specifications when installing fasteners in order to avoid damage to parts and systems.
Tighten
Tighten the screws to 2 N·m (18 lb in).
