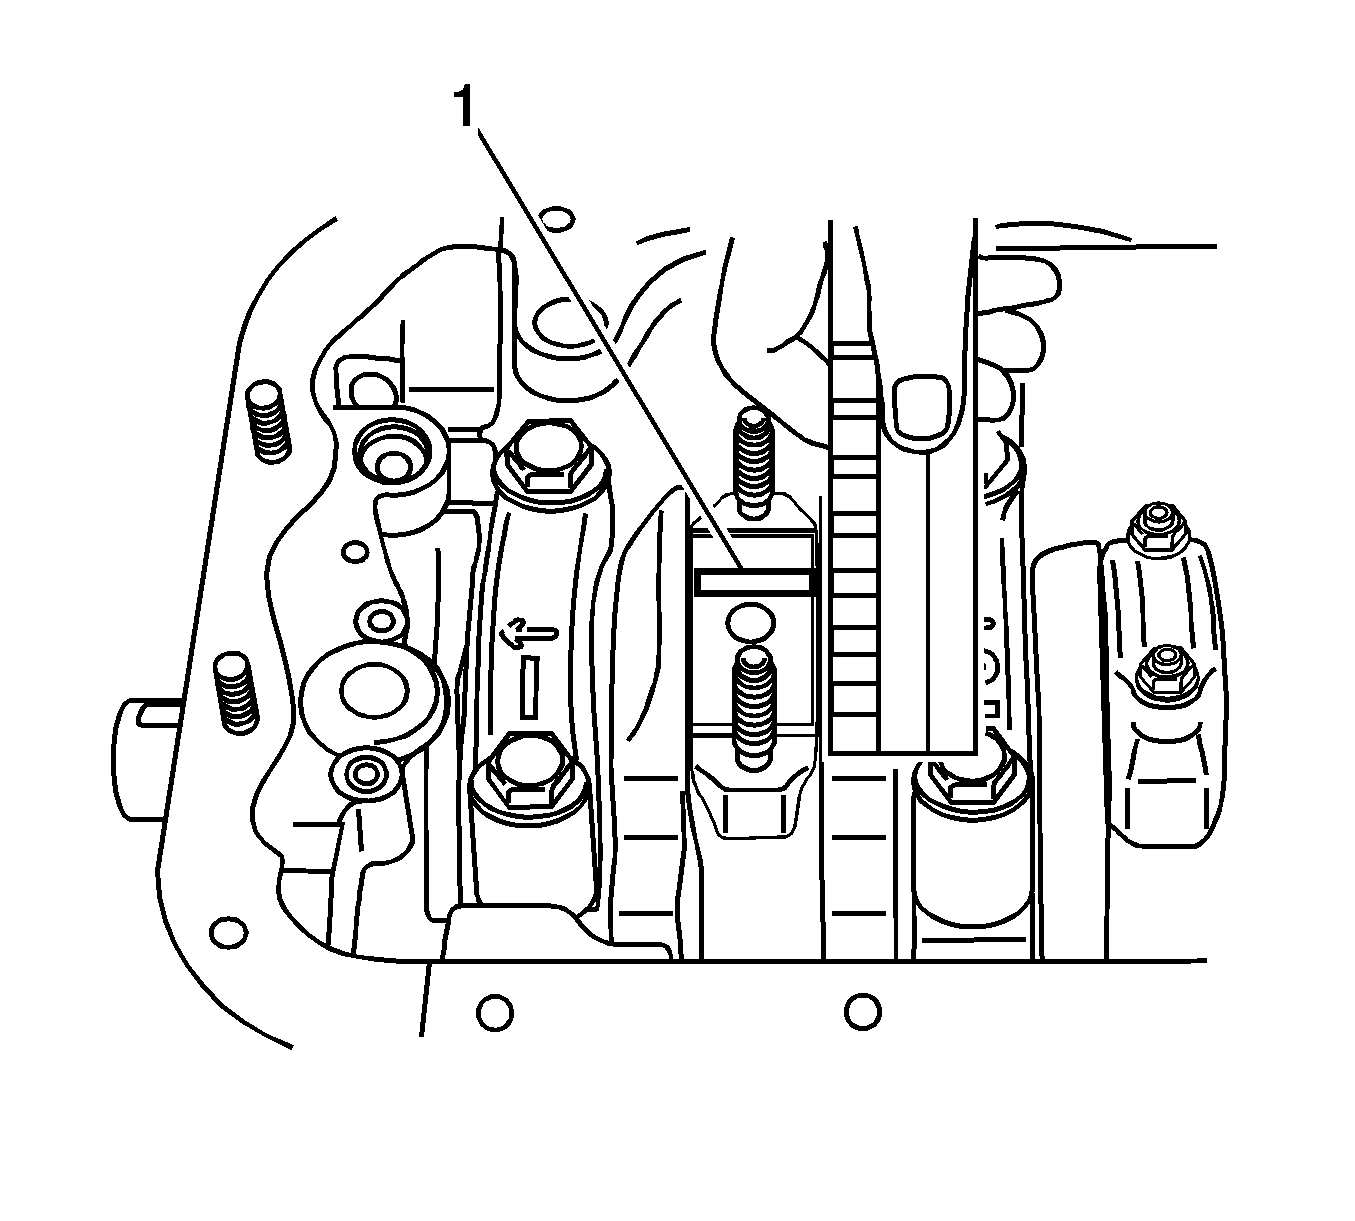
- Clean piston with a soft cloth and check any damage to determine whether to replace it.
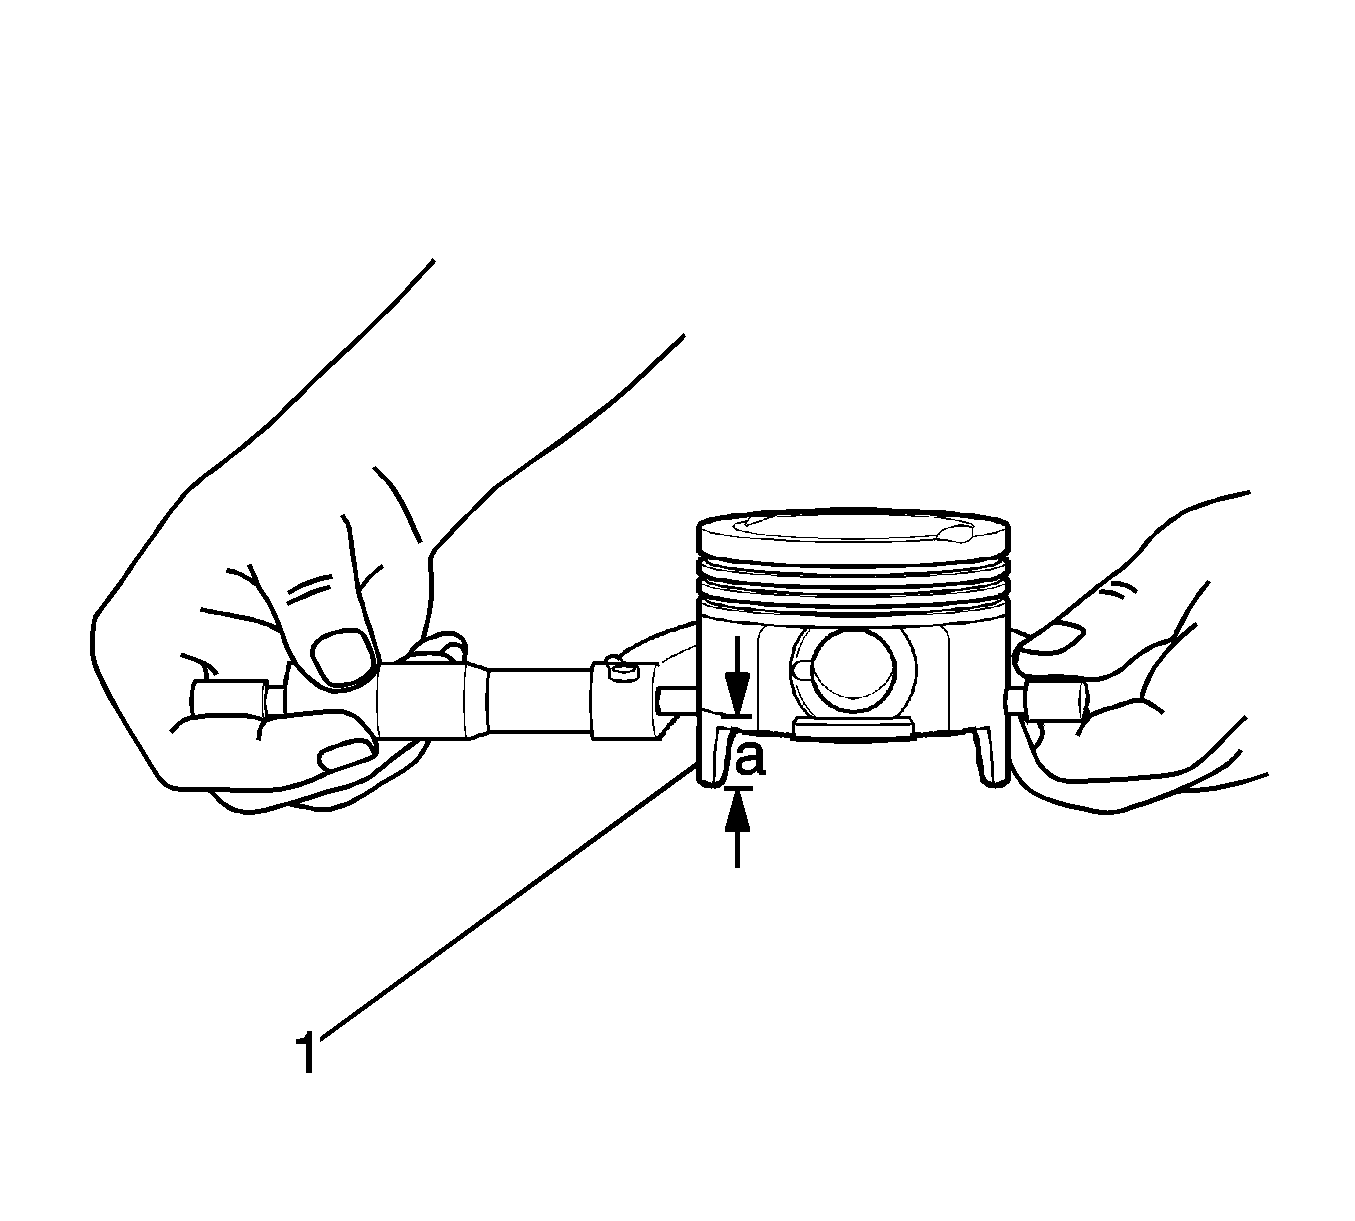
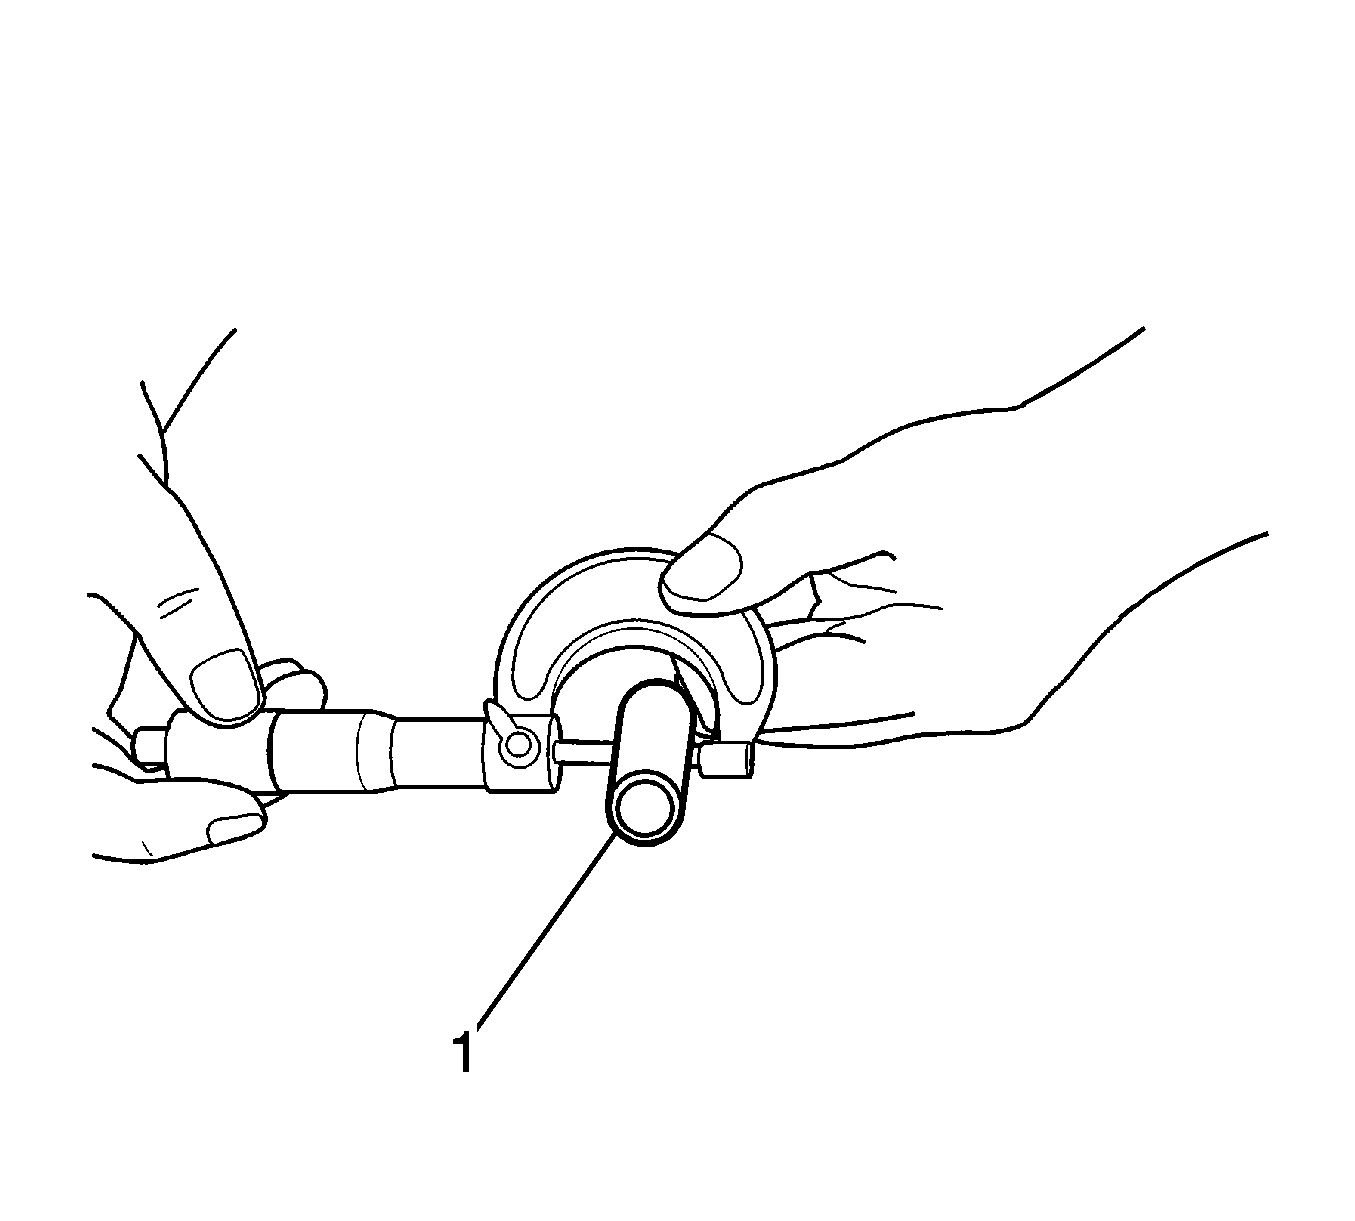
- Use micrometer to measure the outer diameter of piston. Check the outer diameter of the piston in the perpendicular direction of the piston pin at 15 mm (0.5906 in) high from the skirt (1).
Specification
| • | The outer diameter of piston oversize standard is 68.465-68.485 mm (2.6955-2.6963 in). |
| • | The outer diameter of piston oversize 0.25 is 68.715-68.735 mm (2.7053-2.7061 in). |
| • | The outer diameter of piston oversize 0.50 is 68.965-68.985 mm (2.7152-2.7160 in). |

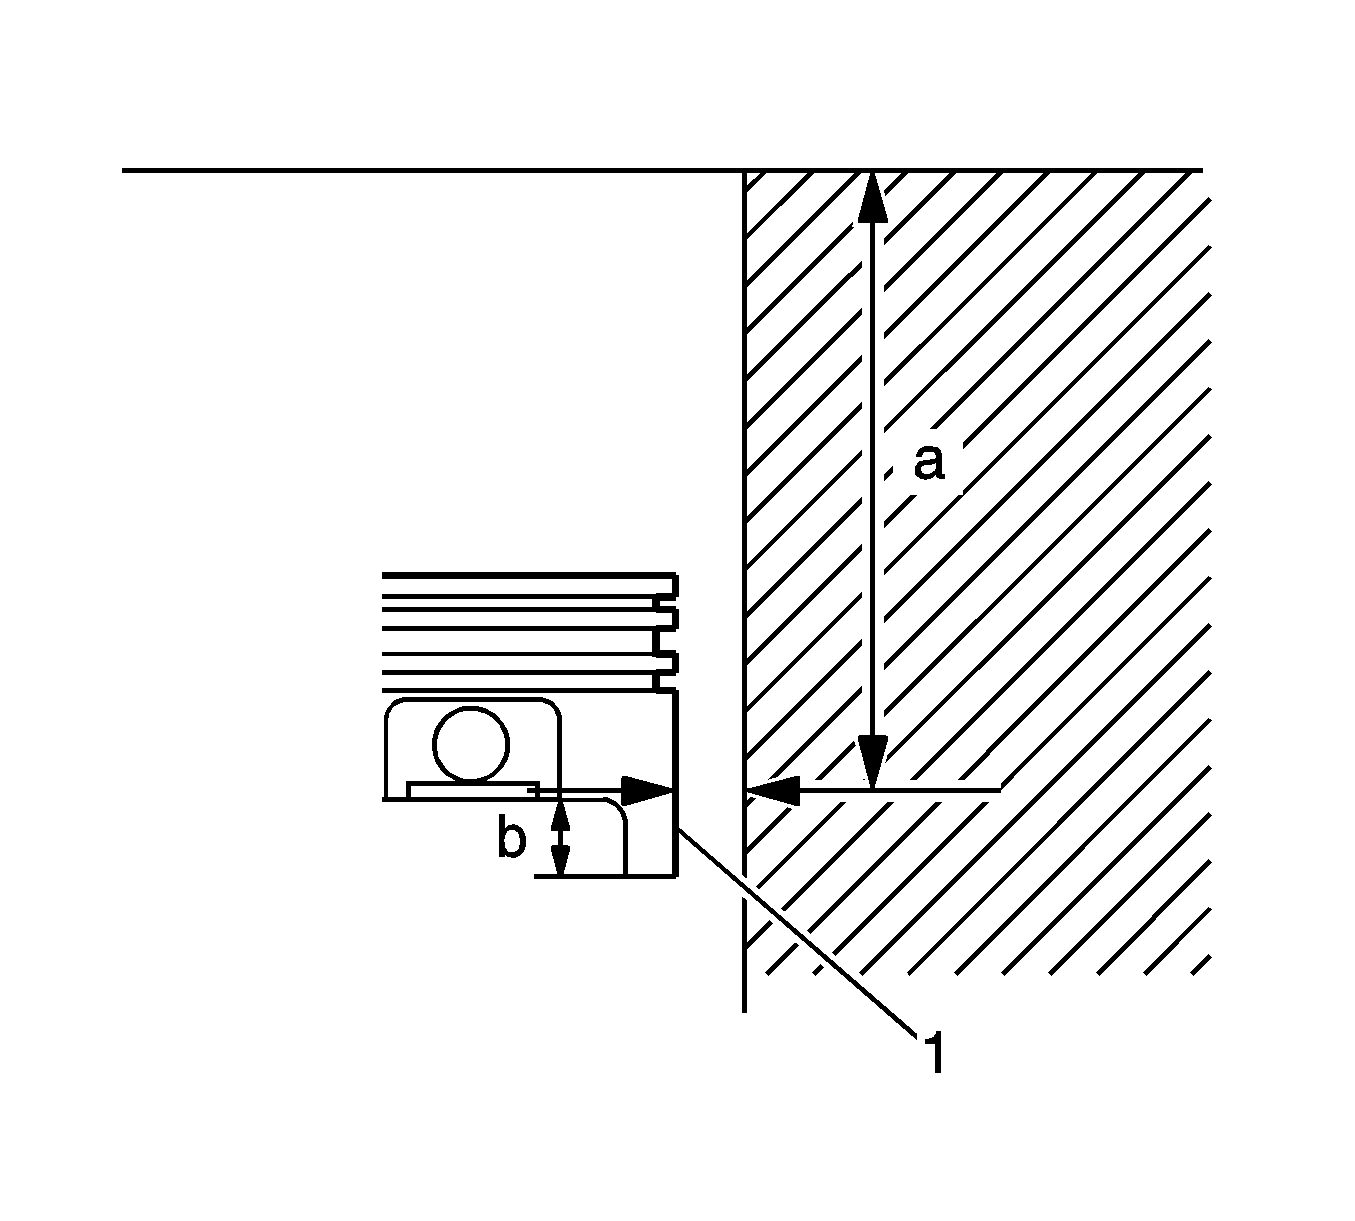
Important: Upon measuring of cylinder bore diameter and piston outer diameter, calculate the measured values both in the same directions of crankshaft and piston pin.
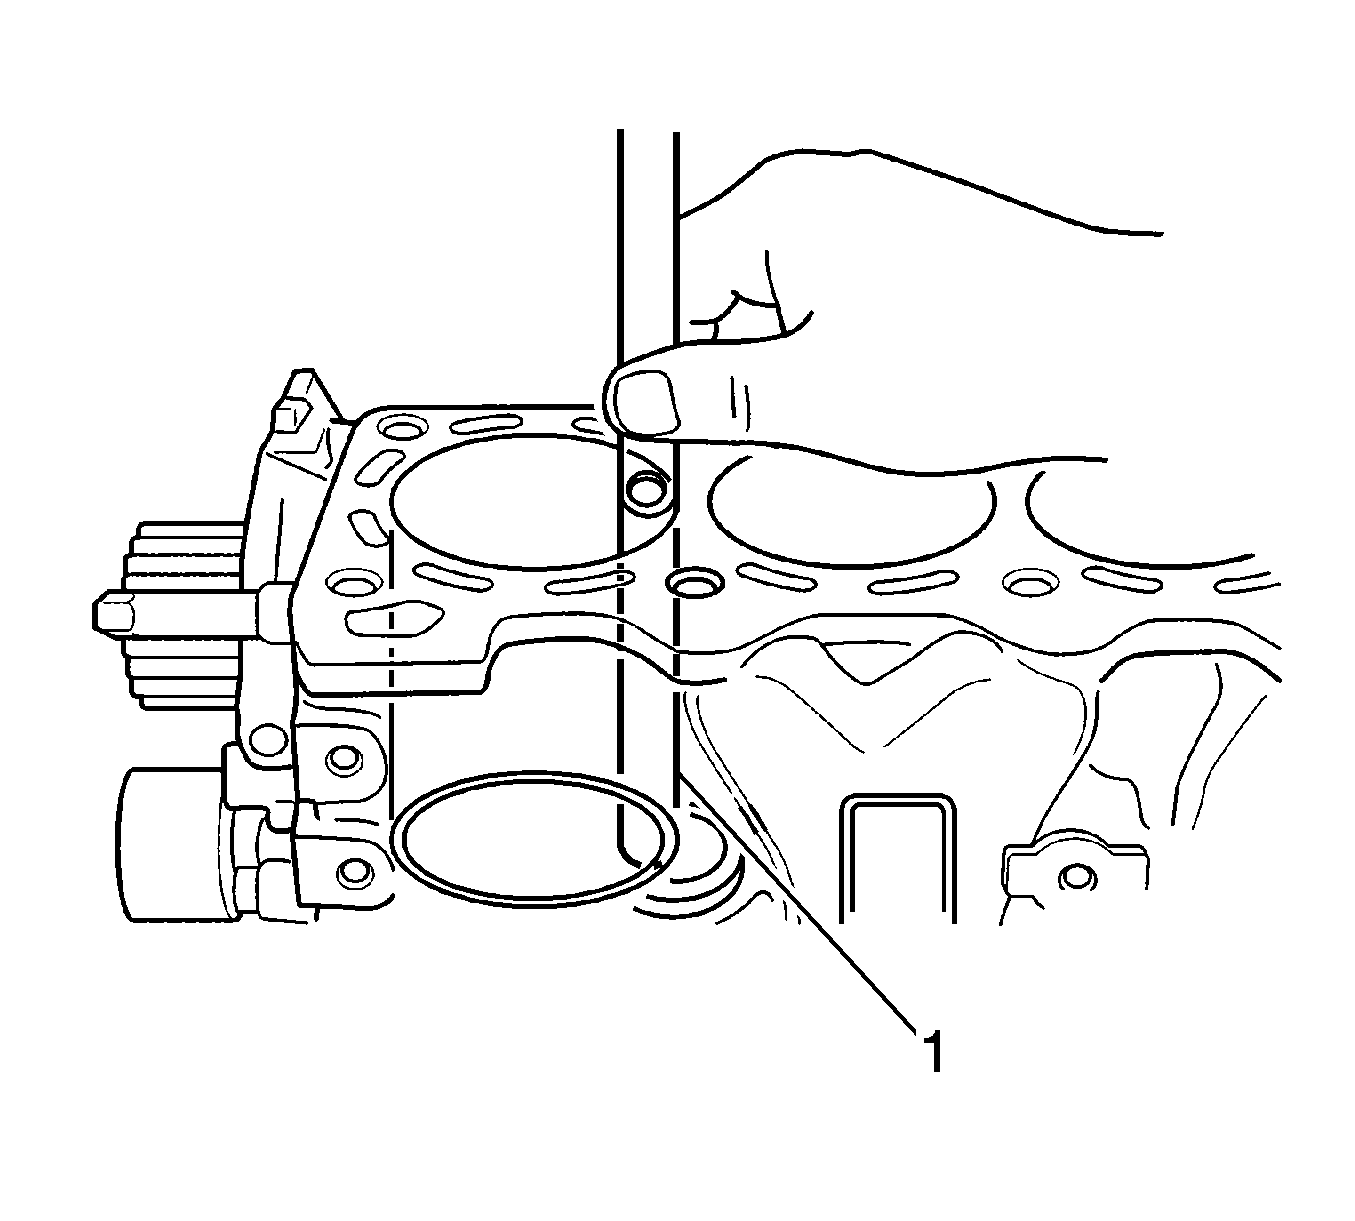
- Calculate the different value of the measurement between cylinder inner diameter 50 mm (1.9685 in) - below the head surface and piston outer diameter 15 mm (0.5906 in) - above the piston skirt.
Specifications
The piston clearance is 0.025-0.045 mm (0.00098-0.00177 in).
Piston Ring

- Remove the carbon and make the groove clean before inserting the ring, and measure the clearance between ring and ring land with thickness gage. If the measured exceeds the limit,
replace the piston (1).
Specifications
| • | The compression ring standard is 0.02-0.06 mm (0.00079-0.0024 in). |
| • | The compression ring limit is 0.10 mm (0.0039 in). |
| • | The second compression standard is 0.02-0.06 mm (0.00079-0.0024 in). |
| • | The second compression limit is 0.10 mm (0.0039 in). |
| • | The piston oil ring standard is 0.06-0.10 mm (0.0024-0.0039 in). |

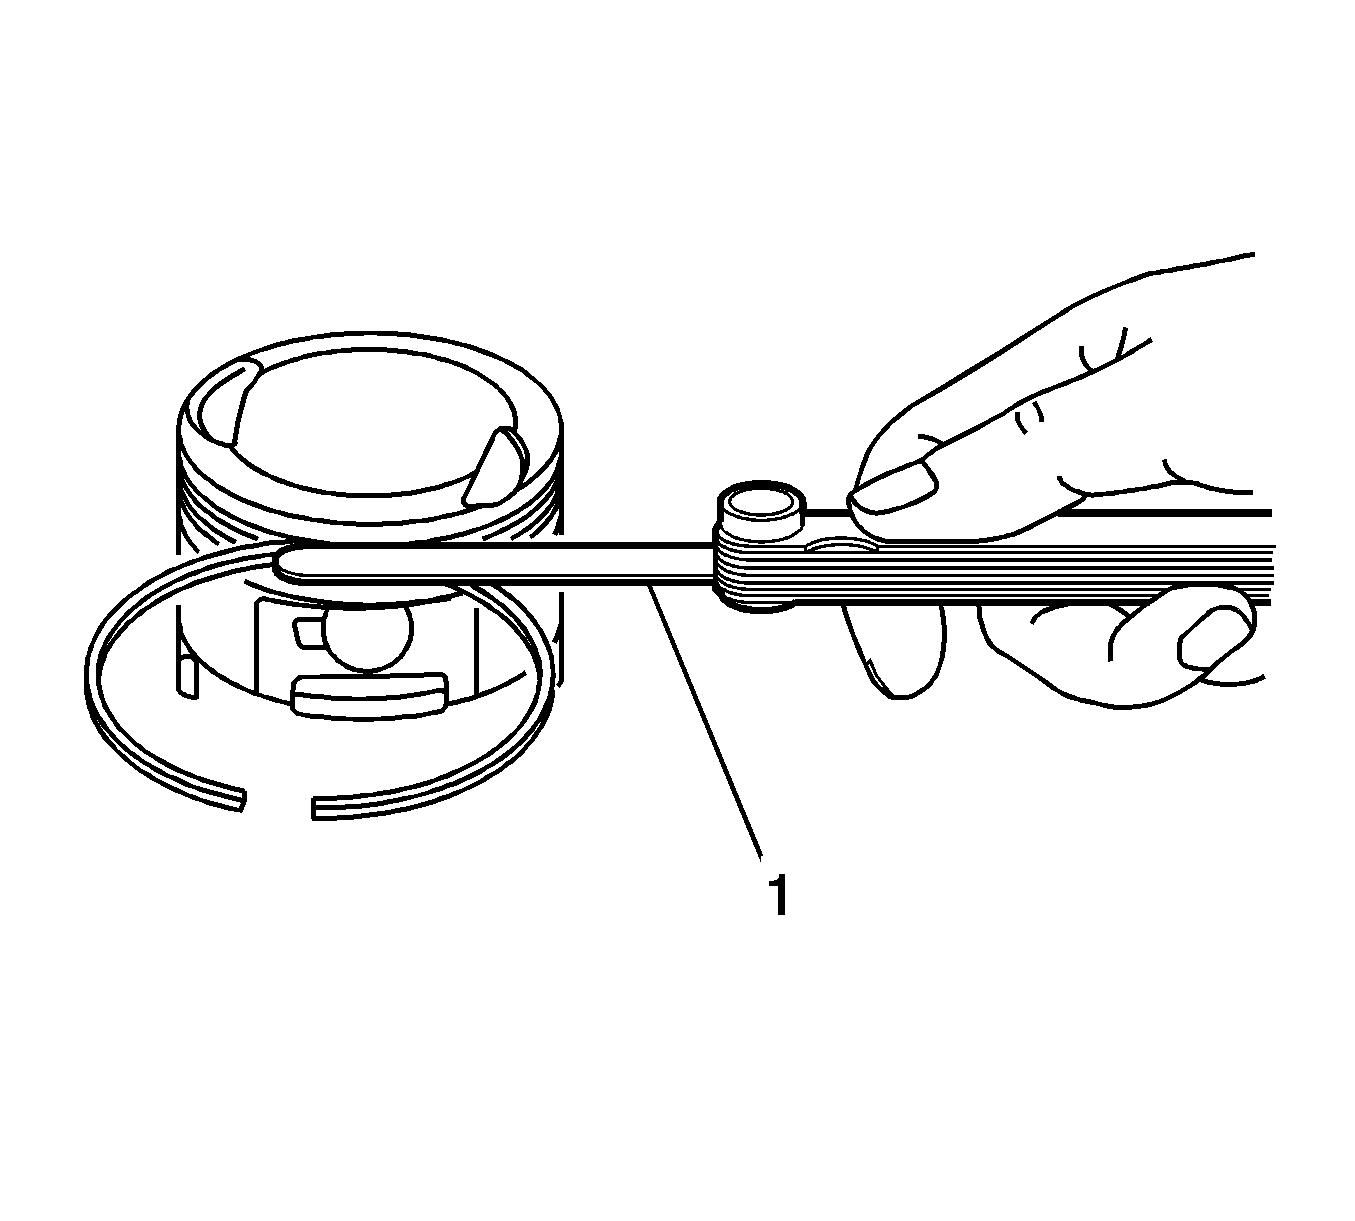
- To measure the end gap, insert the piston ring into the cylinder bore with the piston, locating it at the lowest part of the bore, then use a filler gage to measure the gap. If the
gap measured exceeds the limit, replace the ring (1).
Specifications
| • | The compression ring standard 0.15-0.30 mm (0.0059-0.0120 in). |
| • | The compression ring limit is 0.70 mm (0.0280 in). |
| • | The second compression ring standard is 0.10-0.30 mm (0.0039-0.0120). |
| • | The second compression limit 0.70 mm (0.0280 in). |
| • | The piston oil ring standard is 0.20-0.70 mm (0.0079-0.0280 in). |
| • | The piston oil ring limit is 1.80 mm (0.0709 in). |
Piston Pin

Measure the clearance between piston pin and piston boss part, and if the measured exceeds the standard, replace the piston pin (1).
Specifications
| • | The outer diameter of the piston pin standard is 15.995-16.000 mm (0.6297-0.6299 in). |
| • | The inner diameter of piston boss standard is 16.006-16.014 mm (0.6302-0.6305 in). |
| • | The piston pin clearance is 0.006-0.019 mm (0.0002-0.0007 in). |
Connecting Rods

- Check the big end of each connecting rod for thrust clearance, with the rod fitted and connected to the crank pin in the normal manner. If the measured clearance is found to exceed
the limit or any damage is found on the thrust surface of both ends, the responsible connecting rod or the crankshaft must be replaced (1).
Specifications
| • | The connecting rod big end thrust clearance standard is 0.10-0.20 mm (0.0039-0.0079 in). |
| • | The connecting rod big end thrust clearance limit 0.35 mm (0.0138 in). |
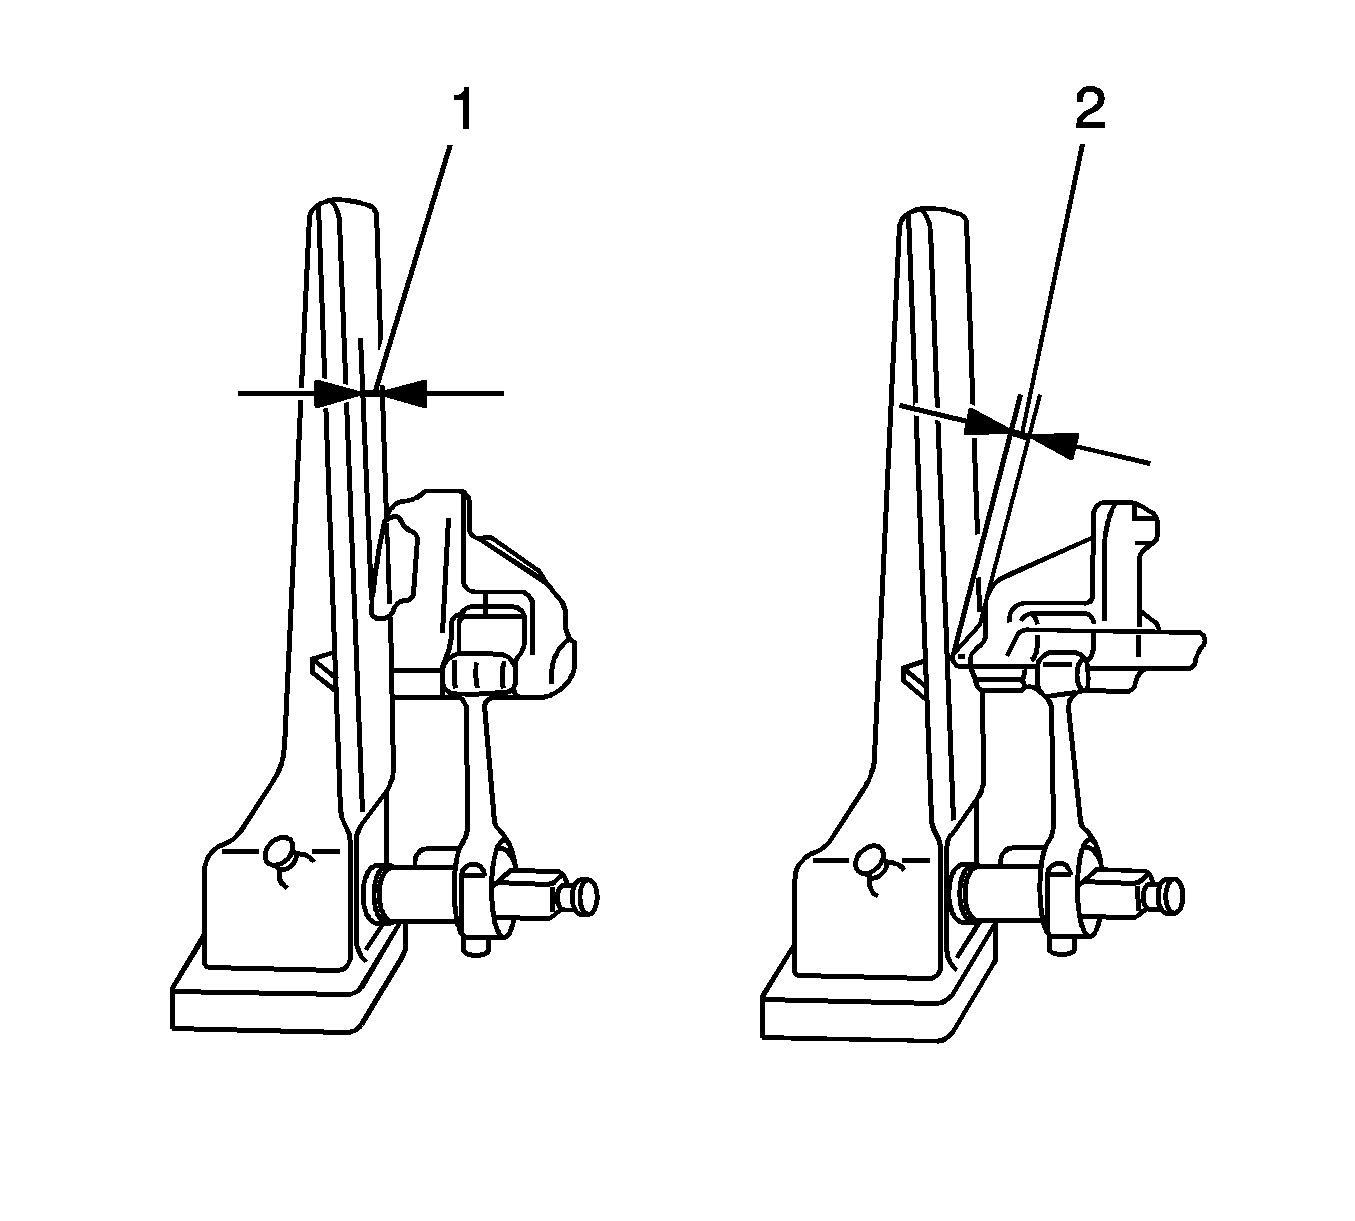
- Check the bending and the twist of connecting rod with the connecting rod aligner, and if the limit is exceeded, replace it.
Specifications
| • | The bending limit is 0.05 mm - in case of 100 mm (3.937 in). |
| • | The twist limit is 0.10 mm (0.0039 in) - in case of 100 mm (3.937 in). |

- Inspect the bearing shell for signs of damage, fusion, burn, etc. and observe the contact pattern. Bearings found in defective condition through this inspection must be replaced.
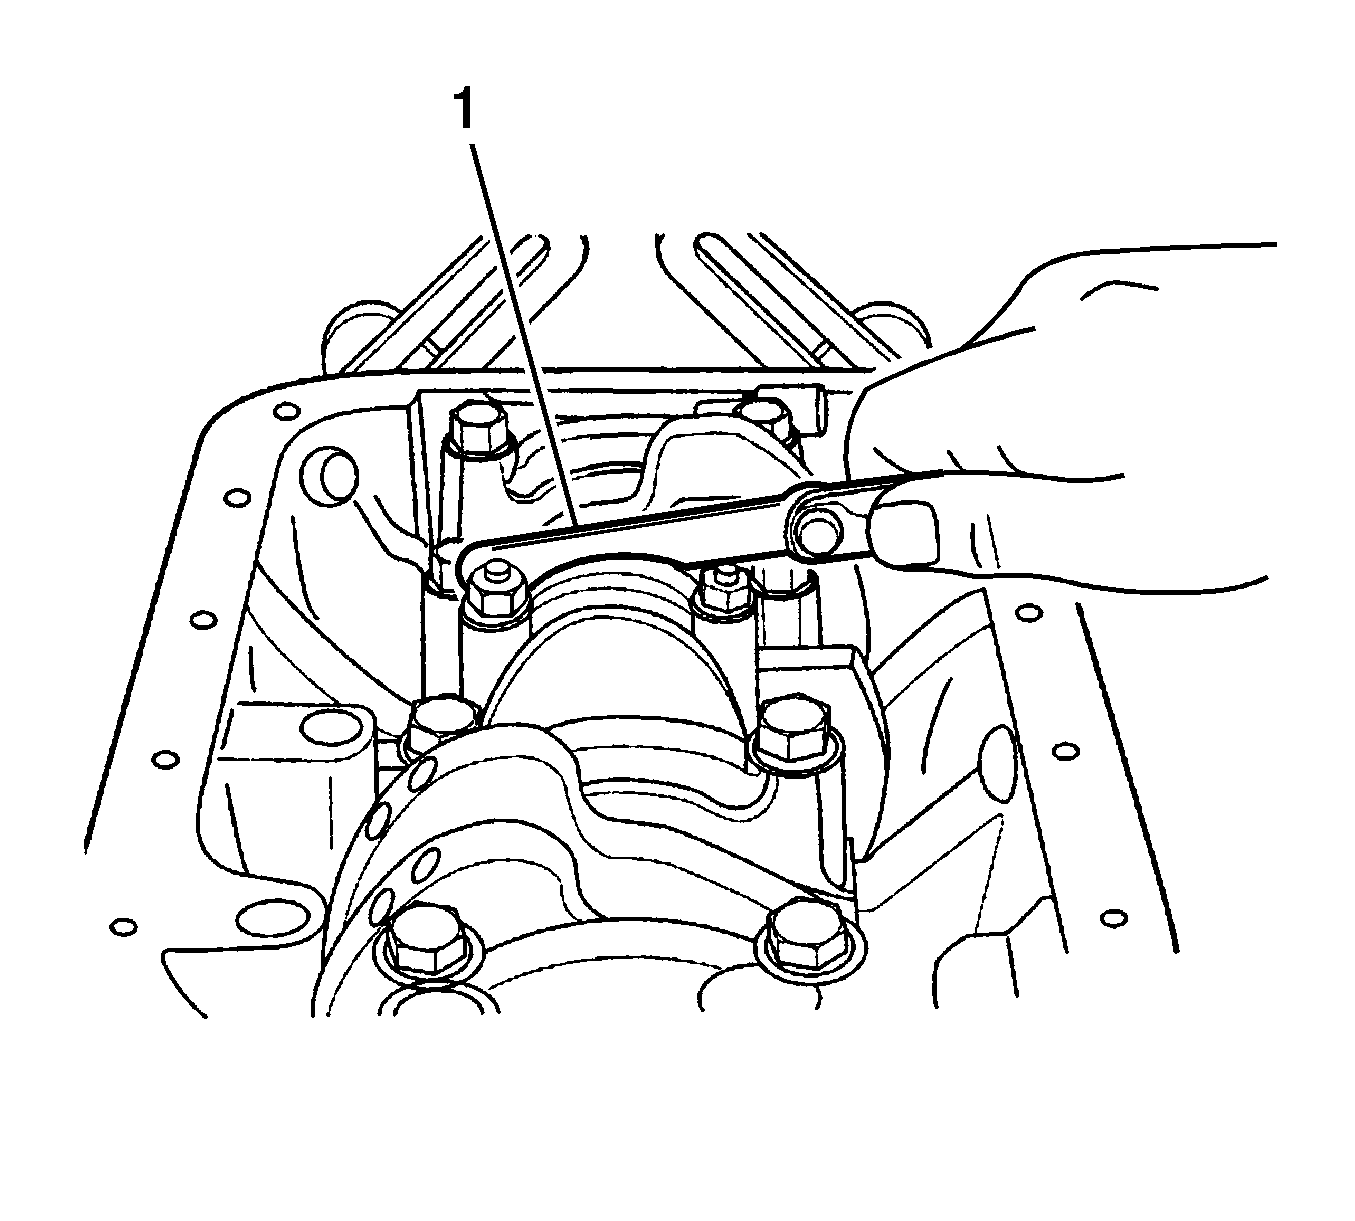
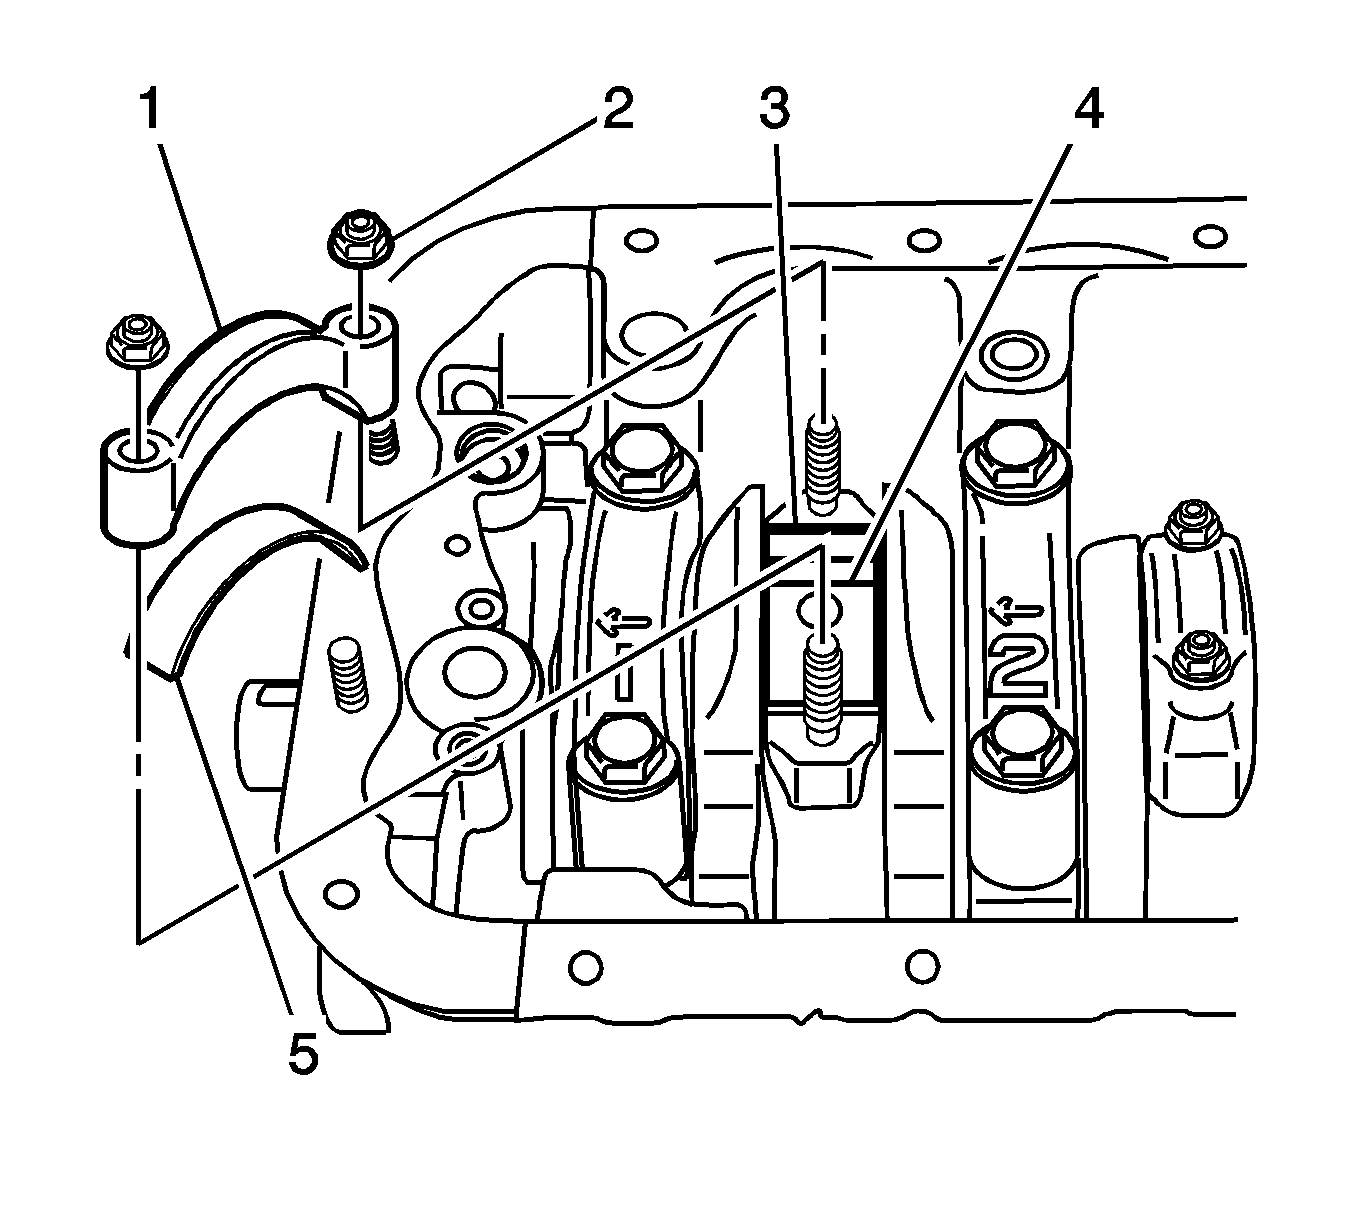
- Measure the oil clearance by using the plastigauge (1). Prepare, by cutting a length of plastigauge equal to bearing width and place it axially on crank pin, avoiding oil hole.
Notice: Refer to Fastener Notice in the Preface section.

Notice: Avoid installing the bearing caps incorrectly. Cylinder head and camshaft
damage may result.
- Install the connecting rod bearing (2) and bearing cap (5) and tighten to the specified torque (1). At this time, never turn or rotate the crankshaft.
Tighten
Tighten the connecting rod bearing cap nuts to 31-35 N·m(23-25 lb ft).
- Remove the cap, and measure the width of plastigauge with the scale marked on the plastigauge case. The measurement must be taken at the widest part of the compression and attention should be also paid to the different values measured at the both
ends of the plastigauge.

- If the oil clearance exceeds the limit (1), replace the bearings.
Specifications
| • | The bearing oil clearance standard is 0.020-0.040 mm (0.00079-0.00157 in). |
| • | The bearing oil clearance limit is 0.065 mm (0.00256 in). |
| • | The outer diameter of crank pin standard is 37.982-38.000 mm 1.4954-1.4961 in). |
