For 1990-2009 cars only
Removal Procedure
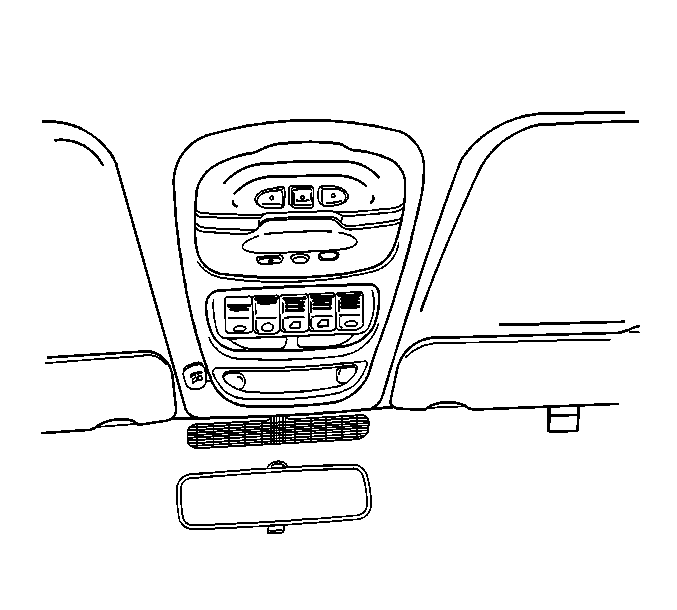
- Using a small flat bladed tool, pry the OnStar® bezel tab down away from the overhead console.
- Remove the overhead console. Refer to Roof Console Replacement in Interior Trim.
- Disconnect the OnStar® electrical connectors.
- Remove the 2 screws that retain the OnStar® bezel to the overhead console.
- Remove the OnStar® button assembly from the overhead console.

Installation Procedure
- Install the OnStar® button assembly to the overhead console.
- Install the 2 screws that retain the OnStar® bezel to the overhead console.
- Reconnect the OnStar® electrical connectors.
- Install the overhead console. Refer to Roof Console Replacement in Interior Trim.
- Snap the OnStar® button assembly back into place in the overhead console.

