Caution: Unless directed otherwise, the ignition and start switch must be in the OFF or LOCK position, and all electrical loads must be OFF before servicing
any electrical component. Disconnect the negative battery cable to prevent an electrical spark should a tool or equipment come in contact with an exposed electrical terminal. Failure to follow these precautions may result in personal injury and/or damage to
the vehicle or its components.
- Disconnect
the negative battery cable.
Important: After removing the gearshift control lever, remove the bolt directly
behind the gearshift lever case. This bolt attaches the gearshift lever case
to the transfer case and must be removed before the transfer case removal
can be performed.
- Remove the gearshift control lever from the gearshift lever case. Refer
to
Gearshift Control Lever Removal
.
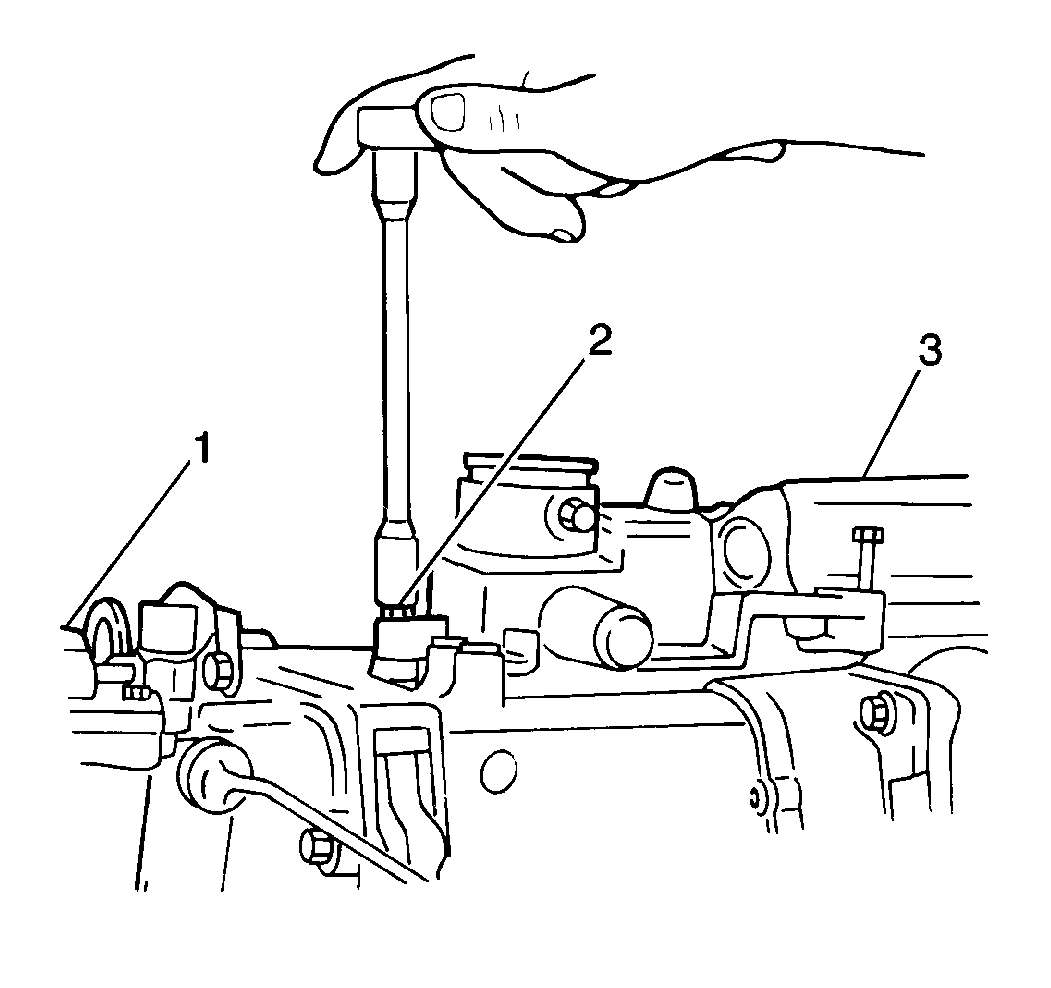
- Remove one bolt (2) from
the rear of the gearshift lever case (Four-Wheel Drive).
- Remove the transfer case gearshift control lever from the transfer
case (Four-Wheel Drive Models).
- Remove the four bolts from the fan shroud at the radiator.
- Raise and support the vehicle. Refer to
Lifting and Jacking the Vehicle
in General Information.
- Remove the two upper transmission-to-engine bolts from the transmission.
- Place a drain pan or a suitable container underneath the transmission.
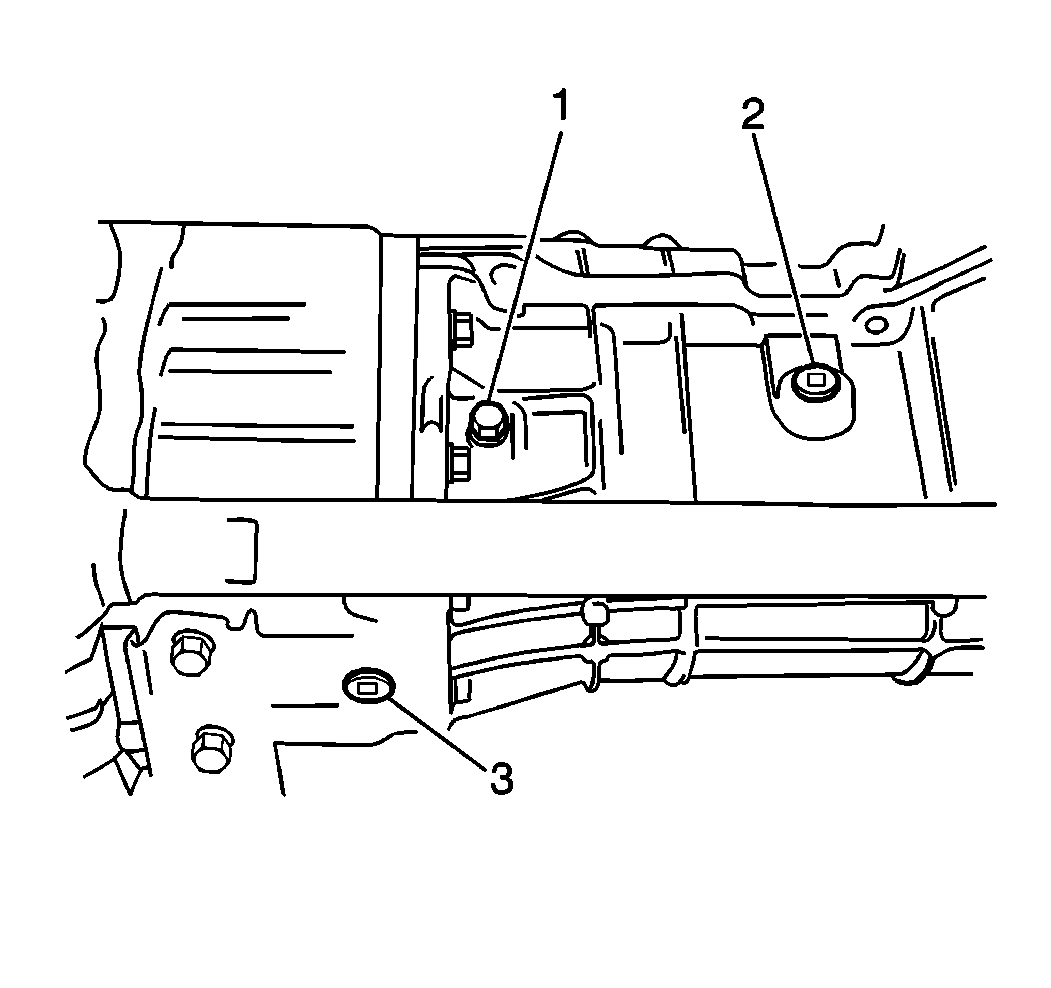
- Remove the transmission
oil level/filler plug (2) from the transmission.
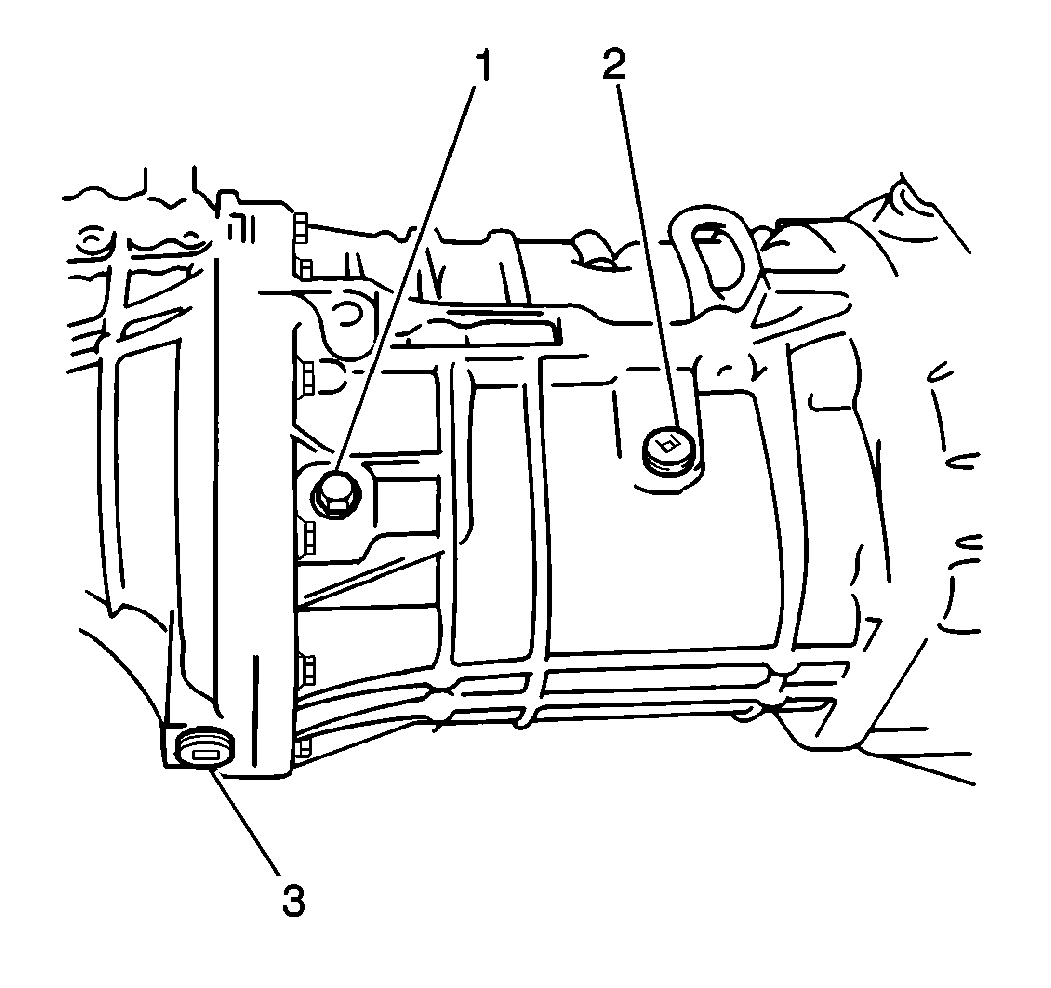
- Remove the transmission
oil level/filler plug (3) from the transmission. (Two-Wheel Drive Models)
- Remove the transmission
drain plug (3) from the transmission and drain the transmission oil.
- Remove the transmission
drain plug (1) from the transmission and drain the transmission oil. (Two-Wheel
Drive Models)
- Remove the backup lamp
switch electrical connector from the backup lamp switch.
- Remove the starter motor electrical connections from the starter
motor.
- Remove the following items from the transmission:
- Remove the transfer case from the vehicle (Four-Wheel Drive Models).
Refer to
Transfer Case Replacement
in Driveline/Axle.
- Place index marks on the propeller shaft pinion flange yoke and
the differential pinion flange to ensure correct installation (Two-Wheel Drive
Models).
- Remove the following items from the vehicle (Two-Wheel Drive Models):
| • | The rear propeller shaft. |
- Remove the following items from the vehicle (if equipped):
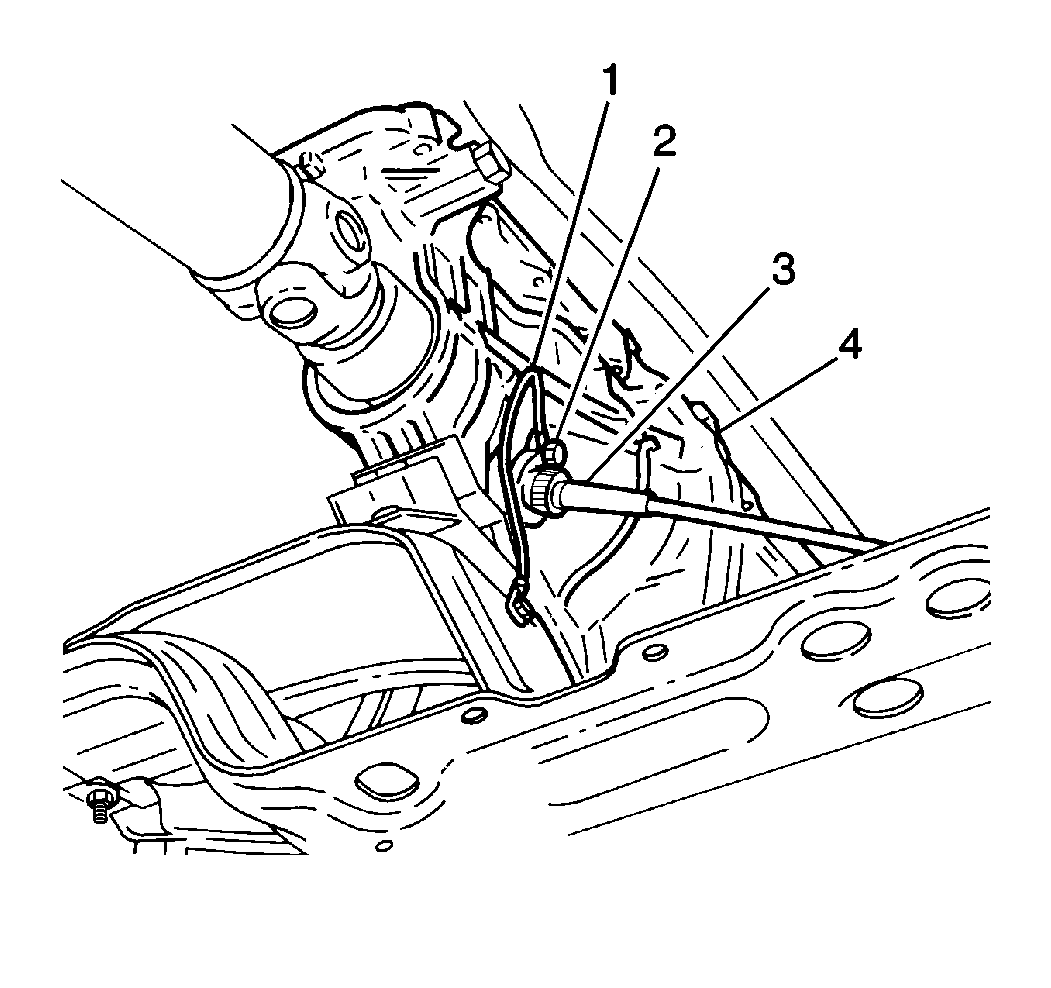
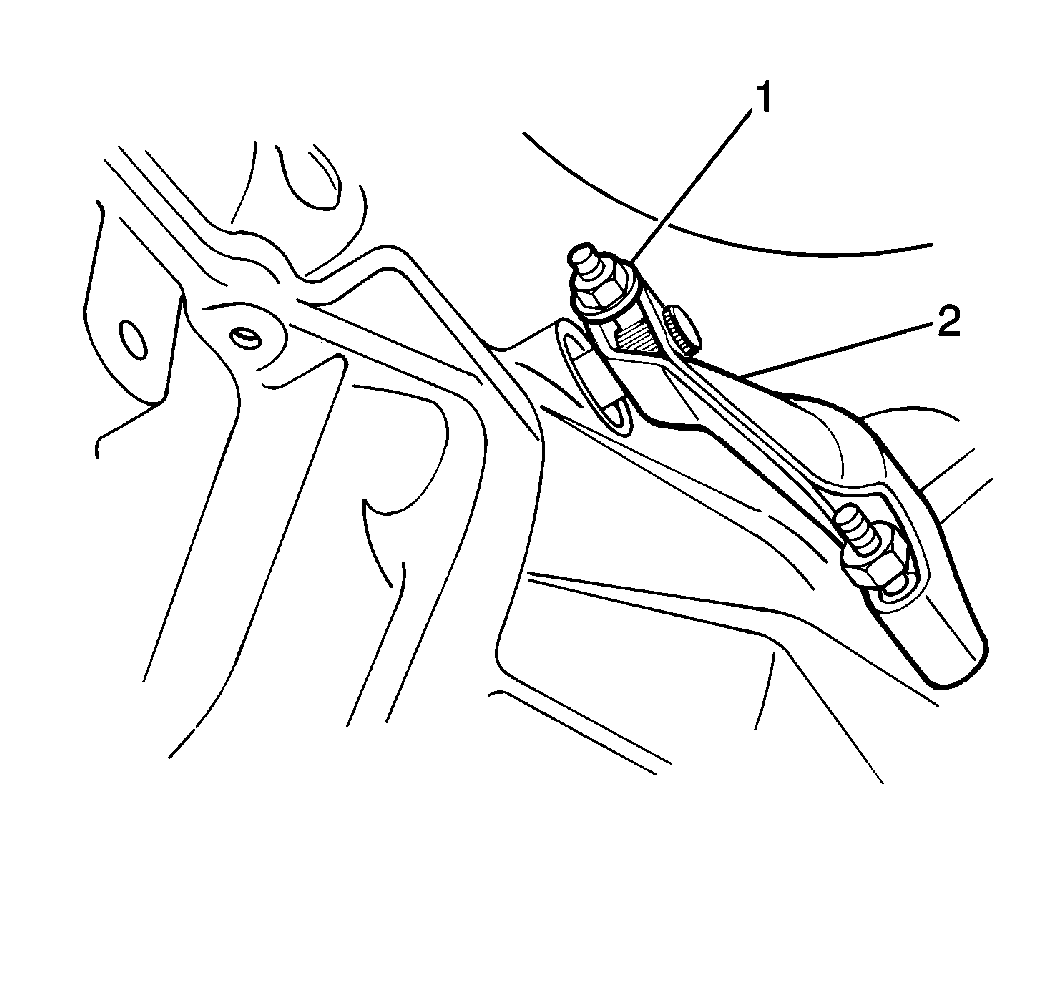
- Remove the speedometer
cable (3) from the speedometer driven gear case (Two-Wheel Drive Models).
- Temporarily install the speedometer driven gear case retaining
bolt (2).
- Remove the Three-Way Catalytic Converter (TWC) and the muffler/tail
pipe assembly from the vehicle.
- Remove the drain pan from underneath the transmission.
- Support the transmission with a suitable hydraulic jack.
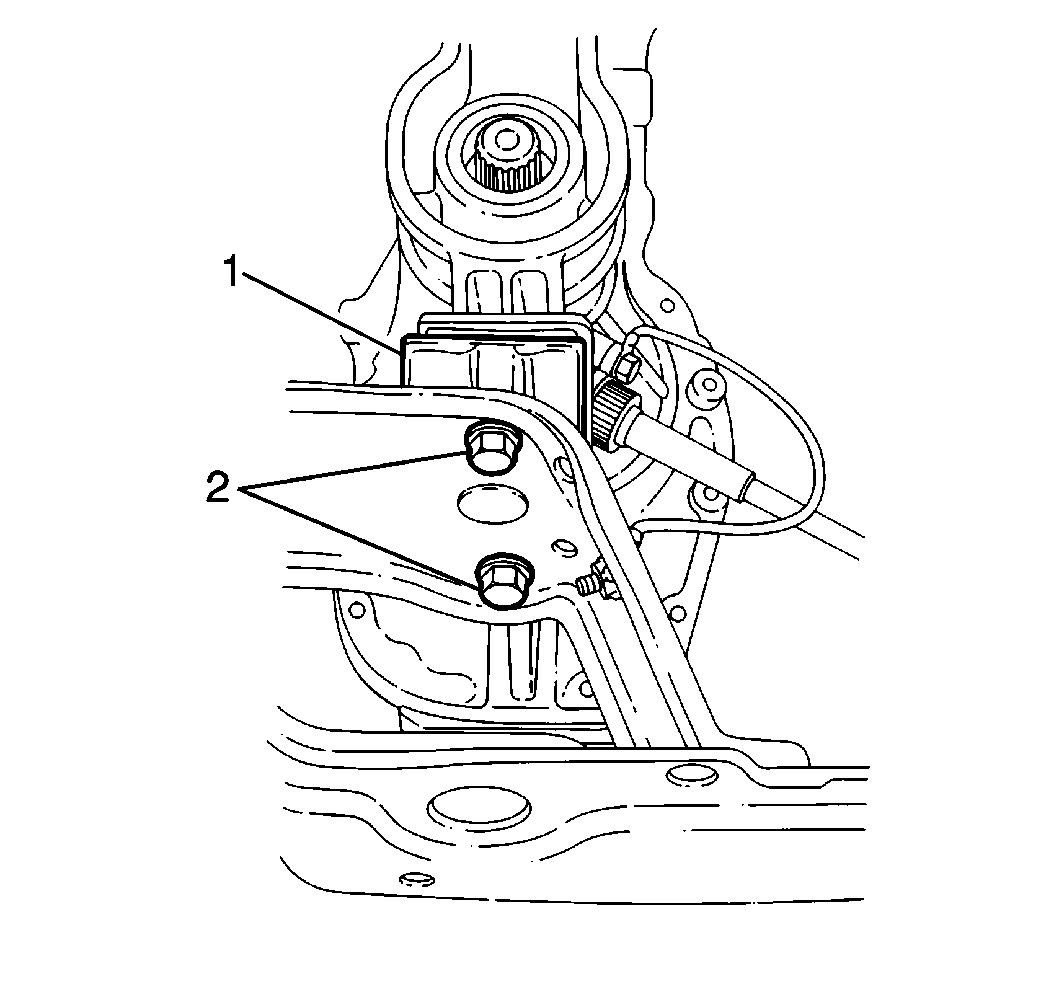
- Remove the two bolts (2)
from the rear transmission mount (1) (Two-Wheel Drive Models).
- Remove the following items from the vehicle:
| • | The rear transmission crossmember. |
Important: Observe the alignment marks on the clutch release lever and the clutch
release shaft. Make sure the clutch release shaft and the clutch release lever
are properly aligned during the installation to ensure correct clutch adjustment.
- Remove the following items from the clutch release shaft:
| • | The clutch release lever (2). |
- Remove the two bolts from the flywheel inspection cover.
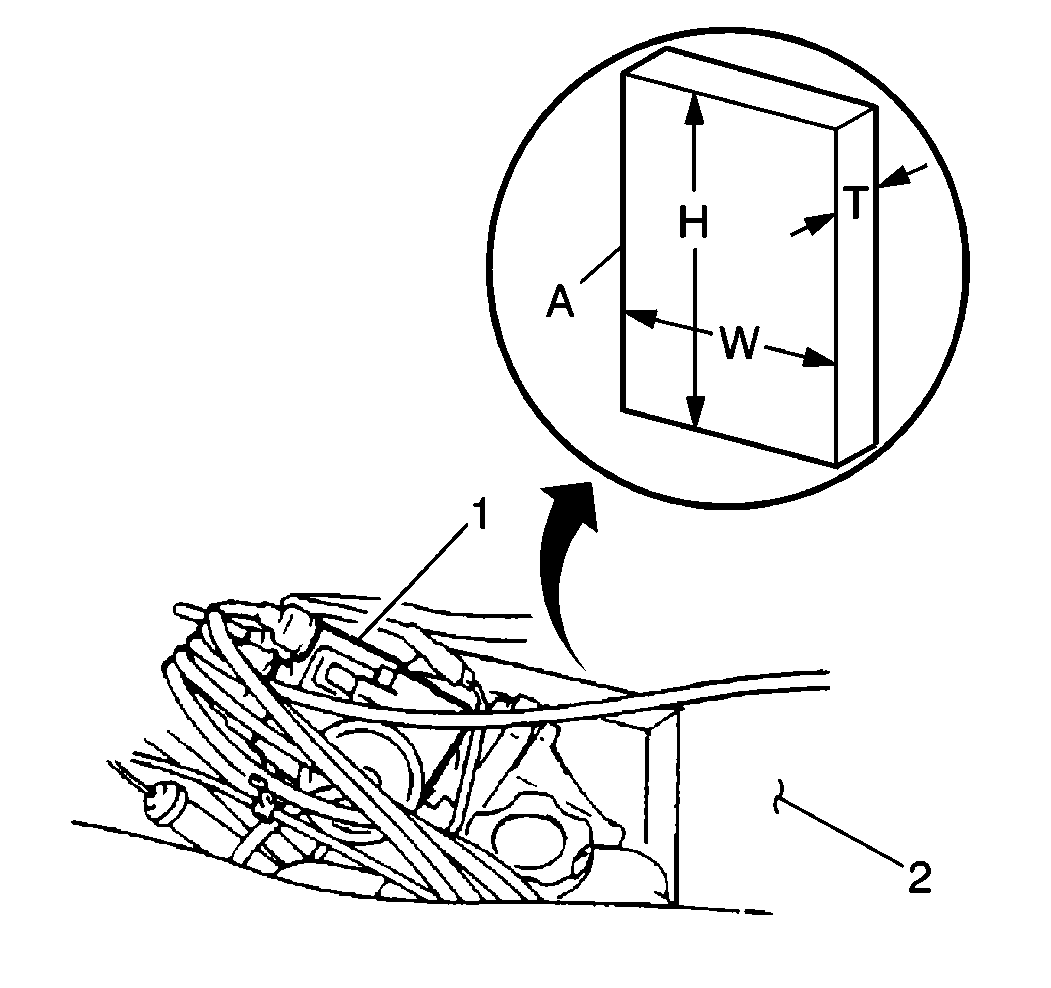
- Place a wood block between
the distributor gear housing and the bulkhead (2) in order to prevent the
distributor and other components from being damaged when the transmission
is lowered.
- Lower the transmission slowly until the engine contacts its support
point on the wood block.
- Remove the following items from the gearshift lever case:
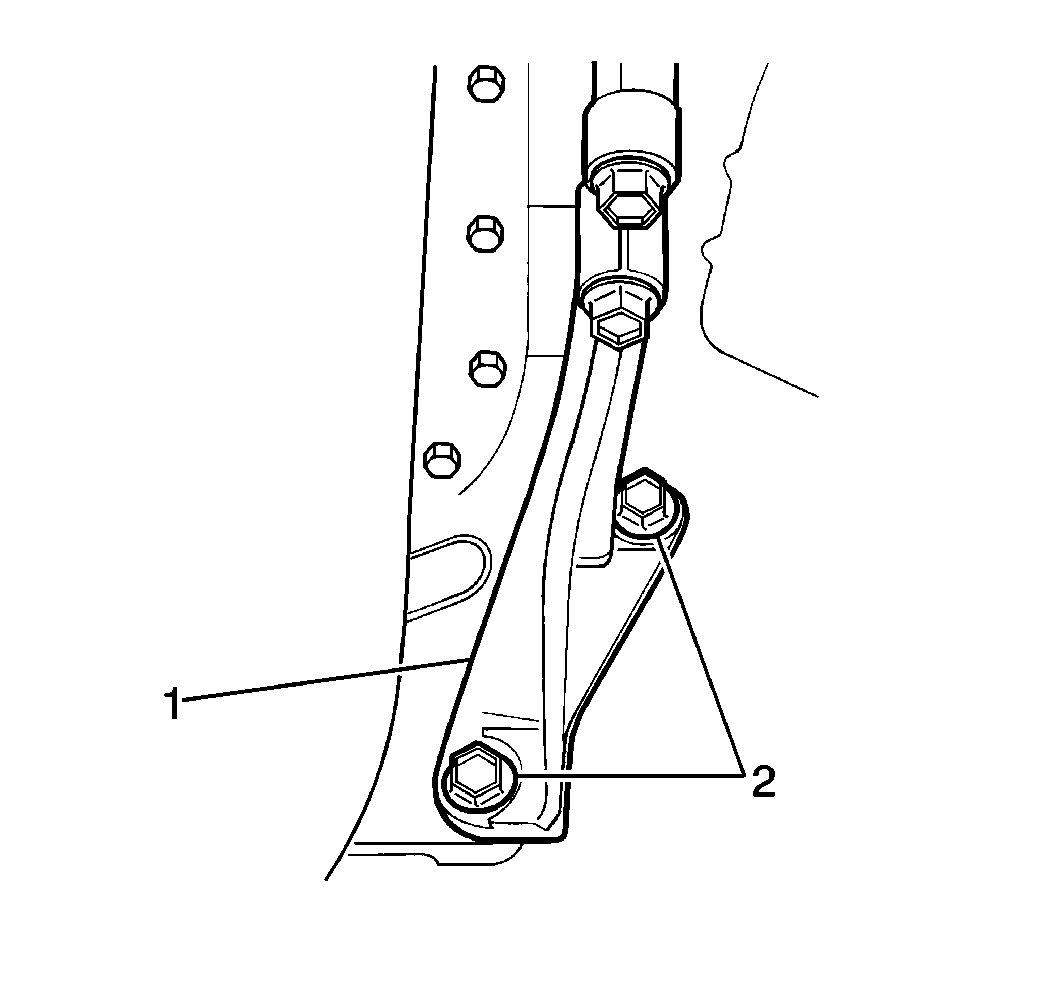
- Remove the following items
from the left transmission-to-engine reinforcement brace (1).
| • | The flywheel inspection cover. |
- Remove the two bolts (2)
from the right transmission-to-engine reinforcement brace (1).
- Remove the two lower transmission-to-engine nuts from the transmission.
- Remove the transmission from the vehicle by carefully moving the
transmission away from the engine toward the rear of the vehicle until the
input shaft is clear of the clutch pressure plate cover. Then, very slowly
lower the transmission jack making sure there are no obstructions.
- Inspect the transmission.
