Removal Procedure
- Disconnect the negative and positive battery cable ends from the battery. Refer to Battery Negative Cable Disconnection and Connection .
- Remove the retaining bolt and the battery.
- Remove the washer solvent container. Refer to Windshield Washer Solvent Container Replacement .
- Install the engine support fixture. Refer to the instruction manual provided with the tool.
- Raise the engine enough to take pressure off of the transaxle mounts.
- Remove the air inlet duct.
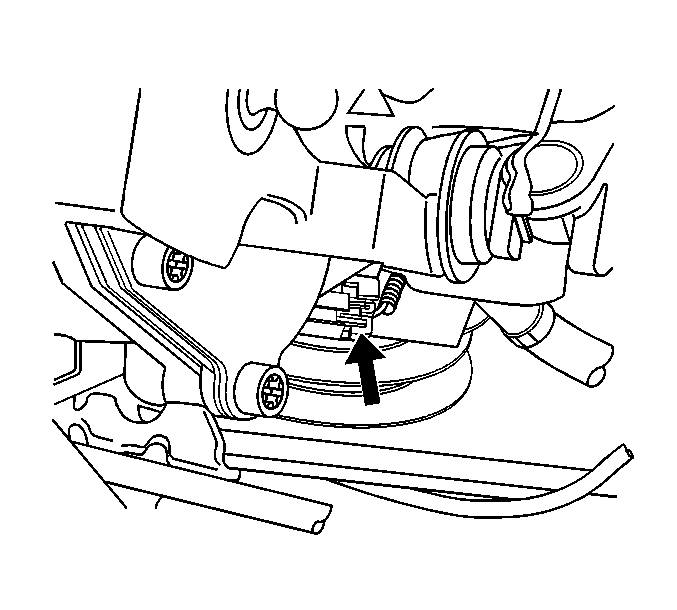
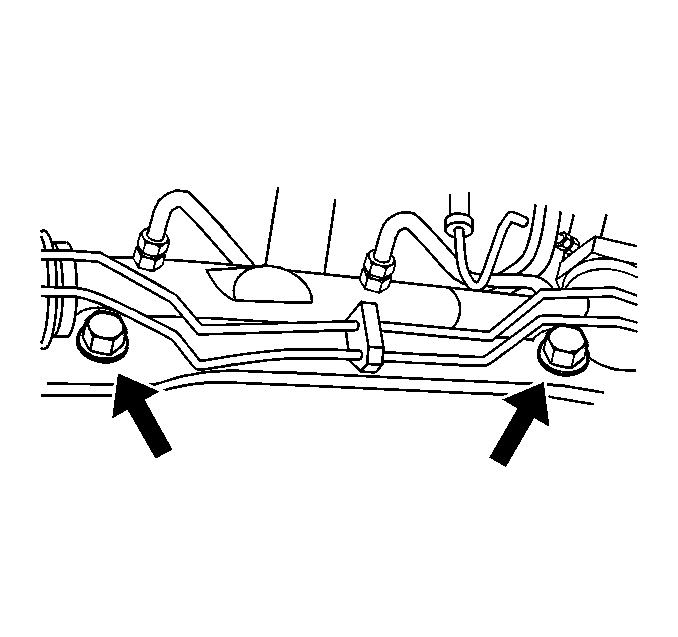
- Remove the wire harness from the upper transaxle mount bracket.
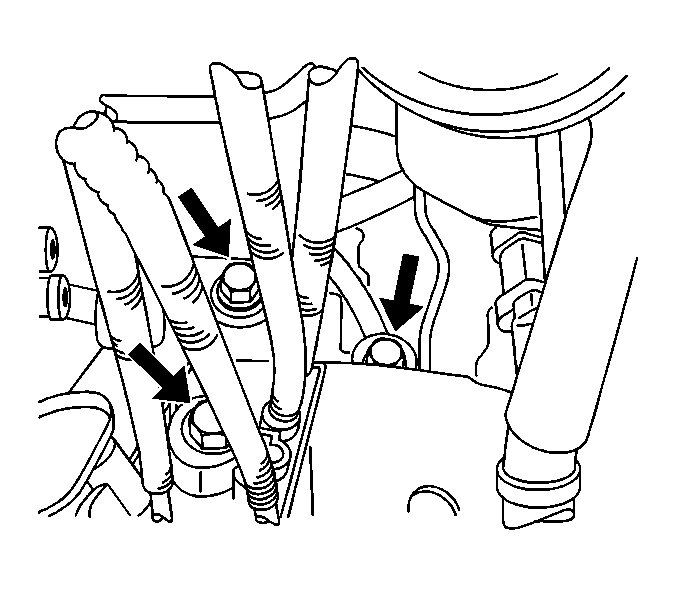
- Remove the upper transaxle mount bolts.
- Remove the negative battery cable from the transaxle housing.
- Remove the starter. Refer to Starter Motor Replacement in Engine Electrical.
- Disconnect the pressure line from the clutch actuator cylinder.
- Disconnect the backup light switch connector.
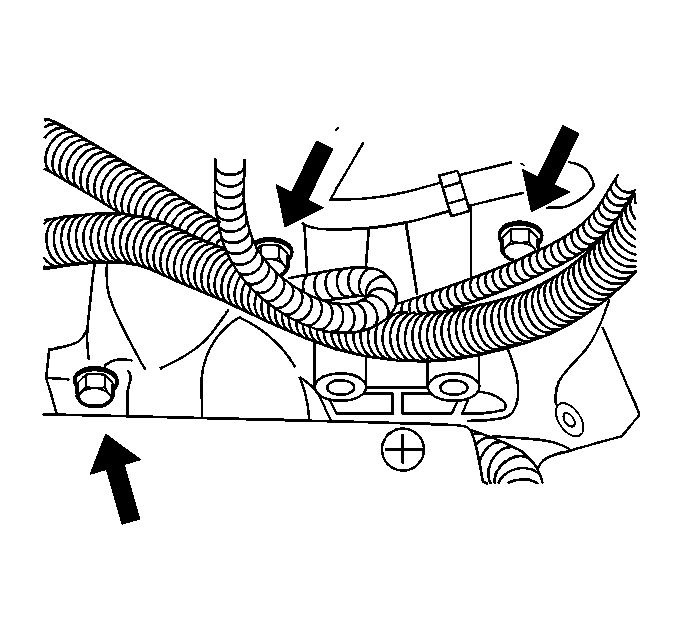
- Remove the rear transaxle mount bolts.
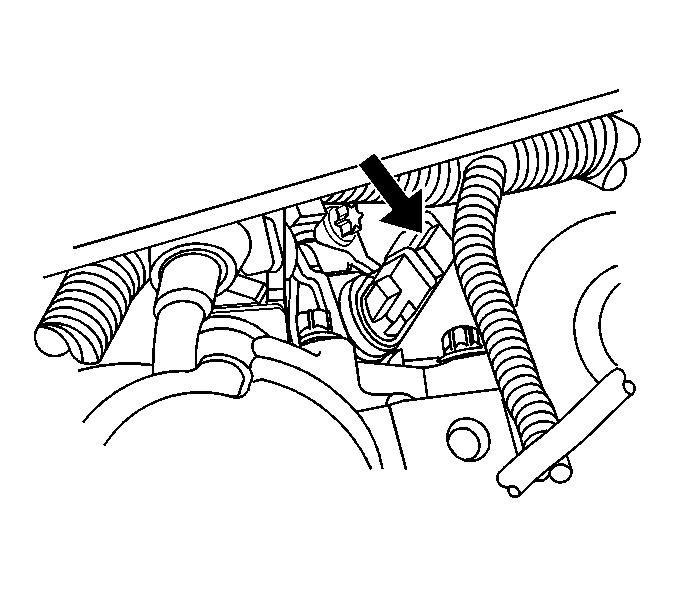
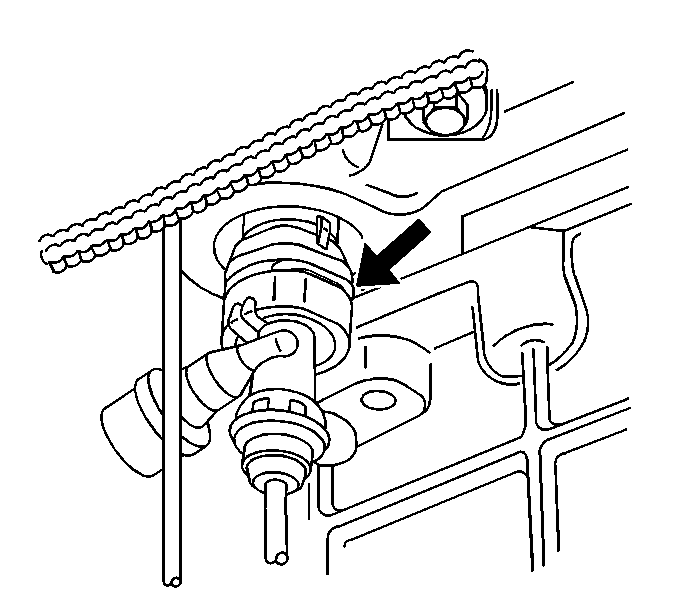
- Disconnect the vehicle speed sensor (VSS).
- Remove the upper transaxle mounting bolts.
- Disconnect the shift cables at the transmission shift control and the bracket.
- Remove the cable bracket bolt and the bracket.
- Remove the rack and pinion mounting bolts.
- Raise and support the vehicle. Refer to Lifting and Jacking the Vehicle in General Information.
- Remove the tire and wheel assemblies. Refer to Tire and Wheel Removal and Installation in Tires and Wheels.
- Remove the front fender liners. Refer to Front Fender Liner Replacement in Body Front End.
- Remove the front suspension crossmember. Refer to Crossmember Replacement in Frame and Underbody.
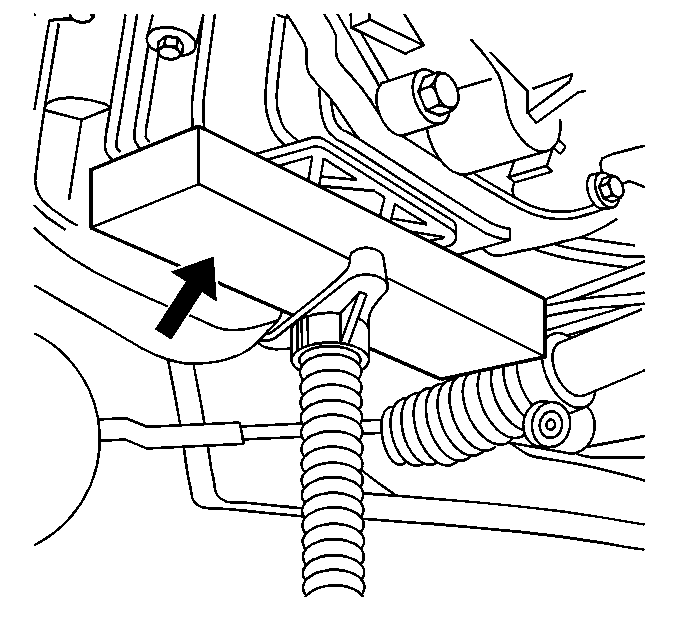
- Remove the flywheel support arm bracket from the flywheel cover to engine lower mount.
- Remove the flywheel housing cover bolts.
- Remove the flywheel housing cover.
- Remove the drive axles from the transmission. Refer to Wheel Drive Shaft Replacement in Wheel Drive Shaft.
- Remove the engine strut from the bracket.
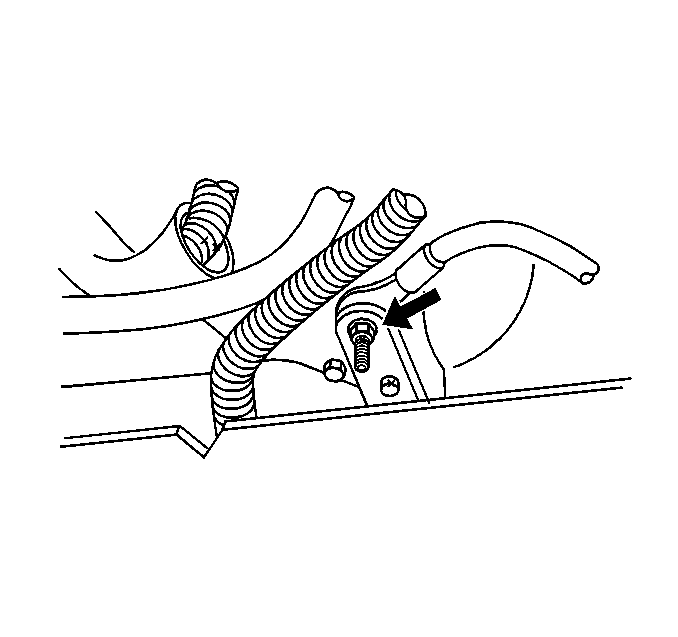
- Remove the front lower transaxle mount through-bolt.
- Attach the transaxle case to the support stand.
- Support the engine with a suitable axle jack.
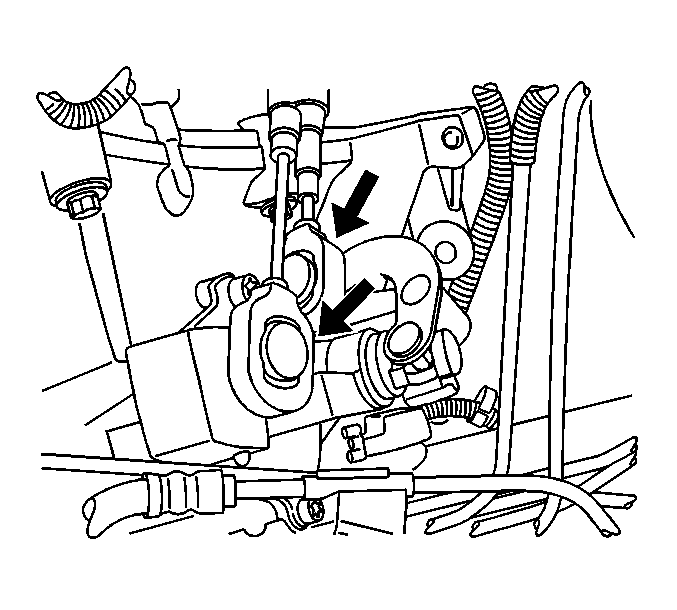
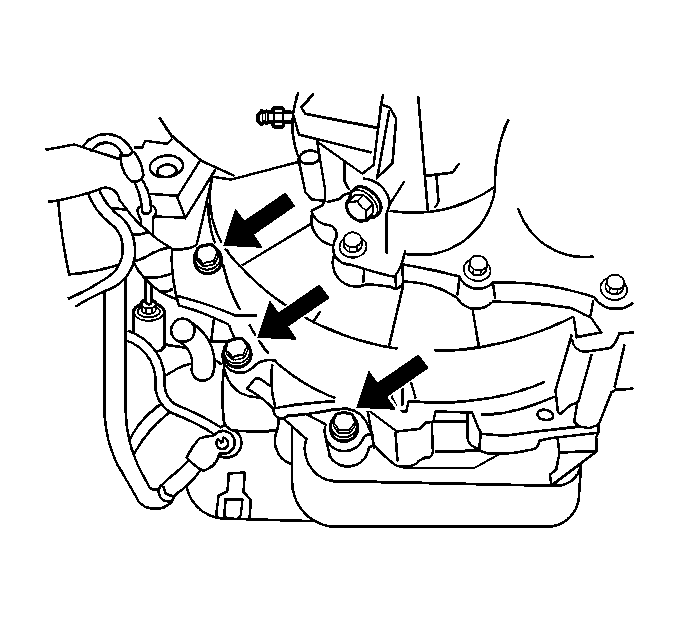
- Remove the transaxle-to-engine mount bolts.
- Use the following procedure in order to remove the transmission:
Leave the steering rack in the vehicle.
Secure the drive axles out of the way.

| 32.1. | Slide the transaxle away from the engine. |
| 32.2. | Carefully lower the trans axle jack. |
| 32.3. | Remove the transaxle. |
Installation Procedure
- Install the transaxle to the engine block.
- Install the transaxle-to-engine lower mounting bolts.
- Remove the following components
- Install the front transaxle mount-through bolt.
- Install the flywheel inspection cover.
- Install the washer solvent container. Refer to Windshield Washer Solvent Container Replacement in Wipers/Washer Systems.
- Remove the jackstand supporting the engine.
- Install the front fender liners. Refer to Front Fender Liner Replacement in Body Front End.
- Install the drive axles. Refer to Wheel Drive Shaft Replacement in Wheel Drive Shaft.
- Install the front suspension crossmember. Refer to i Crossmember Replacement in Frame and Underbody.
- Install the engine strut-to-strut bracket.
- Install the rack and pinion mounting bolts.
- Install the tire and wheel assemblies. Refer to Tire and Wheel Removal and Installation in Tires and Wheels.
- Install the starter. Refer to Starter Motor Replacement in Engine Electrical.
- Lower the vehicle.
- Install the upper transaxle mounting bolts
- Connect the clutch master cylinder line.
- Connect the vehicle speed sensor.
- Connect the backup light switch.
- Remove the engine support fixture.
- Install the negative battery cable to the engine block.
- Install the air inlet duct.
- Fill the transaxle with Dexron III Transaxle Fluid GM P/N 12346143 (Canadian P/N 10952622) or equivalent.
- Bleed the clutch hydraulic system. Refer to Hydraulic Clutch Bleeding in Clutch.
- Install the battery.
Notice: Use the correct fastener in the correct location. Replacement fasteners must be the correct part number for that application. Fasteners requiring replacement or fasteners requiring the use of thread locking compound or sealant are identified in the service procedure. Do not use paints, lubricants, or corrosion inhibitors on fasteners or fastener joint surfaces unless specified. These coatings affect fastener torque and joint clamping force and may damage the fastener. Use the correct tightening sequence and specifications when installing fasteners in order to avoid damage to parts and systems.
Tighten
Tighten the transaxle-to-engine lower mounting bolts to 75 N·m
(55 lb ft).
| • | The safety strap |
| • | The transaxle jack |
Tighten
Tighten the front transaxle mount-through bolt to 60 N·m (44 lb ft).
Tighten
Tighten the rack and pinion mounting bolts to 120 N·m (89 lb ft).
Tighten
Tighten the upper transaxle mounting bolts to 96 N·m (71 lb ft).