For 1990-2009 cars only
Removal Procedure
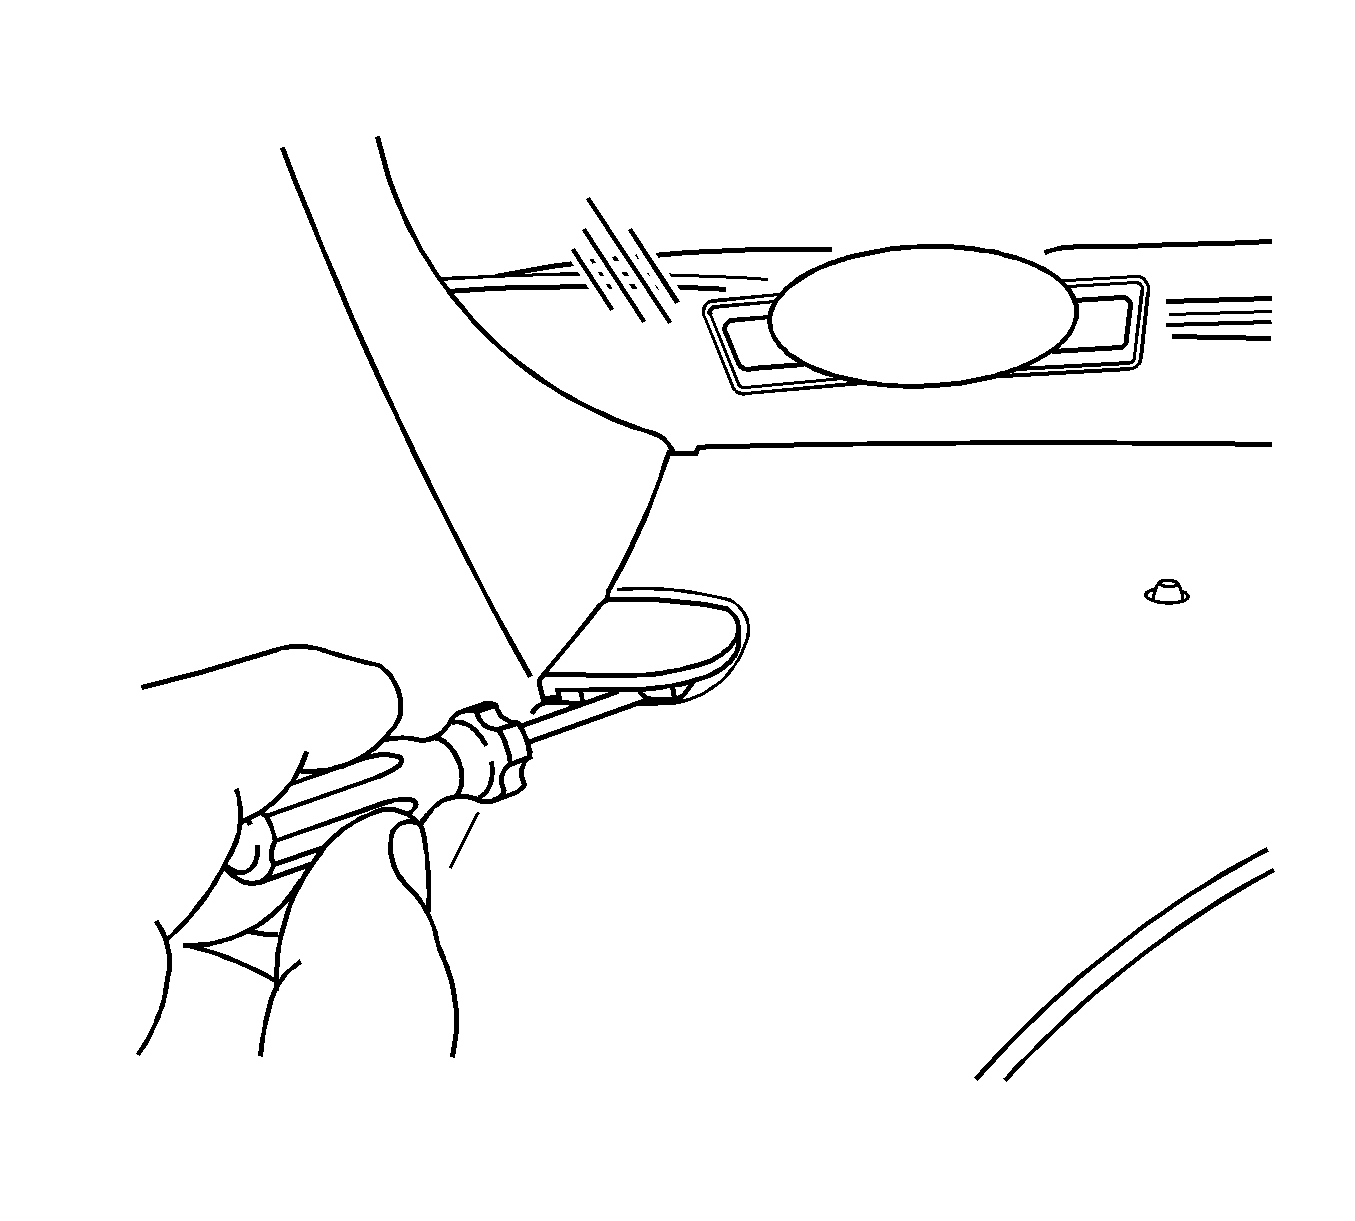
- Remove the access panel covers from the upper trim pad.
- Remove the I/P cluster trim panel. Refer to Instrument Cluster Trim Panel Replacement in Instrument Panel, Gages and Console.
- Remove the windshield garnish moldings. Refer to Windshield Upper Garnish Molding Replacement in Interior Trim.
- Remove the upper trim pad bolts.
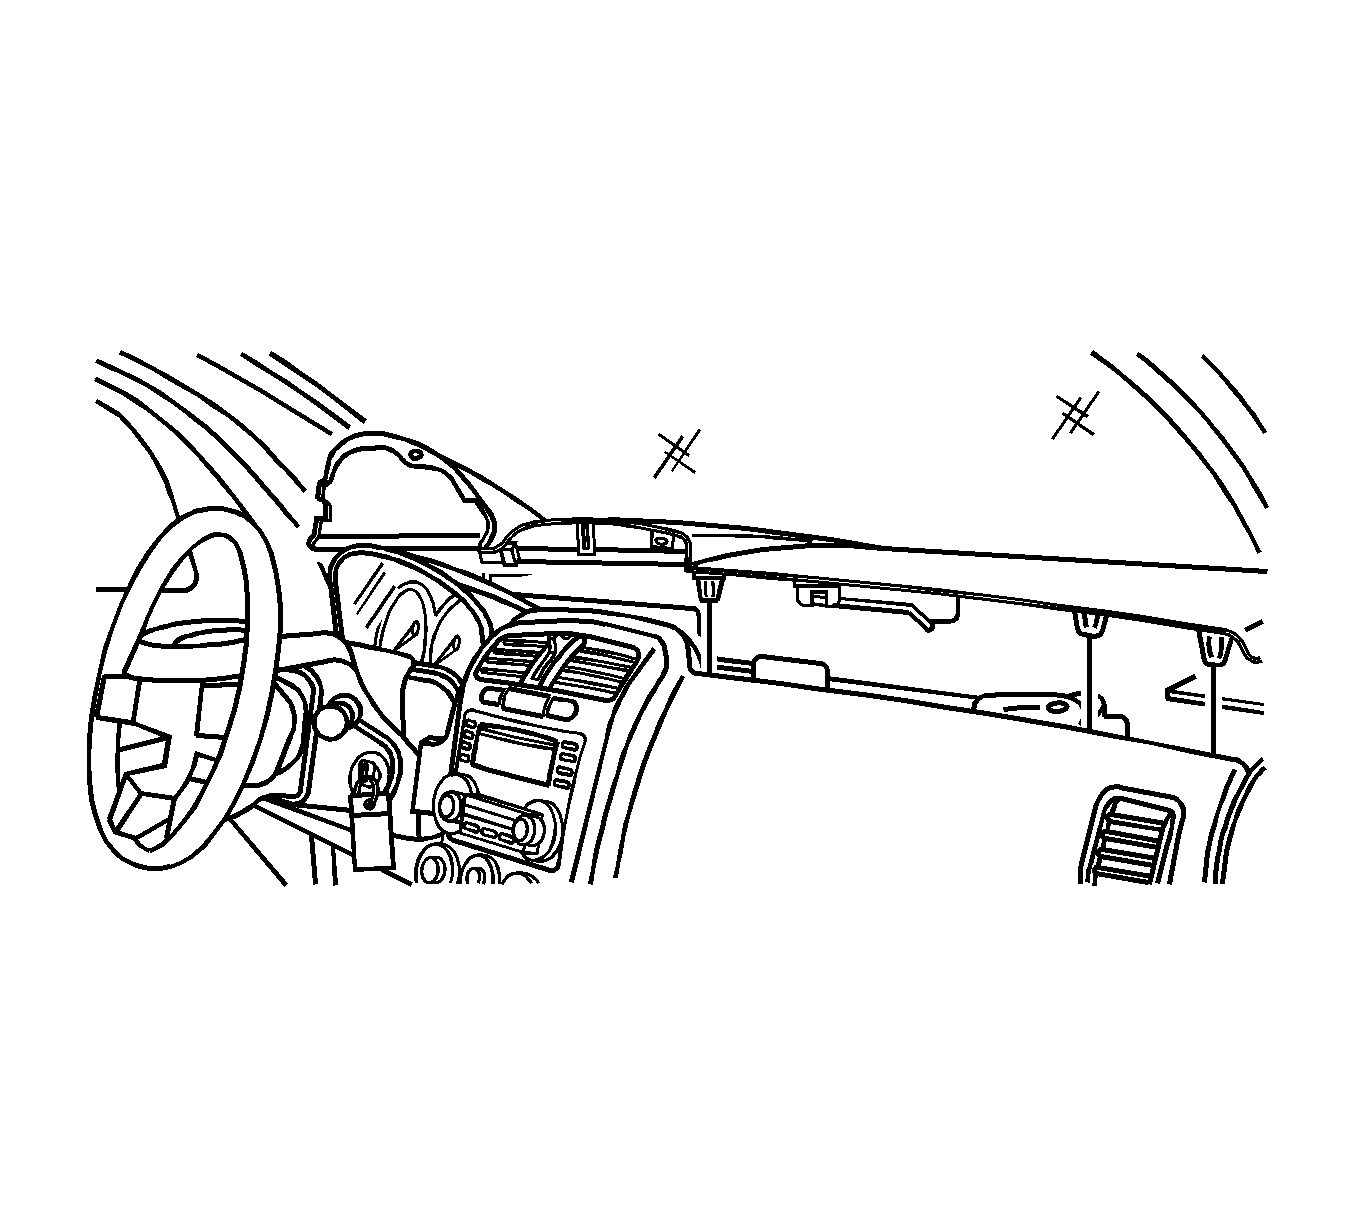
- Lift the upper trim pad to disengage the clips.
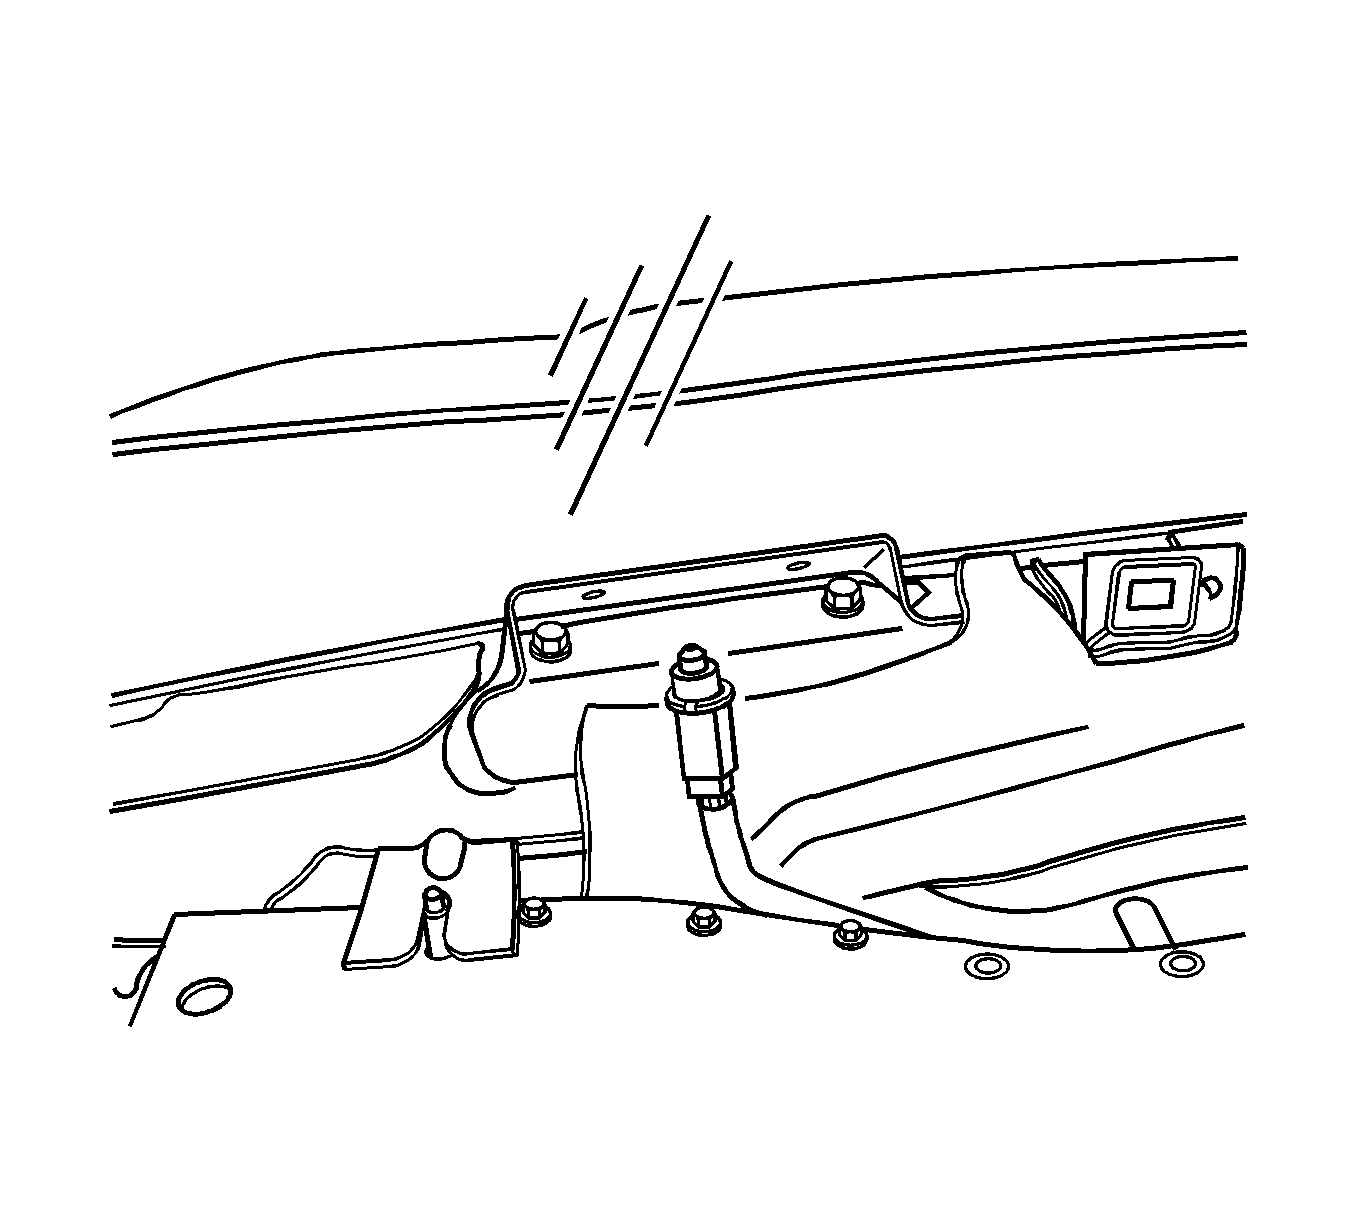
- Twist the ambient light sensor to remove the sensor from the upper trim pad.
- Disconnect the electrical connector from the ambient light sensor.


Installation Procedure
- Connect the electrical connector to the ambient light sensor.
- Align the sensor to the upper trim pad and twist into place.
- Align the upper trim pad to the I/P and fasten the bolts in place.
- Install the windshield garnish moldings. Refer to Windshield Upper Garnish Molding Replacement in Interior Trim.
- Install the I/P cluster trim panel. Refer to Instrument Cluster Trim Panel Replacement in Instrument Panel, Gages and Console.
- Install the access panel covers to the upper trim pad.
- Test the ambient light sensor for proper operation.

Notice: Refer to Fastener Notice in the Preface section.

Tighten
Tighten the bolts to 10 N·m (89 lb in).

