For 1990-2009 cars only
Removal Procedure
- Disconnect the negative battery cable. Refer to Battery Negative Cable Disconnection and Connection .
- Disable the SIR system. Refer to SIR Disabling and Enabling .
- Remove the window garnish moldings. Refer to Windshield Upper Garnish Molding Replacement .
- Remove the upper trim pad. Refer to Instrument Panel Upper Trim Panel Replacement .
- Remove the instrument cluster bezel. Refer to Instrument Cluster Replacement .
- Remove the center trim bezel. Refer to Instrument Panel Accessory Bezel Replacement .
- Remove the radio. Refer to Radio Replacement .
- Remove the BCM module from the I/P. Refer to Body Control Module Replacement .
- Remove the I/P outer trim covers. Refer to Front Floor Console Side Trim Panel Replacement - Right Side and Front Floor Console Side Trim Panel Replacement - Left Side .
- Remove the I/P compartment. Refer to Instrument Panel Compartment Replacement .
- Remove the steering column filler. Refer to Steering Column Opening Filler Replacement .
- Remove the right side I/P trim panel. Refer to Front Floor Console Side Trim Panel Replacement - Right Side .
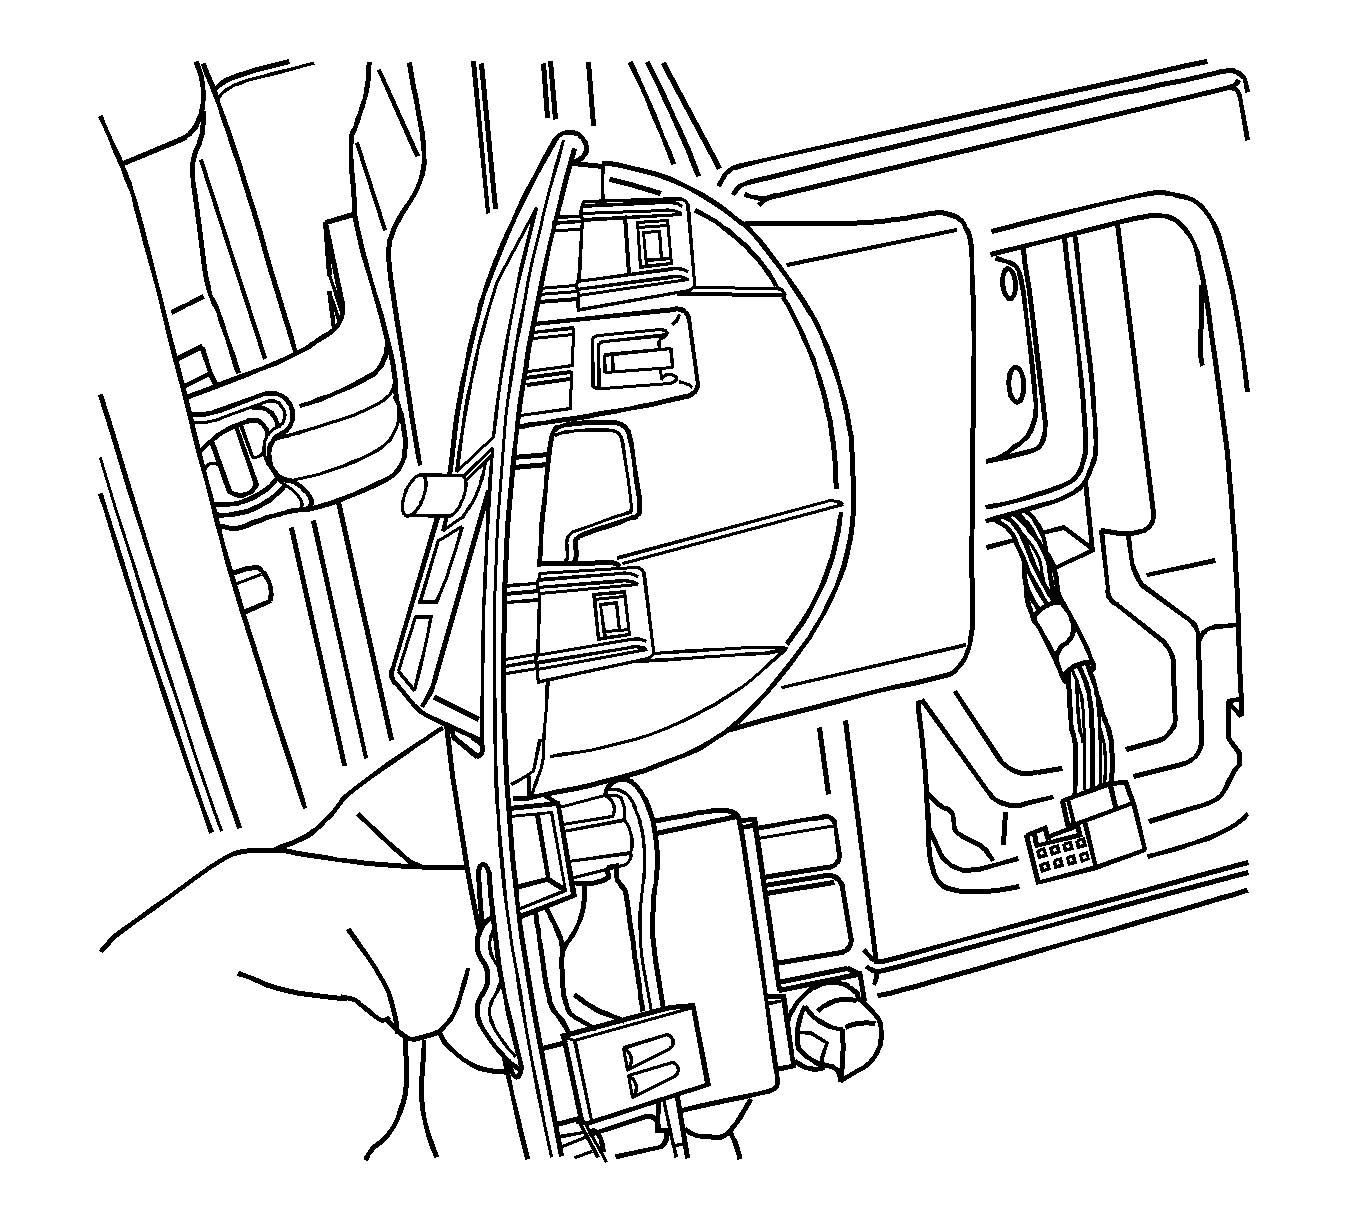
- Remove the panel which contains the power mirror switch and the dimmer switch.
- Remove the inflatable restraint I/P module. Refer to Inflatable Restraint Instrument Panel Module Replacement .
- Remove the left and the right carpet retainers. Refer to Front Carpet Retainer Replacement .
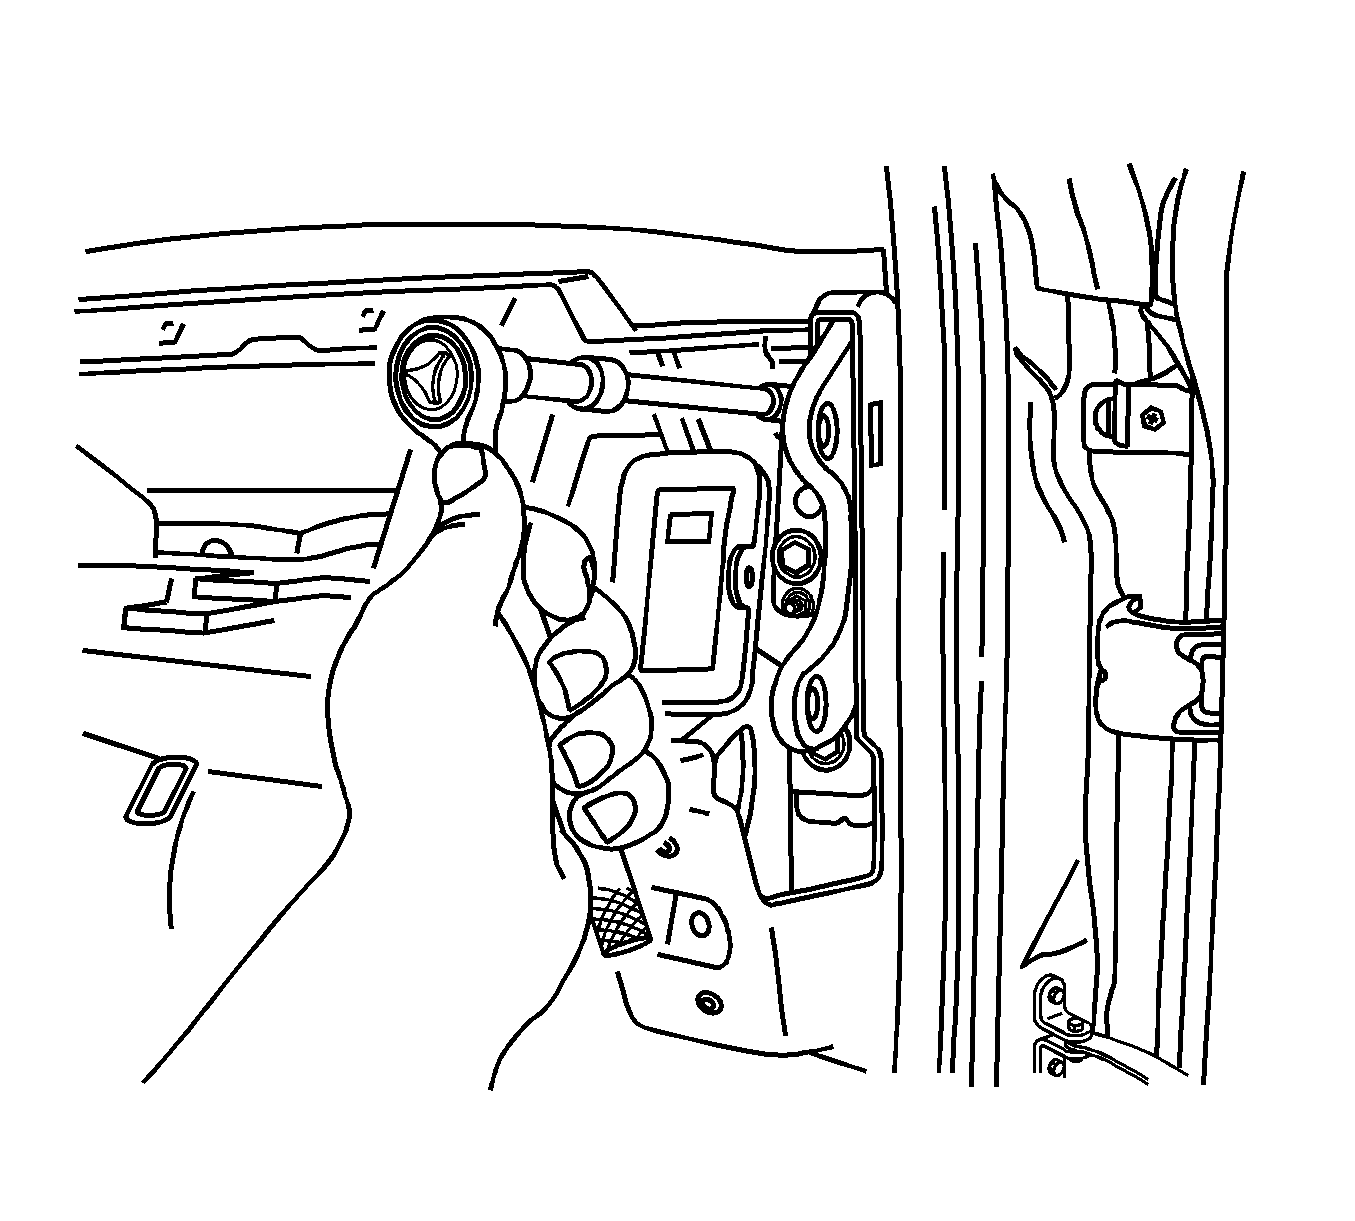
- Remove the screws and the bolts which hold the I/P retainer to the cross beam.
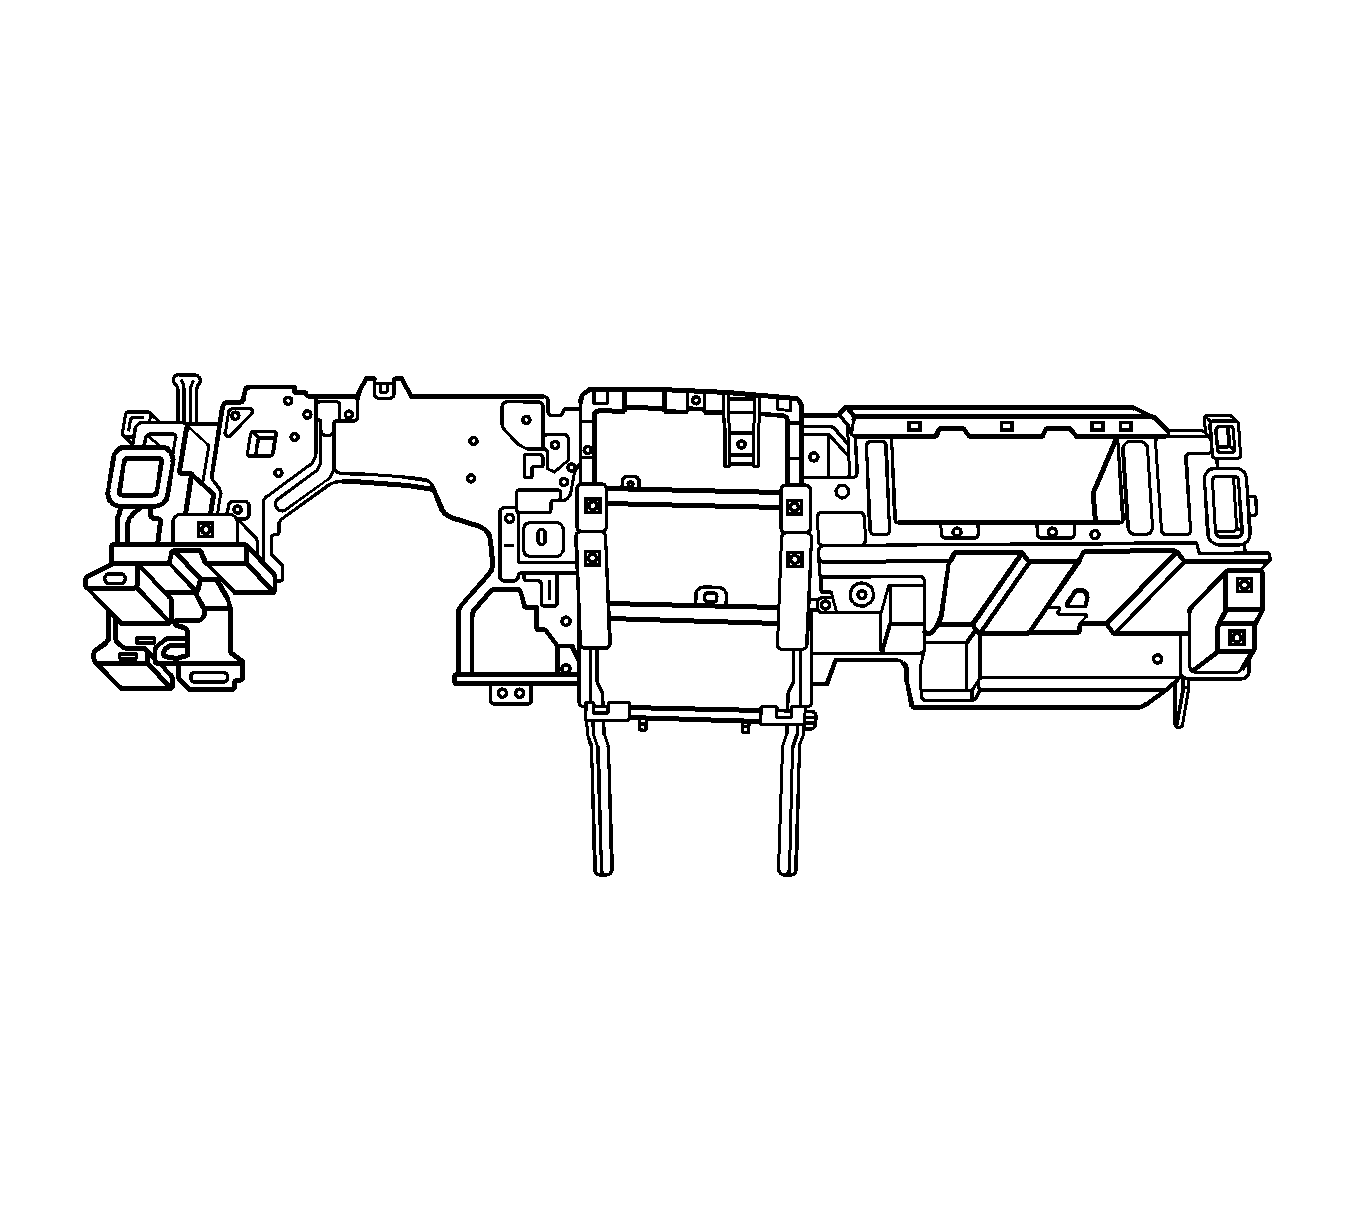
- Remove the I/P retainer from the vehicle.
Caution: Refer to Battery Disconnect Caution in the Preface section.
Installation Procedure
- Align the I/P retainer to the cross beam.
- Install the screws and the bolts which hold the I/P retainer to the cross beam. Begin at the center and work toward each side.
- Install the left and the right carpet retainers. Refer to Front Carpet Retainer Replacement .
- Install the inflatable restraint I/P module. Refer to Inflatable Restraint Instrument Panel Module Replacement .
- Install the panel which contains the power mirror switch and the dimmer switch.
- Install the right side I/P trim panel. Refer to Front Floor Console Side Trim Panel Replacement - Right Side .
- Install the steering column filler. Refer to Steering Column Opening Filler Replacement .
- Install the I/P compartment. Refer to Instrument Panel Compartment Replacement .
- Install the I/P outer trim covers. Refer to Front Floor Console Side Trim Panel Replacement - Right Side and Front Floor Console Side Trim Panel Replacement - Left Side .
- Install the BCM module from the I/P. Refer to Body Control Module Replacement .
- Install the radio. Refer to Radio Replacement .
- Install the center trim bezel. Refer to Instrument Panel Accessory Bezel Replacement .
- Install the instrument cluster bezel. Refer to Instrument Cluster Replacement .
- Install the upper trim pad. Refer to Instrument Panel Upper Trim Panel Replacement .
- Install the window garnish moldings. Refer to Windshield Upper Garnish Molding Replacement .
- Enable the SIR system. Refer to SIR Disabling and Enabling .
- Connect the negative battery cable. Refer to Battery Negative Cable Disconnection and Connection .
Notice: Refer to Fastener Notice in the Preface section.
Tighten
Tighten the fasteners to 10 N·m (89 lb in).
Caution: Refer to Battery Disconnect Caution in the Preface section.
