Heater and Air Conditioning Control Replacement Control Assembly
Removal Procedure
- Remove the radio. Refer to
Radio Replacement
in Entertainment.

- Remove the center knob from the HVAC control
unit
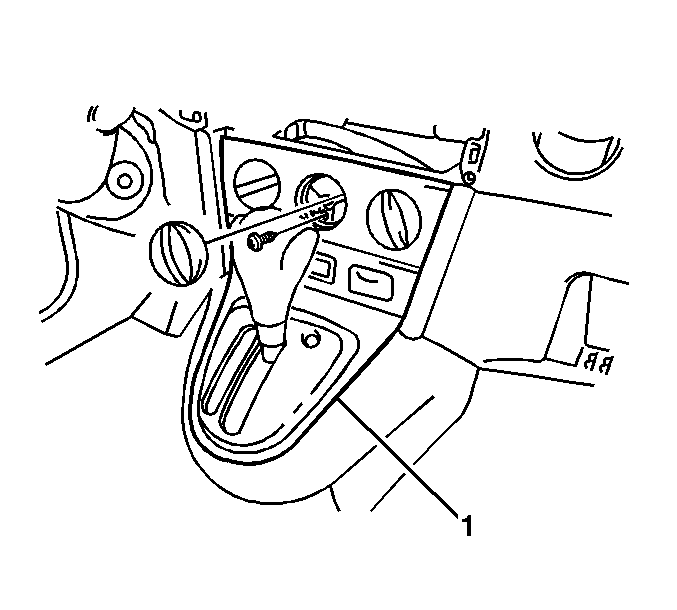
- Remove the screw from the control unit.
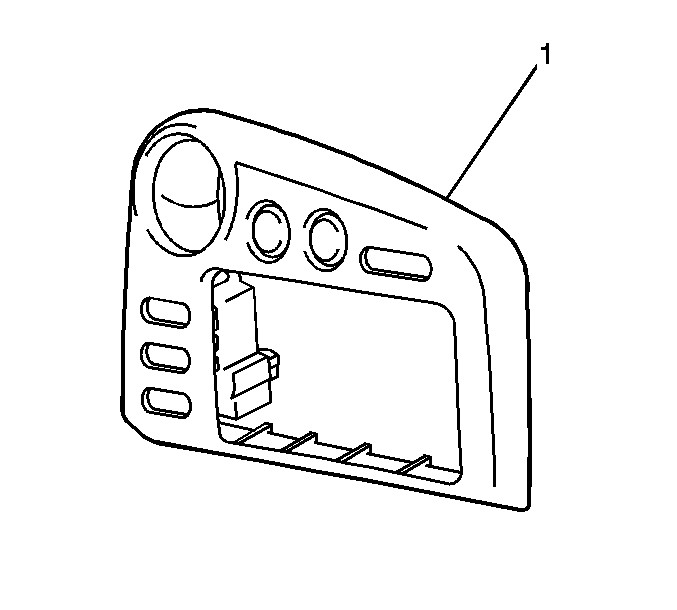
- Remove the center console and heater control trim panel (1).
- Remove the electrical connector from the HVAC control unit.

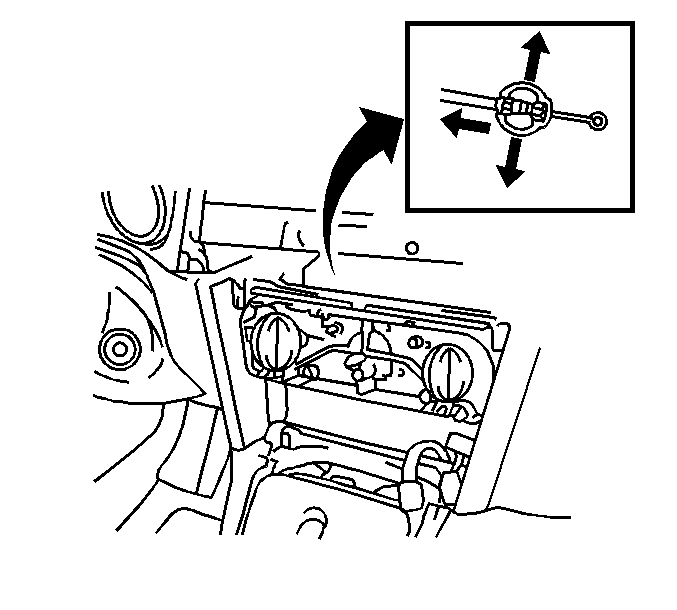
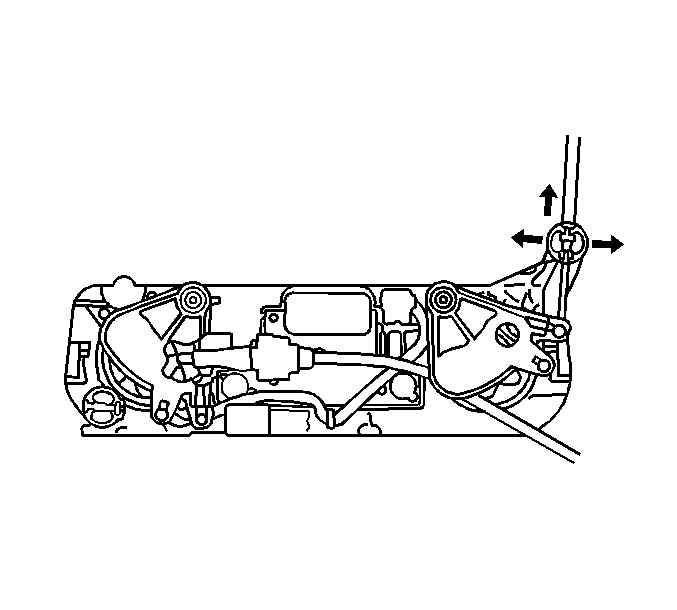
- Remove the mode control cable from the HVAC
control unit.

- Remove the following from the HVAC control
unit:
| • | The temperature control cable |
- Remove the HVAC control unit.
- Remove the following from the HVAC control unit:
| • | The mode control and temperature control knobs |
Installation Procedure

- Install the following to the HVAC control
unit:
| • | The mode control and temperature control knobs |
| • | The electrical connector |
| • | The temperature control cable |
- Install the HVAC control unit to the instrument panel.

- Install the center console and heater control
trim panel (1). Secure the panel with the screw.
- Install the center knob to the HVAC control unit.
- Adjust the cables as necessary, refer to the following:
- Install the radio. Refer to
Radio Replacement
in Entertainment.
Heater and Air Conditioning Control Replacement A/C Switch
Removal Procedure

- Using a taped flat bladed tool, gently pry and release the retaining clips
which secure the instrument panel (I/P) accessory center trim plate (1) to
the instrument panel assembly.
- Disconnect the A/C switch electrical connector.
- Press down on the tabs and remove the A/C switch from the I/P center trim
panel.
Installation Procedure

- Install the A/C switch to the I/P center trim panel.
- Connect the A/C switch electrical connector.
- Install the I/P accessory center trim plate (1) to the I/P
assembly. Ensure that the retaining clips are fully engaged.


