The audio system is operated using navigation system menus. The audio menus are explained in this section.
Radio Data System (RDS)
The audio system has a Radio Data System (RDS). RDS features are available for use only on FM stations that broadcast RDS information. With RDS, the radio can do the following:
| • | Seek to stations broadcasting the selected type of programming |
| • | Receive announcements concerning local and national emergencies |
| • | Display messages from radio stations |
| • | Seek to stations with traffic announcements |
This system relies upon receiving specific information from these stations and will only work when the information is available. In rare cases, a radio station may broadcast incorrect information that will cause the radio features to work improperly. If this happens, contact the radio station.
While the radio is tuned to an RDS station, the station name or call letters will appear on the display instead of the frequency. RDS stations may also provide the time of day, a program type (PTY) for current programming, and the name of the program being broadcast.
Playing the Radio
PWR (Power/Volume Knob): Press this knob to turn the audio and navigation systems on and off. Turn the knob to increase or decrease the volume.Finding a Station
BAND: Press this key to access the BAND screen and to switch between AM, FM1, and FM2.TUNE: Turn this knob to select radio stations.
SEEK : Press the SEEK up or the down arrow to go to the next or to the previous station and stay there. The radio will only seek stations with a strong signal that are in the selected band.
To scan stations, press and hold the SEEK up or down arrow for two seconds until you hear a beep. The radio will go to a station, play for a few seconds, then go on to the next station. Press either SEEK arrow again to stop scanning.
To scan preset stations, press and hold the SEEK up or down arrow for more than four seconds. You will hear two beeps and PSCAN will be displayed, along with the number preset. The radio will go to the first preset station, play for a few seconds, then go on to the next preset station. Press either SEEK arrow again to stop scanning presets.
The radio will only scan stations with a strong signal that are in the selected band.
Setting Preset Stations
Up to 18 stations, six AM, six FM1, and six FM2, can be programmed on the reconfigurable keys to the left of the navigation screen.
To set preset stations, do the following:
- Turn the radio on.
- Press BAND to select AM, FM1, or FM2.
- Tune in the desired station.
- Press and hold one of the six reconfigurable keys until you hear a beep. Whenever that key is pressed, the station that was set will return.
- Repeat the steps for each preset and source.
Band Menu
FM1 Source shown, Other Sources similar
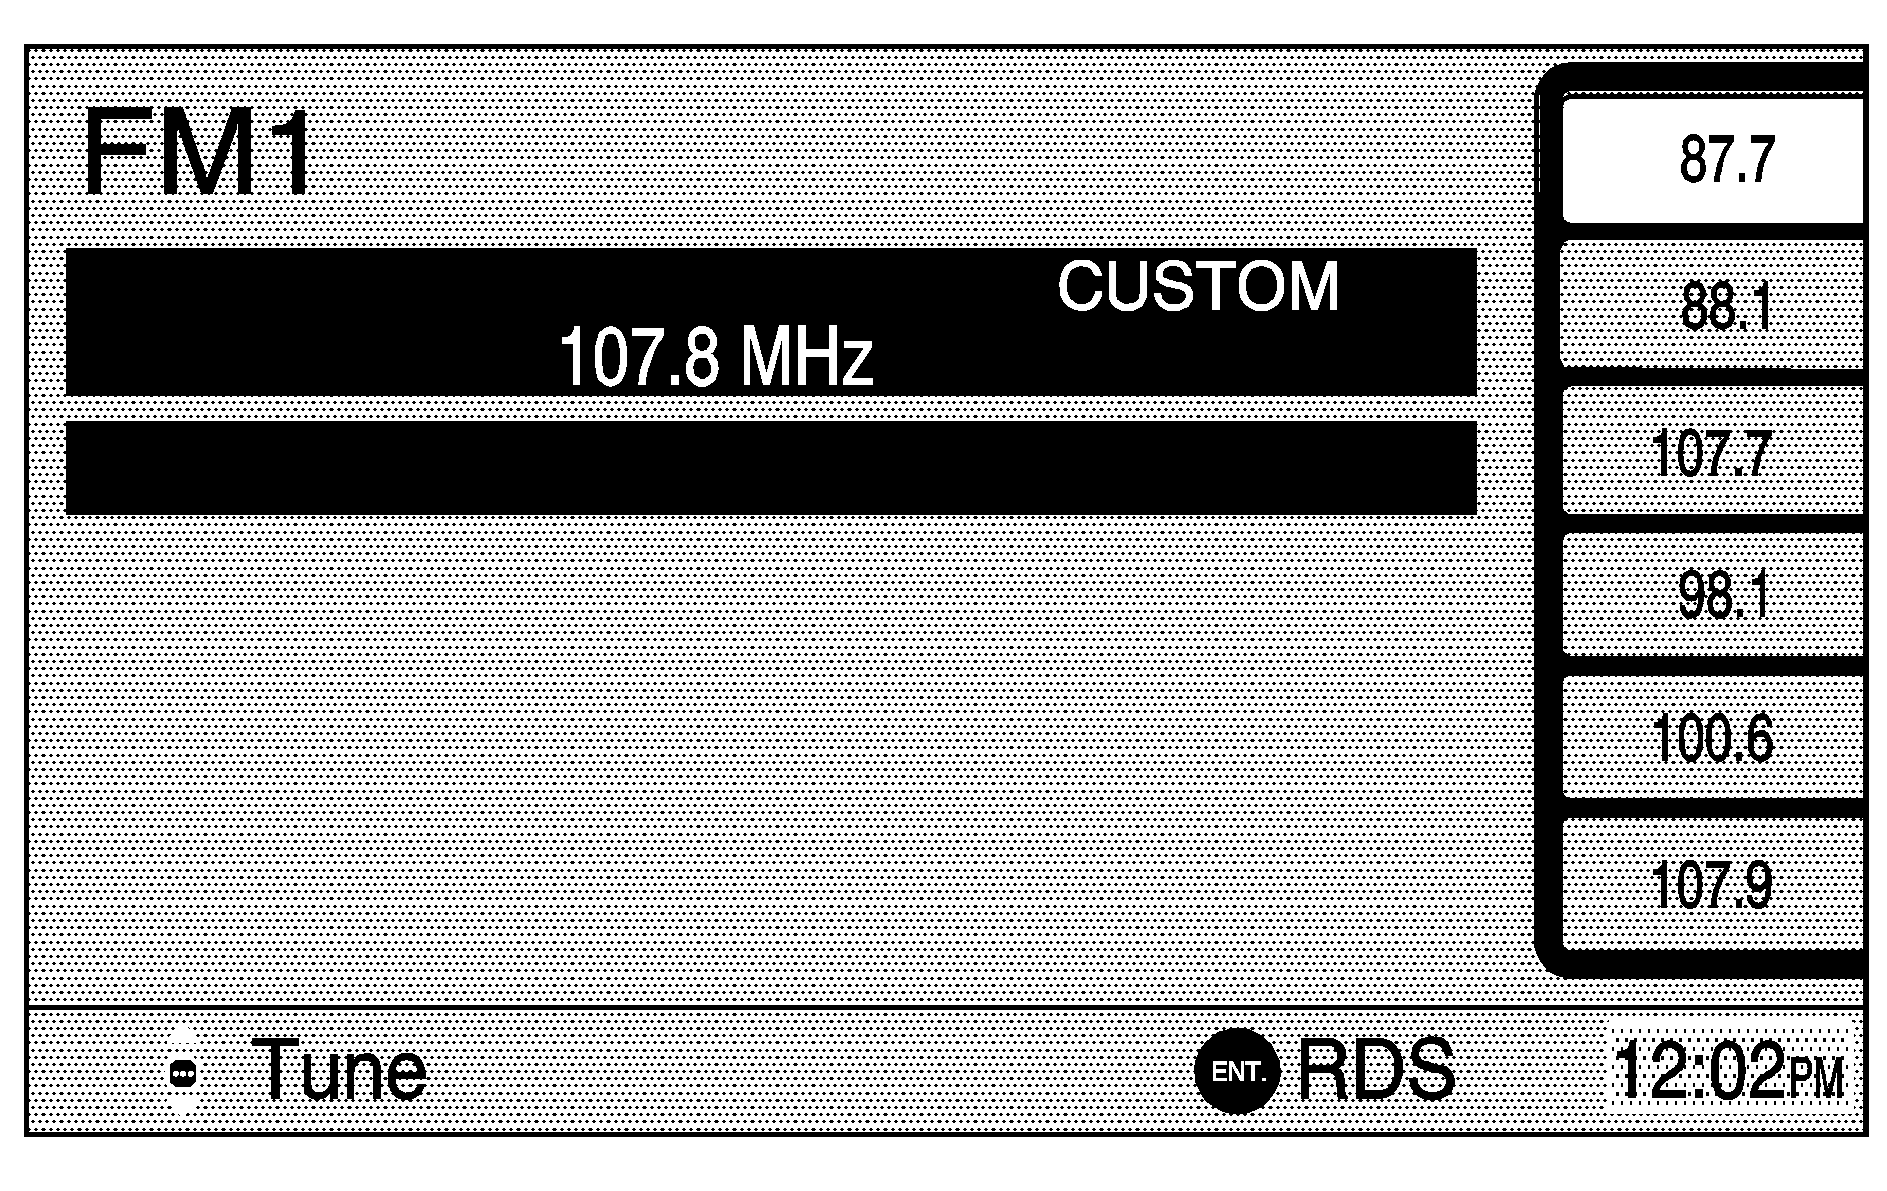
If the radio is on while the navigation system is not in use, this band menu will display the current audio information, as well as list the presets for the current band.
Audio Menu
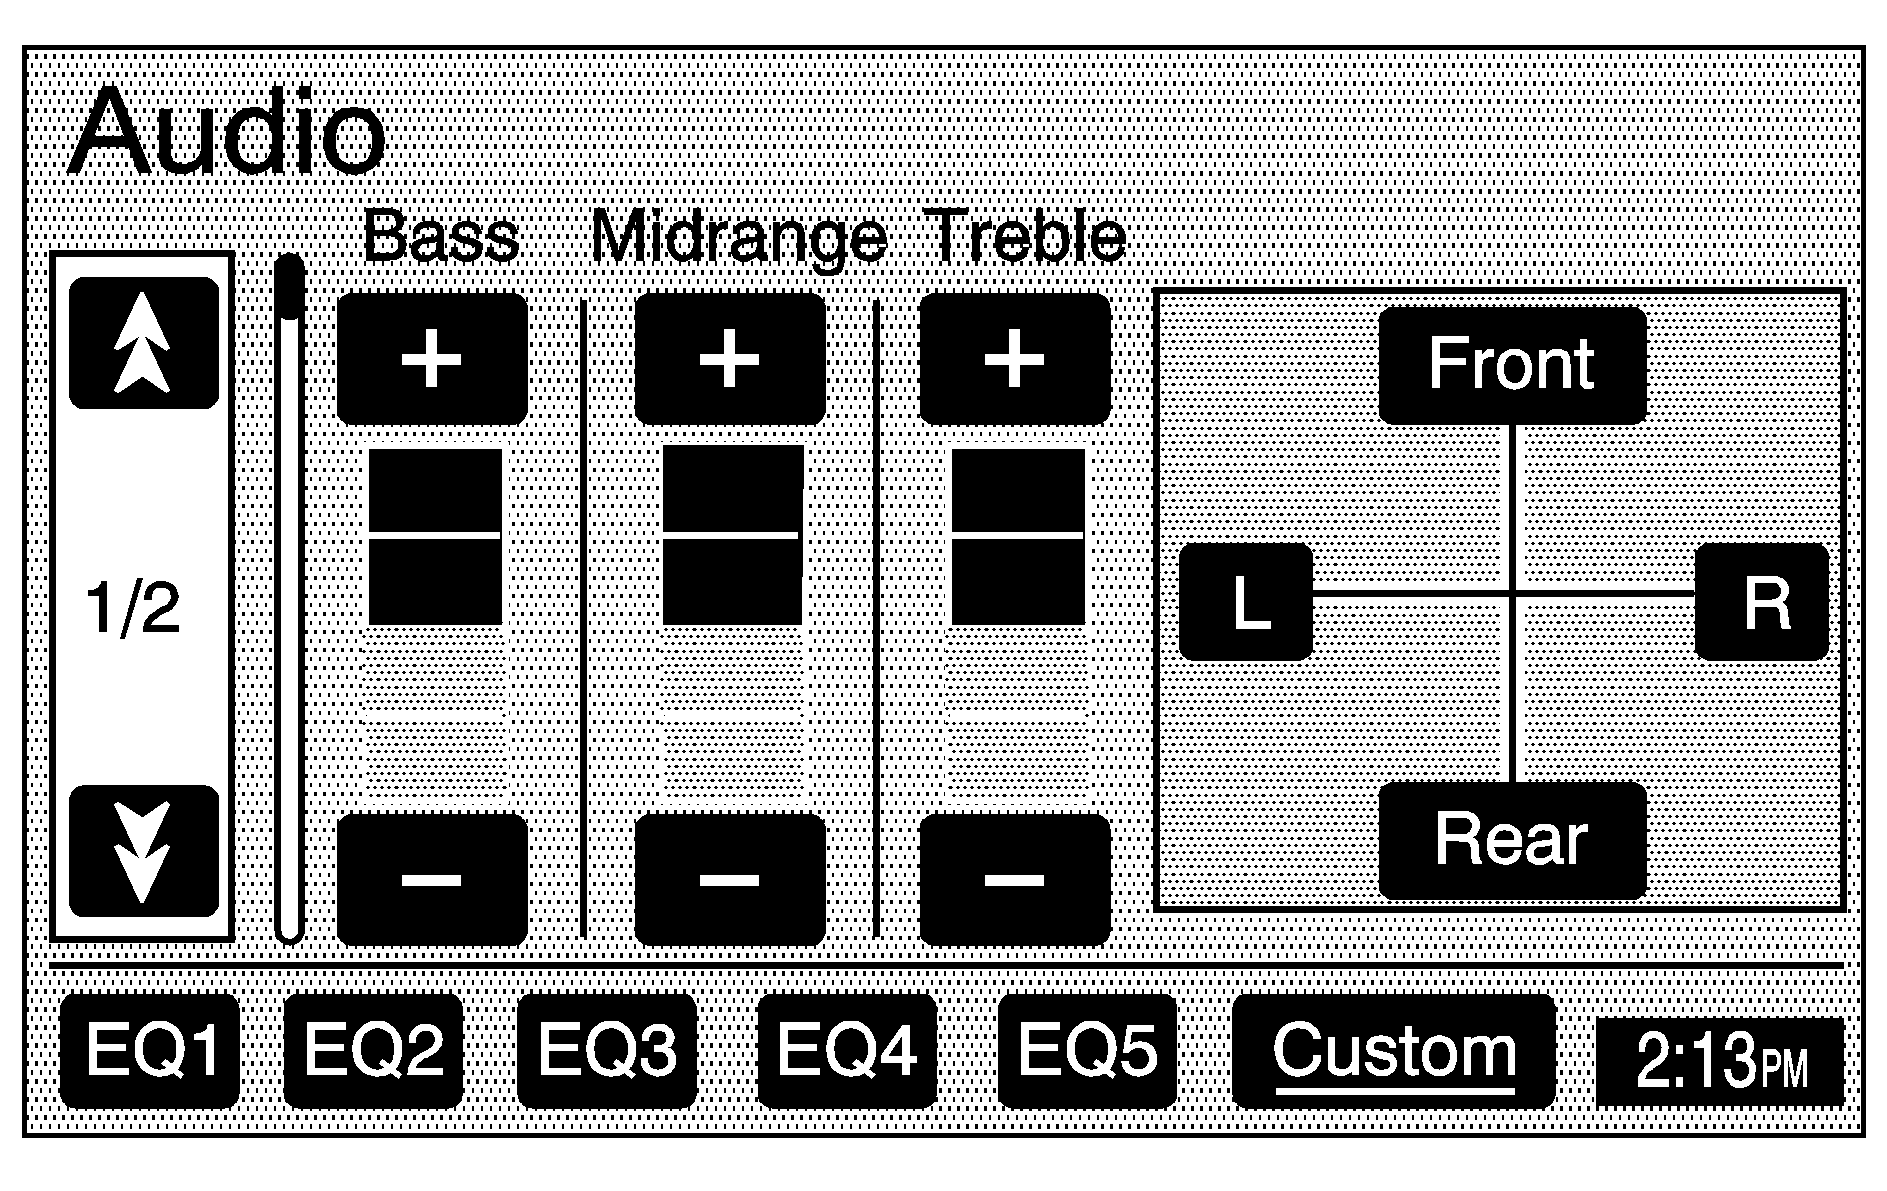
(Audio): Press this key to display the audio menu. Several options are available for adjustment from this menu.
Tone: Use the joystick to move between treble, midrange, bass, balance, fade, and SCV, and to move each setting to the desired level.
SCV (Speed Compensated Volume): With SCV, your audio system adjusts automatically to make up for road and wind noise as you drive. Set the volume at the desired level, choosing between Low, Mid, or High. Then, as you drive, SCV automatically increases the volume, as necessary, to overcome noise at any speed. The volume level should always sound the same to you as you drive. You may also choose to turn this feature off.
EQ (Equalizer): While in the Audio menu, use the keys labeled EQ1 through EQ5 to choose preset bass, midrange, and treble equalization settings. The Custom screen button allows you to choose and set the equalization levels you desire. Adjust each setting to the desired level. To set the levels, press Custom until you hear a beep. After adjustments are made, press the BAND key to go back to the preset station menu. Now that you have preset the station and the EQ setting, you can assign the EQ to the preset station. To do this, press the desired preset station key until you hear a beep. The EQ setting will now be assigned to that station unless you decide to change it. If you were at the CD screen before setting an EQ and you press the CD key, you will be returned to the CD screen, and the EQ will be set to that screen until you change it.
See "Theft-Deterrent Feature", "Radio Reception", and "Fixed Mast Antenna" in Section 3 of your vehicle's owner manual for more information.
RDS Option Menu
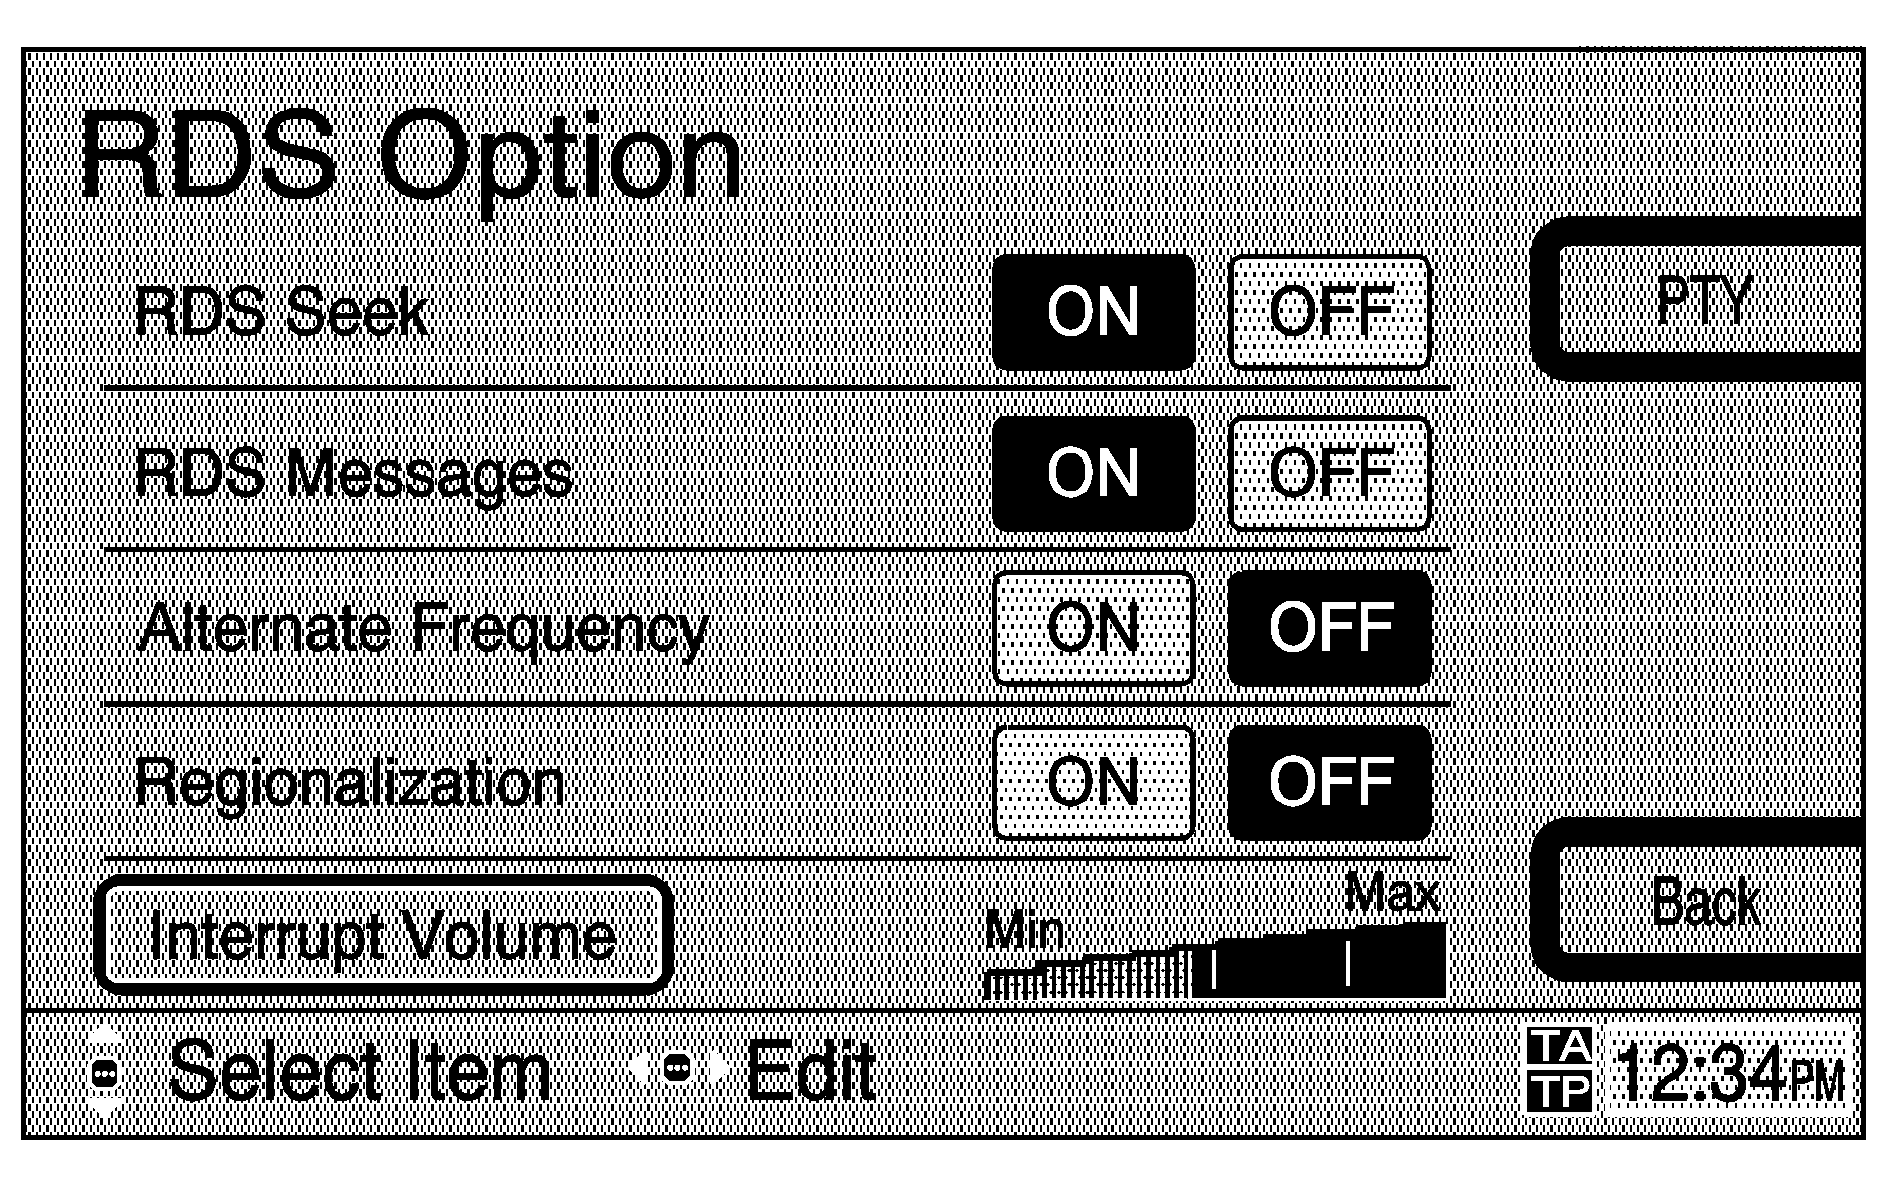
While in the FM screen, press the joystick to bring up the RDS Option menu and to choose from the following options:
RDS Seek: This feature allows the system to stop only on stations which broadcast one of the program types (PTY) selected in the RDS Criteria menu. If no PTY has been selected, RDS will seek all stations which broadcast RDS with any PTY. You may select All to allow the radio to stop on any radio station broadcasting RDS data. Press the SEEK up or down arrows to look for other stations with that criteria type. If a station with the selected criteria is not found, the radio will return to the original station.RDS Criteria: You can select from various RDS Criteria. You may also choose Any to select all program types, or None to cancel all selected program types.
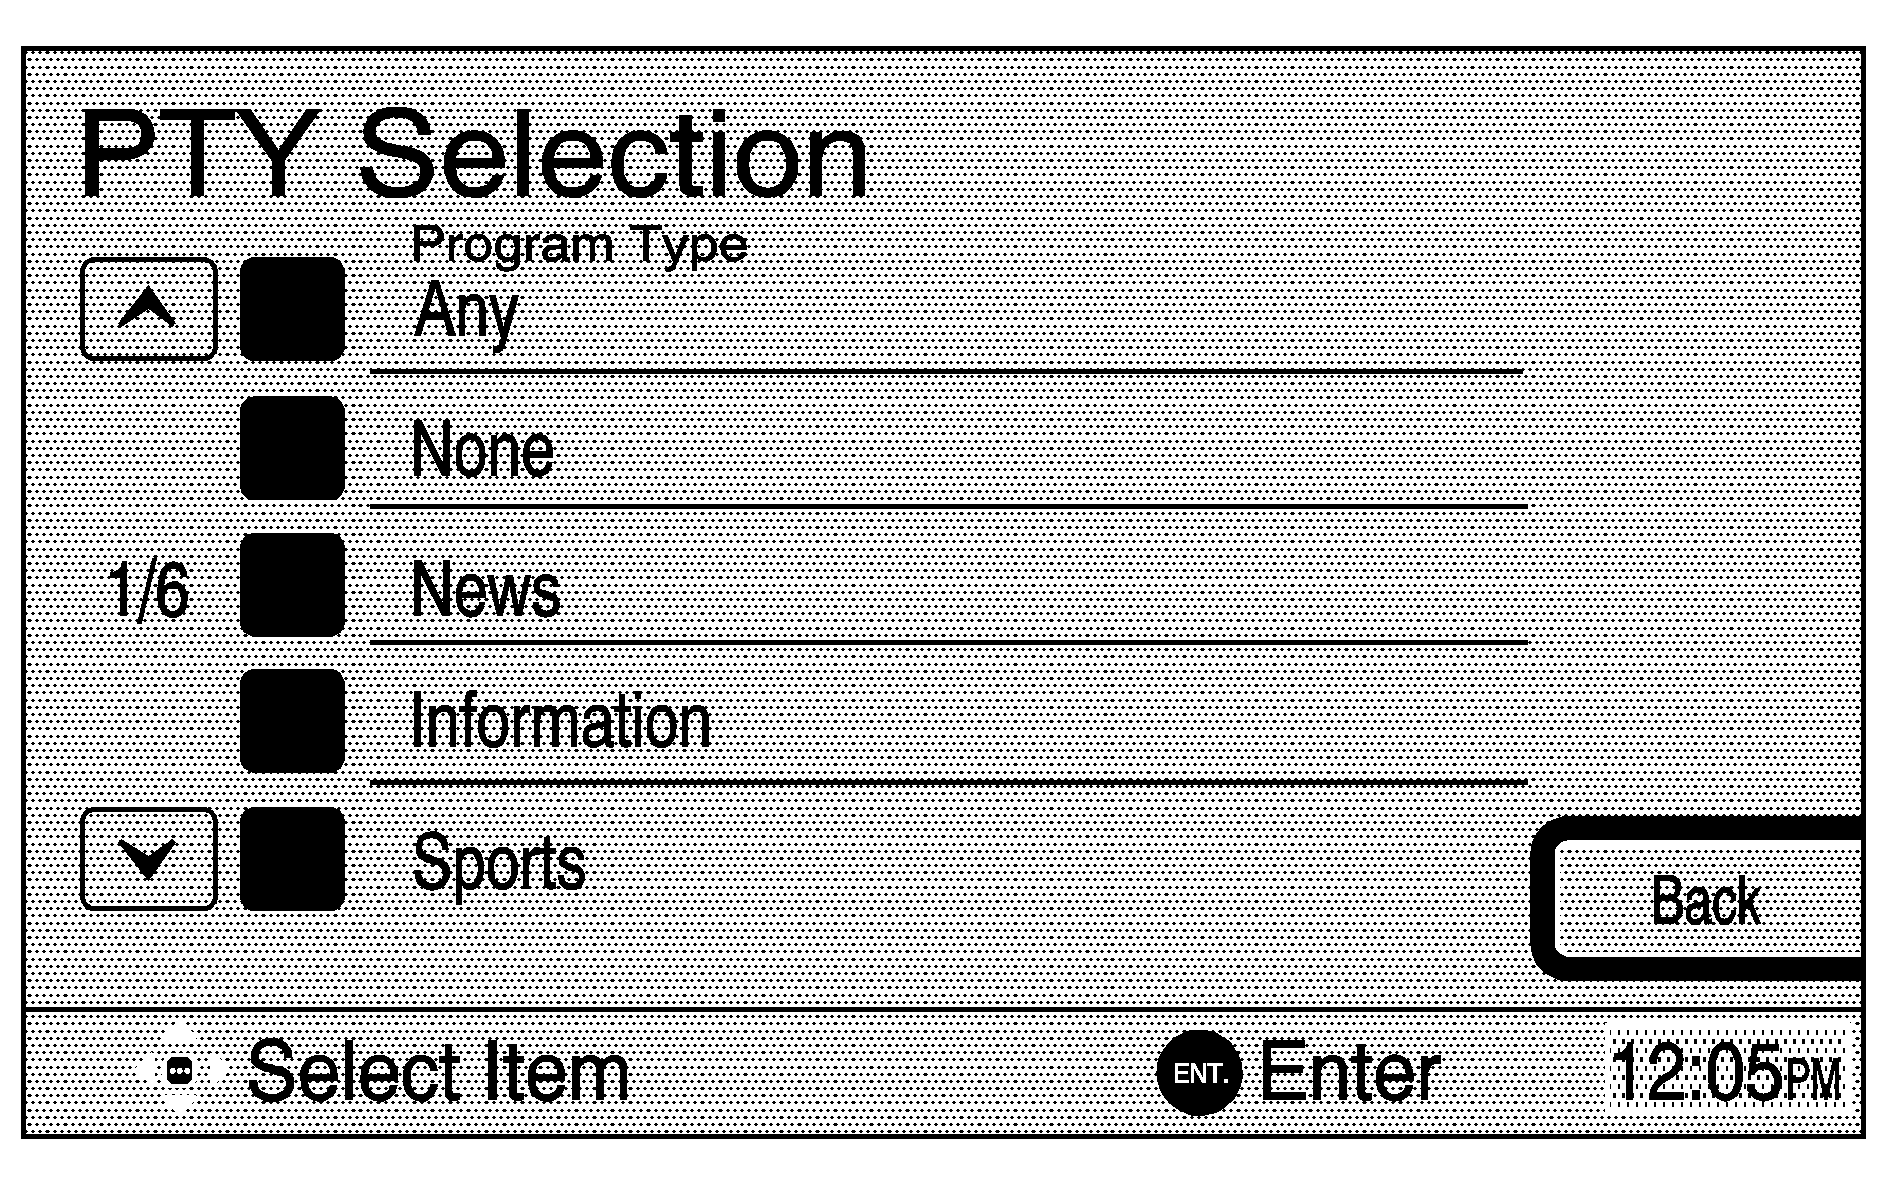
To select PTY preferences, do the following:
- Press the PTY key on the RDS Options menu.
- Use the joystick to select Any, None, or as many PTY as desired.
Alternate Frequency: This feature allows the radio to automatically switch to a stronger station in an RDS network that is playing the same network broadcast. While the frequency may change, the station program name should stay the same, as it is in the same RDS network.
Regionalization: This option allows the radio to stay tuned to the current RDS station even if it departs from RDS network broadcast in favor of broadcasting local or regional content.
Traffic Interrupt: While in FM1 or FM2 mode, press and hold the TA button for more than two seconds to seek to the next RDS station capable of broadcasting traffic announcements. Press and release the TA button in less than two seconds to move the TA icon on and off, changing the radio's response to traffic announcements. Traffic Interrupt will then be displayed. TA and TP will appear in the bottom, right corner of the screen if the tuned station broadcasts traffic announcements. If no station is found, only TA will appear on the screen. When a traffic announcement comes on, you will hear the announcement even if the volume on the audio system is low or a CD is playing.
Interrupt Volume: This option allows you to adjust the volume level at which the audio system will play a traffic announcement. Use the joystick to choose this option and set the desired volume level.
Playing a CD
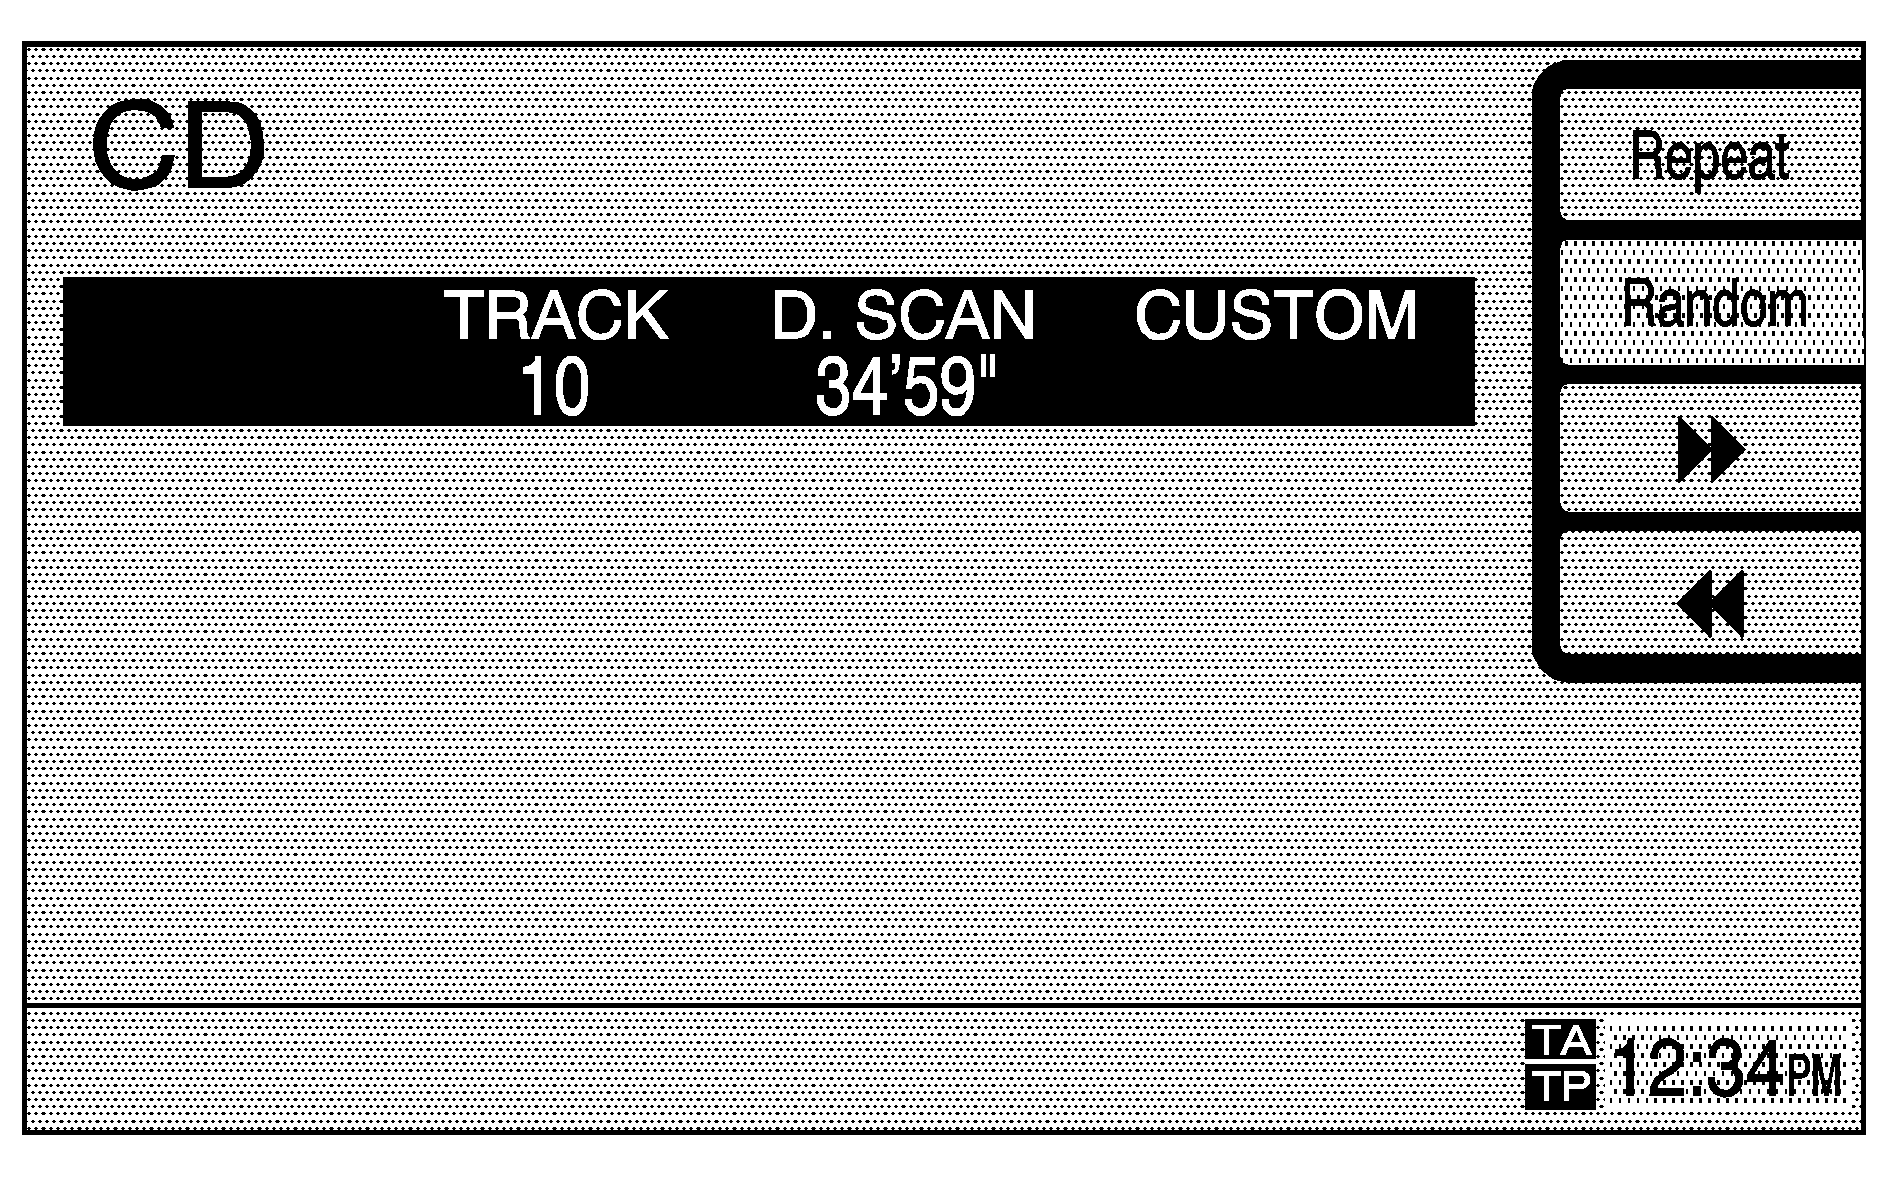
Insert a CD partway into the slot, label side up. The player will pull it in and the CD should begin playing. Your vehicle may also be equipped with a six-disc CD changer. These features are explained further in this manual.
CD (Compact Disc): Press this key to change the source to CD if an audio disc is loaded in the single disc slot above the navigation screen, or to the CD changer if discs are loaded in the magazine of the six-disc CD changer. See Six-Disc CD Changer for more information. To play a single CD, you must first remove the navigation map DVD. While playing a CD in the CD player, the navigation system is not available. A message will display if the NAV key is pressed.To remove the map DVD and load a music CD, do the following:
- Turn the ignition on.
- Press eject.
- Gently remove the map DVD from the slot and return it to its case.
- Insert the music CD partway into the slot. The system will pull it in.
Random: Press this key to play the tracks of a disc in random, rather than sequential, order. Press it again to turn off random play.
(Forward): Press and hold this key to advance quickly within a track. As the CD advances, elapsed time will be displayed to help you find the correct passage.
(Reverse): Press and hold this key to reverse quickly within a track. As the CD reverses, elapsed time will be displayed to help you find the correct passage.
Track Seek: Press the SEEK down arrow to go to the start of the current track if more than eight seconds have played. Press the SEEK up arrow to go to the next track. If either arrow is held or pressed more than once, the player will continue moving backward or forward through the CD.
Track Scan: Press and hold either SEEK arrow for more than two seconds until you hear a beep. The CD will go to the next track, play for a few seconds, then go on to the next track. Press either arrow again to stop scanning.
BAND: Press this key to switch to the radio when a CD is playing.
