Removal Procedure
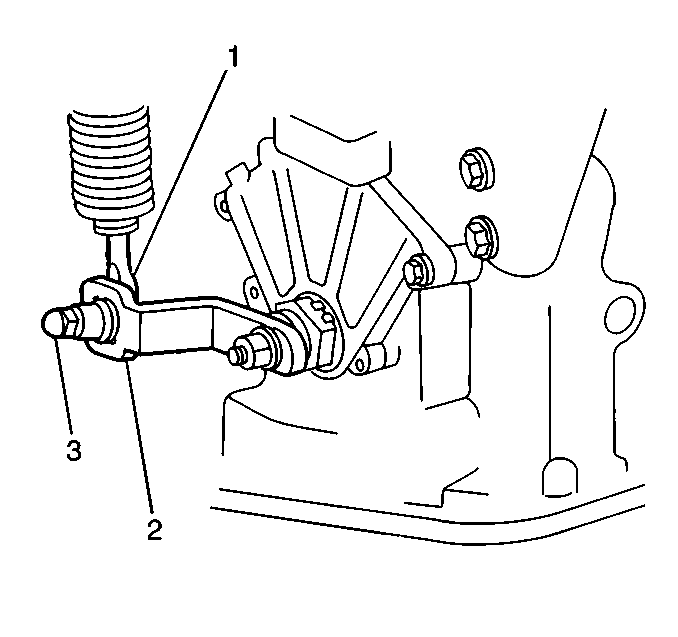
- Remove the shift cable retaining clip.
- Disconnect the cable from the bracket.
- Remove the shift cable retaining nut, then disconnect the cable from the manual lever.
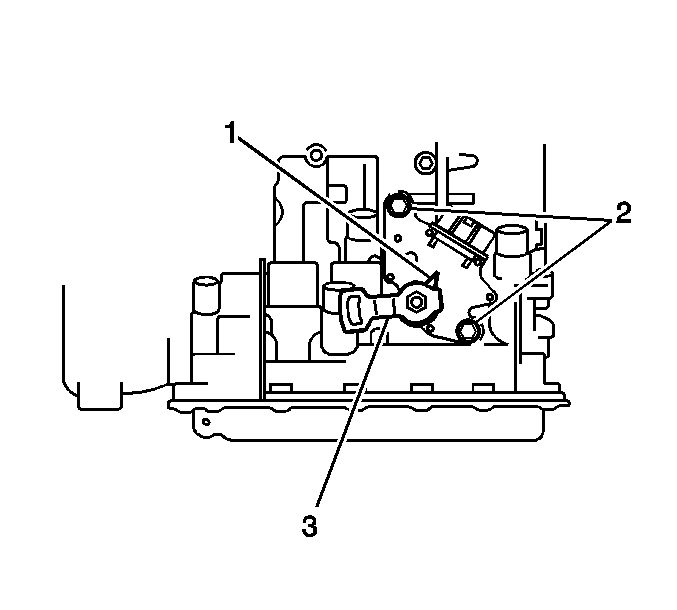
- Disconnect the PNP switch electrical connector (1) from the PNP switch.
- Remove one nut, one lock washer and the manual lever from the manual shaft.
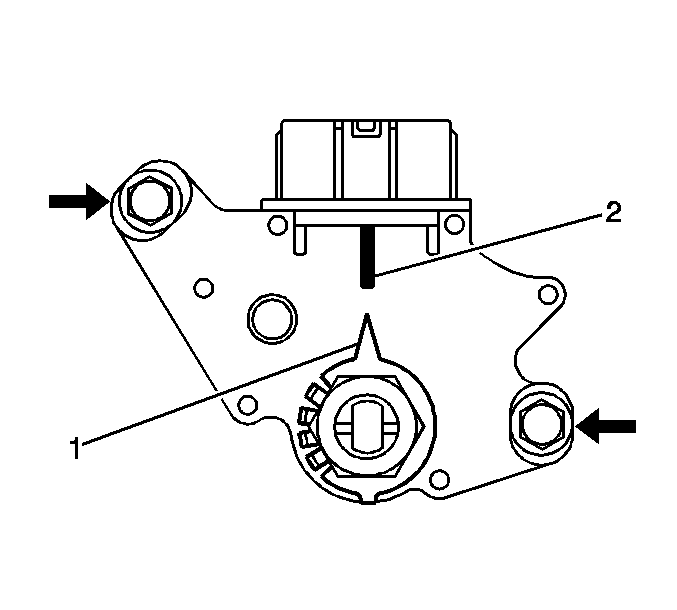
- Unstake the lock plate (1) behind the manual shaft nut (3).
- Remove the manual shaft nut and the lock plate from the PNP switch.
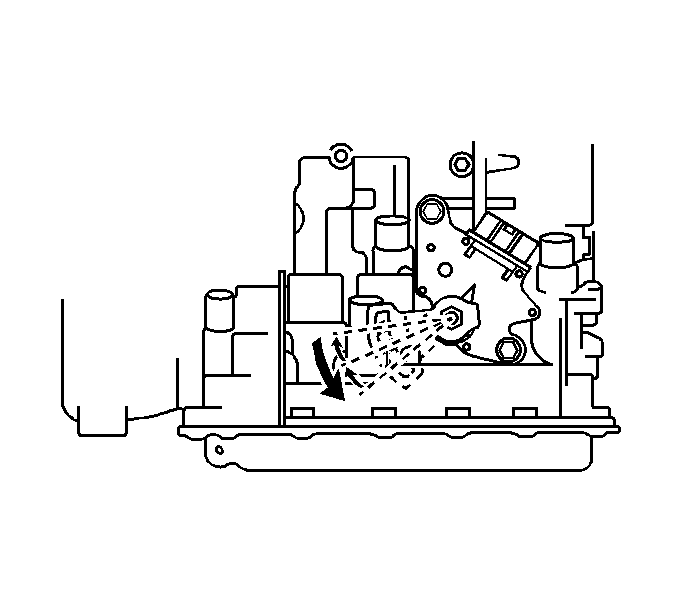
- Remove the 2 bolts and the PNP switch from the transaxle.


Installation Procedure
- Install the PNP switch to the transaxle. Secure with 2 bolts. Do NOT tighten fully.
- Install a new lock plate (1) and the manual shaft nut (3) onto the PNP switch.
- Temporarily install the manual lever.
- Turn the lever counterclockwise until it stops, then turn it clockwise 2 notches.
- Remove the manual lever.
- Align the groove (1) with the neutral base line (2).
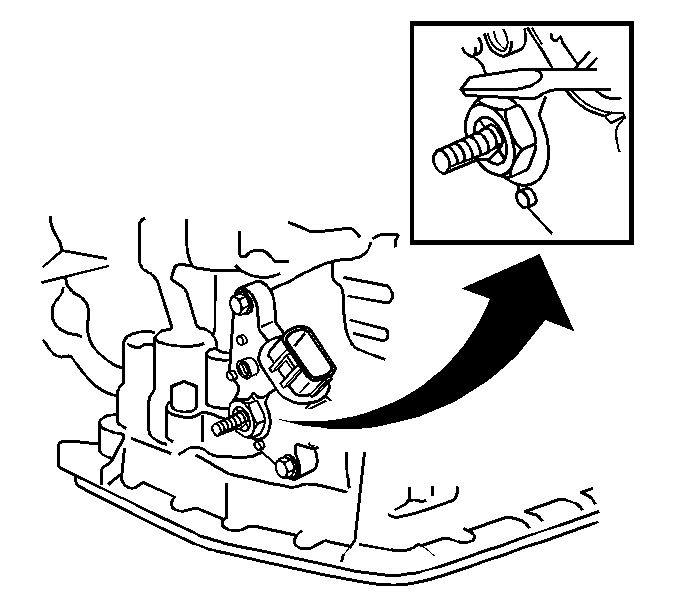
- Hold the switch in position, then tighten the 2 bolts.
- Stake the lock plate over the manual shaft nut.
- Install the manual lever onto the manual shaft. Secure the manual lever with one lock washer and nut.
- Install the PNP shift electrical connector to the PNP switch.
- Install the shift select cable and nut to the manual lever.
- Install the shift select cable in the retaining bracket (2), then install the clip (3).
- Apply the parking brake and block the vehicle wheels.
- With the manual selector in Park position, turn the ignition switch to START and verify that the starter motor operates.
- Stop the engine and return the ignition switch to the ON position.
- Move the manual selector from the Park position to the Neutral position and verify that the starter motor operates.
- Verify that the starter motor DOES NOT operate in D, 2, L or R.
Notice: Use the correct fastener in the correct location. Replacement fasteners must be the correct part number for that application. Fasteners requiring replacement or fasteners requiring the use of thread locking compound or sealant are identified in the service procedure. Do not use paints, lubricants, or corrosion inhibitors on fasteners or fastener joint surfaces unless specified. These coatings affect fastener torque and joint clamping force and may damage the fastener. Use the correct tightening sequence and specifications when installing fasteners in order to avoid damage to parts and systems.
Tighten
Tighten the manual shaft nut to 5.5 N·m (49 lb in).
Tighten
Tighten the Park/Neutral Position (PNP) switch bolts to 5.5 N·m (49 lb in).
Tighten
Tighten the manual lever nut to 12.5 N·m (9 lb ft).
Tighten
Tighten the shift cable retaining nut to 12.5 N·m (9 lbs ft).
