For 1990-2009 cars only
Removal Procedure
- Raise and support vehicle. Refer to Lifting and Jacking the Vehicle .
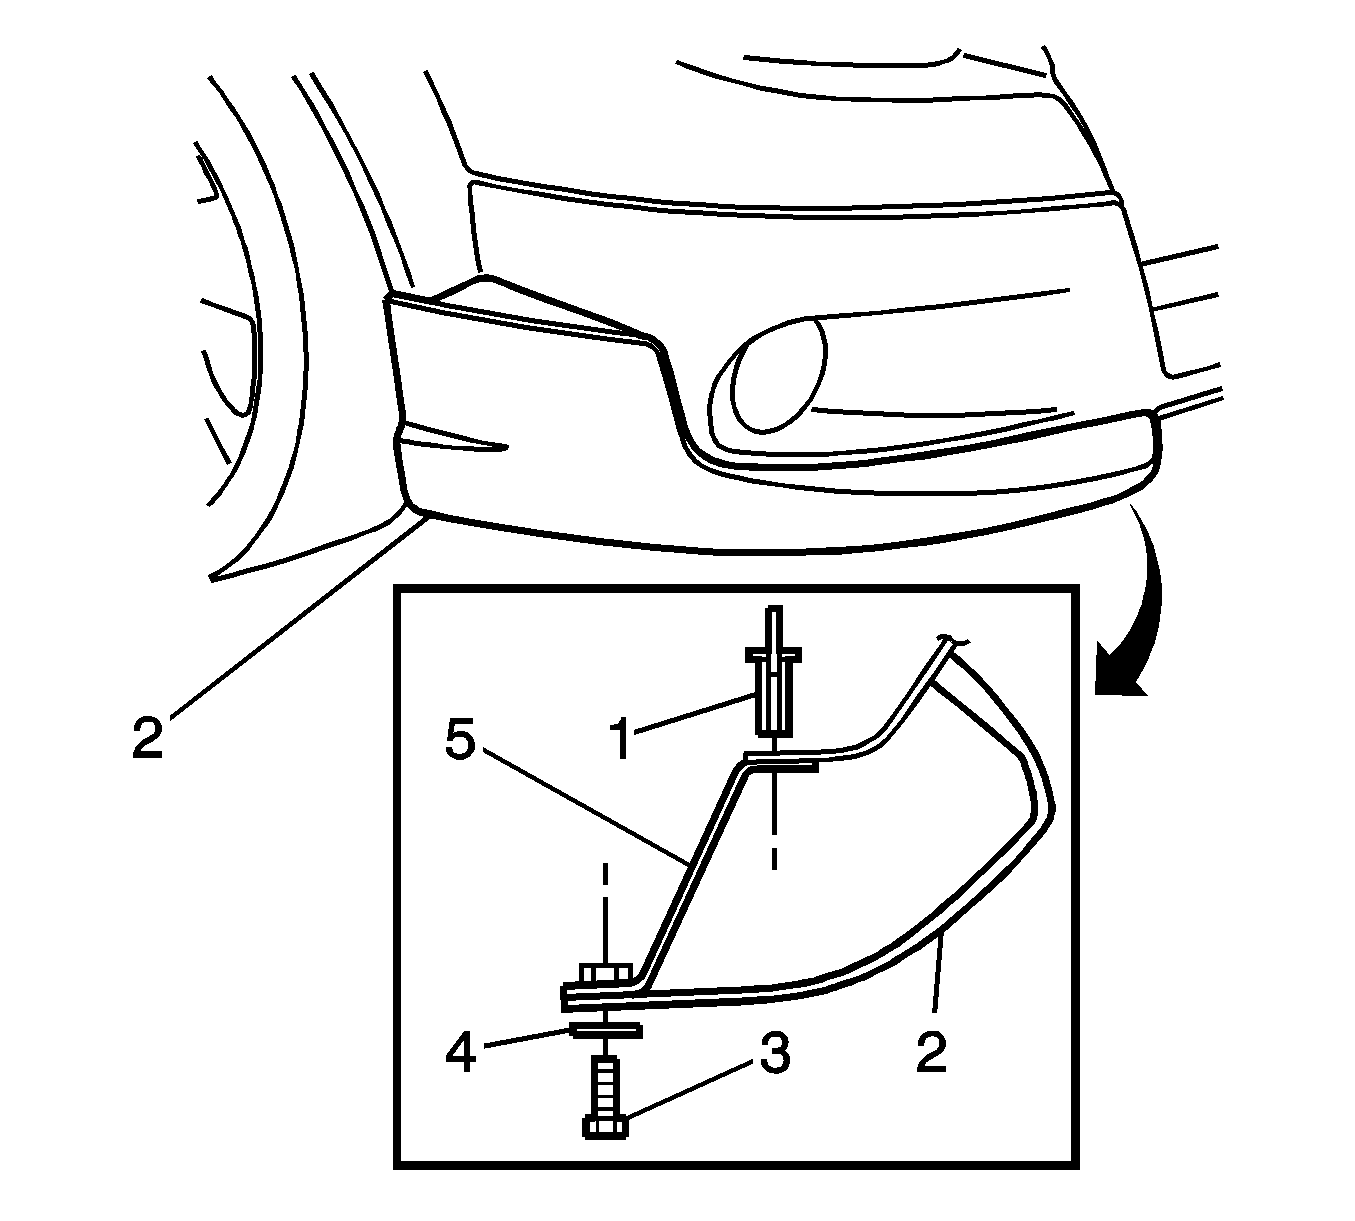
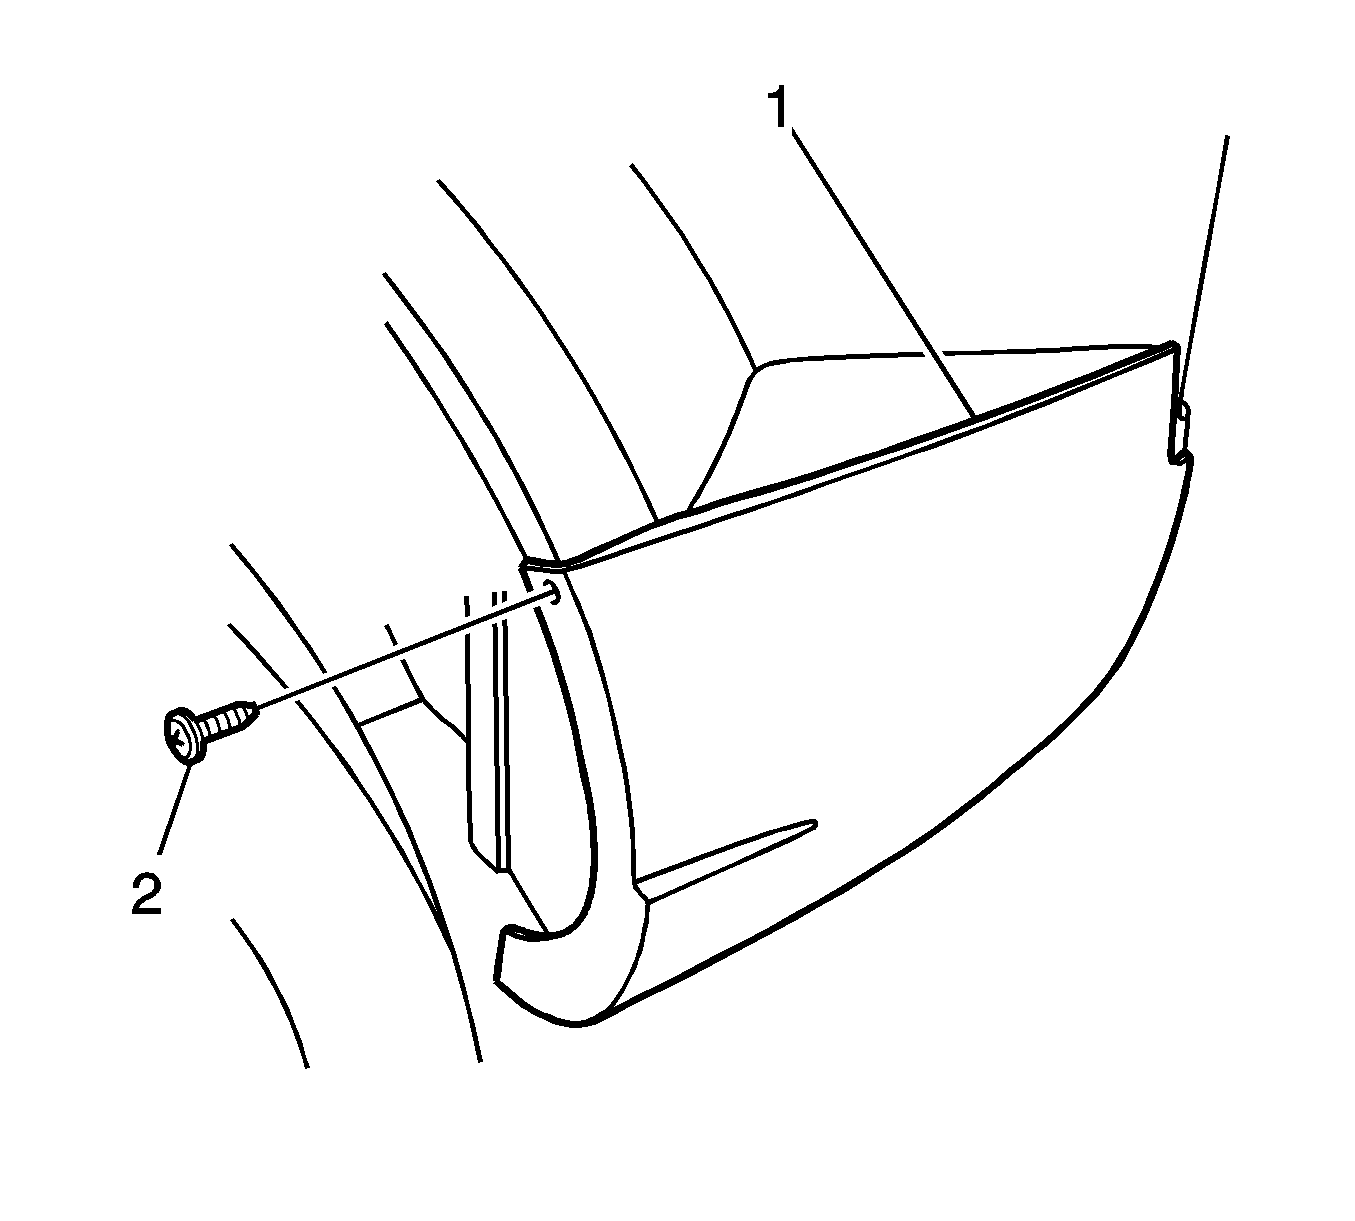
- Remove the push-retainer (1).
- Remove the screw (3) and washer (4) from bracket (5).
- Remove the bracket (5) from the front bumper fascia extension (2).
- Remove the screw (2) from the front bumper fascia extension (1).
- Remove the nuts (1) from the set screws (2).
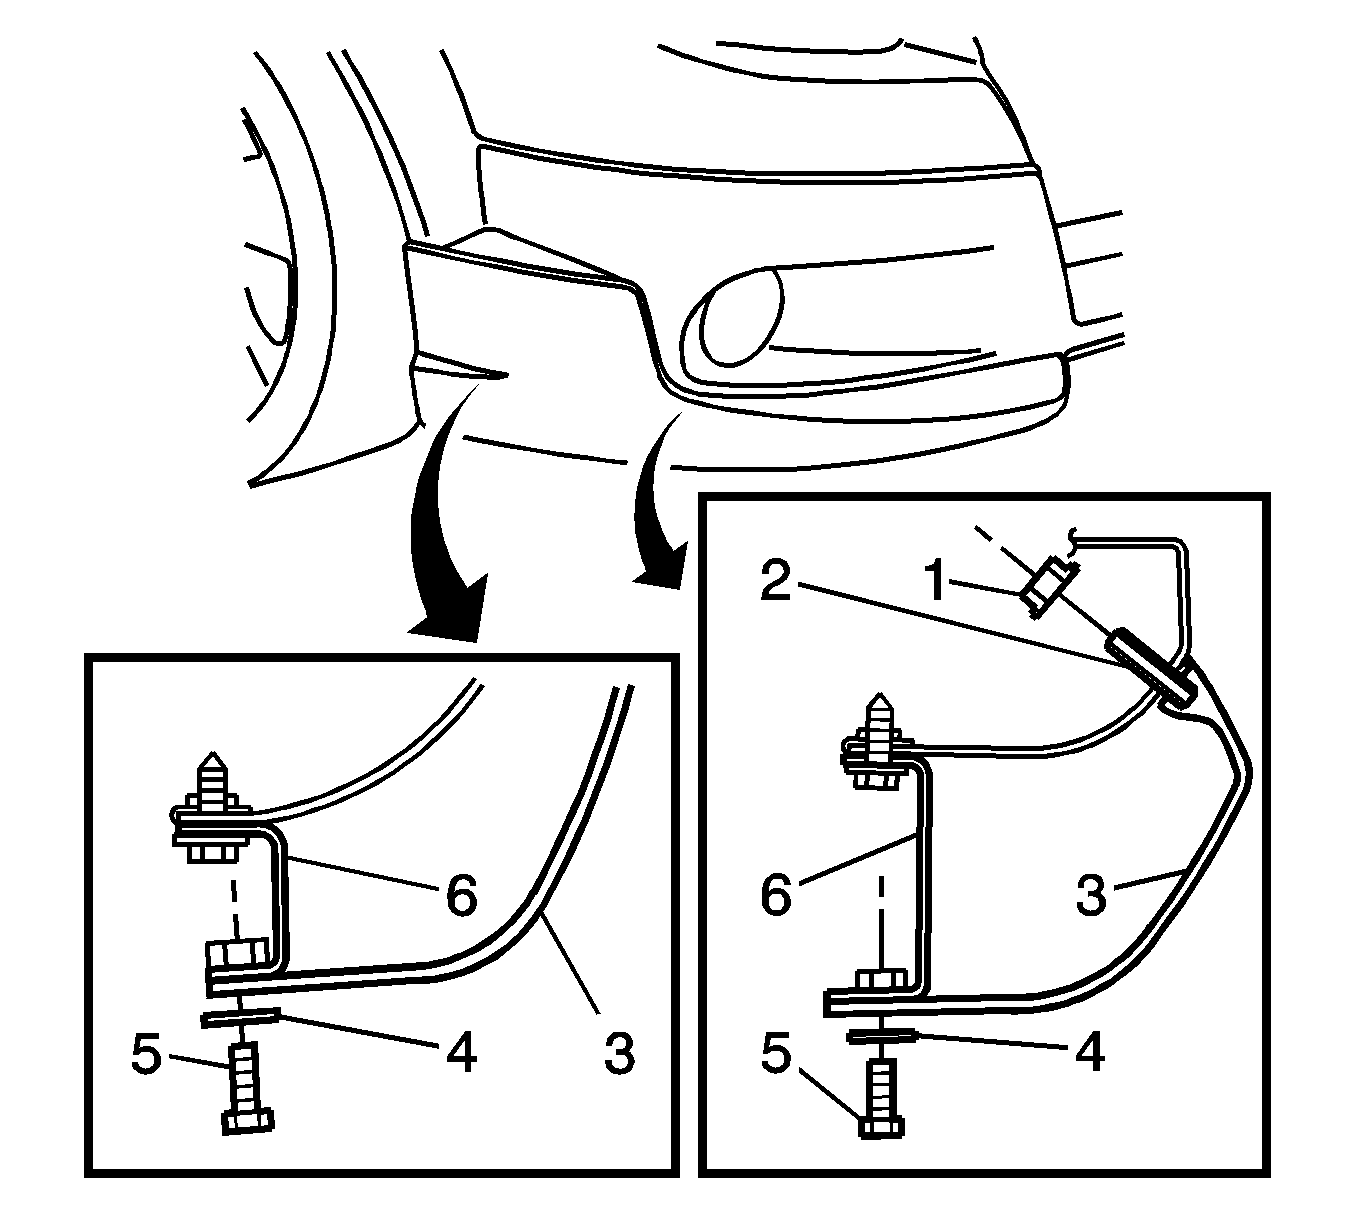
- Remove the screws (5) and washers (4) from the brackets (6).
- Remove the front bumper fascia extension. Refer to Exterior Trim Molding/Nameplate Replacement .
- Remove the front bumper fascia extension brackets, if necessary.
Installation Procedure
- Install the front bumper fascia extension brackets, if removed.
- Install 2-way tape to the front bumper fascia extension. Refer to Exterior Trim Molding/Nameplate Replacement .
- Peel back 25.0 mm of the tape liner from both ends.
- Align front bumper fascia extension to the brackets.
- Install the screws (5) and the washers (4) to the brackets (6).
- Install the nuts (1) to the set screws (2).
- Install the screw (2) to the front bumper fascia extension (1).
- Install the bracket (5) to the front bumper fascia extension (2).
- Install the screw (3) and washer (4) to the bracket (5).
- Install the push in retainer (1).
- Remove the tape liner from the rear of the front fascia extension and press down working from the rear to get good adhesion.
- Lower vehicle.
Notice: Refer to Fastener Notice in the Preface section.
Tighten
Tighten the screws to 5 N·m (44 lb in).
Tighten
Tighten the nuts to 5 N·m (44 lb in).
Tighten
Tighten the screw to 2.5 N·m (22 lb in).
Tighten
Tighten the screw to 5 N·m (44 lb in).
