For 1990-2009 cars only
Special Tools
J-6627-A Tie Rod Puller
Removal Procedure
- Raise and support the vehicle. Refer to Lifting and Jacking the Vehicle.
- Remove the front tire and wheel assembly. Refer to Tire and Wheel Removal and Installation.
- Remove the cotter pin from the tie rod end ball stud.
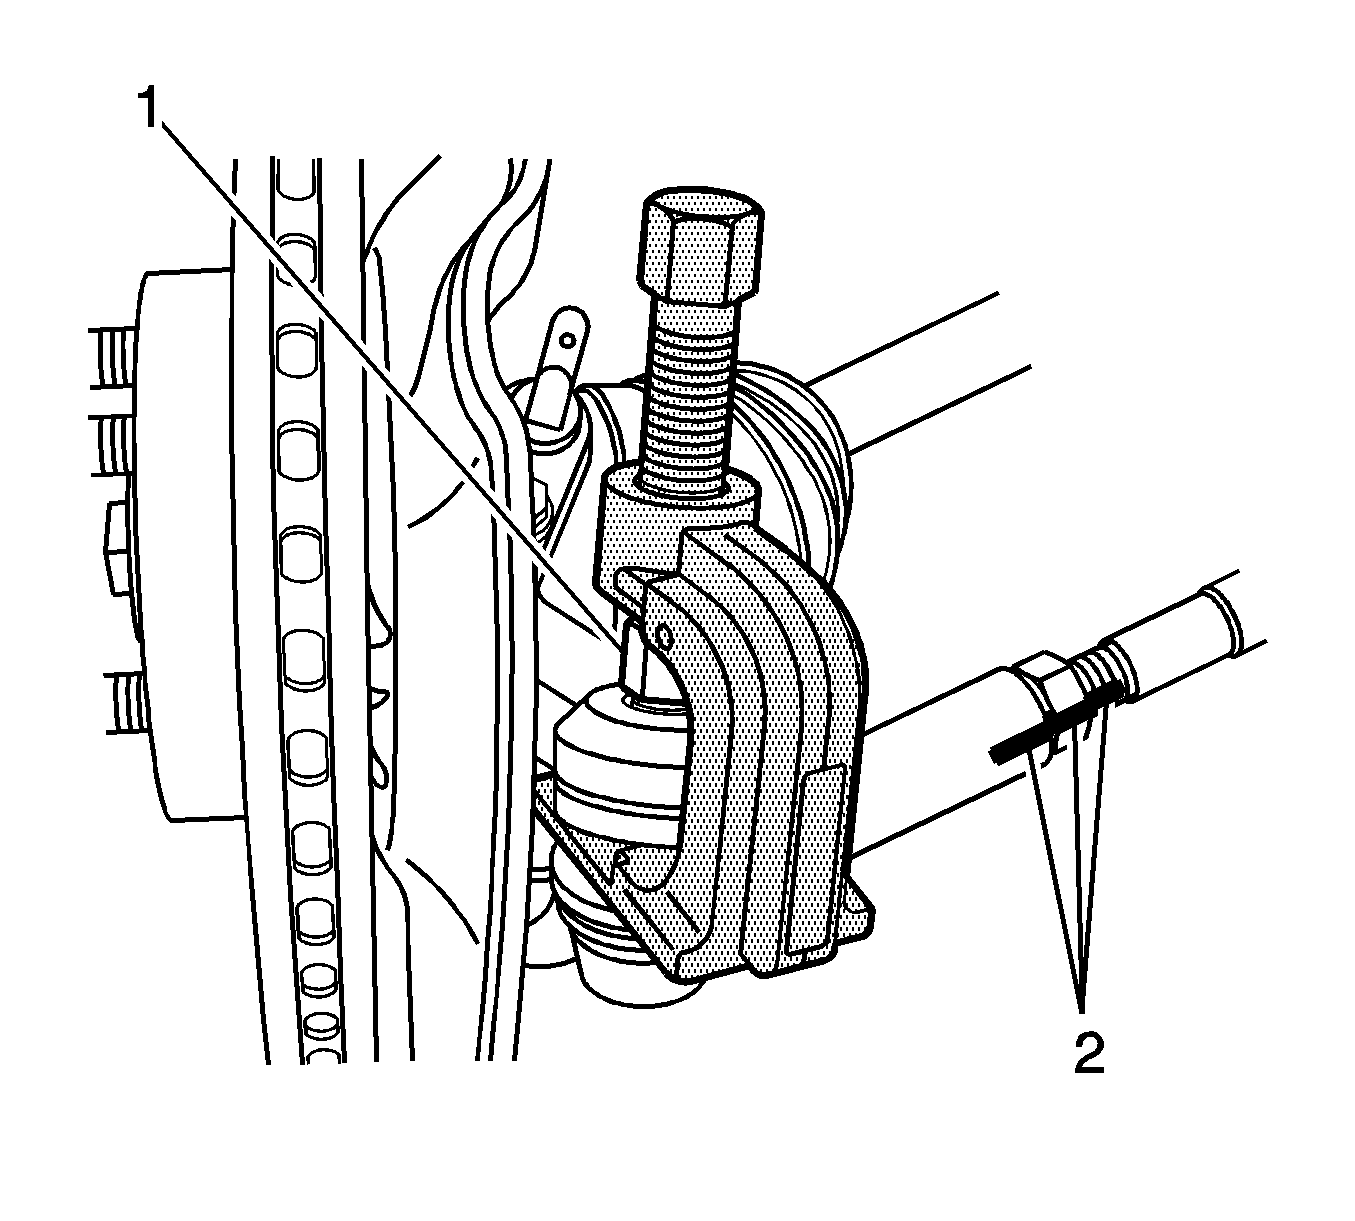
- Loosen the tie rod end nut (1).
- Use the J-6627-A Puller , or equivalent, in order to separate the tie rod end from the knuckle.
- Remove the tie rod end nut.
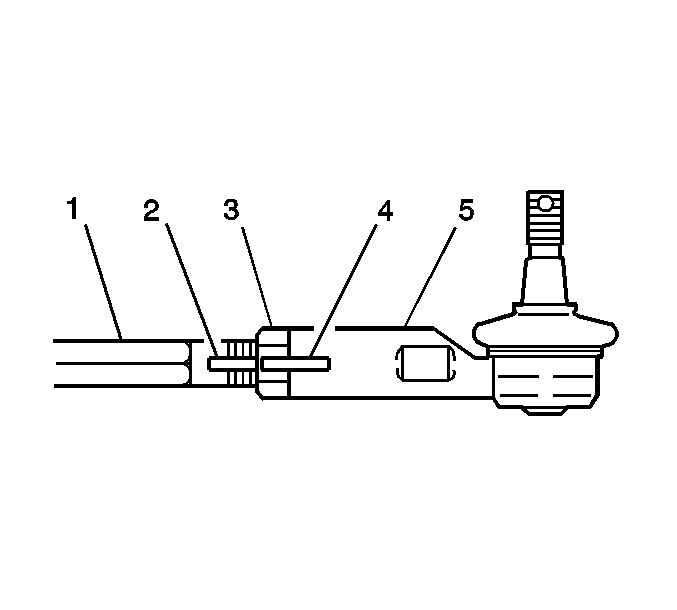
- Use paint in order to place match marks (2, 4) on the following components:
- Loosen the lock nut.
- Remove the tie rod end from the inner tie rod.


| • | The inner tie rod (1) |
| • | The lock nut (3) |
| • | The tie rod end (5) |
Installation Procedure
- Install the tie rod end (5) to the inner tie rod (1). Align the tie rod end with the match marks (2, 4). Do not tighten the lock nut (3).
- Install the tie rod end to the steering knuckle.
- Install the tie rod end nut to the tie rod end. Tighten the nut to 49 N·m (36 lb ft).
- Align the cotter pin slot by tightening the outer tie rod nut up to an additional 60 degrees. Do not loosen the nut in order to insert the cotter pin.
- Install the cotter pin into the hole in the tie rod end stud.
- Install the front tire and wheel assembly. Refer to Tire and Wheel Removal and Installation.
- Measure the wheel alignment. Refer to Wheel Alignment Measurement.
- Adjust the front toe and tighten the lock nut. Refer to Front Toe Adjustment.
- Verify the steering gear boot is not twisted.
- Lower the vehicle.

Caution: Refer to Fastener Caution in the Preface section.
