Evaporative Emission Canister Replacement FWD
Removal Procedure
- Raise and suitably support the vehicle. Refer to Lifting and Jacking the Vehicle in General Information.
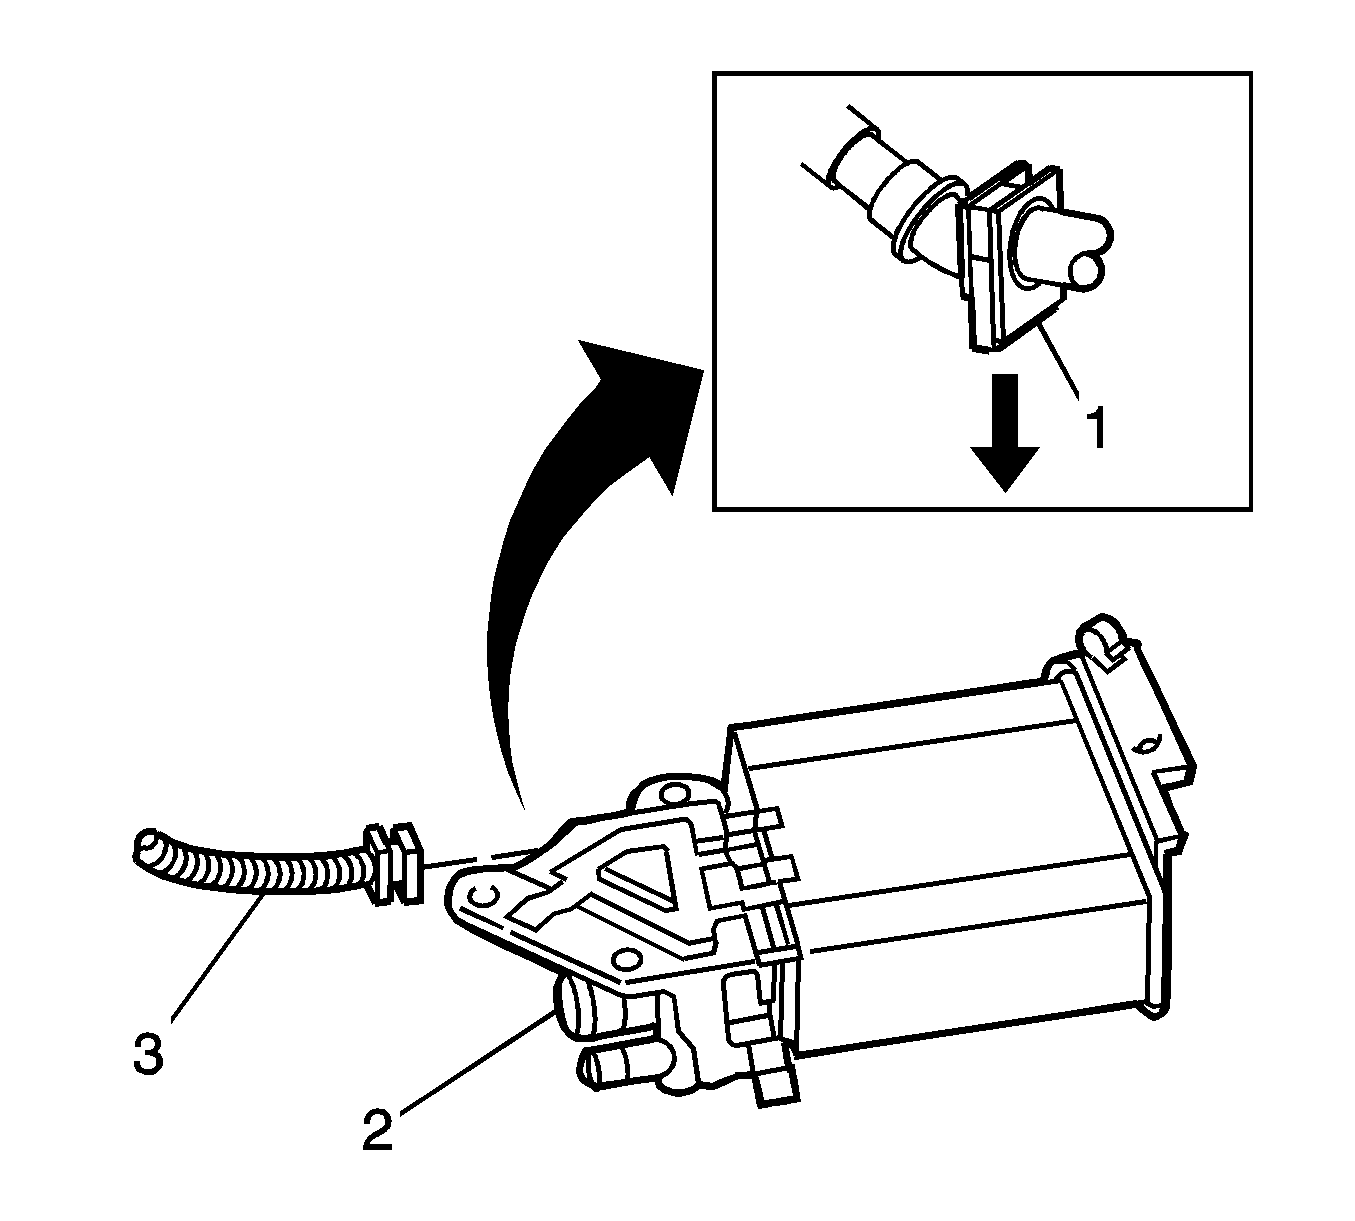
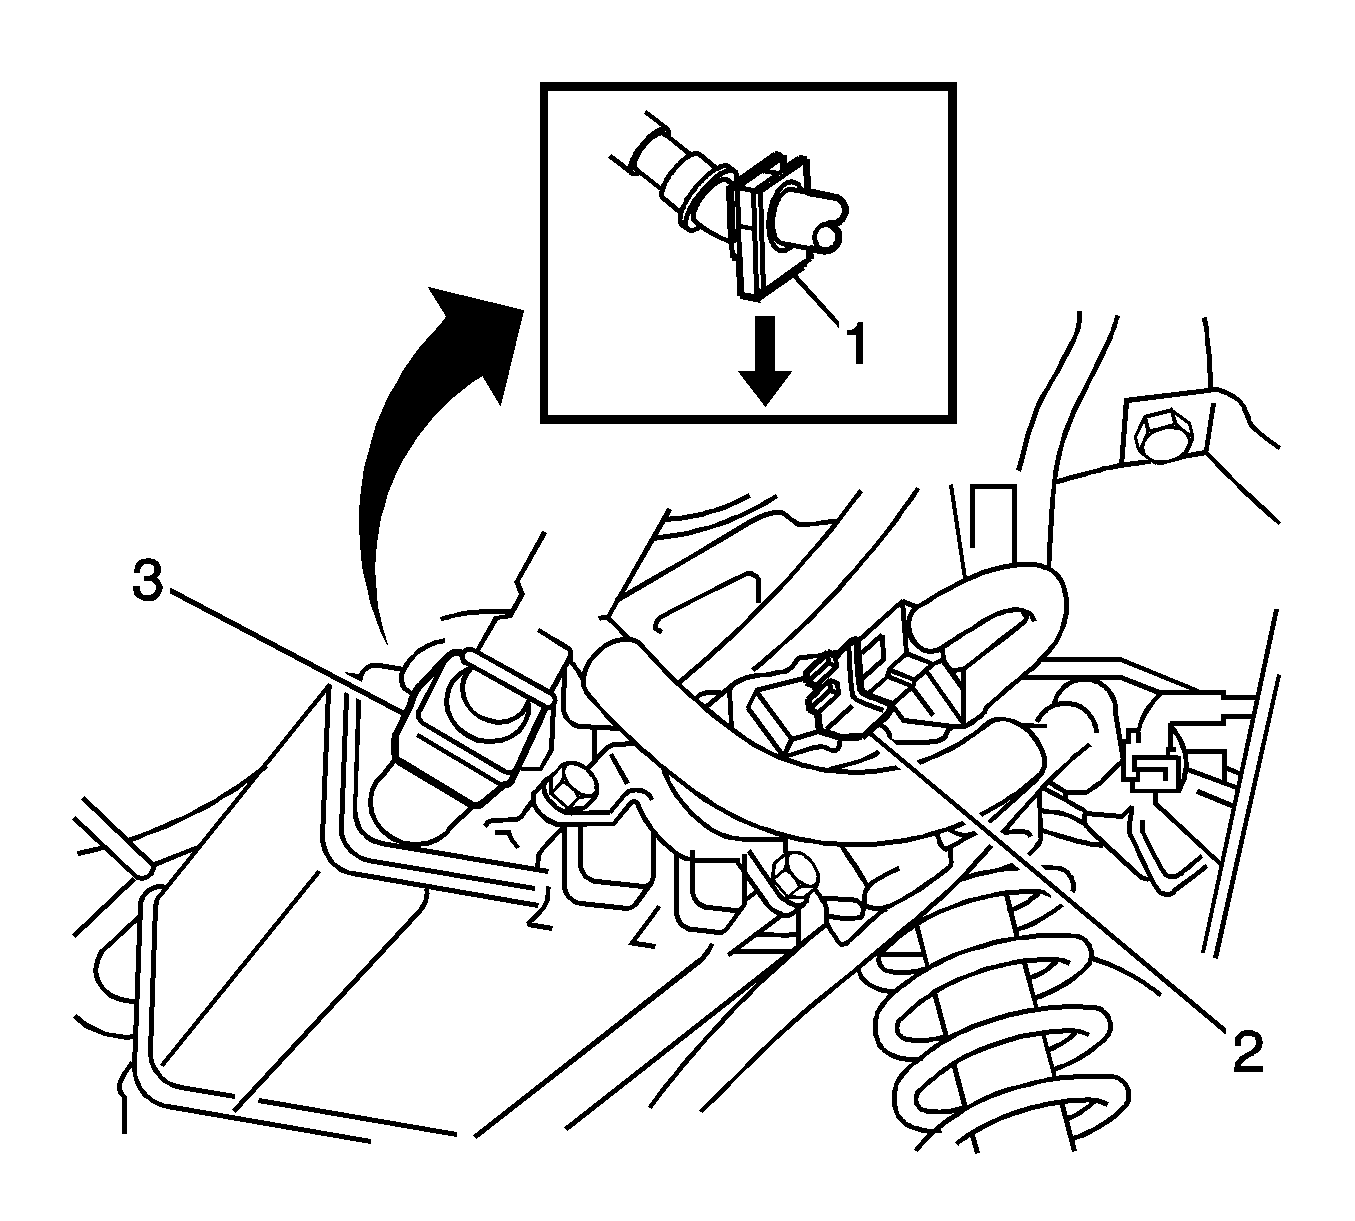
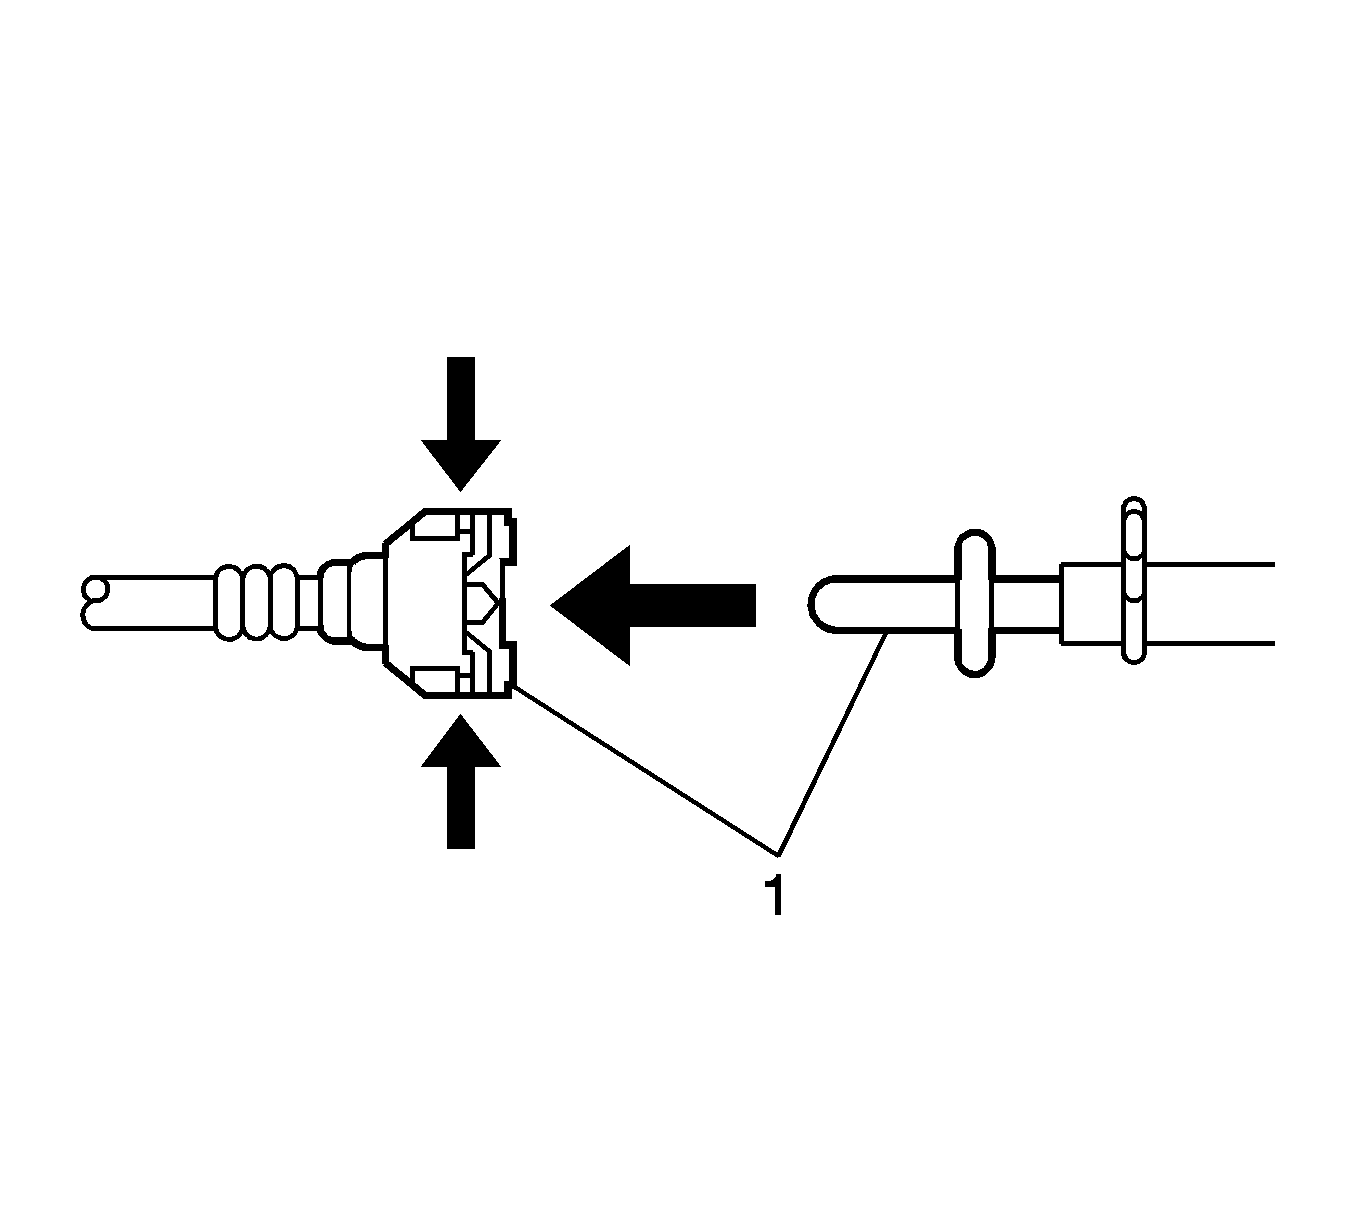
- Unlock the quick connect fitting of the on-board refueling vapor recovery (ORVR) vent line by sliding the lock clasp (1) to unlock position.
- Disconnect the ORVR vent line (3) from the evaporative emission (EVAP) canister port (2).
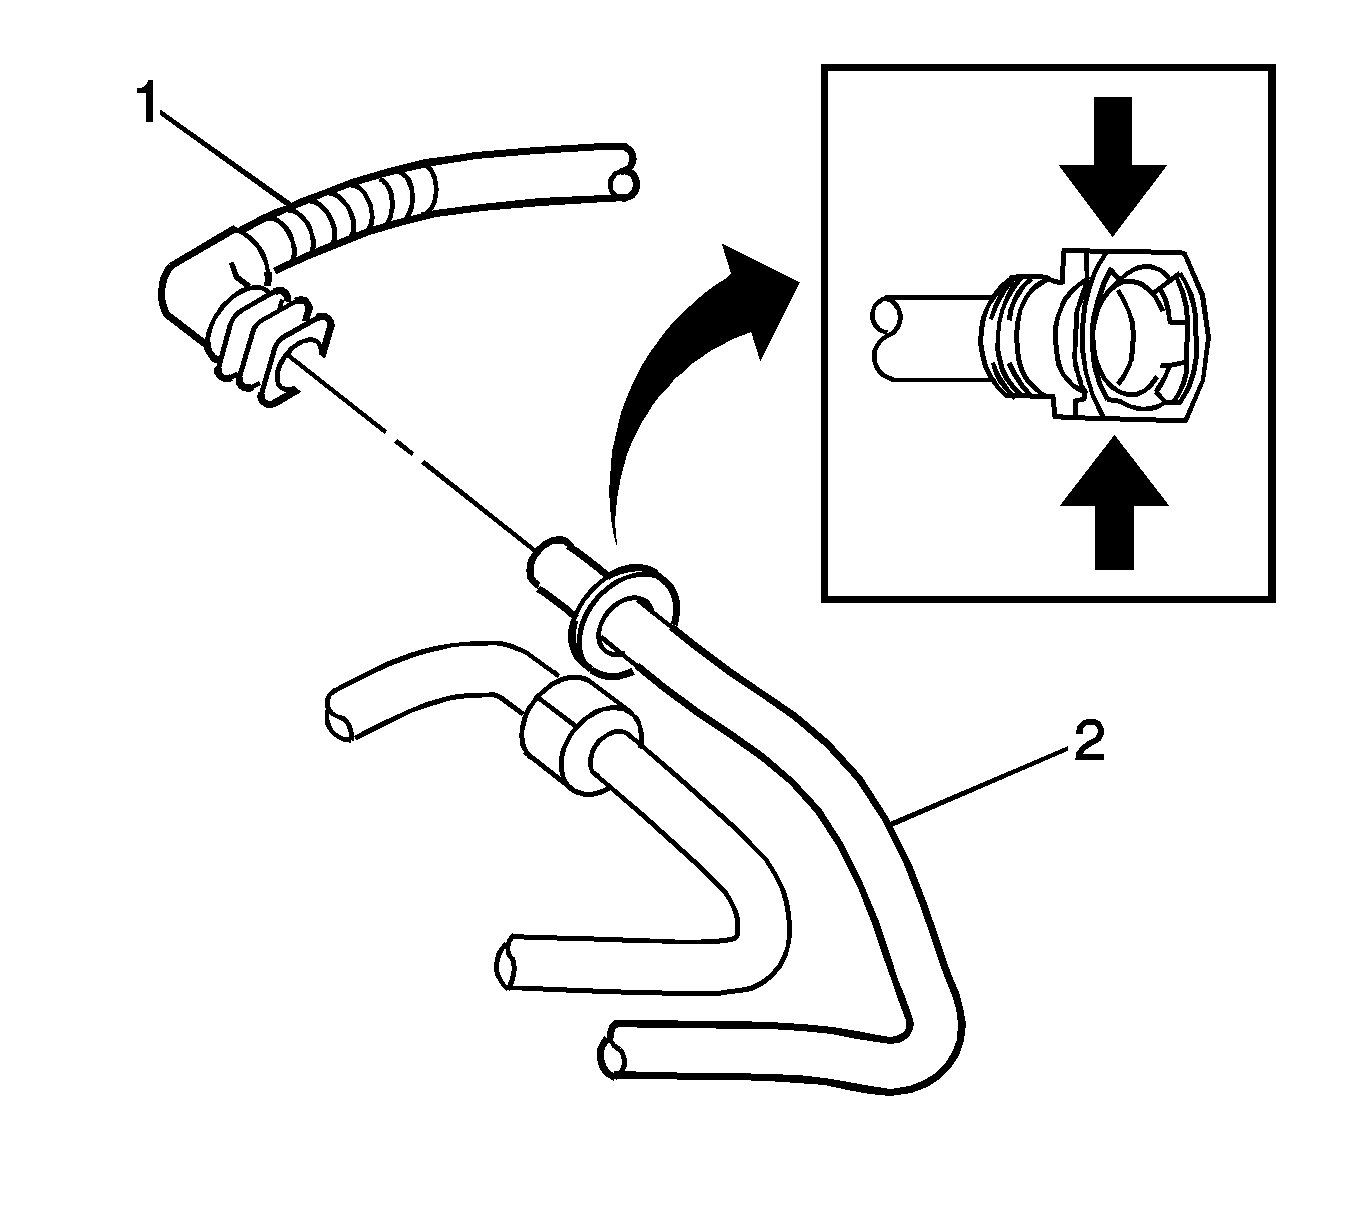
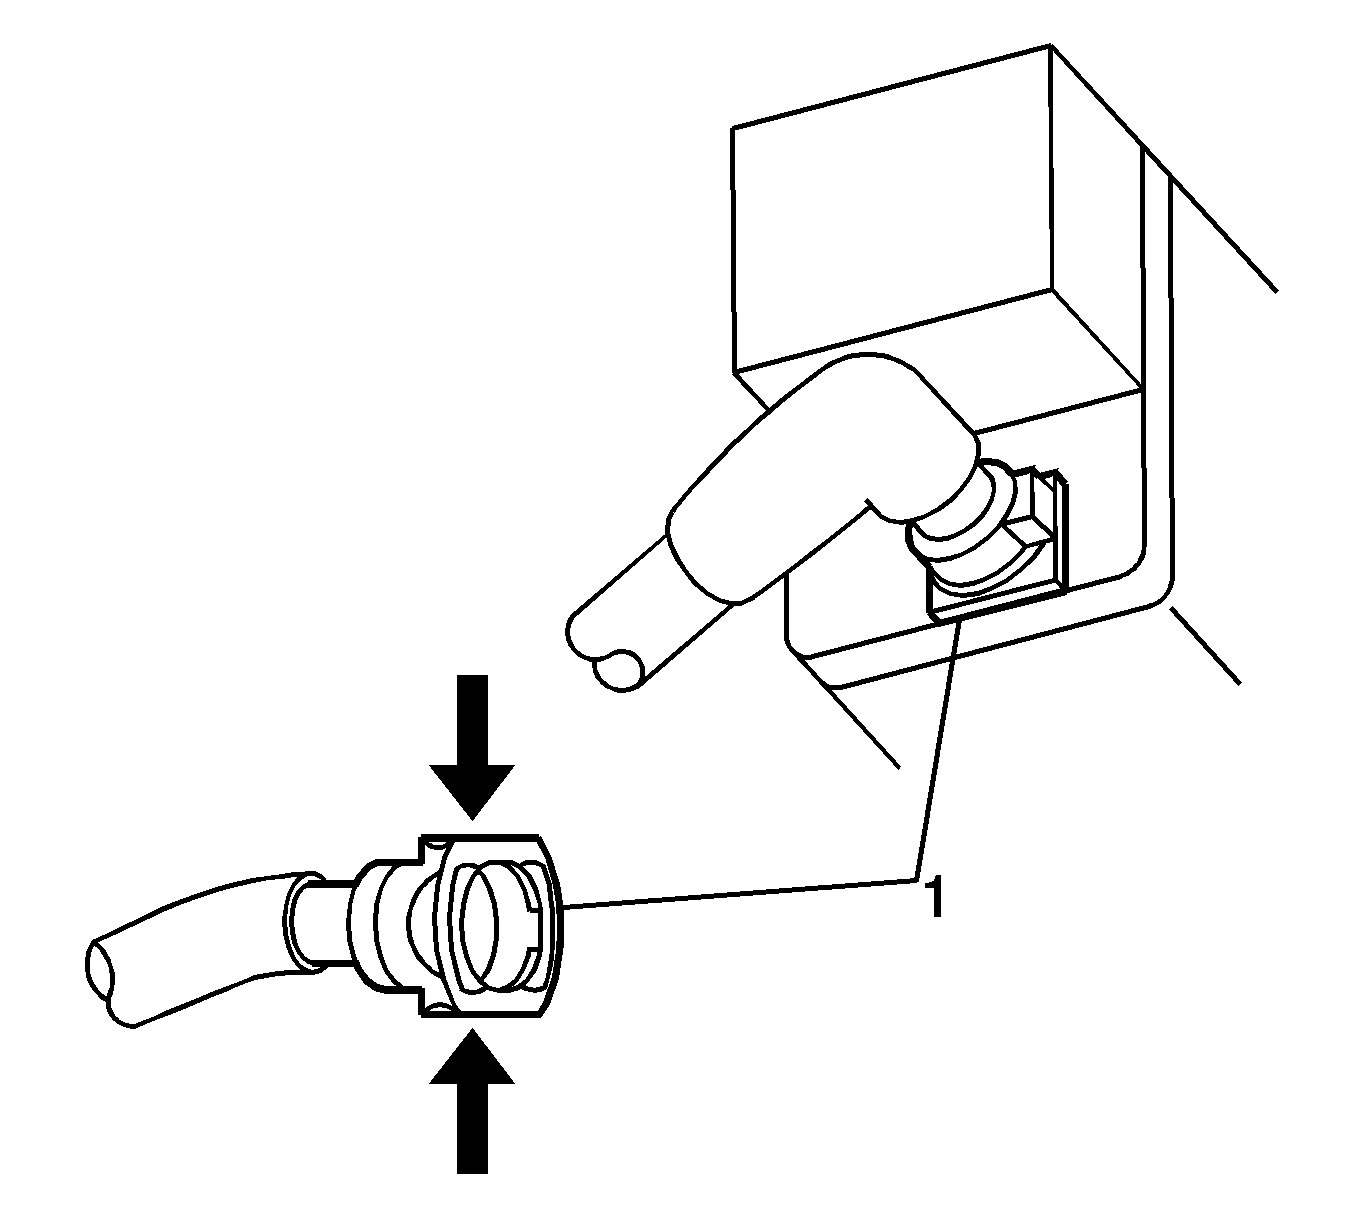
- Disconnect the EVAP canister air inlet line (1) from the vent pipe (2) by pinching both sides of the hose connector.
- Disconnect the EVAP purge hose (1) from the EVAP canister (3).
- Disconnect the electrical connector (4) from the EVAP canister vacuum pump.
- Remove the 3 bolts and the EVAP canister (3) from the vehicle.
- Inspect the EVAP purge system for carbon particle contamination before replacing the EVAP canister.

Installation Procedure
- Install the EVAP canister (3) to the vehicle underbody and secure with 3 bolts.
- Install the EVAP canister bracket support bolts.
- Connect the EVAP purge hose (1) to the EVAP canister (3).
- Connect the electrical connector (4) to the EVAP canister vacuum pump.
- Connect the ORVR vent line (2) to the EVAP canister (3).
- Secure the ORVR vent line to the canister by sliding the locking clasp of the quick connect fitting to the lock position.
- Connect the EVAP canister air inlet line (1) to the vent pipe (2).
- Lower the vehicle.
Notice: Use the correct fastener in the correct location. Replacement fasteners must be the correct part number for that application. Fasteners requiring replacement or fasteners requiring the use of thread locking compound or sealant are identified in the service procedure. Do not use paints, lubricants, or corrosion inhibitors on fasteners or fastener joint surfaces unless specified. These coatings affect fastener torque and joint clamping force and may damage the fastener. Use the correct tightening sequence and specifications when installing fasteners in order to avoid damage to parts and systems.
Tighten
Tighten the bolts to 19 N·m (14 lb ft).
Evaporative Emission Canister Replacement AWD
Removal Procedure
- Raise and suitably support the vehicle. Refer to Lifting and Jacking the Vehicle in General Information.
- Remove the 2 fasteners securing the exhaust heat shield to the evaporative emission (EVAP) canister.
- Lower the heat shield down away from the EVAP canister.
- Unlock the quick connect fitting (3) of the on-board refueling vapor recovery (ORVR) vent line by sliding the lock clasp (1) to unlock position.
- Disconnect the ORVR vent line (3) from the evaporative emission (EVAP) canister.
- Disconnect the electrical connector (2) of the EVAP canister vacuum pump.
- Disconnect the EVAP air inlet line (1) from the EVAP filter (1) by pinching both sides of the hose connector (1).
- Disconnect the EVAP canister purge line (1) by pinching both sides of the hose connector (1).
- Remove the 3 bolts and the EVAP canister from the vehicle.
- Disconnect the EVAP filter air inlet line from the EVAP canister by pinching both sides of the hose connector.
- Remove the filter from the EVAP canister bracket by moving the latch tab to the release position.
- Inspect the EVAP purge system for carbon particle contamination before replacing the EVAP canister.
Installation Procedure
- Slide the EVAP filter onto the EVAP canister bracket and secure the filter by moving the latch tab to the lock position.
- Connect the EVAP filter line to the EVAP canister air inlet port.
- Install the EVAP canister to the vehicle underbody and secure with 3 bolts.
- Connect the EVAP purge hose.
- Connect the electrical connector to the EVAP canister vacuum pump.
- Install the ORVR vent line to the EVAP canister.
- Secure the ORVR vent line to the canister by sliding the locking clasp of the quick connect fitting to the lock position.
- Connect the EVAP air inlet line to the EVAP filter.
- Align the heat shield over the EVAP canister and secure with the 2 fasteners.
- Lower the vehicle.
Notice: Use the correct fastener in the correct location. Replacement fasteners must be the correct part number for that application. Fasteners requiring replacement or fasteners requiring the use of thread locking compound or sealant are identified in the service procedure. Do not use paints, lubricants, or corrosion inhibitors on fasteners or fastener joint surfaces unless specified. These coatings affect fastener torque and joint clamping force and may damage the fastener. Use the correct tightening sequence and specifications when installing fasteners in order to avoid damage to parts and systems.
Tighten
Tighten the bolts to 19 N·m (14 lb ft).
Tighten
Tighten the fasteners to 8.8 N·m (77 lb in).
