For 1990-2009 cars only
- Remove the front lower ball joint. Refer to Lower Control Arm Ball Joint Replacement .
- Clamp the ball joint in a soft-jawed vise.
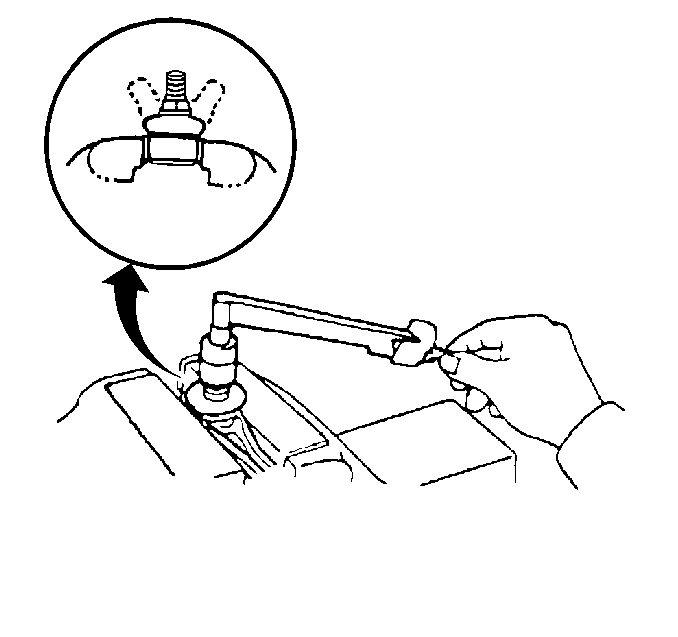
- Inspect the movement of the ball joint by moving the ball joint back and forth 5 times.
- Install a new nut on the stud.
- Use a beam type torque wrench in order to turn the nut continuously for one turn every 3 to 5 seconds.
- Take the torque reading on the fifth turn.
- If the movement of the ball joint is not within the specification, replace the ball joint. Refer to Lower Control Arm Ball Joint Replacement .

Reading
The reading should be between 0.98 N·m (8.674 lb in) and 4.9 N·m (43.37 lb in).
