Caution: Refer to Brake Fluid Irritant Caution in the Preface section.
Caution: Refer to Brake Fluid Caution in the Preface section.
Notice: Refer to Filling the Master Cylinder Notice in the Preface section.
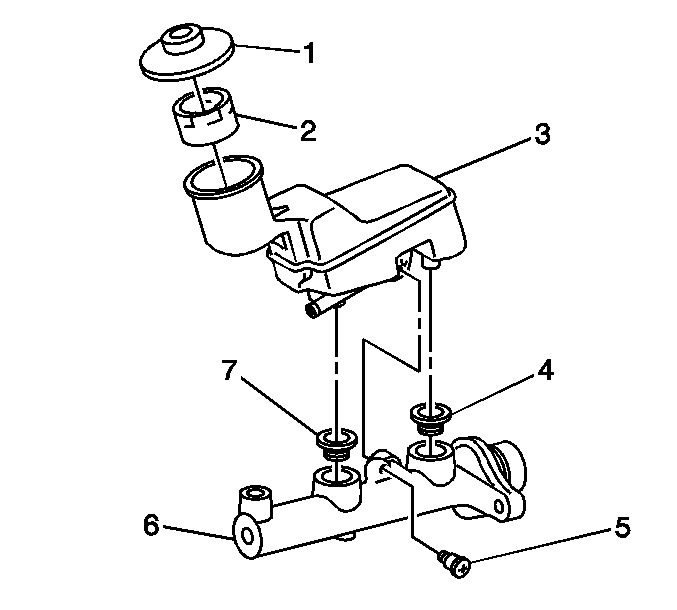
Notice: Do not hone the master cylinder bore. When the brake master cylinder
is overhauled, it is recommended that the cylinder body be replaced rather
than CLEANED UP by honing the bore. The master cylinder has a hard, highly
polished BEARINGIZED surface, which is produced by diamond boring
followed by ball or roller burnishing under heavy pressure. Honing will destroy
this hard smooth surface and cause rapid wear of the rubber cups.
- Remove the master cylinder (6) from the vehicle. Refer to
Master Cylinder Replacement
.
- Remove the 2 grommets (4, 7).
- Remove the O-ring from the master cylinder bore.
- If the vehicle has the stability system, complete the following steps:
| 4.1. | Place a rag on a table. |
| 4.2. | Hold the master cylinder with the reservoir ports down over the rag. |
| 4.3. | Push in the piston and allow the piston stop pin to fall out. |
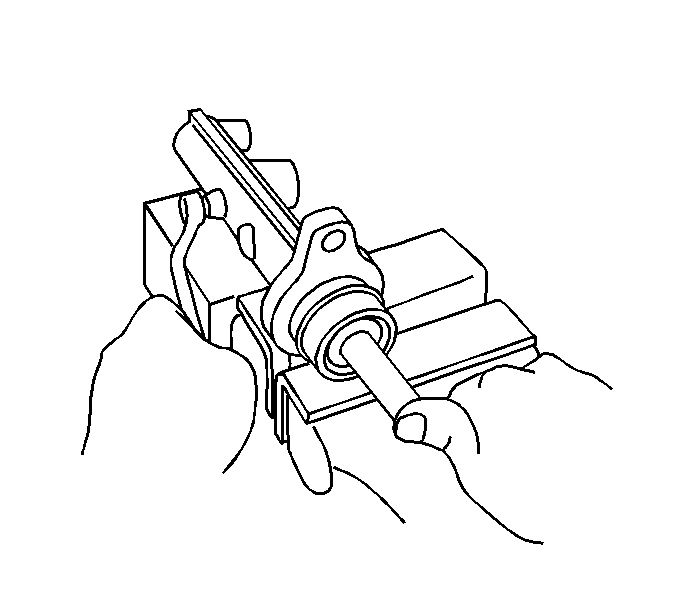
Notice: Do not clamp on the master cylinder body. Doing so may damage the master
cylinder.
- Place the master cylinder in a vise.
- If the vehicle does NOT have the stability system, push in the piston and remove the piston stopper bolt and the gasket.
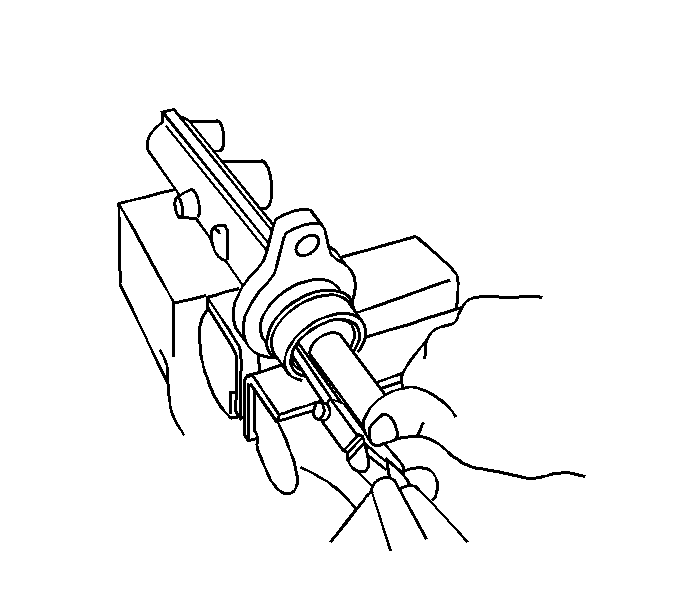
- Push the piston into the master cylinder and remove the snap ring.
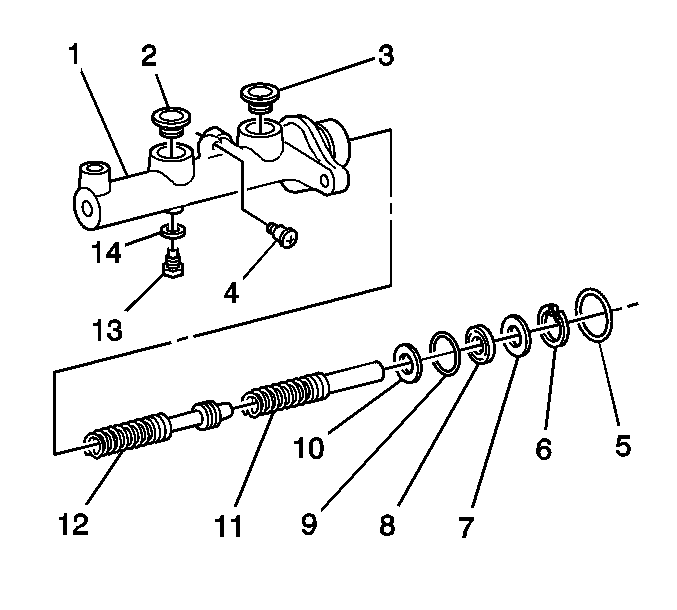
- Remove the following components from the master cylinder:
| 8.2. | The cylinder cup (8) |
| 8.4. | The piston guide (10) |
| 8.5. | The primary piston and spring (11) |
- Remove the master cylinder from the vise.
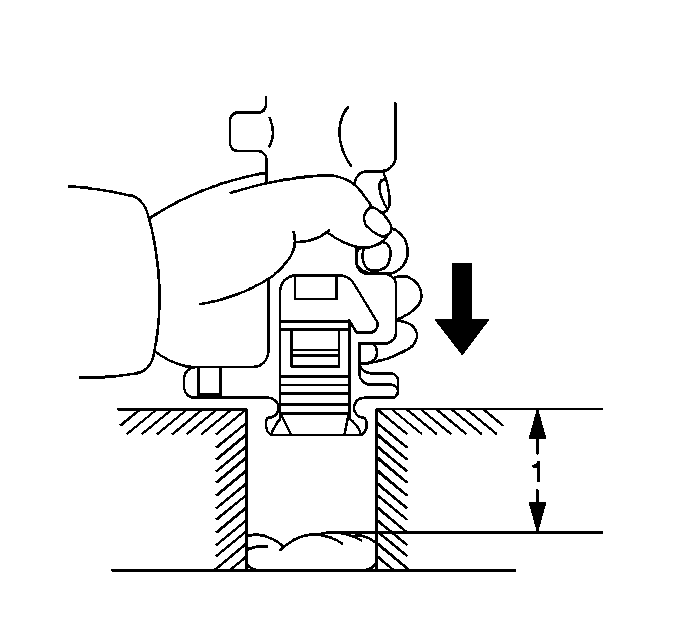
- Place a rag and 2 wooden blocks on a table. Allow at least 100 mm (3.94 in) between the top of the rag and the top of the blocks (1)
for the secondary piston.
- Tap the cylinder flange against the blocks in order to remove the secondary piston and spring.
- Wash the disassembled parts with clean brake fluid.
Notice: Do not use lubricated compressed air on brake parts as damage to rubber
components may result.
- Dry the parts with compressed air.
- Inspect the parts for wear or damage. Replace any worn or damaged parts.
- Inspect the master cylinder bore for scoring or corrosion. Replace a damaged master cylinder.


