For 1990-2009 cars only
Inspection Procedure
- Raise and support the vehicle. Refer to Lifting and Jacking the Vehicle.
- Pull the park brake lever with approximately 20 kg (44.1 lb) of force.
- Count the number of clicks or ratchet notches.
- Attempt to rotate the rear wheels. Verify the rear wheels do not rotate.
- Release the park brake.
- Attempt to rotate the rear wheels. Verify the rear wheels rotate freely.
- Turn the ignition switch to the ON position. Verify the red BRAKE warning indicator is OFF.
- If the park brake lever travel is correct, lower the vehicle.
- If the park brake lever travel is not correct, complete the Adjustment Procedure.

Specification
| • | The minimum number of clicks is 5. |
| • | The maximum number of clicks is 7. |
Adjustment Procedure
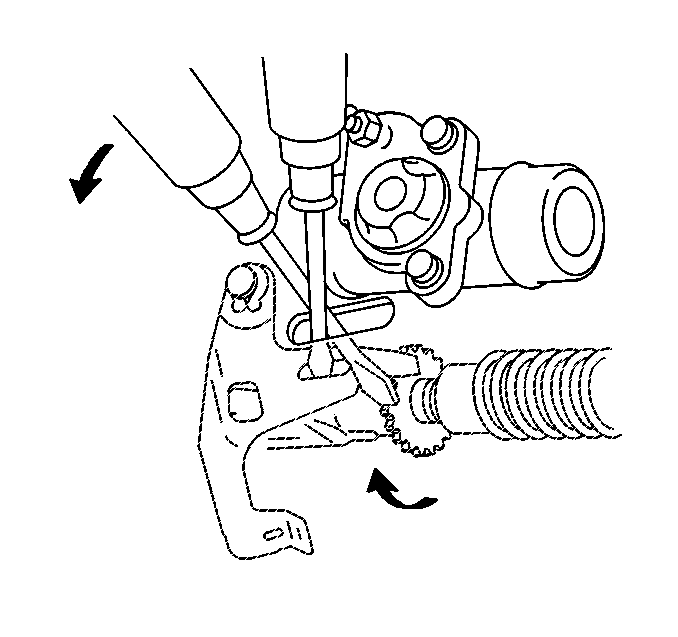
- Remove the drum brake adjuster hole cover.
- Insert a screwdriver through the hole in the backing plate. Hold the automatic adjusting lever away from the adjusting bolt.
- Use another screwdriver in order to turn the adjusting bolt. Turn the adjusting bolt down in order to expand the brake shoes until the drum locks.
- Turn the adjusting bolt up 8 notches in order to adjust the shoes to the proper distance away from the drum.
- Install the adjuster hole cover.
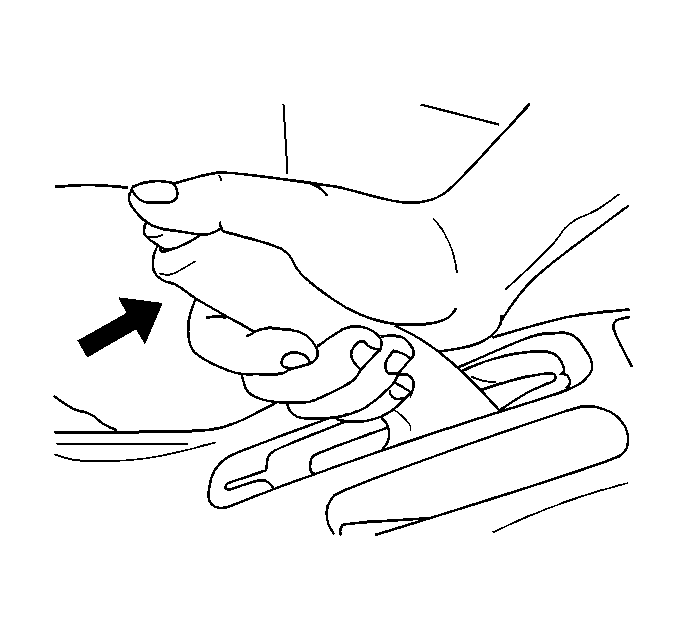
- Remove the rear center console. Refer to Rear Floor Console Replacement .
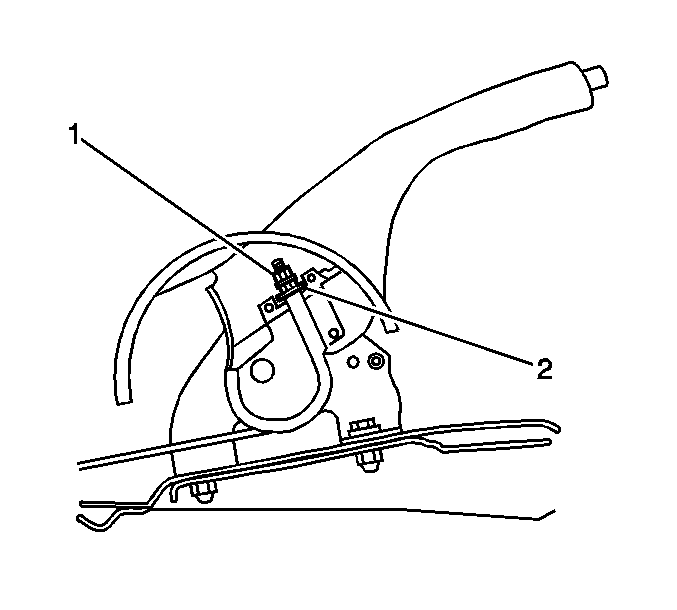
- Loosen the lock nut (1).
- Turn the adjusting nut (2) in order to adjust the park brake lever travel. Refer to the Inspection Procedure above.
- Tighten the lock nut.
- Install the rear center console. Refer to Rear Floor Console Replacement.


Tighten
Tighten the nut to 5.0 N·m (44.25 lb in)
