For 1990-2009 cars only
Radiator Replacement 1.8L
Removal Procedure
- Remove the left engine under cover.
- Remove the right engine under cover.
- Remove the front bumper assembly. Refer to Front Bumper Fascia Replacement.
- Disconnect cable from negative battery terminal. Refer to Battery Negative Cable Disconnection and Connection.
- Drain the engine coolant. Refer to Cooling System Draining and Filling.
- Remove the battery. Refer to Battery Replacement.
- Remove the thermistor assembly.
- Disconnect the radiator reservoir tank hose (1) from the radiator assembly.
- Disconnect the upper radiator hose (1) from the radiator assembly.
- Disconnect the lower radiator hose (1) from the radiator assembly.
- Disconnect the oil cooler hose.
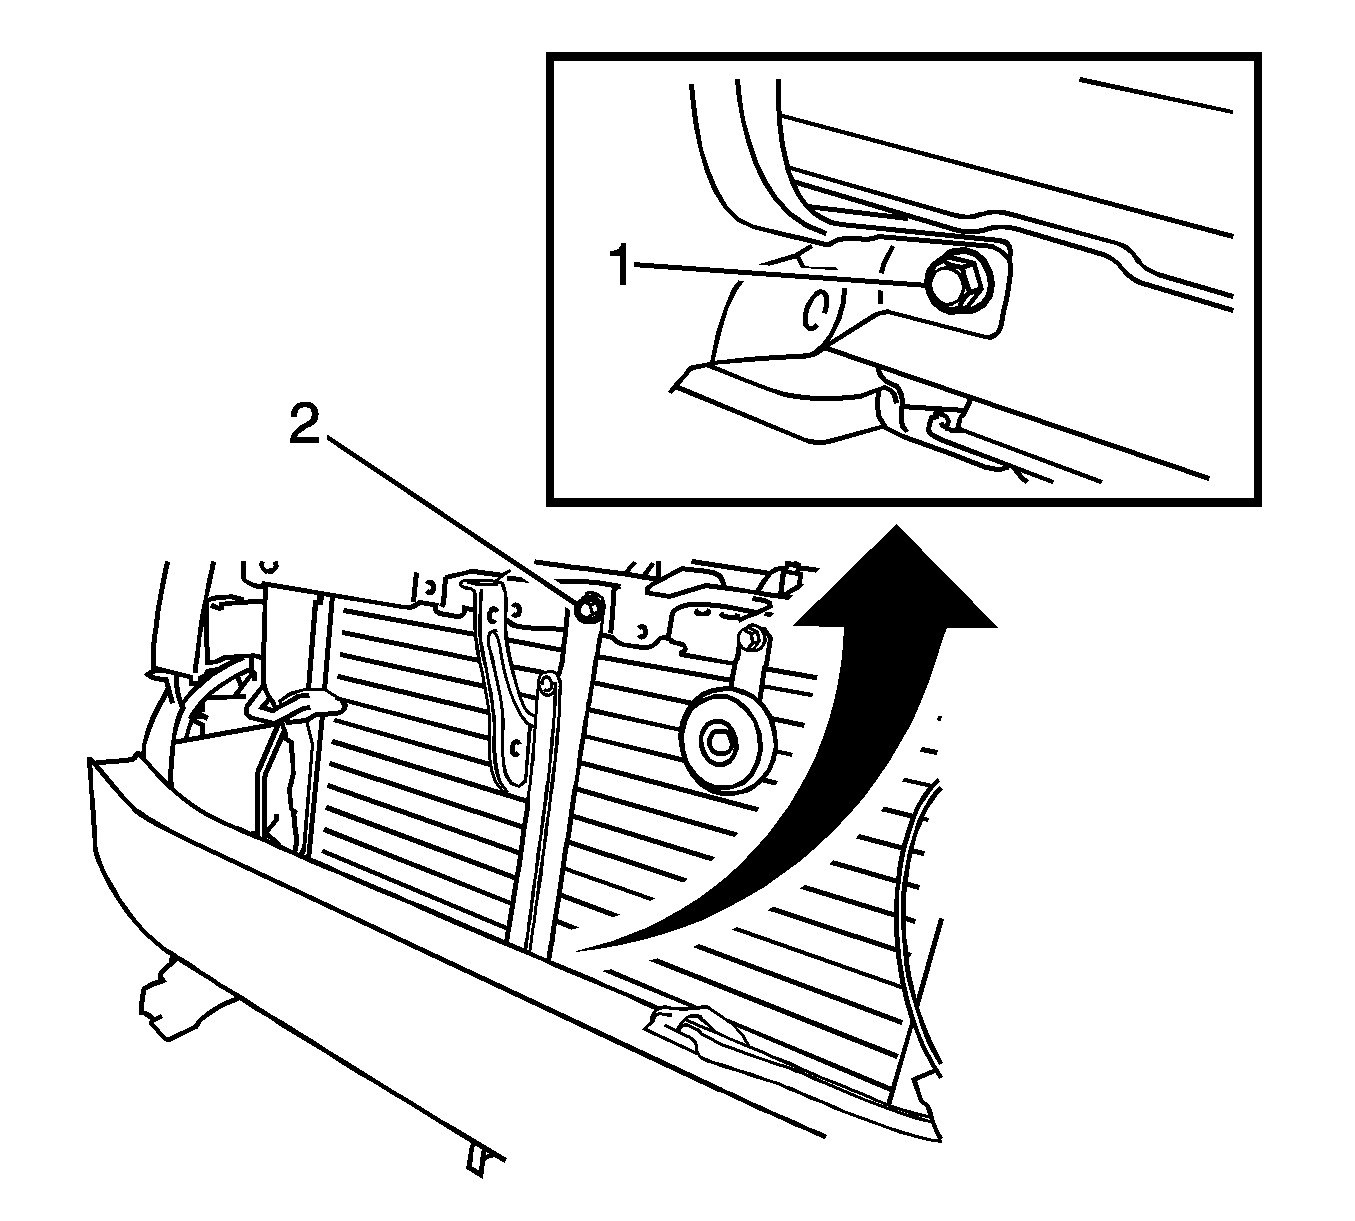
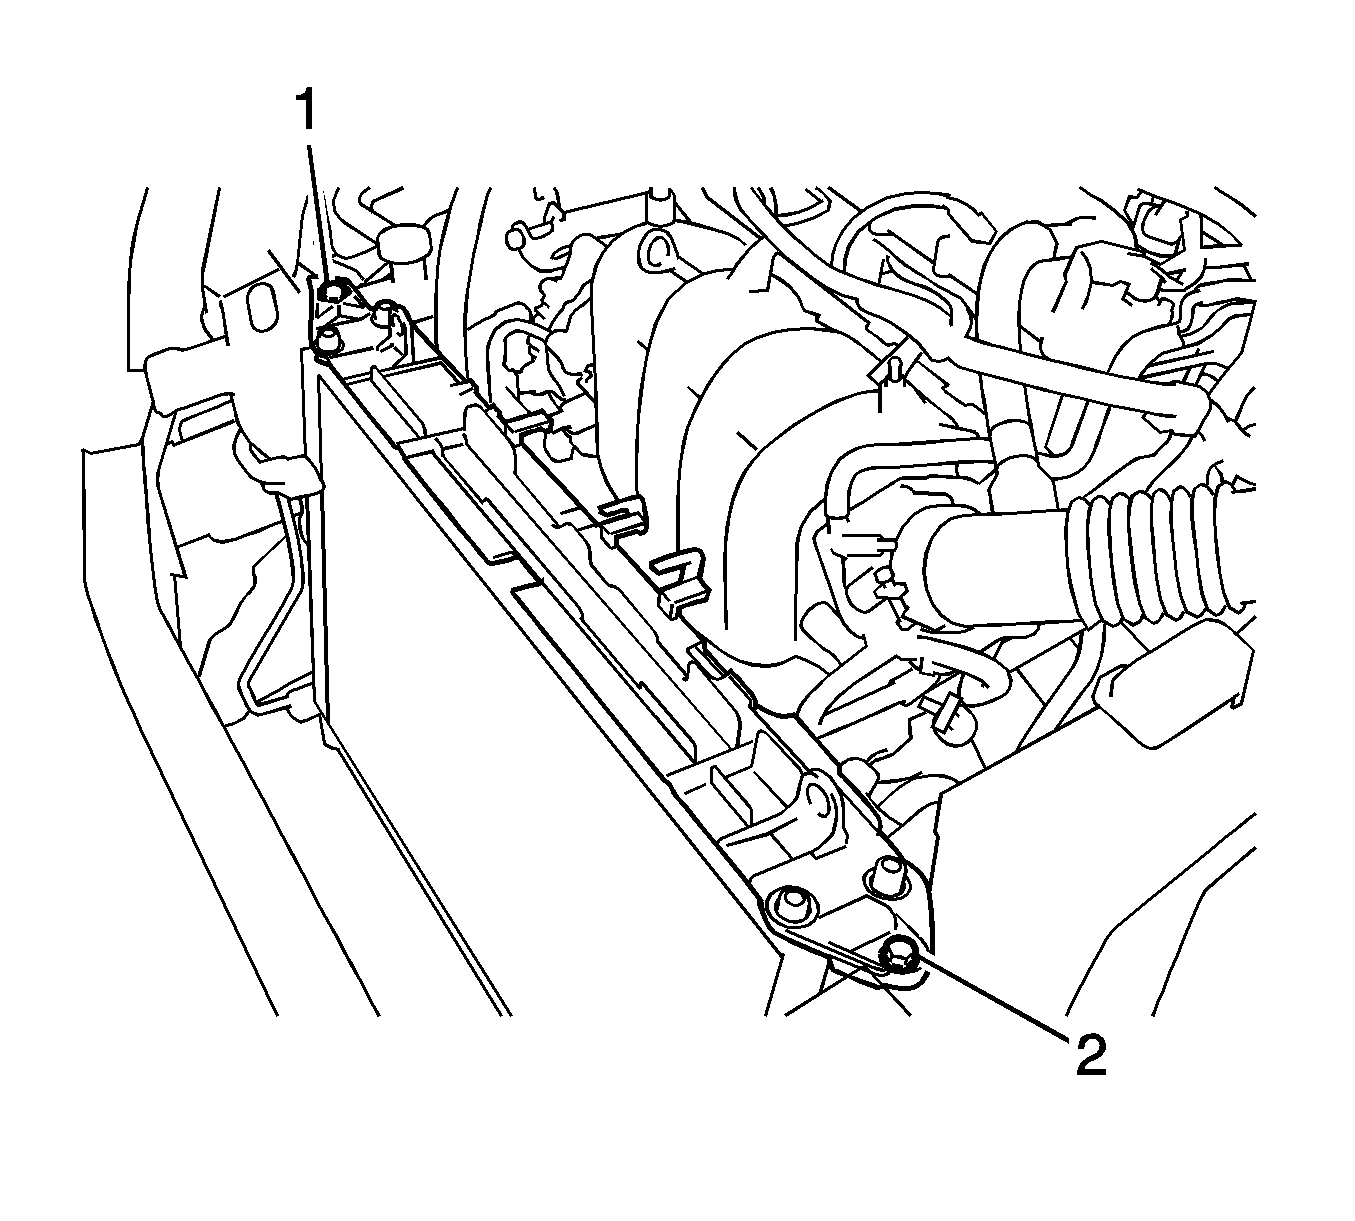
- Remove the 2 bolts and 2 upper radiator supports (1, 2).
- Remove the 2 support cushions from the 2 upper radiator supports.
- Disconnect the hood lock assembly.
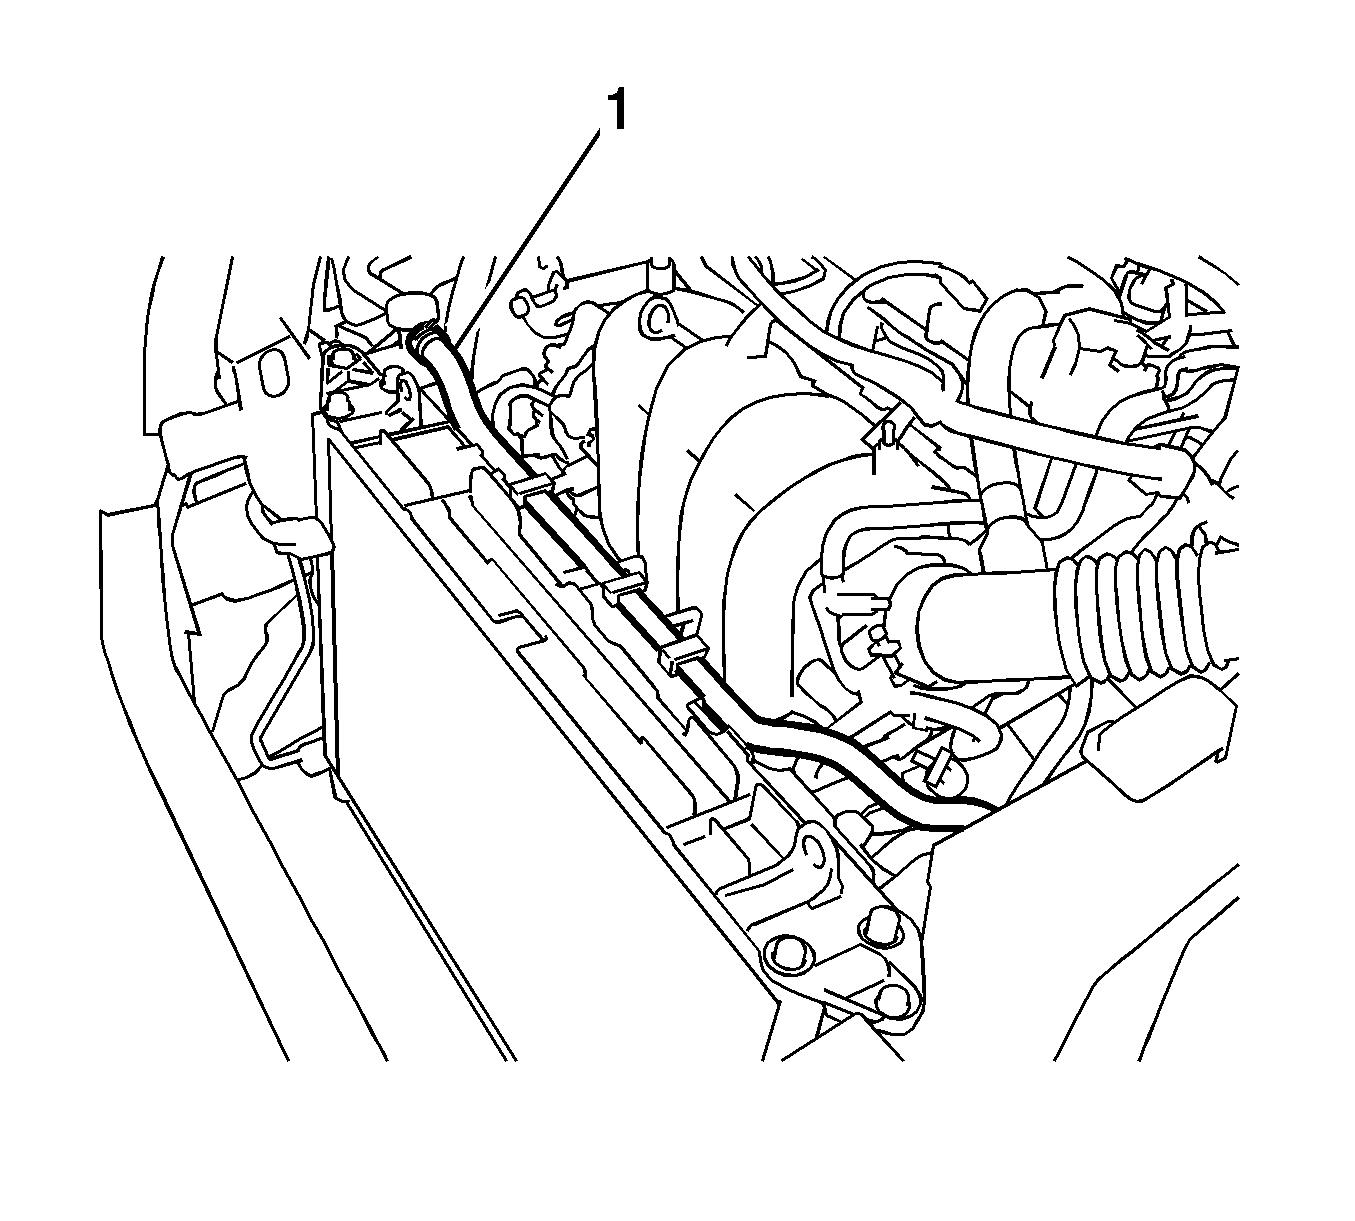
- Separate the water by-pass hose (1) from the 3 clamps.
- Disconnect the water by-pass hose from the radiator assembly.
- Remove the 2 bolts (1, 2) and the hood lock support subassembly.
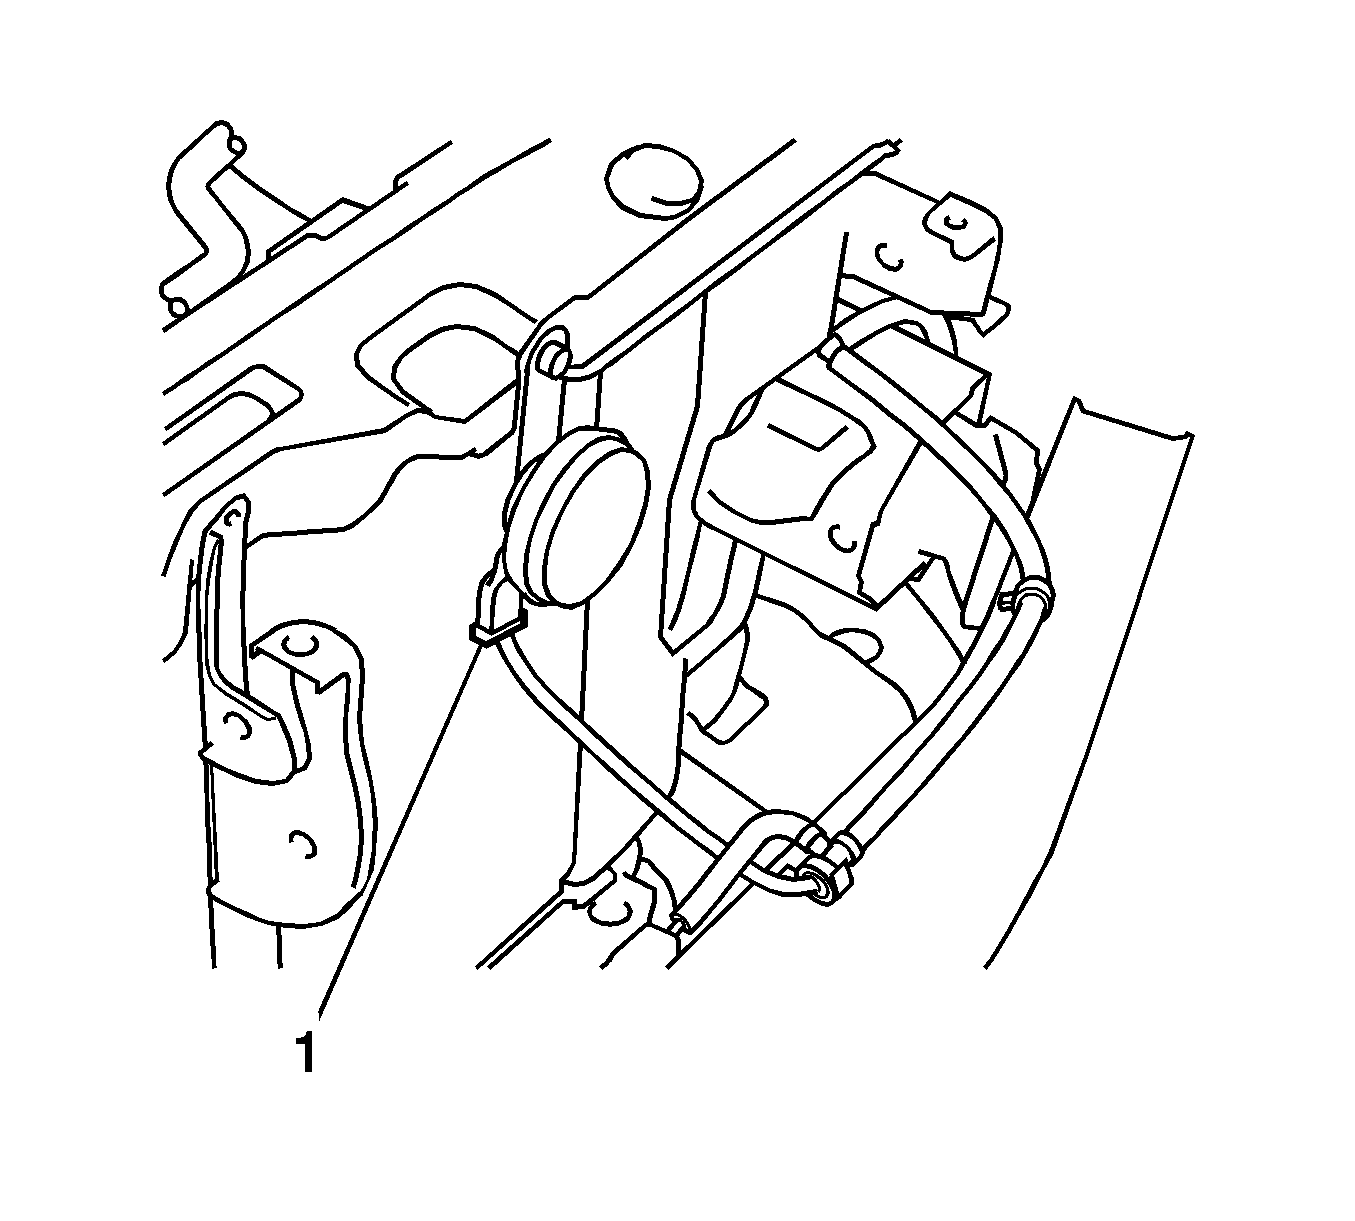
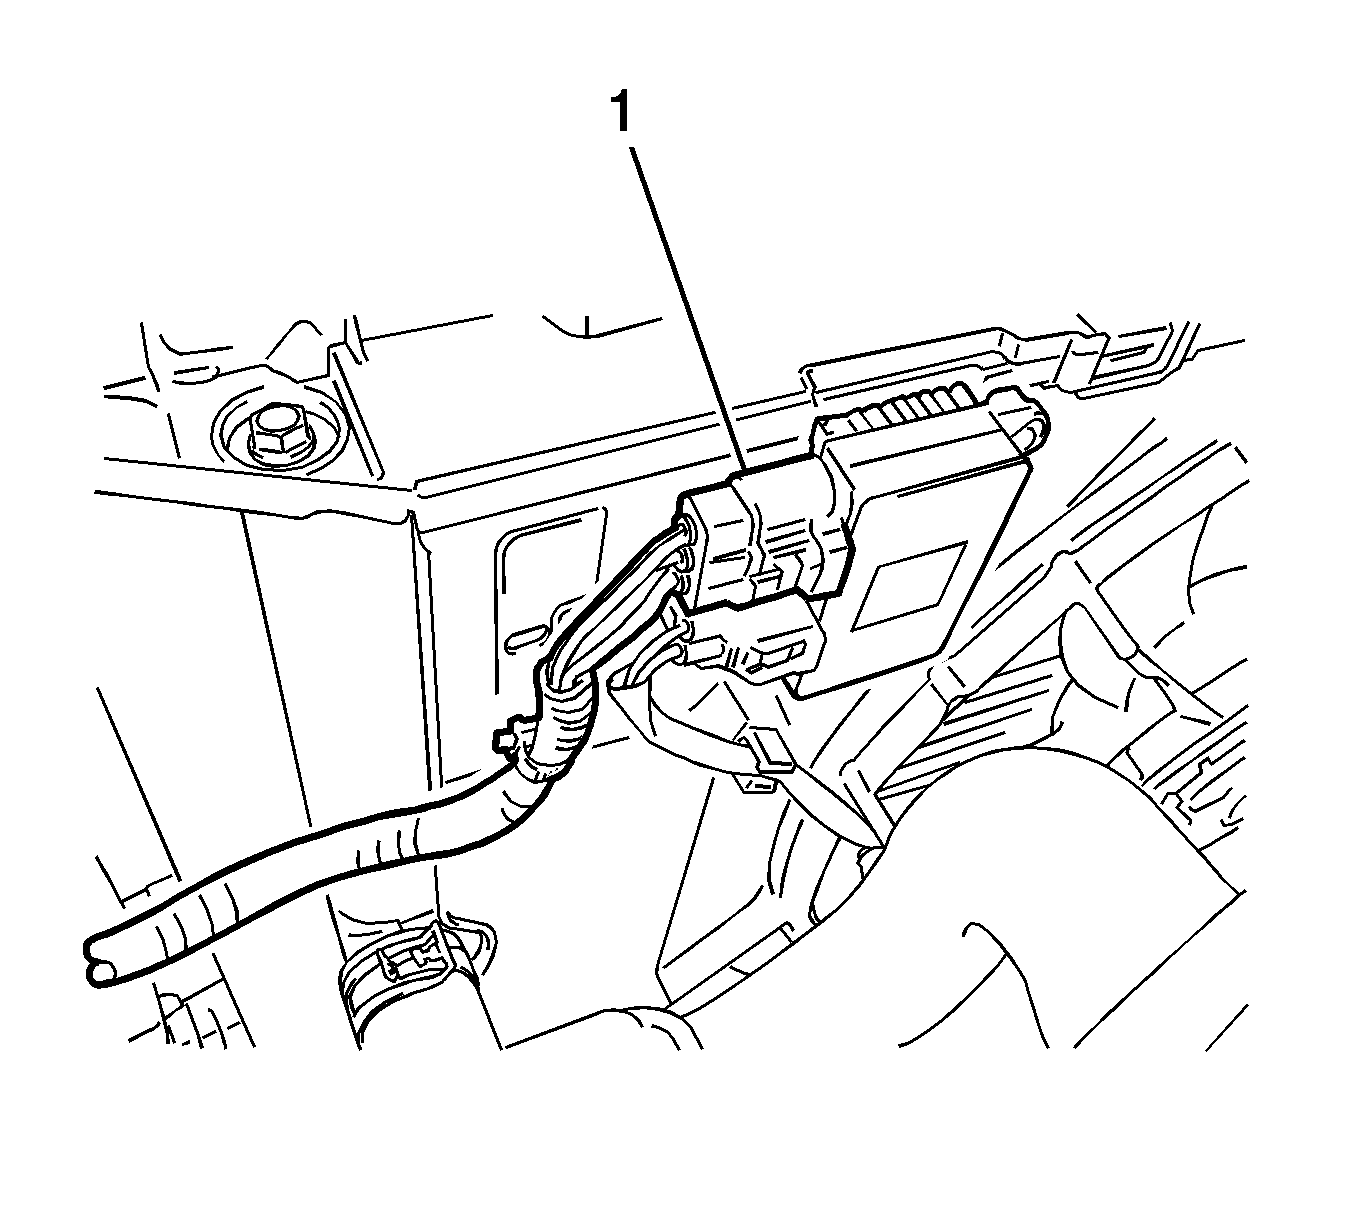
- Disconnect the horn connector (1).
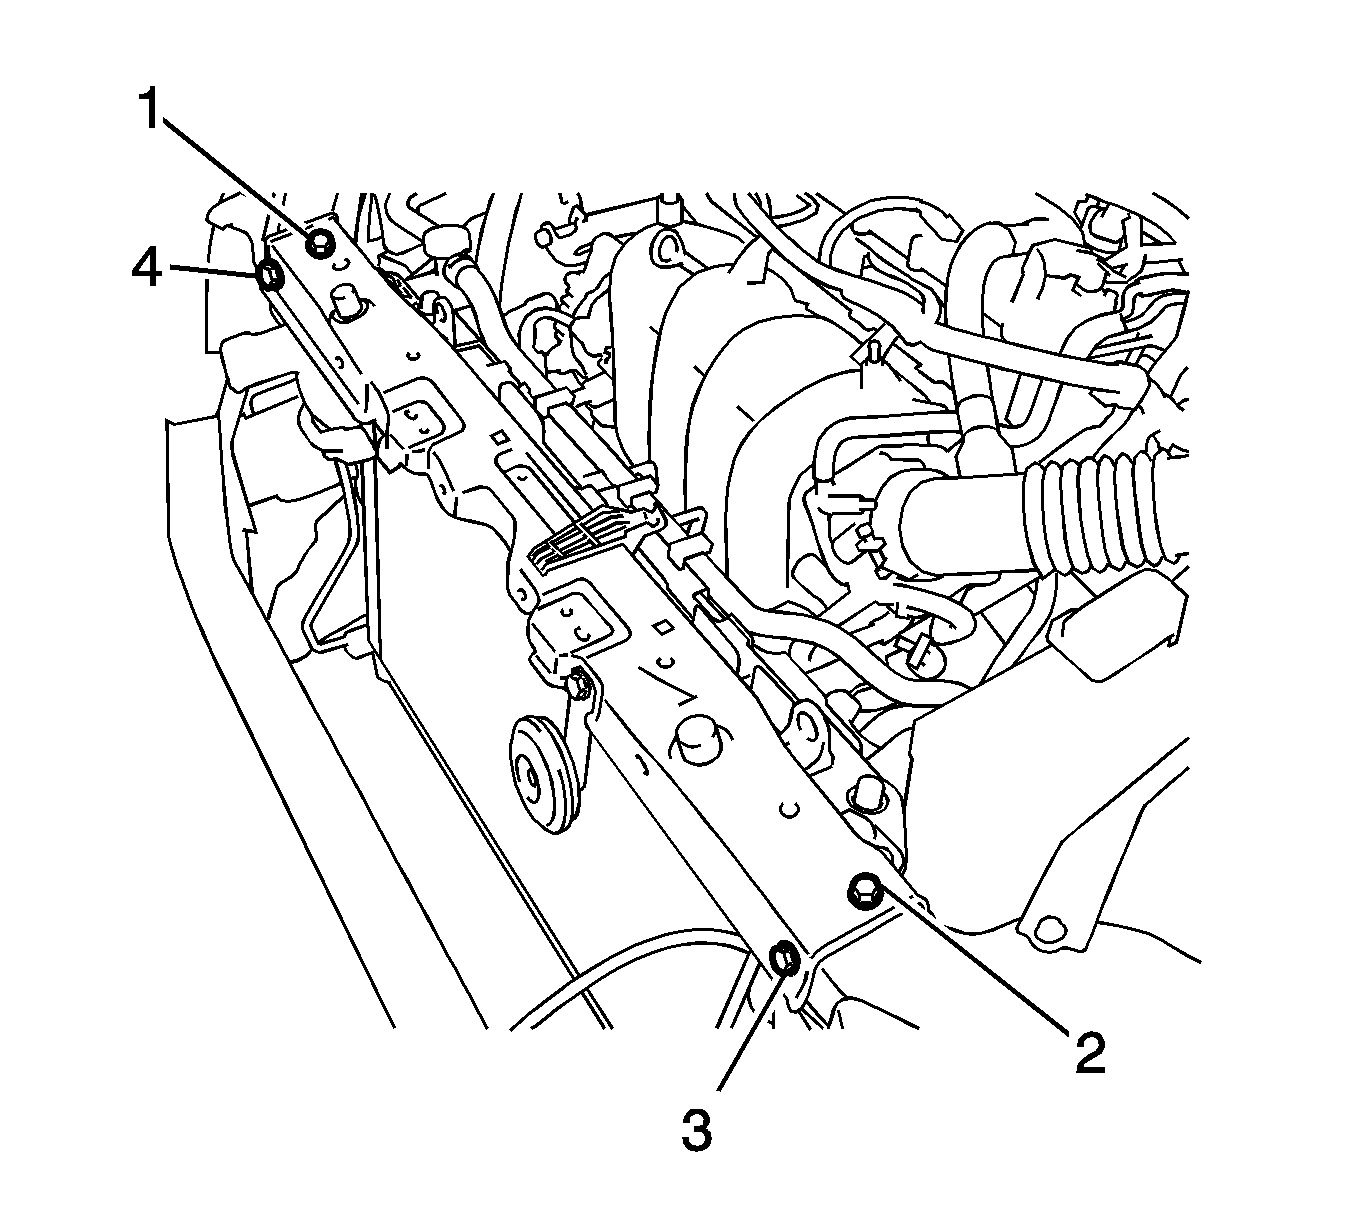
- Remove the 4 bolts (1, 2, 3, 4) and upper radiator support subassembly.
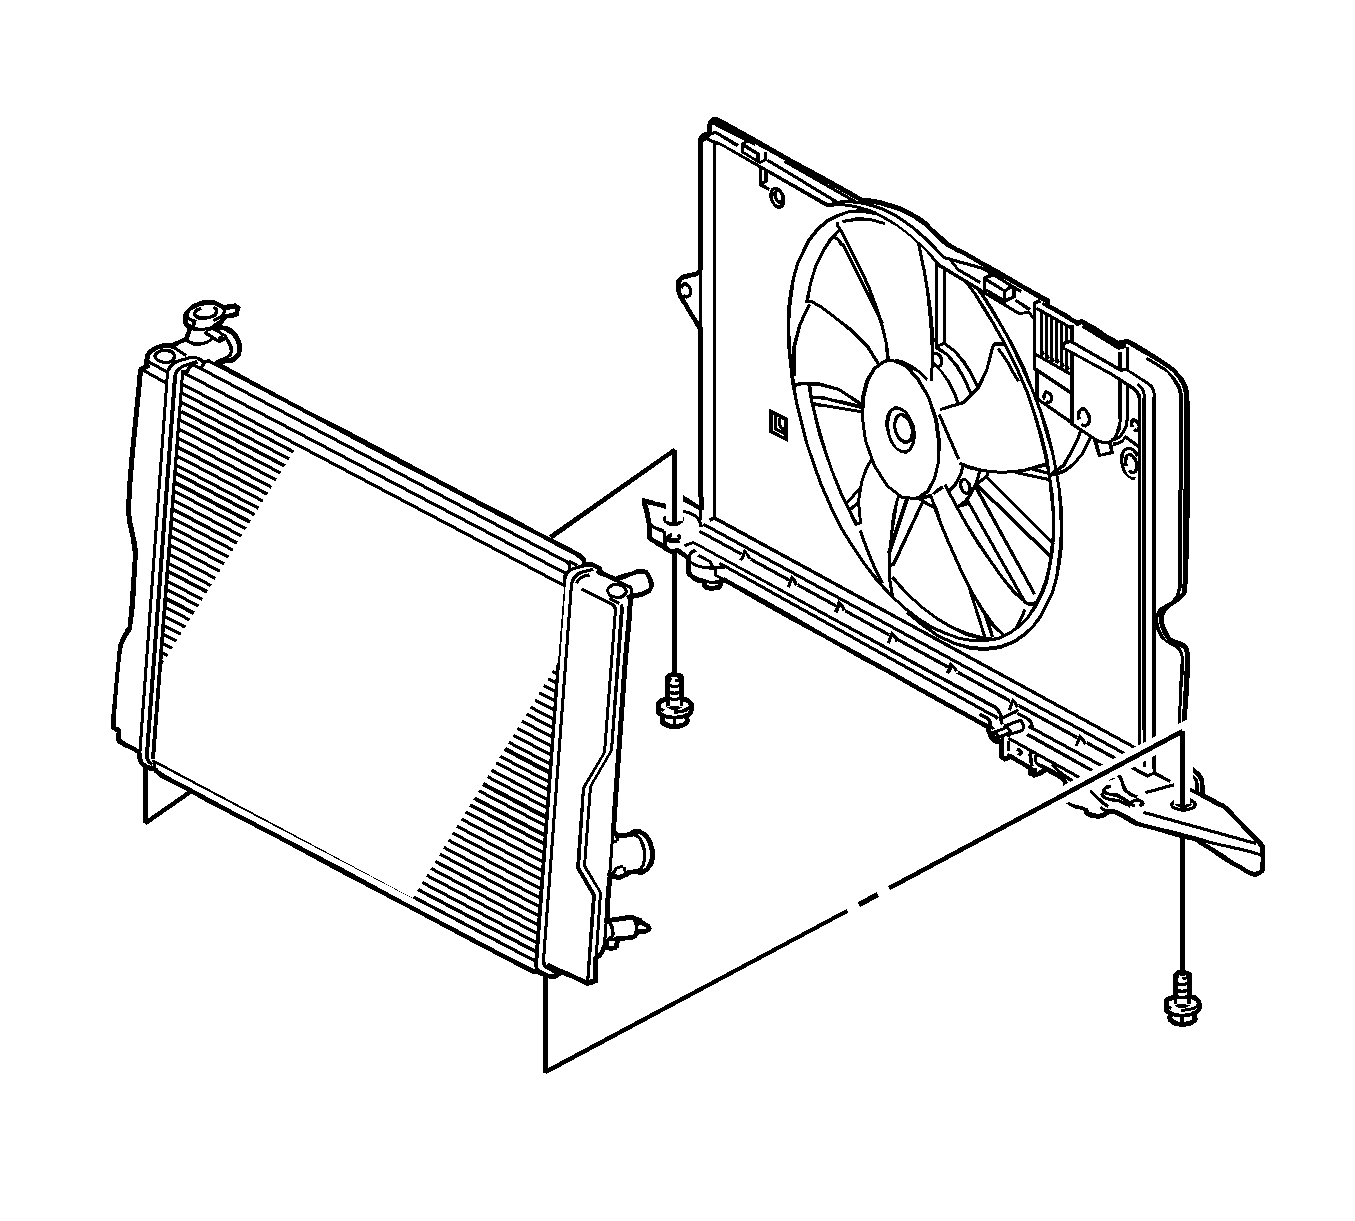
- Remove the 2 bolts (1, 2), disengage the 2 claws, and remove the fan shroud from the radiator assembly.
- Disconnect the cooling fan motor connector (1) and wire harness clamp.
- Remove the radiator assembly with the fan shroud.
- Remove the 2 lower radiator supports.
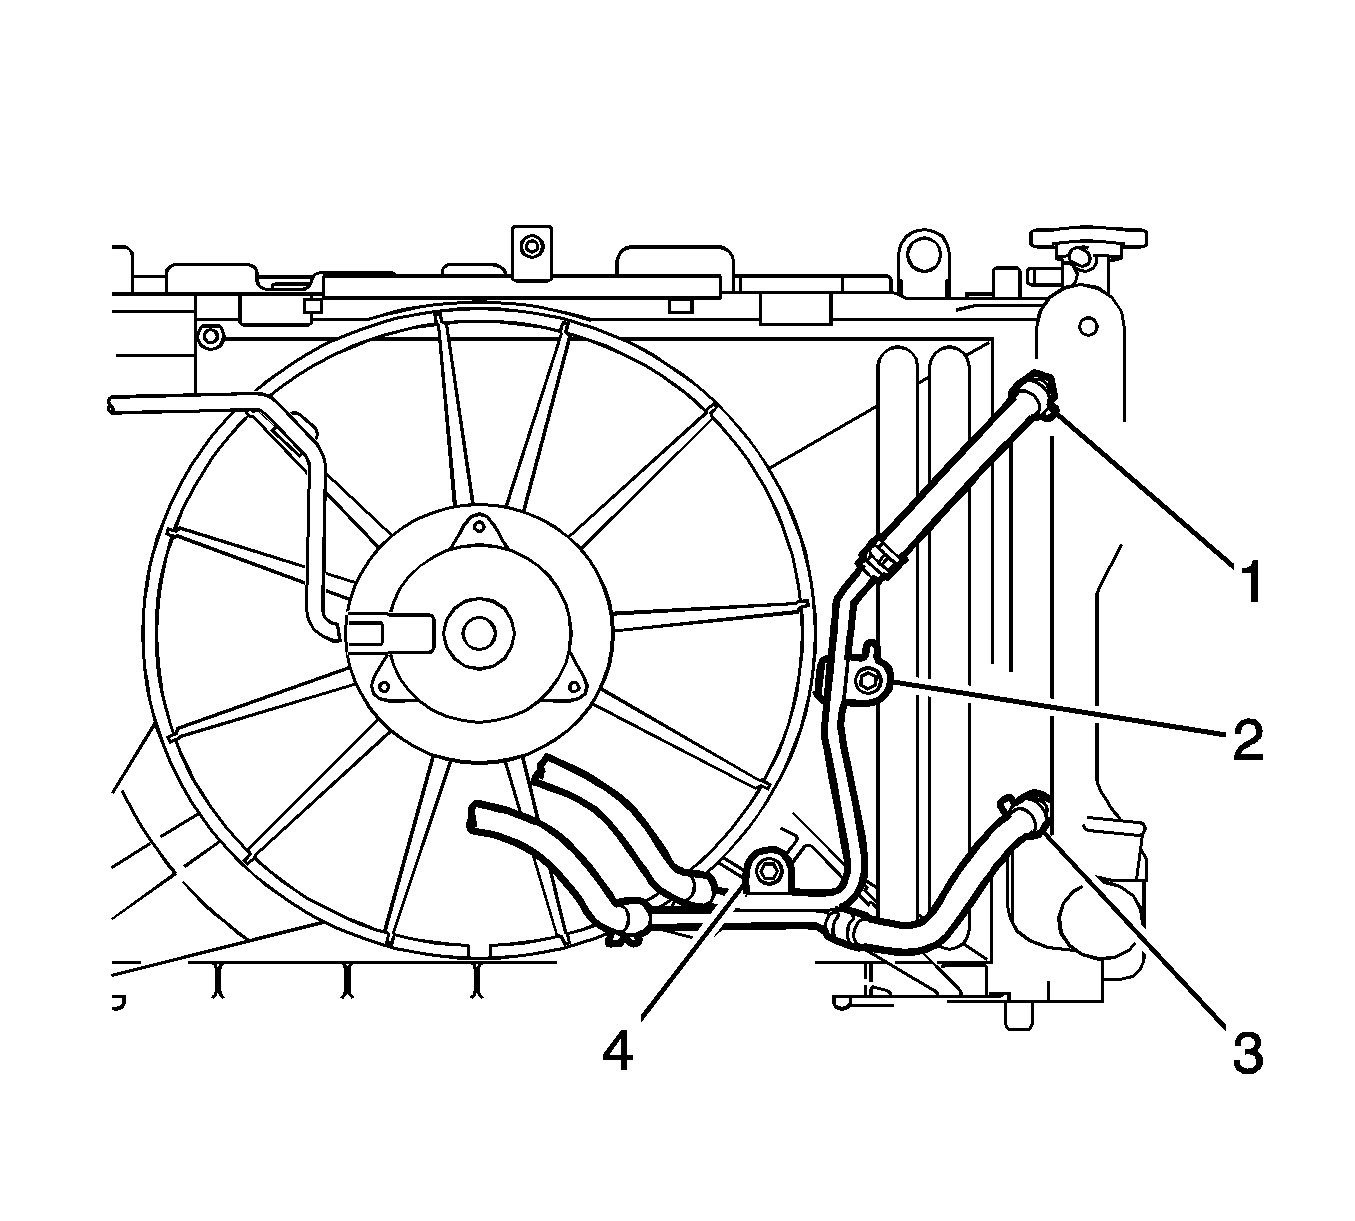
- Disconnect the 2 oil cooler hoses (1, 3) from the radiator.
- Remove the 2 bolts and oil cooler hose.
- Remove the 2 bolts and fan shroud from the radiator assembly.
Warning: Refer to Battery Disconnect Warning in the Preface section.
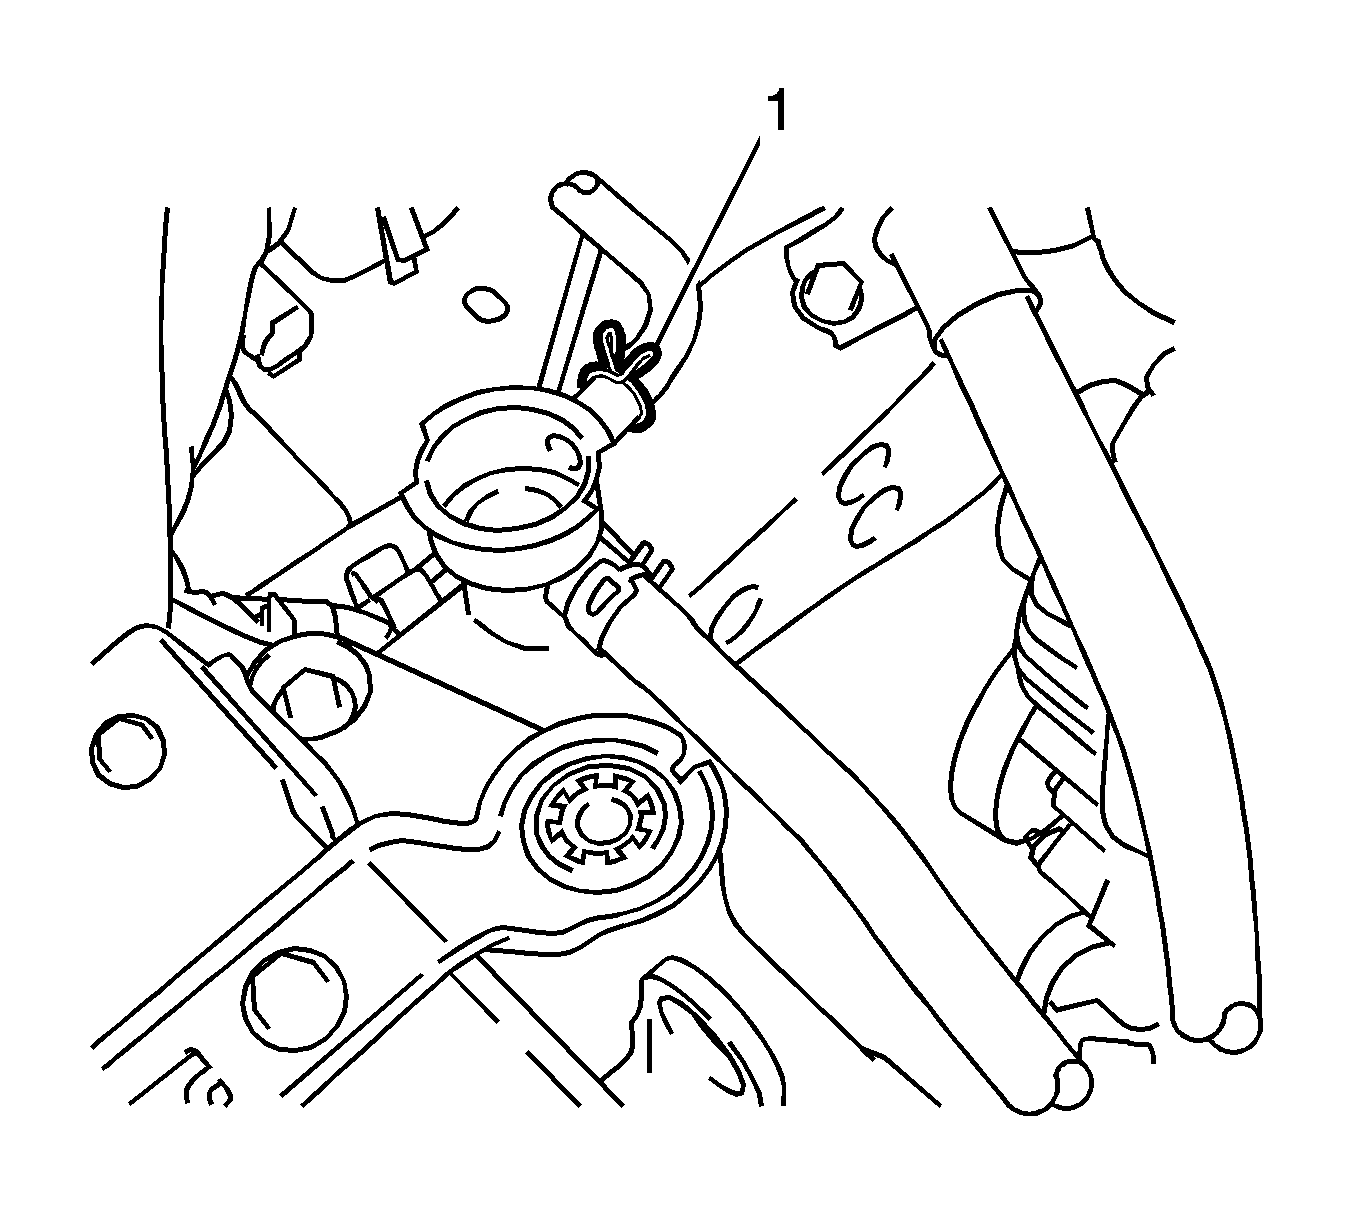
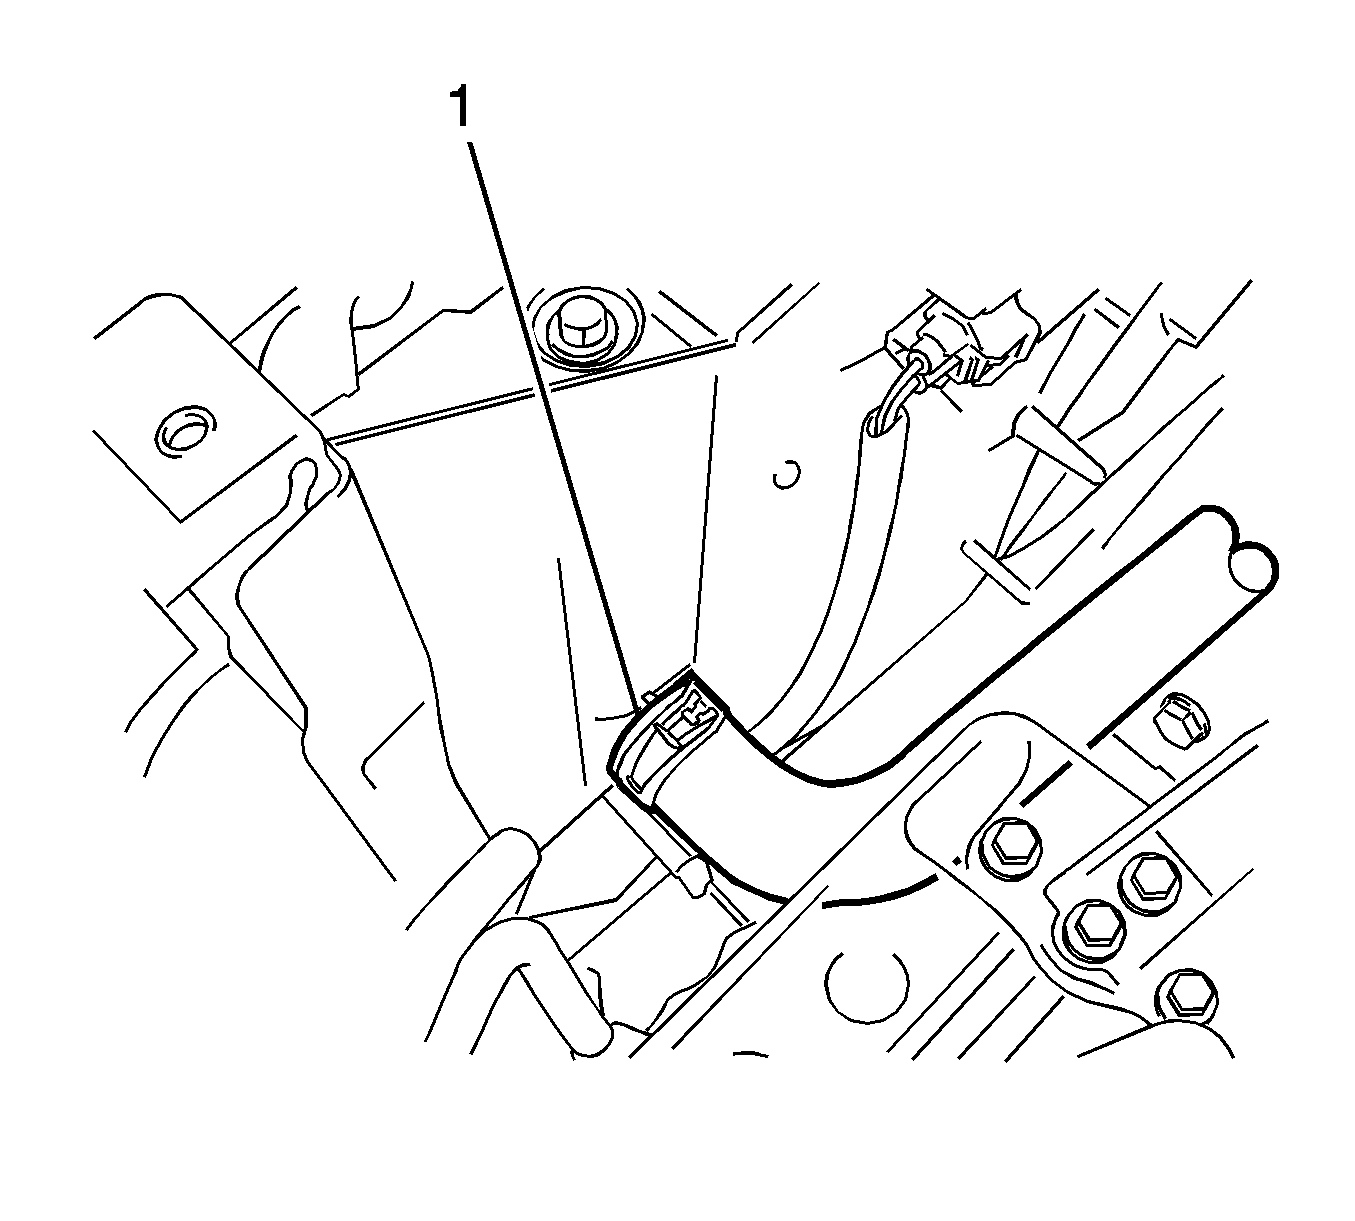
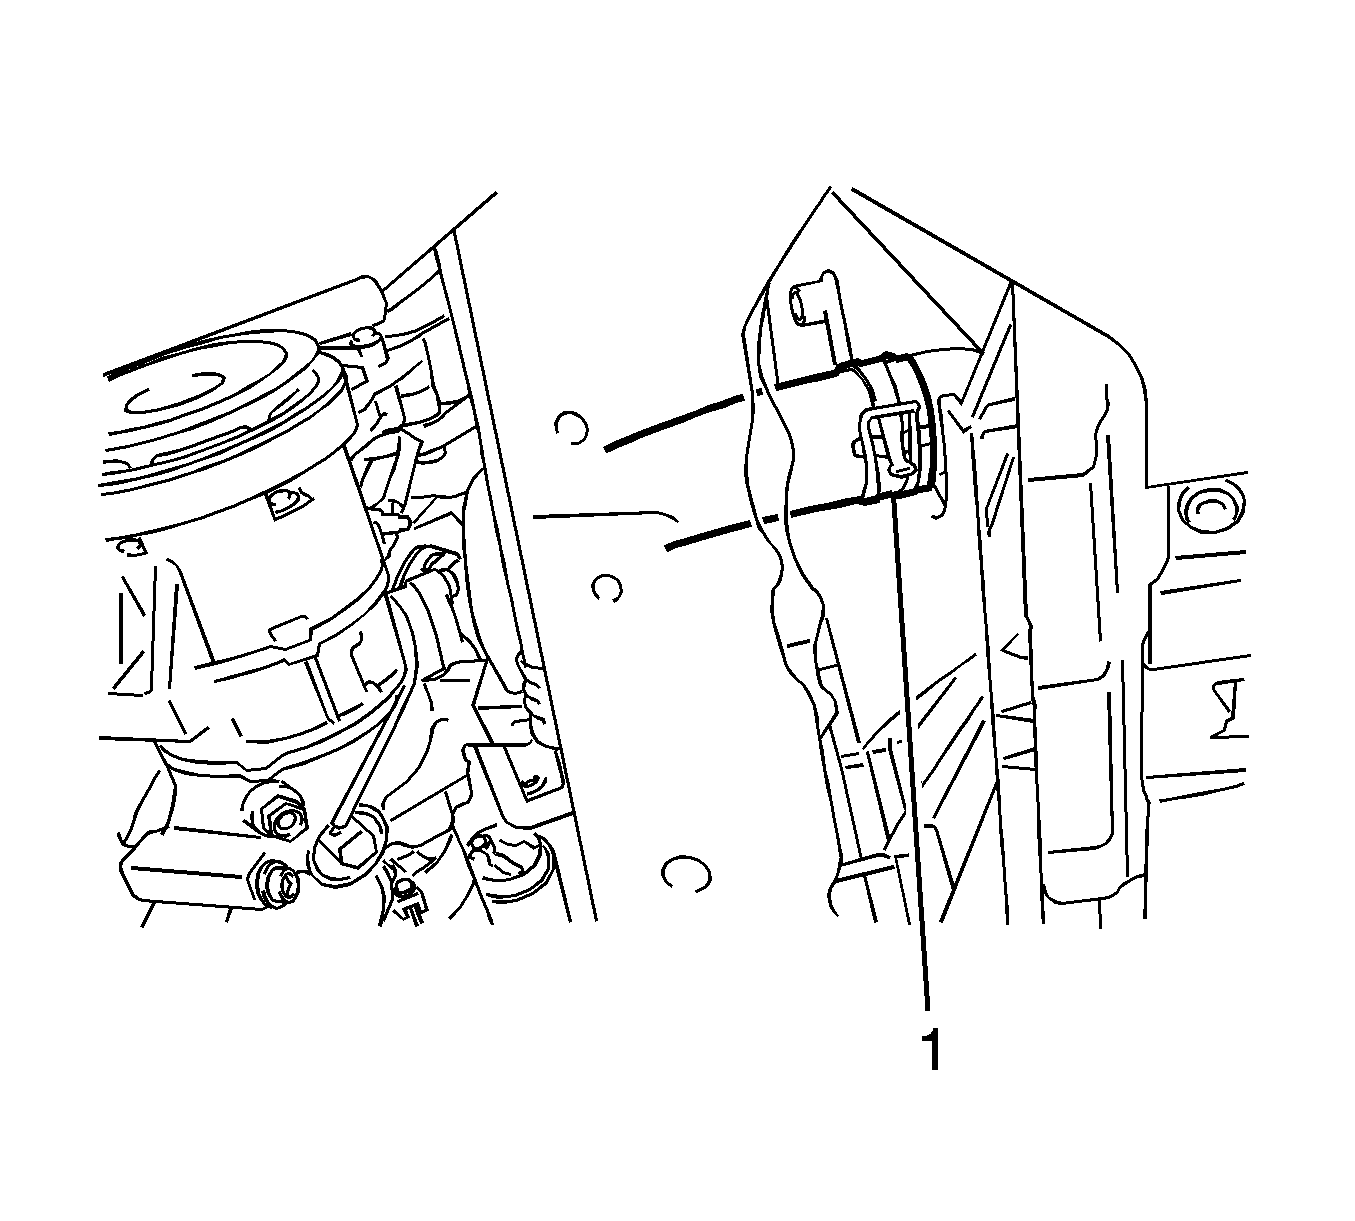
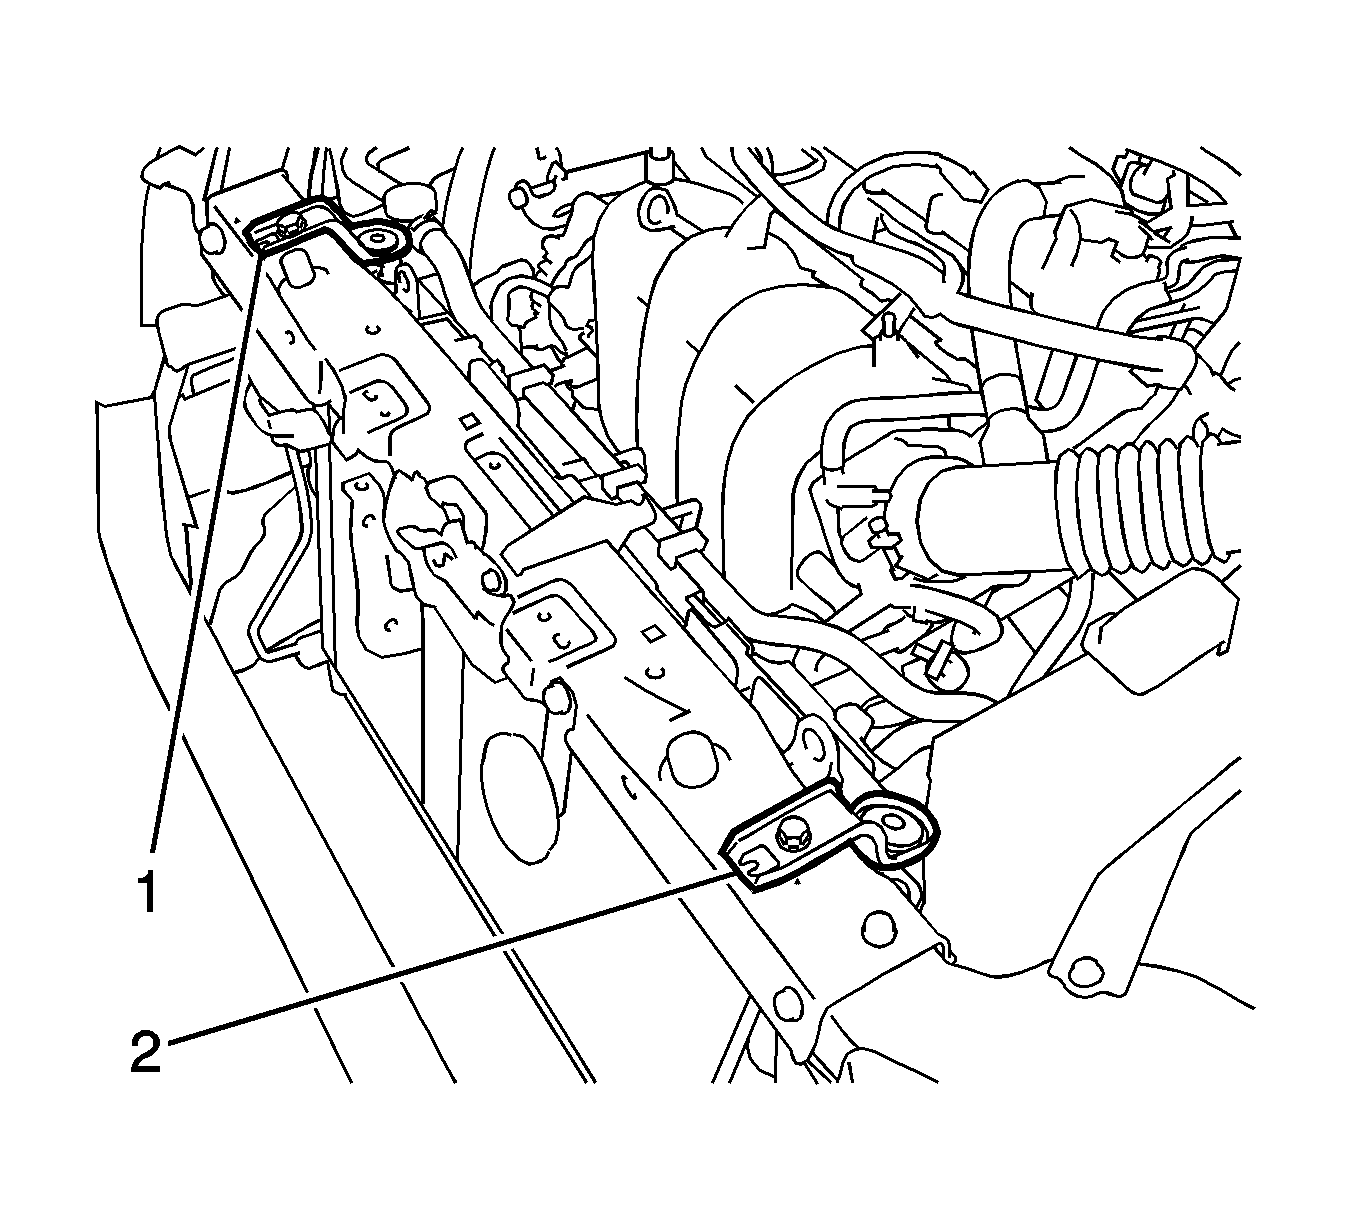
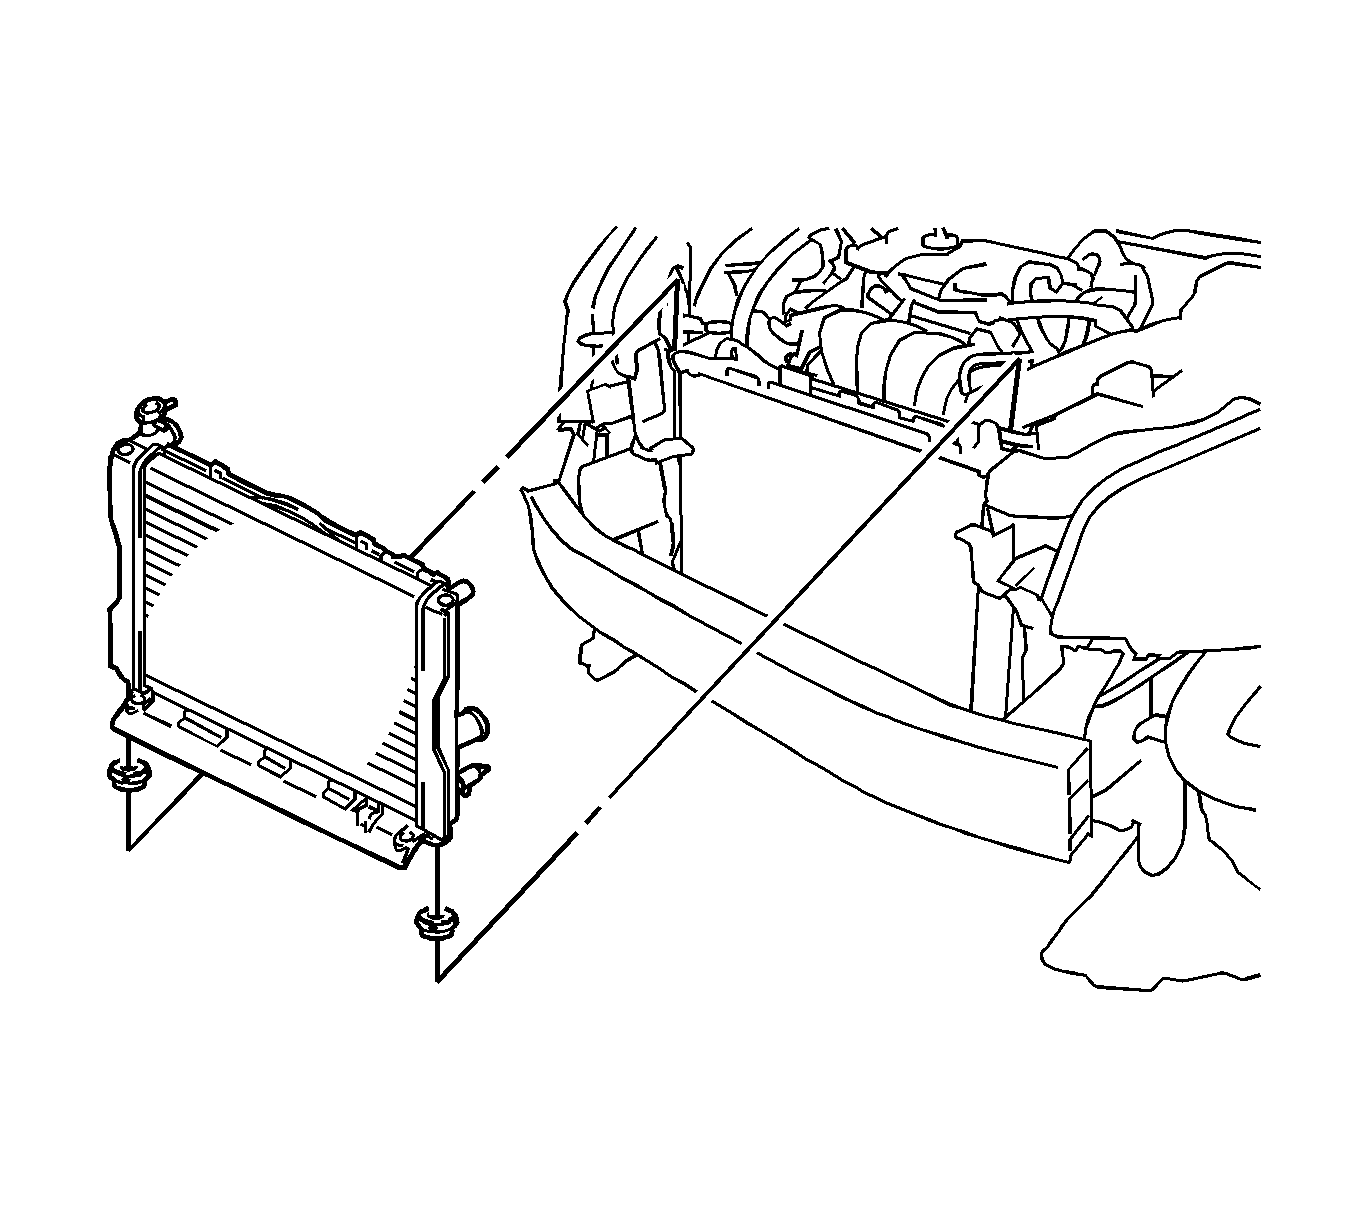
Note: For vehicles with the air conditioning system, do not apply any excessive force to the cooler condenser assembly or pipe when removing the radiator assembly.
Installation Procedure
- Install the fan shroud to the radiator assembly with the 2 bolts and tighten to 7.0 N·m (62 lb in).
- Install the oil cooler hoses with the 2 bolts (2, 4) and tighten to 5.5 N·m (49 lb in).
- Connect the 2 oil cooler hoses (1, 3) to the radiator.
- Install the 2 lower radiator supports.
- Install the radiator assembly with the fan shroud.
- Connect the cooling fan motor connector (1) and wire harness clamp.
- Engage the 2 claws and install the fan shroud to the radiator assembly with the 2 bolts (1, 2) and tighten to 7.0 N·m (62 lb in).
- Install the upper radiator support sub-assembly with the 4 bolts (1, 2, 3, 4) and tighten to 5.5 N·m (49 lb in).
- Connect the horn connector (1).
- Install the hood lock support sub-assembly with the 2 bolts (1, 2) and tighten to 7.0 N·m (62 lb in).
- Install the water by-pass hose (1) with the 3 clamps.
- Connect the water by-pass hose to the radiator assembly with the clamp.
- Install the hood lock assembly.
- Install the 2 radiator support cushions to the 2 upper radiator supports.
- Install the 2 upper radiator supports (1, 2) with the 2 bolts and tighten to 19 N·m (14 lb ft).
- Connect oil cooler hose.
- Connect the lower radiator hose (1) to the radiator assembly with the clamp.
- Connect the upper radiator hose (1) to the radiator assembly with the clamp.
- Connect the radiator reservoir tank hose (1) to the radiator assembly with the clamp.
- Install the thermistor assembly.
- Install the battery. Refer to Battery Replacement.
- Connect the cable to negative battery terminal.
- Add the engine coolant. Refer to Cooling System Draining and Filling.
- Inspect for coolant leaks.
- Inspect the reservoir tank engine coolant level.
- Install the front bumper assembly. Refer to Front Bumper Fascia Replacement.
- Adjust fog light alignment. Refer to Fog Lamp Aiming.
- Install left engine under cover.
- Install right engine under cover.
Caution: Refer to Fastener Caution in the Preface section.


Note: For vehicles with the air conditioning system, do not apply any excessive force to the cooler condenser assembly or pipe when installing the radiator assembly.


Radiator Replacement 2.4L
Removal Procedure
- Disconnect cable from negative battery terminal. Refer to Battery Negative Cable Disconnection and Connection.
- Remove the left engine under cover.
- Remove the right engine under cover.
- Drain the engine coolant. Refer to Cooling System Draining and Filling.
- Remove the battery. Refer to Battery Replacement.
- Remove the front bumper assembly. Refer to Front Bumper Fascia Replacement.
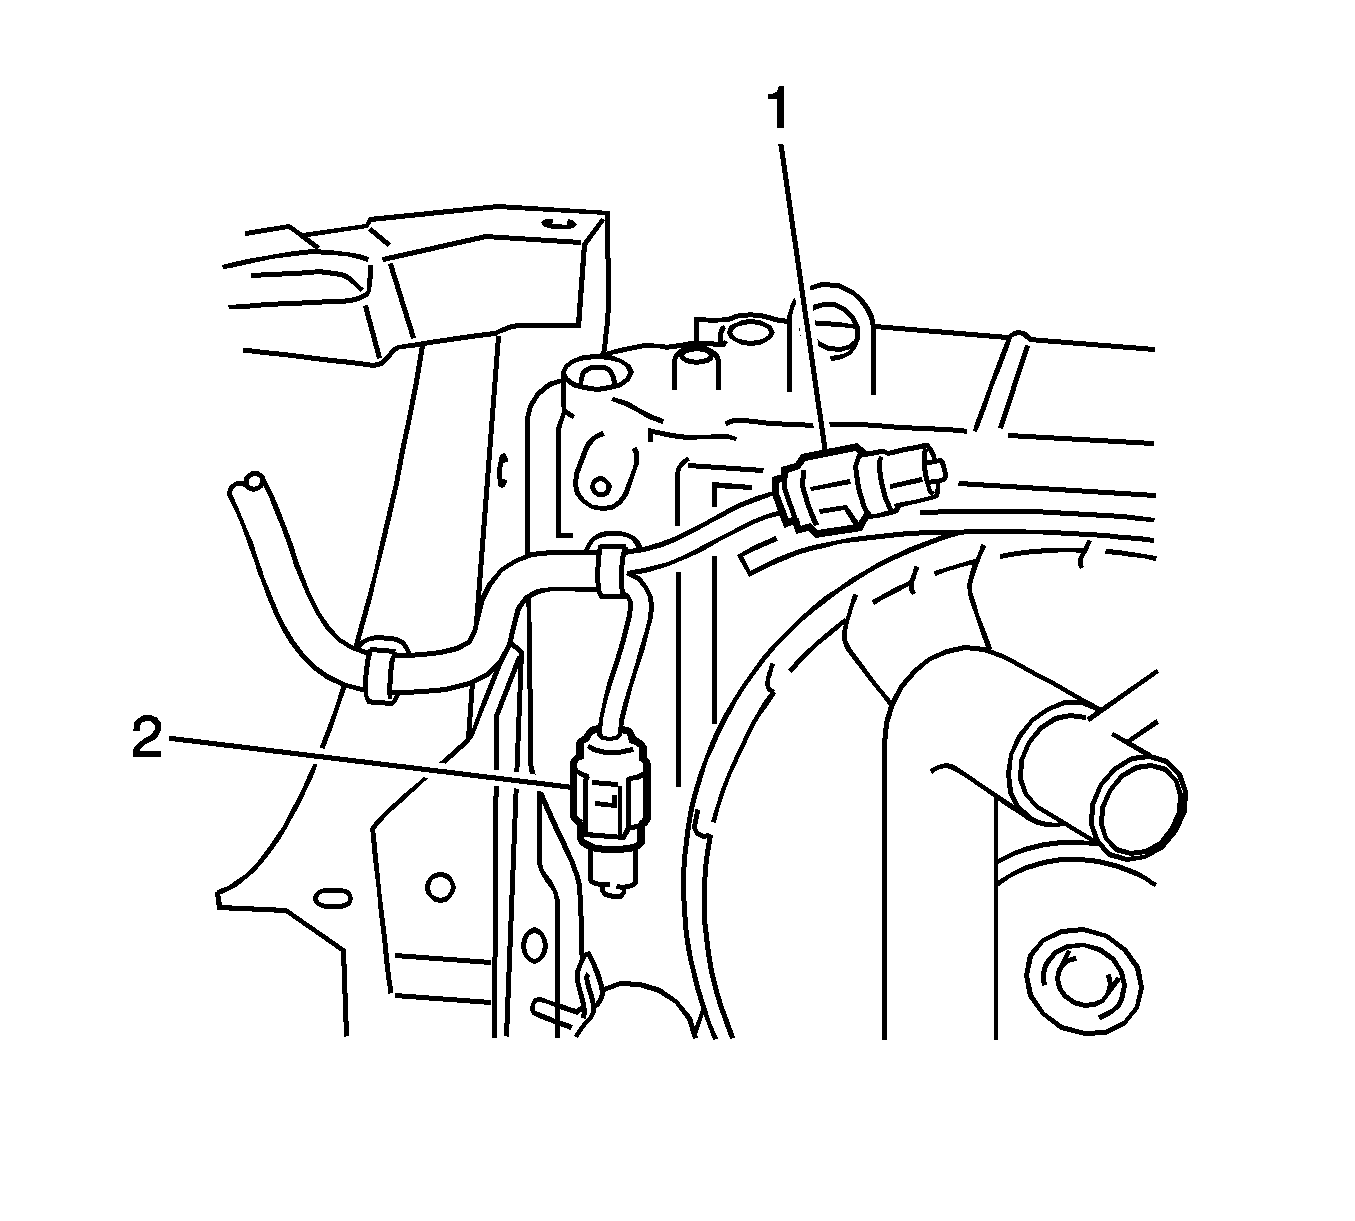
- Remove the thermistor assembly.
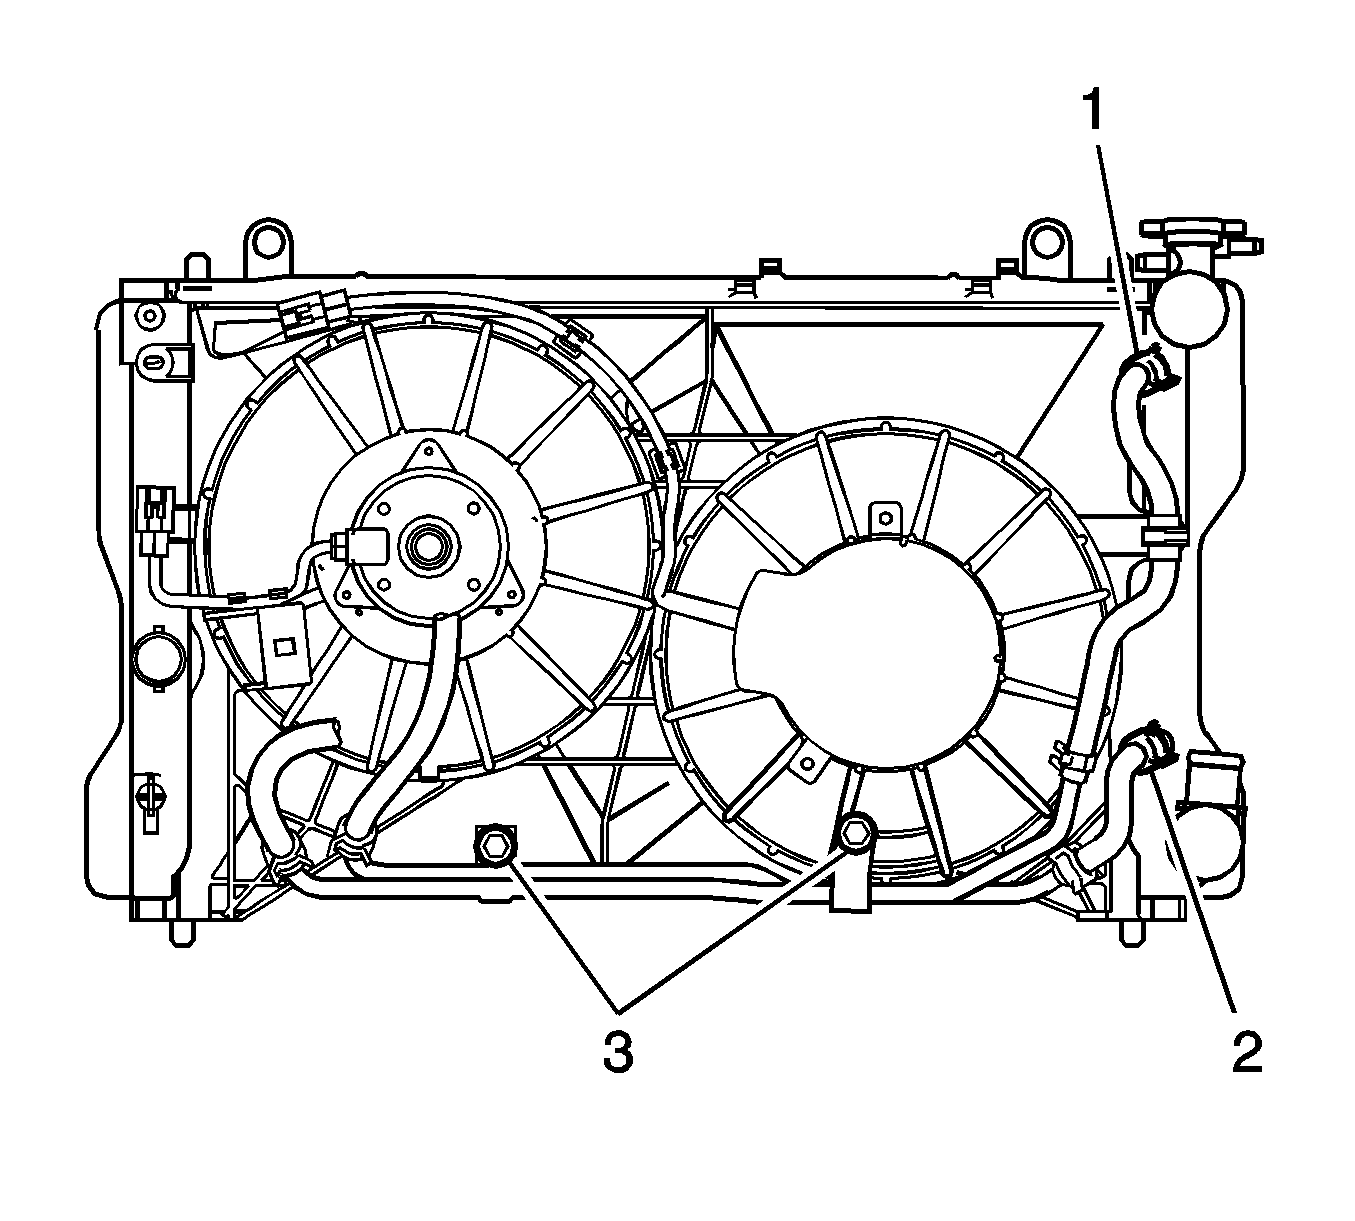
- Disconnect the radiator reservoir tank hose (1) from the radiator assembly.
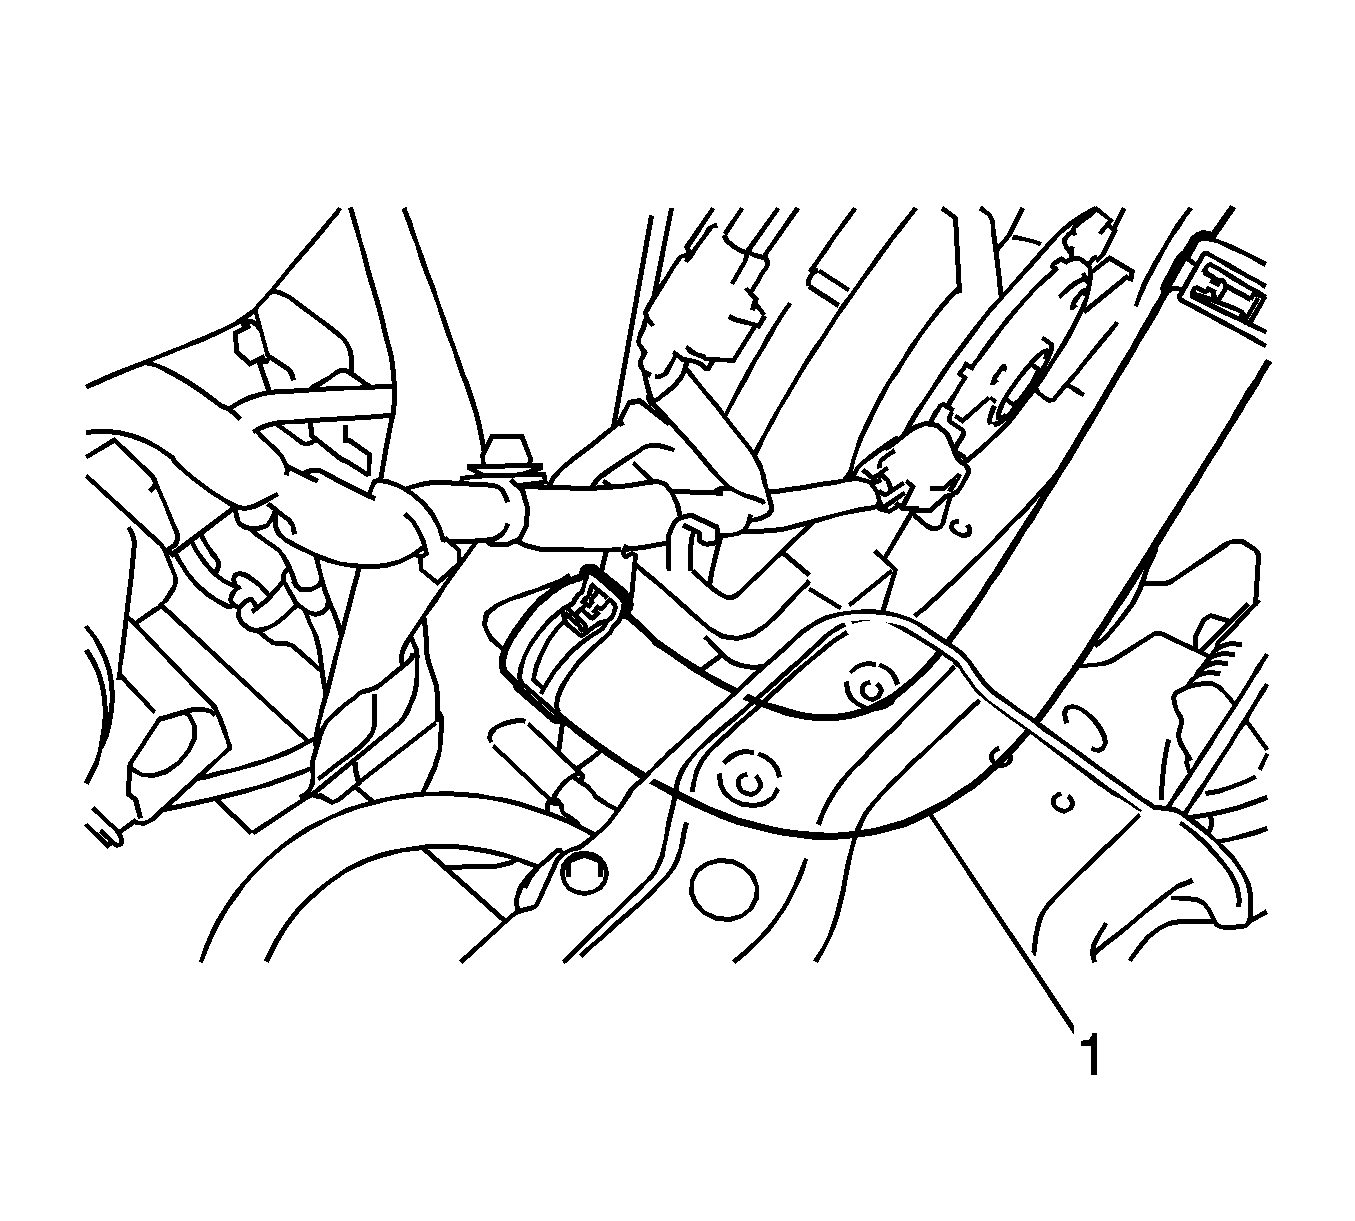
- Disconnect the upper radiator hose (1) from the radiator assembly.
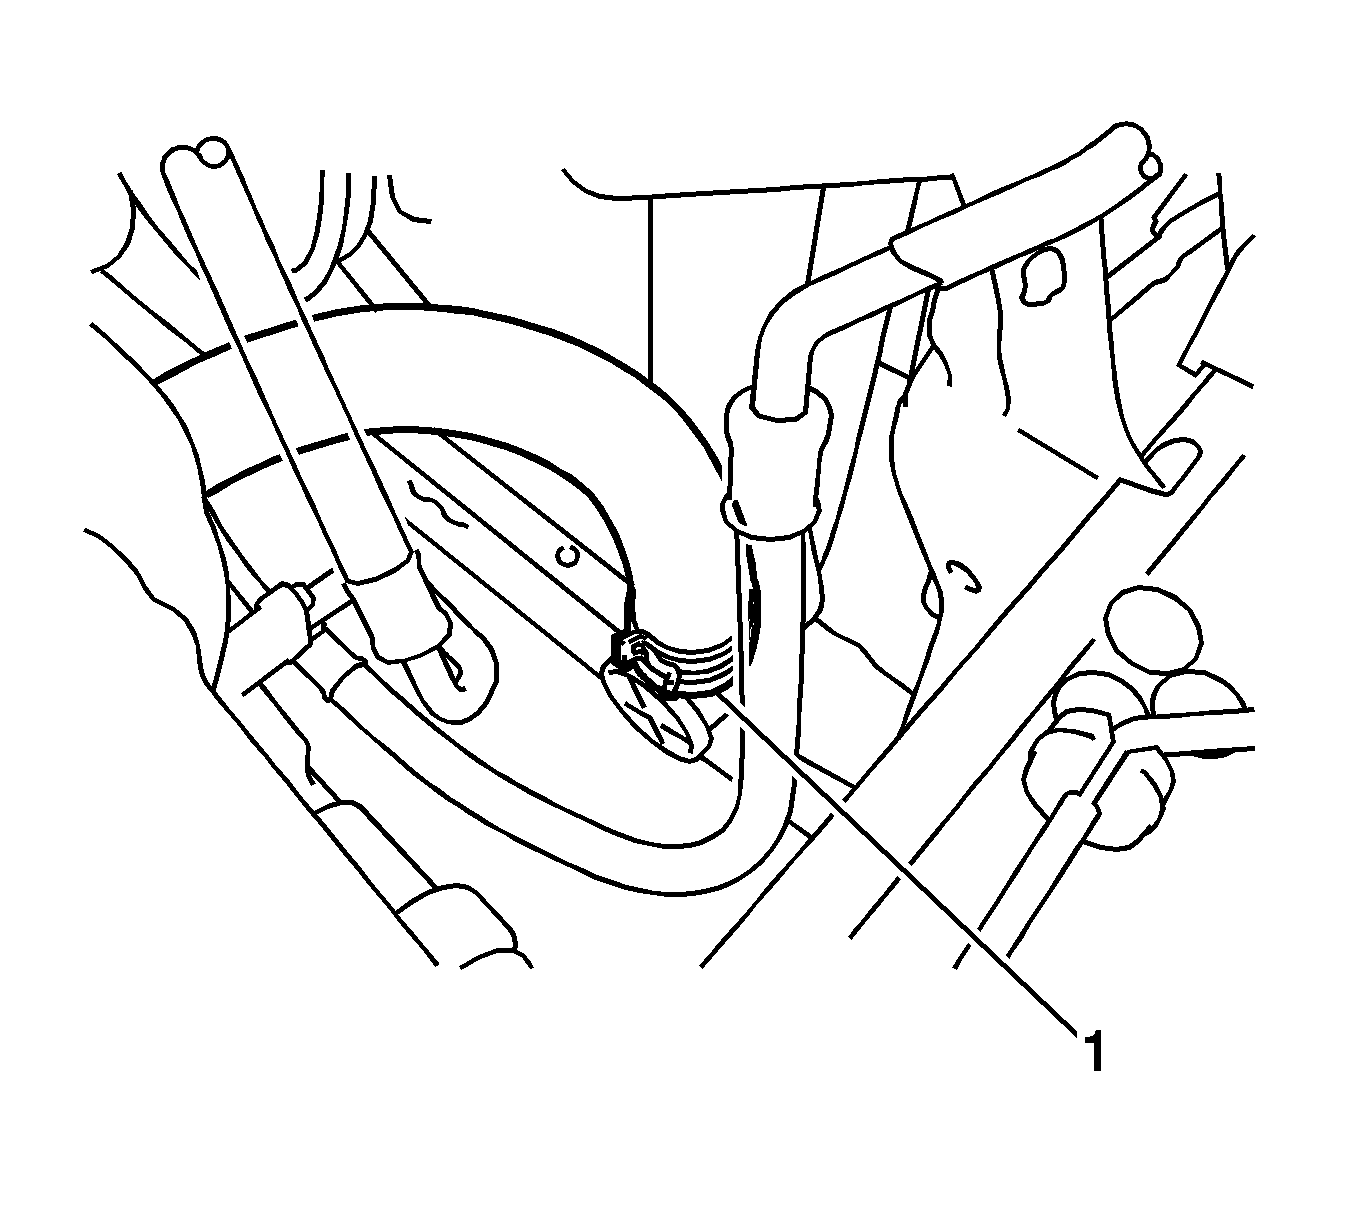
- Disconnect the lower radiator hose (1) from the radiator assembly.
- Disconnect the oil cooler hose.
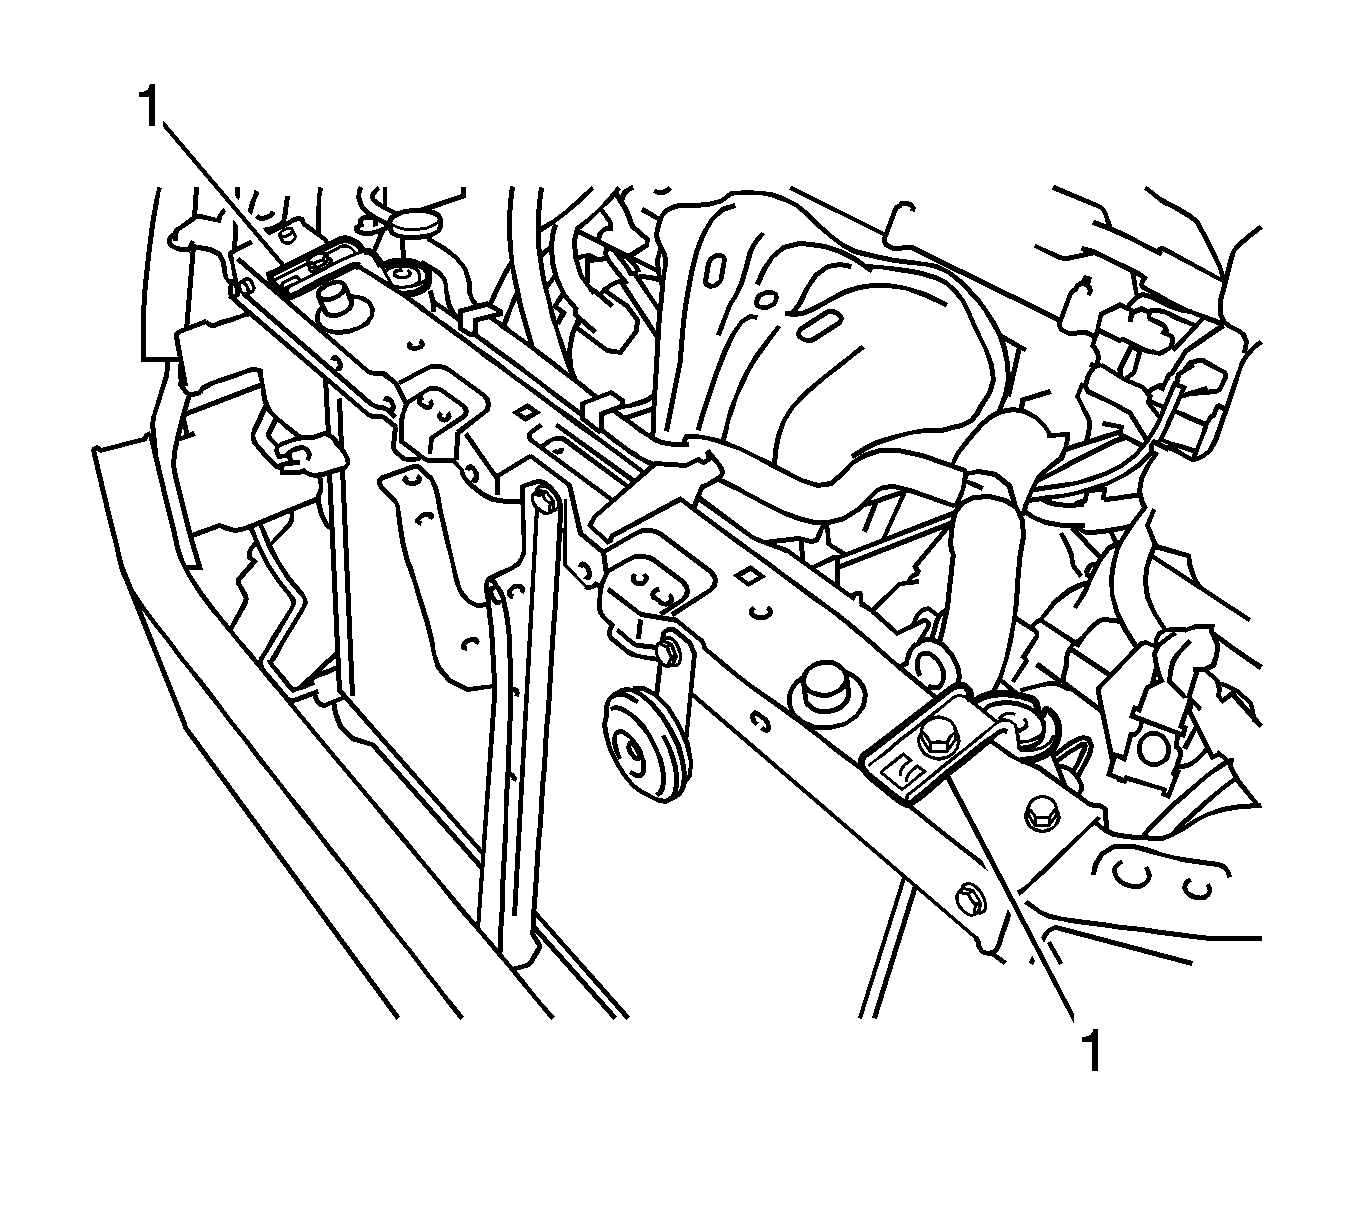
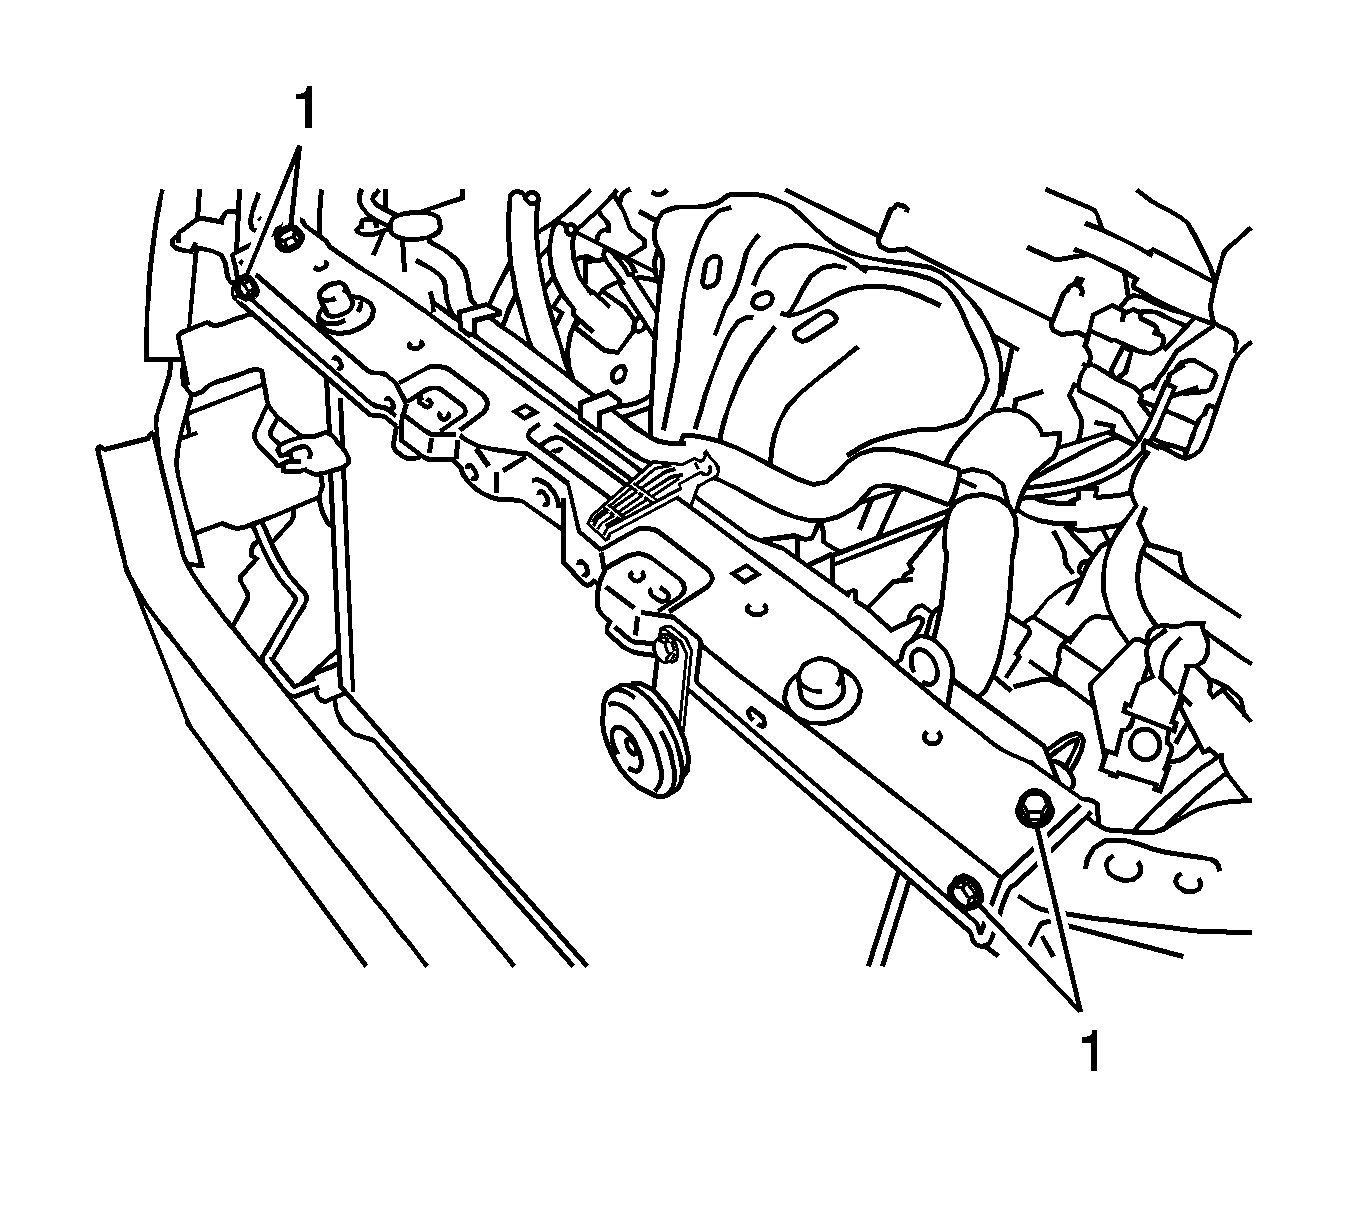
- Remove the 2 bolts (1, 2) and 2 upper radiator supports.
- Remove the 2 support cushions from the 2 upper radiator supports.
- Remove hood lock assembly. Refer to Hood Primary and Secondary Latch Replacement.
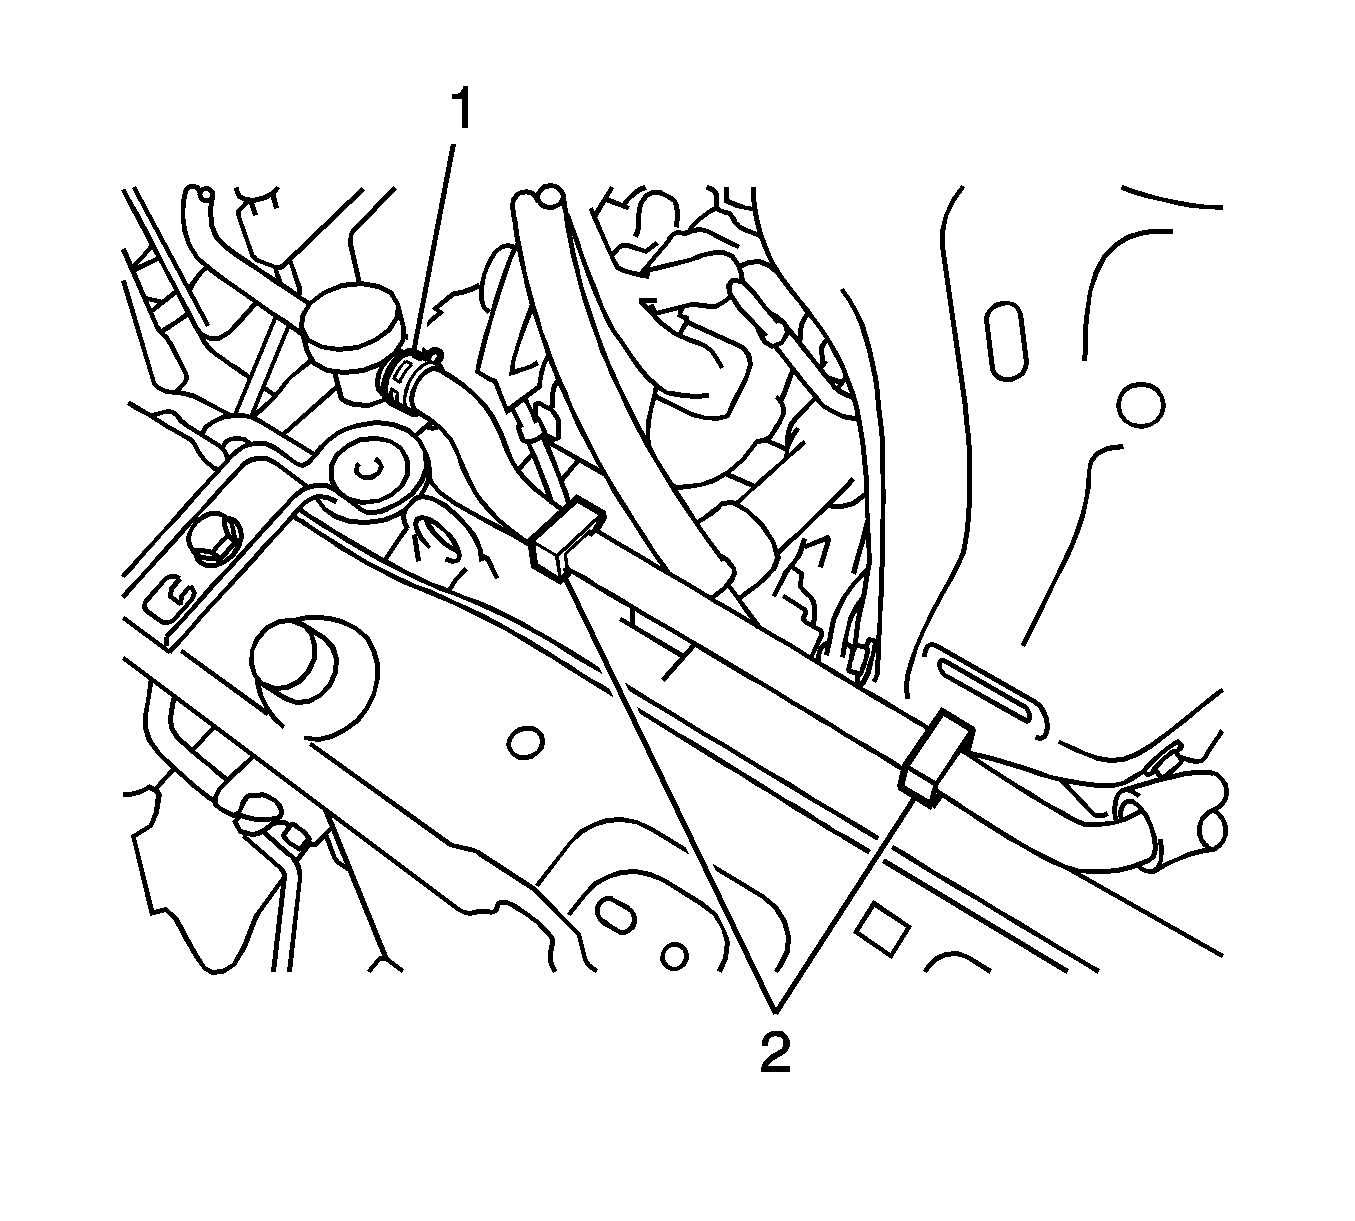
- Separate the water by-pass hose (1) from the 2 clamps (2).
- Disconnect the water by-pass hose from the radiator assembly.
- Remove the 2 bolts (1, 2) and the hood lock support subassembly.
- Disconnect the horn connector (1).
- Remove the 4 bolts (1) and the upper radiator support sub-assembly.
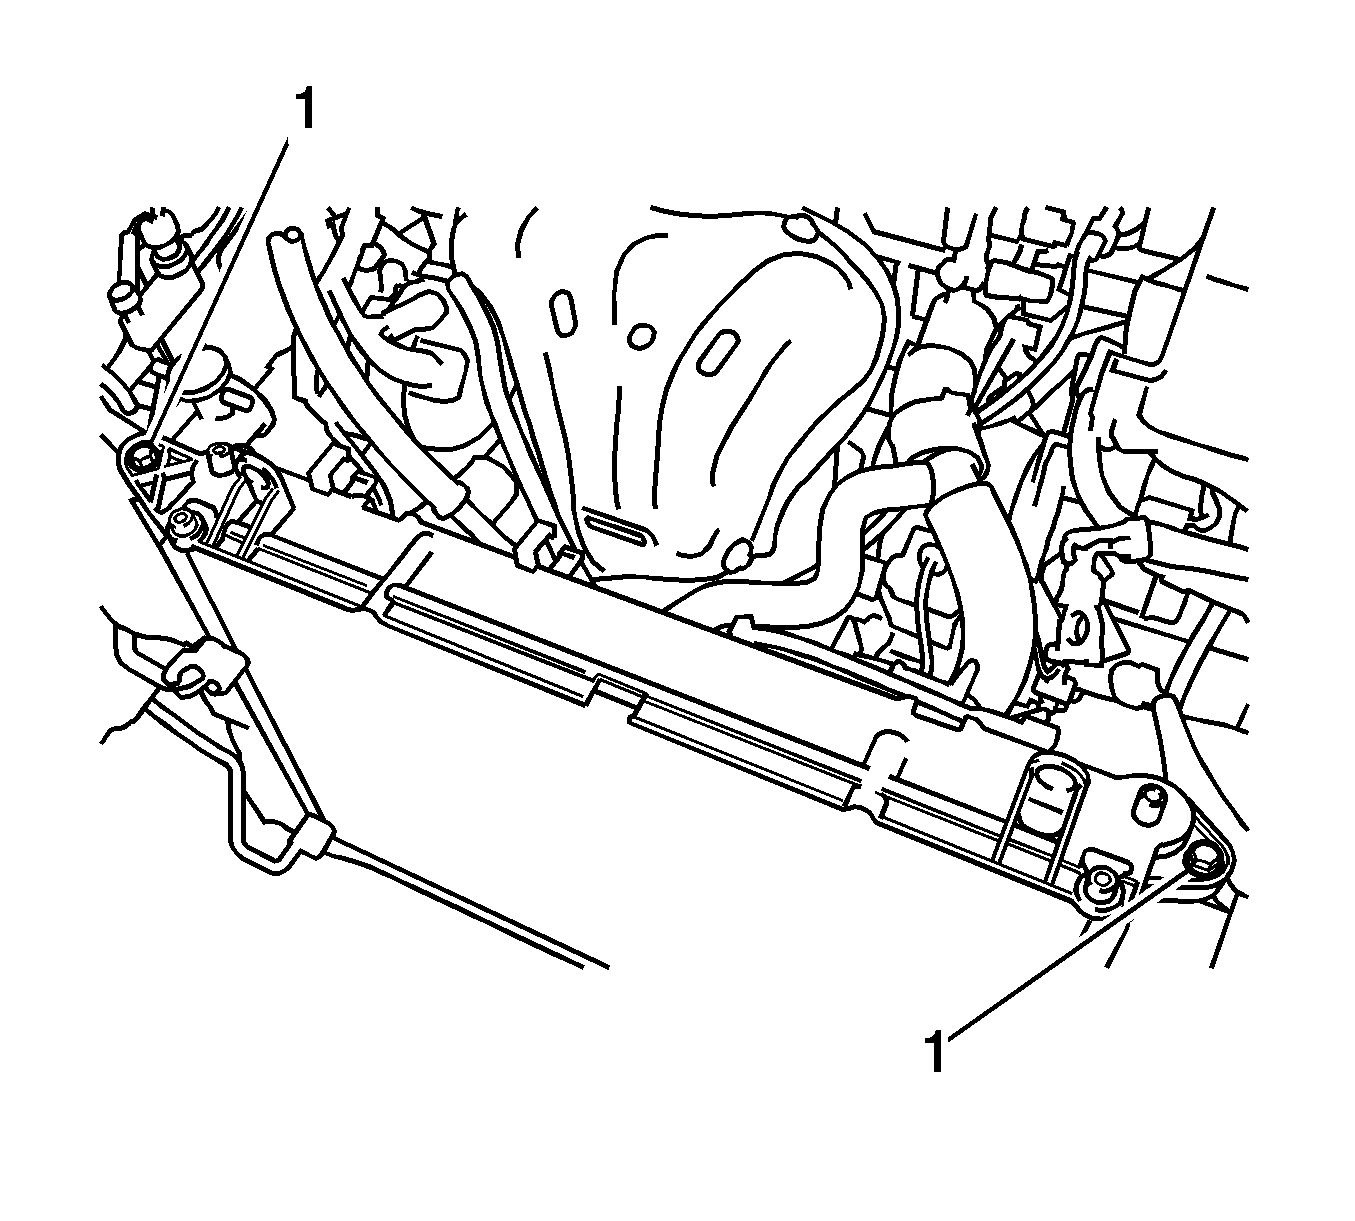
- Remove the 2 bolts (1), disengage the 2 claws, and remove the fan shroud from the radiator assembly.
- Disconnect the cooling fan motor connector (1) and the wire harness clamp.
- Disconnect the 2 cooling fan motor connectors (1, 2) and the wire harness clamp.
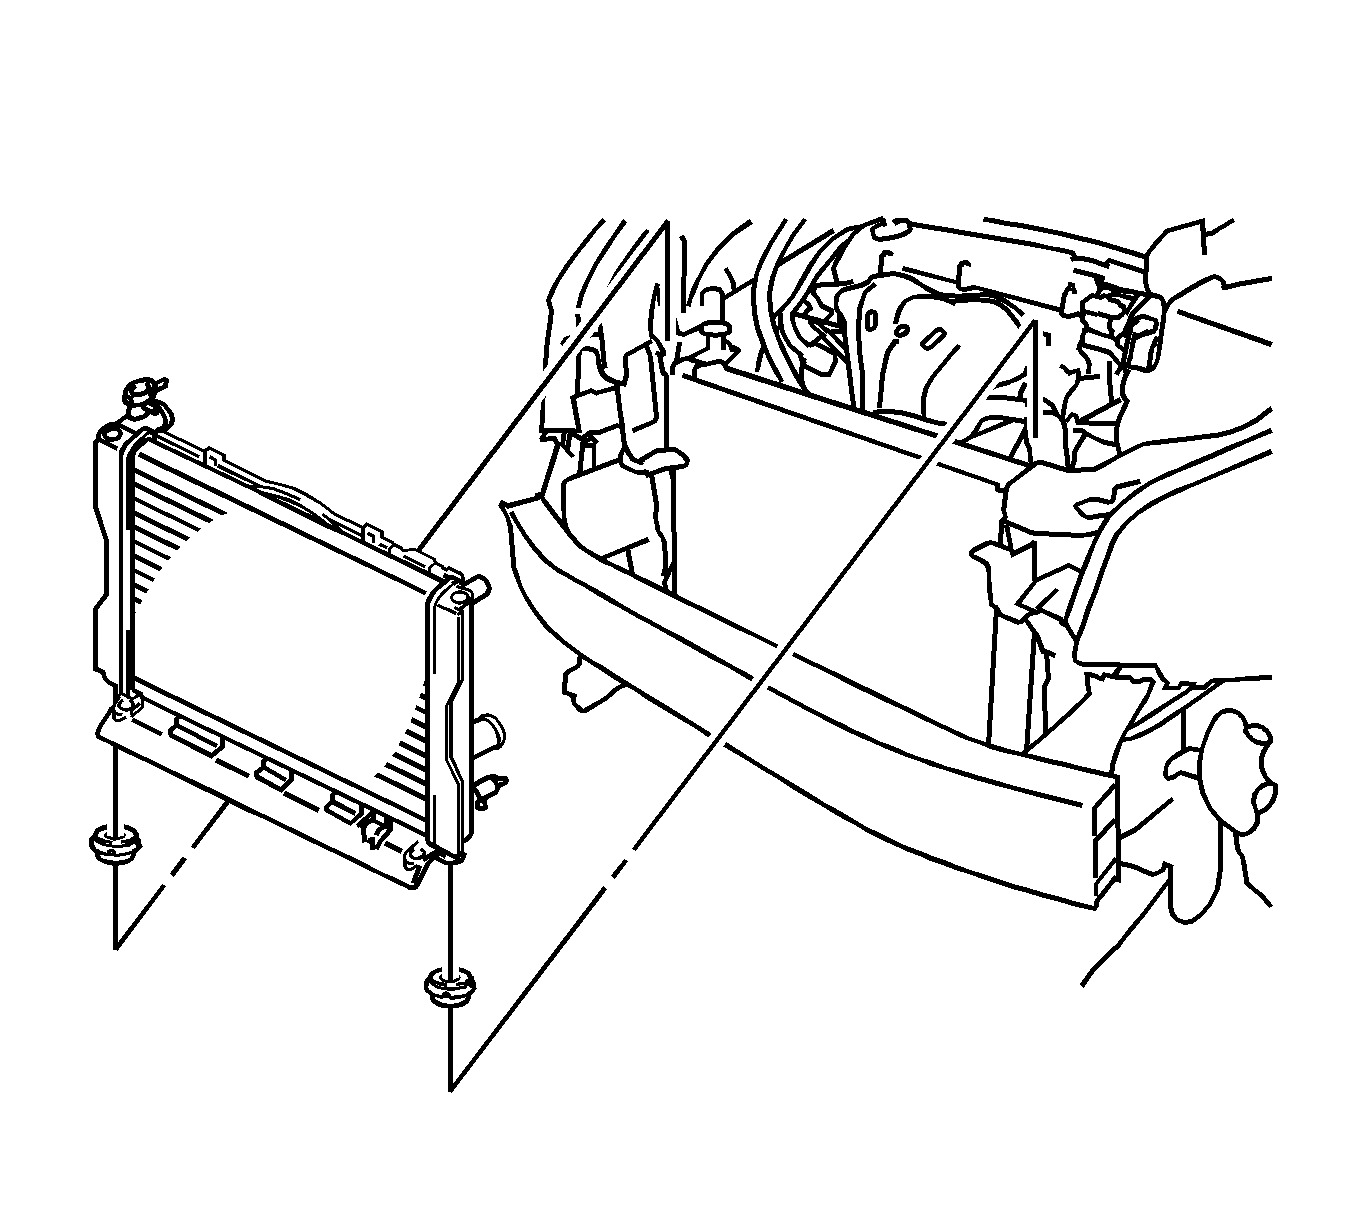
- Remove the radiator assembly with the fan shroud.
- Remove the 2 lower radiator supports.
- Disconnect the 2 oil cooler hoses (1, 2) from the radiator.
- Disconnect the clamp from the fan shroud.
- Remove the 2 bolts (3) and oil cooler hose.
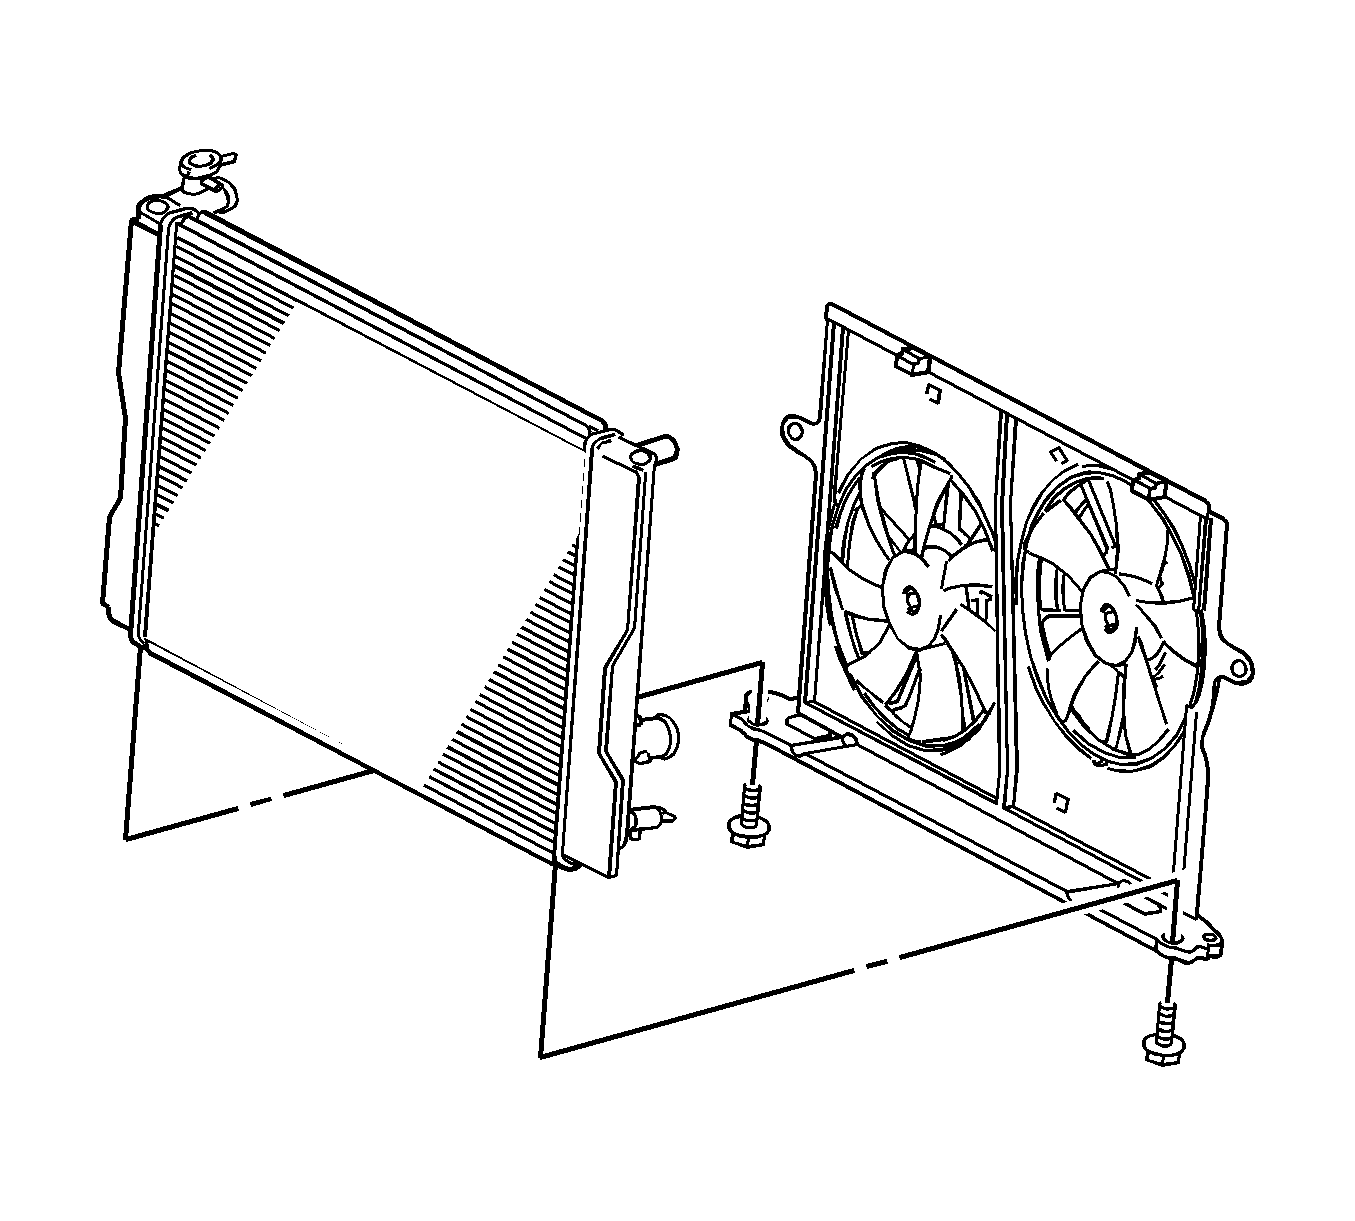
- Remove the 2 bolts and fan shroud from the radiator assembly.
Warning: Refer to Battery Disconnect Warning in the Preface section.



Installation Procedure
- Install the fan shroud to the radiator assembly with the 2 bolts and tighten to 7.0 N·m (62 lb in).
- Install the oil cooler hoses (1, 2) with the 2 bolts (3) and tighten to 5.5 N·m (49 lb in).
- Connect the clamp to the fan shroud.
- Connect the 2 oil cooler hoses to the radiator.
- Install radiator assembly.
- Install the 2 lower radiator supports.
- Install the radiator assembly with the fan shroud.
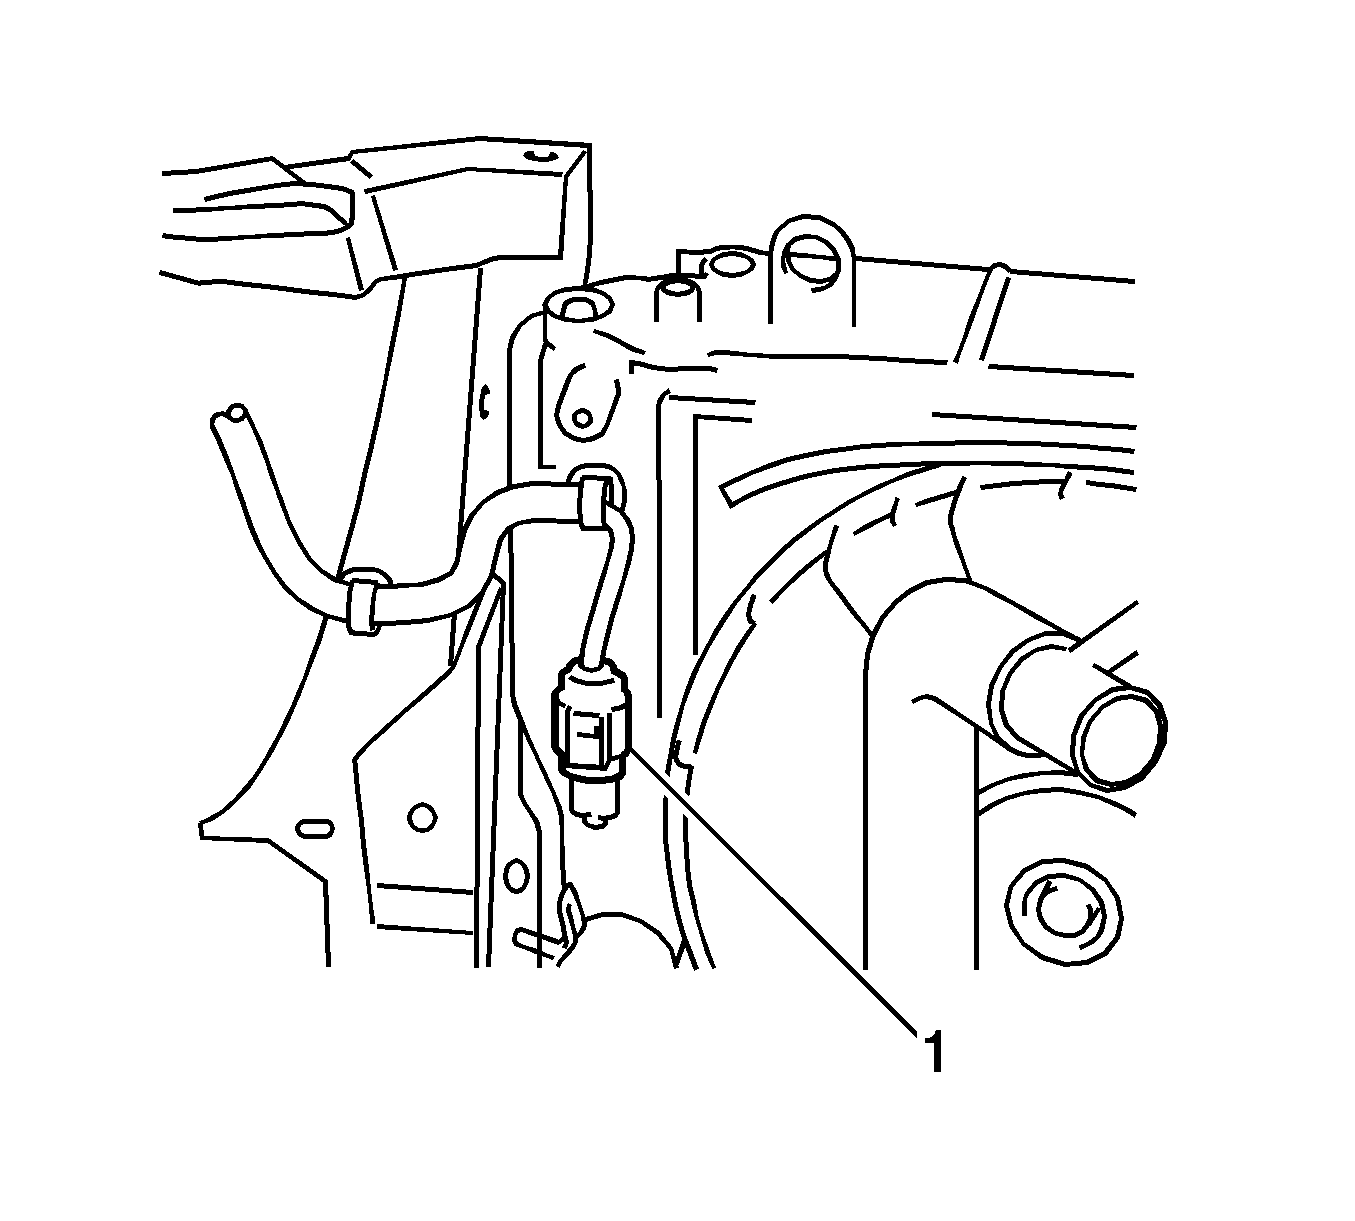
- Connect the cooling fan motor connector (1), without air conditioning system.
- Connect the cooling fan motor connector and wire harness clamp.
- Connect the 2 cooling fan motor connectors (1, 2) and the wire harness clamp with air conditioning.
- Engage the 2 claws and install the No. 2 fan shroud to the radiator assembly with the 2 bolts (1) and tighten to 7.0 N·m (62 lb in).
- Install the upper radiator support sub-assembly with the 4 bolts (1) and tighten to 5.5 N·m (49 lb in).
- Connect the horn connector (1).
- Install the hood lock support sub-assembly with the 2 bolts (1, 2) and tighten to 7.0 N·m (62 lb in).
- Install the water by-pass hose (1) with the 2 clamps (2).
- Connect the water by-pass hose to the radiator assembly with the clamp.
- Install the hood lock assembly. Refer to Hood Primary and Secondary Latch Replacement.
- Install the 2 radiator support cushions to the 2 upper radiator supports.
- Install the 2 upper radiator supports with the 2 bolts (1) and tighten to 19 N·m (14 lb ft).
- Connect the oil cooler hose.
- Connect the lower radiator hose (1) to the radiator assembly with the clamp.
- Connect the upper radiator hose (1) to the radiator assembly with the clamp.
- Connect the radiator reservoir tank hose (1) to the radiator assembly with the clamp.
- Install the thermistor assembly.
- Install the battery. Refer to Battery Replacement.
- Connect the cable to negative battery terminal.
- Add the engine coolant. Cooling System Draining and Filling.
- Inspect for coolant leaks.
- Inspect the reservoir tank engine coolant level.
- Install front bumper assembly. Refer to Front Bumper Fascia Replacement.
- Vehicle preparation for fog light aiming adjustment with fog light.
- Inspect the fog light alignment. Refer to Fog Lamp Aiming.
Caution: Refer to Fastener Caution in the Preface section.


