For 1990-2009 cars only
Special Tools
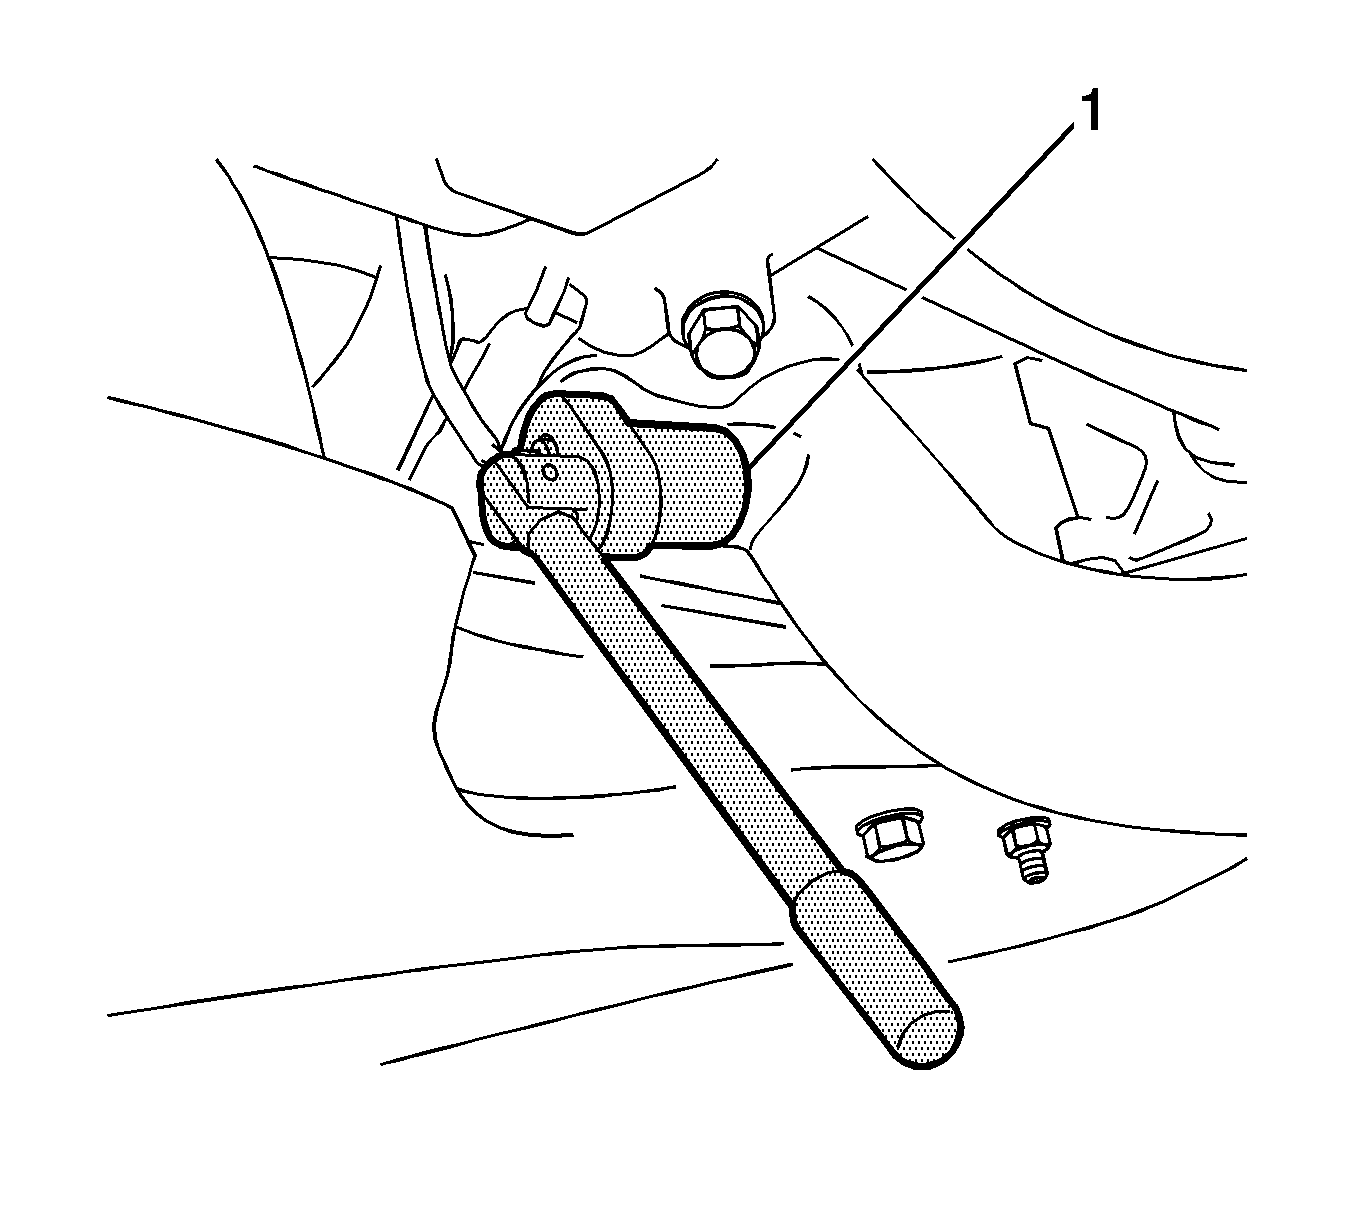
J-39194-C Oxygen Sensor Wrench
Removal Procedure
- Disconnect the heated oxygen sensor connector.
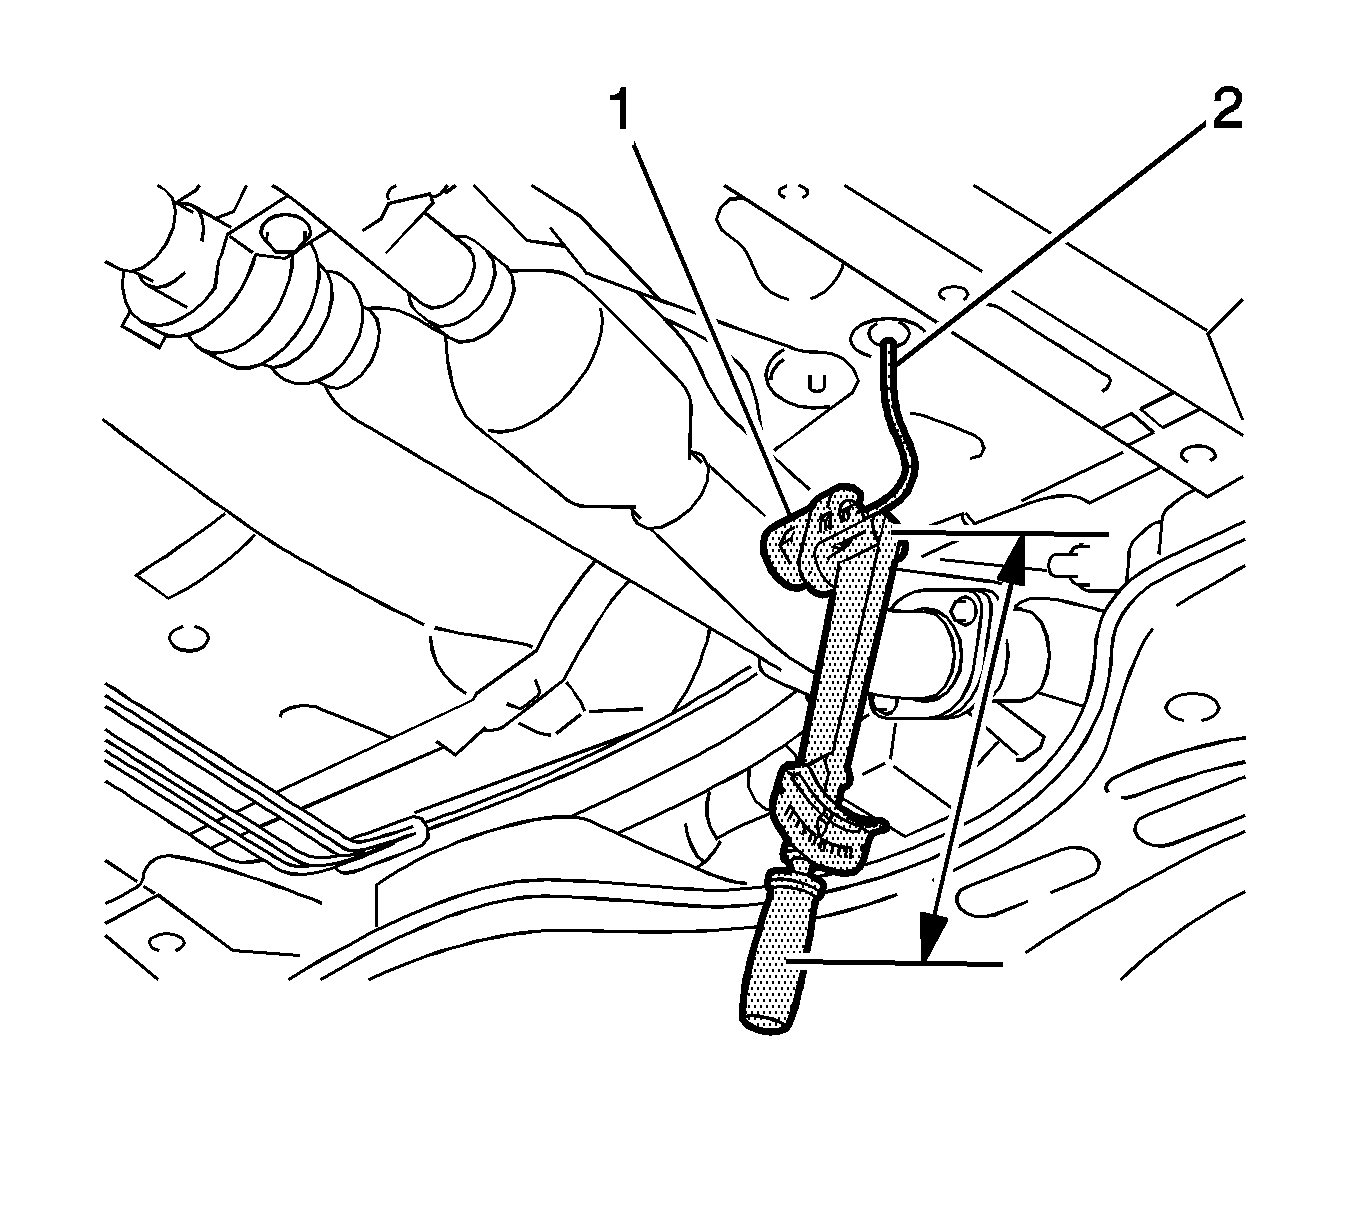
- Separate the wire harness grommet.
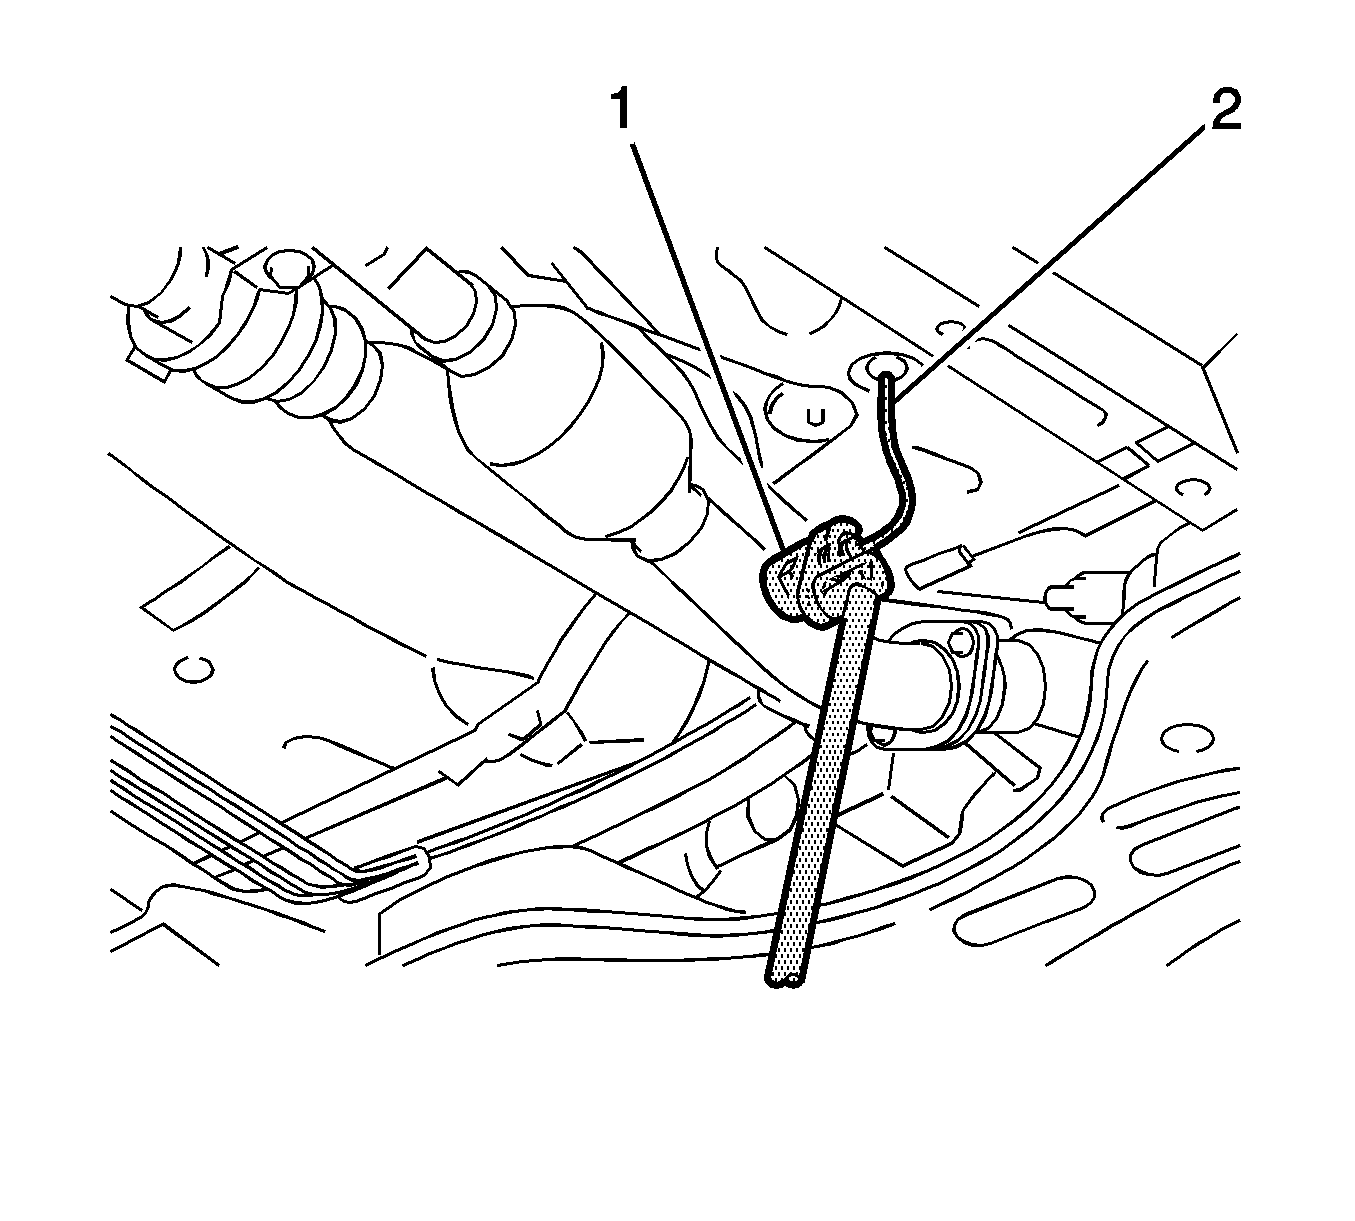
- Remove the heated oxygen sensor for AWD.
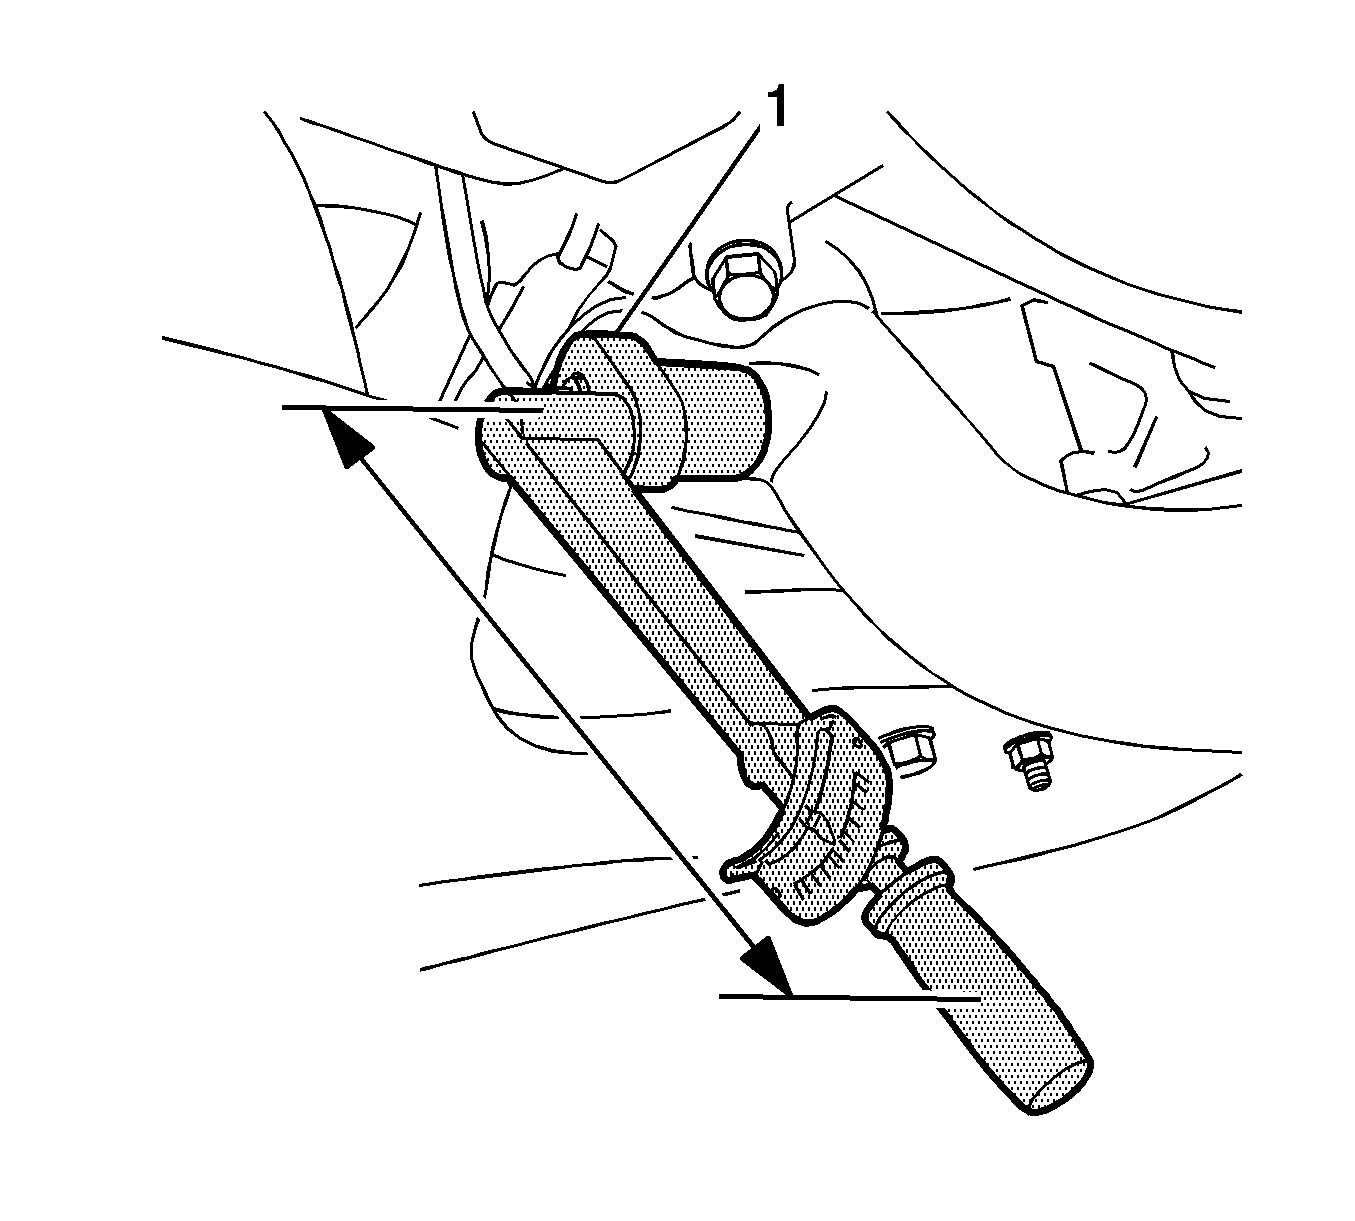
- Using the J-39194-C wrench (1) , remove the heated oxygen sensor.
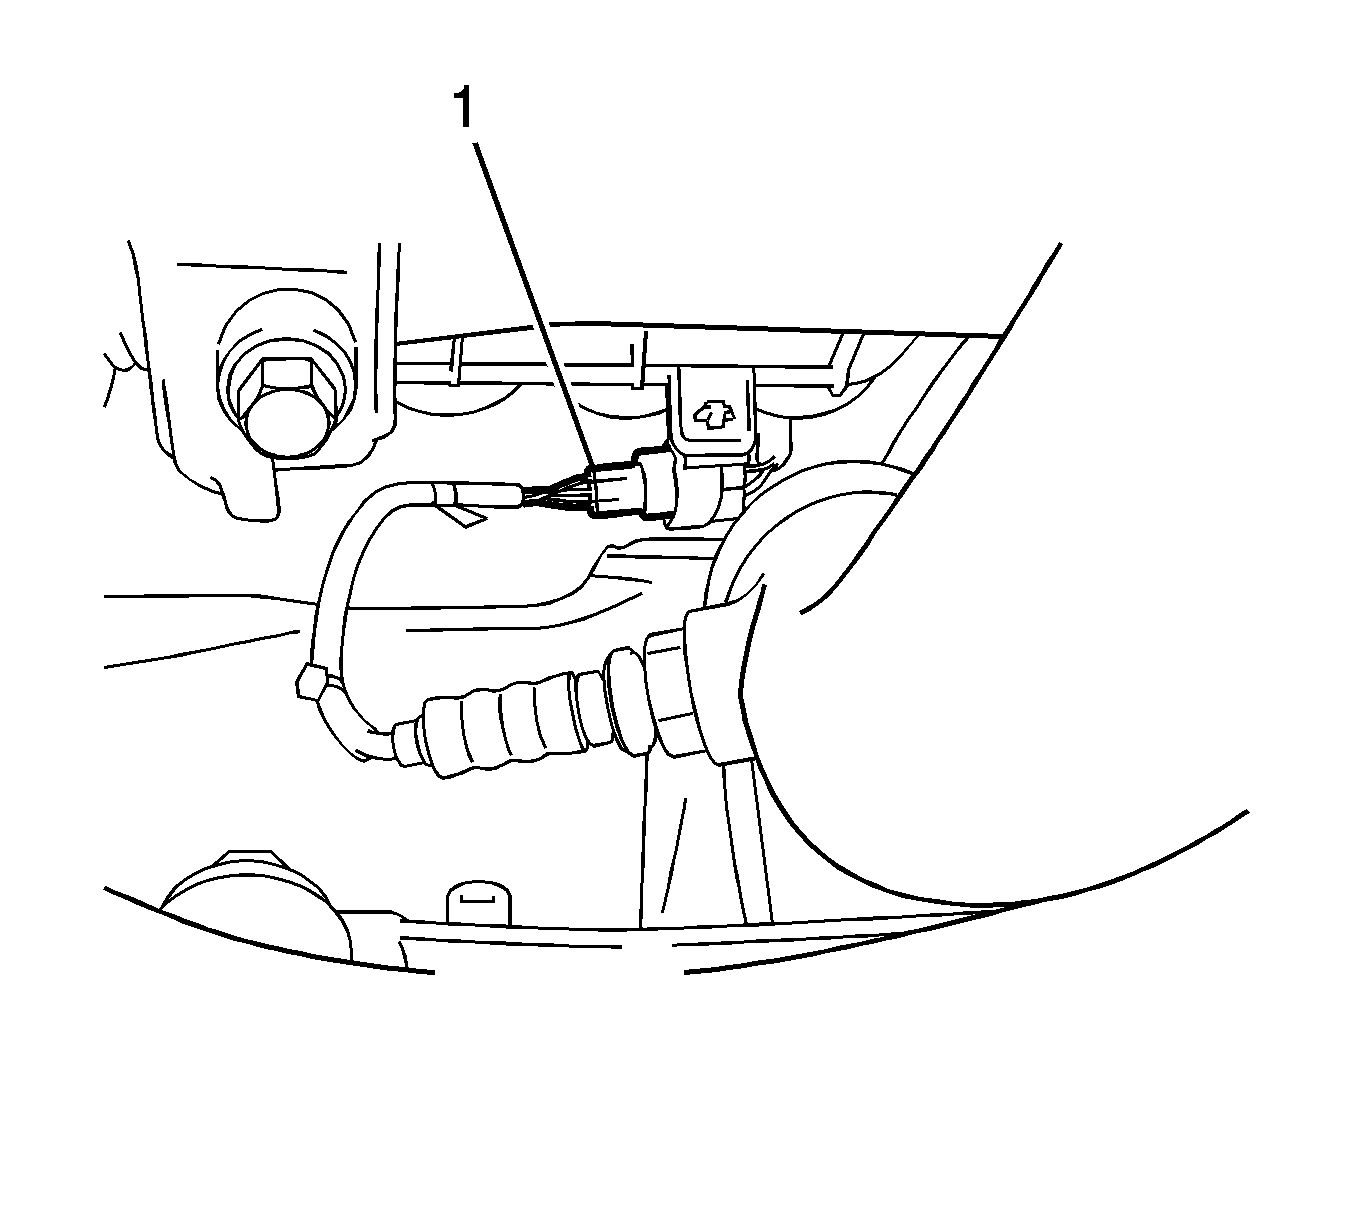
- Disconnect the heated oxygen sensor connector (1).
- Remove the heated oxygen sensor for FWD.
- Using the J-39194-C wrench (1) , remove the heated oxygen sensor.
Installation Procedure
- Install the heated oxygen sensor for AWD.
- Using the J-39194-C wrench (1) , install the heated oxygen sensor and tighten.
- Connect the wire harness grommet.
- Connect the heated oxygen sensor connector.
- Install heated oxygen sensor for FWD.
- Using the J-39194-C wrench (1) , install the heated oxygen sensor and tighten.
- Connect the heated oxygen sensor connector (1).
- Inspect for exhaust leaks.
Caution: Refer to Fastener Caution in the Preface section.
Note: This torque value can be obtained by using a torque wrench with a fulcrum length of 300 mm (11.81 in.) and the J-39194-C wrench with 30 mm (1.18 in). This torque value is effective when the J-39194-C wrench is parallel to the torque wrench.
| • | Without the J-39194-C wrench to 44 N·m (32 lb ft) |
| • | With the J-39194-C wrench to 40 N·m (30 lb ft) |
Note:
• This torque value can be obtained by using a torque wrench with a fulcrum length of 300 mm (11.81 in) and a
J-39194-C wrench
with 30 mm (1.18 in) • This torque value is effective when a
J-39194-C wrench
is parallel to the torque wrench.
| • | Without the J-39194-C wrench to 44 N·m (32 lb ft) |
| • | With the J-39194-C wrench to 40 N·m (30 lb ft) |
