For 1990-2009 cars only
Tools Required
J 24402-A Glass Sealant Remover
Removal Procedure
- Disconnect the negative battery cable.
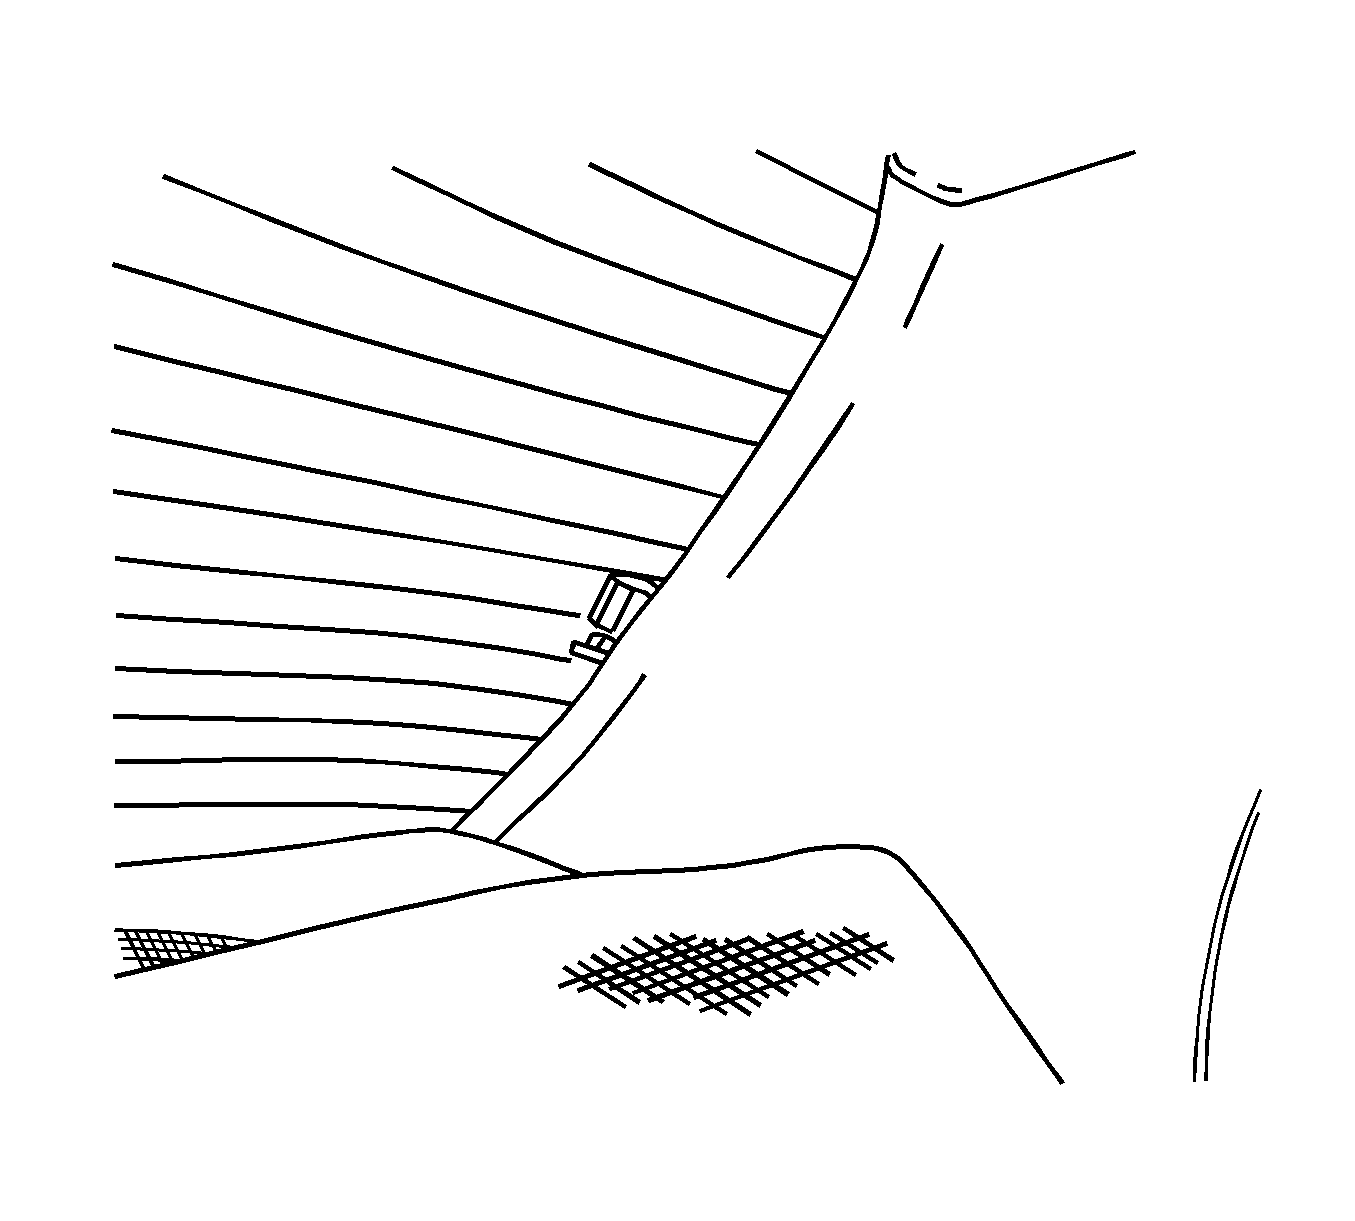
- Disconnect the rear window defogger electrical connectors, left side electrical connector shown, right side electrical connector similar.
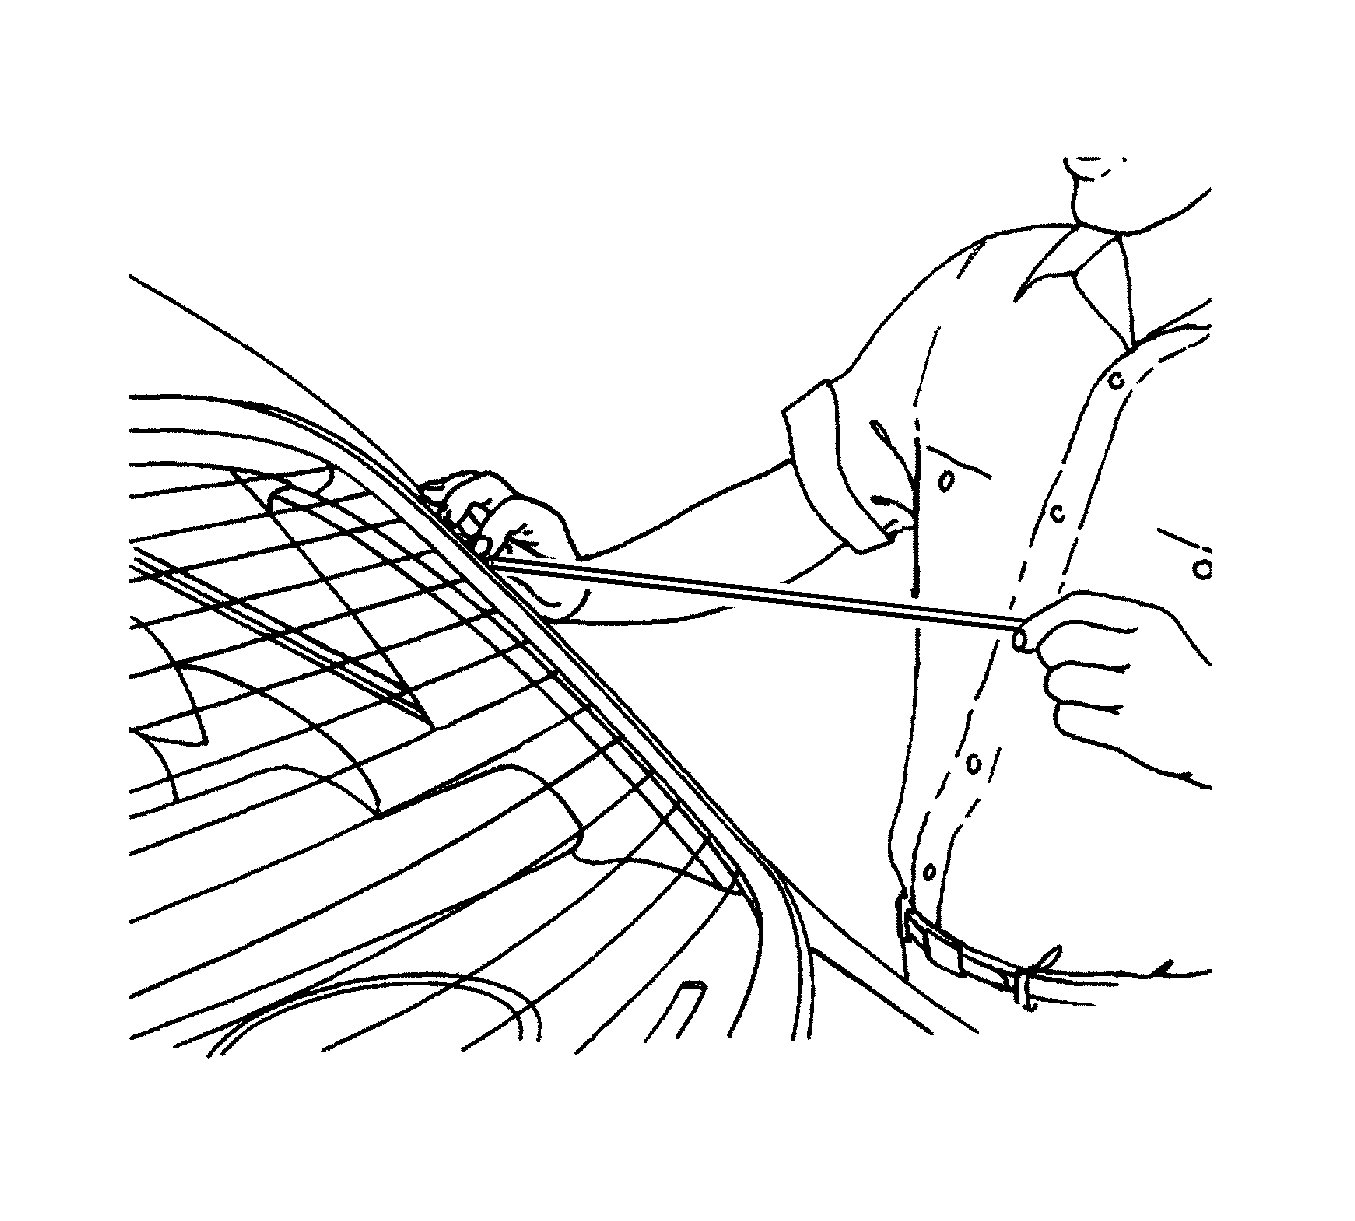
- Remove the weatherstrip around the rear window.
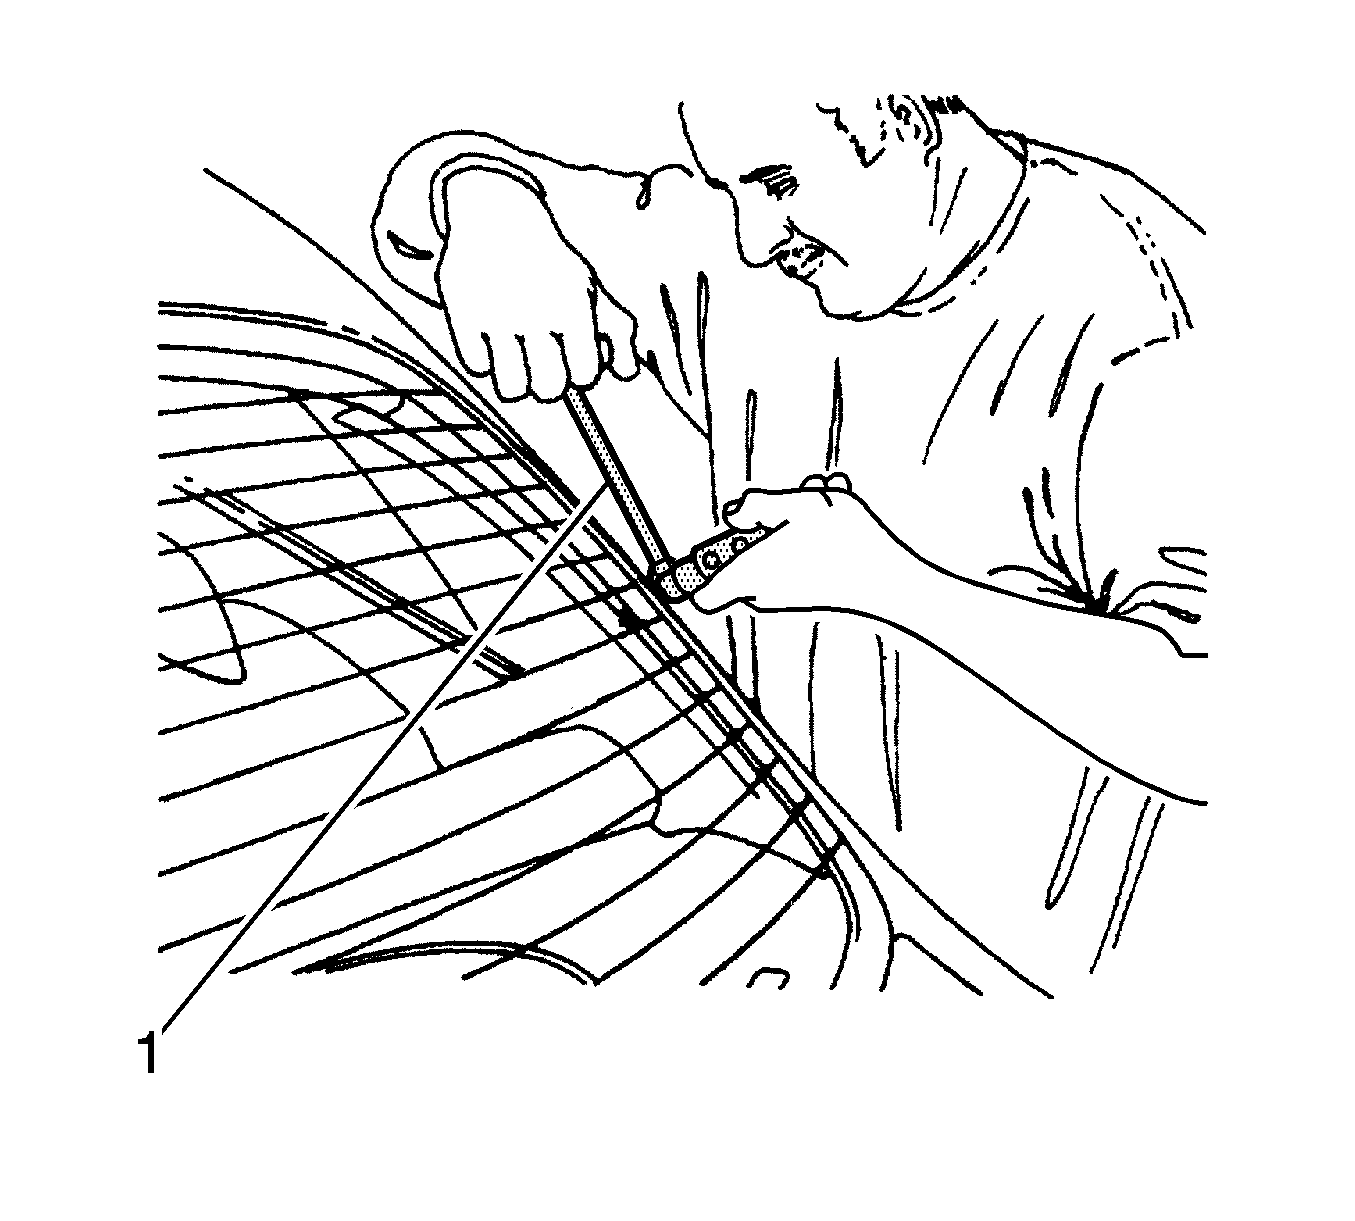
- Using the J 24402-A (1), cut the adhesive around the rear window.
- Remove the rear window from the vehicle.
- Using a knife, remove the adhesive from the rear window.
- Using a knife, remove the adhesive from the rear window frame.
Caution: Refer to Battery Disconnect Caution in the Preface section.
Installation Procedure
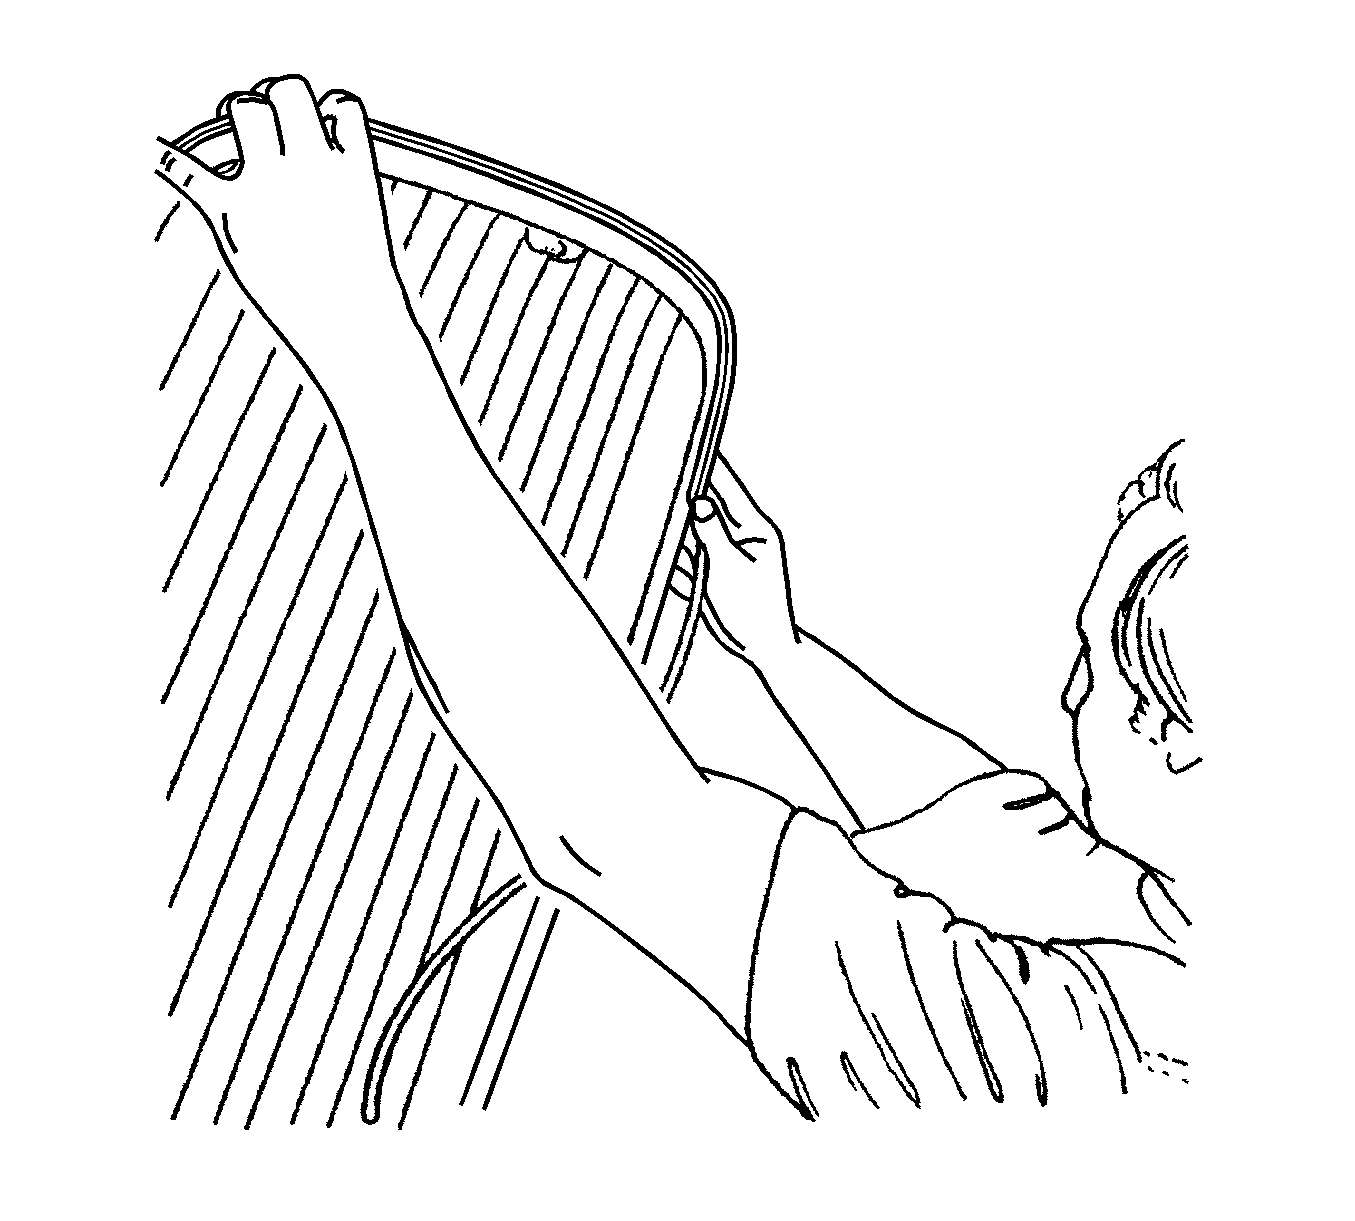
- Install the new weatherstrip to the rear window.
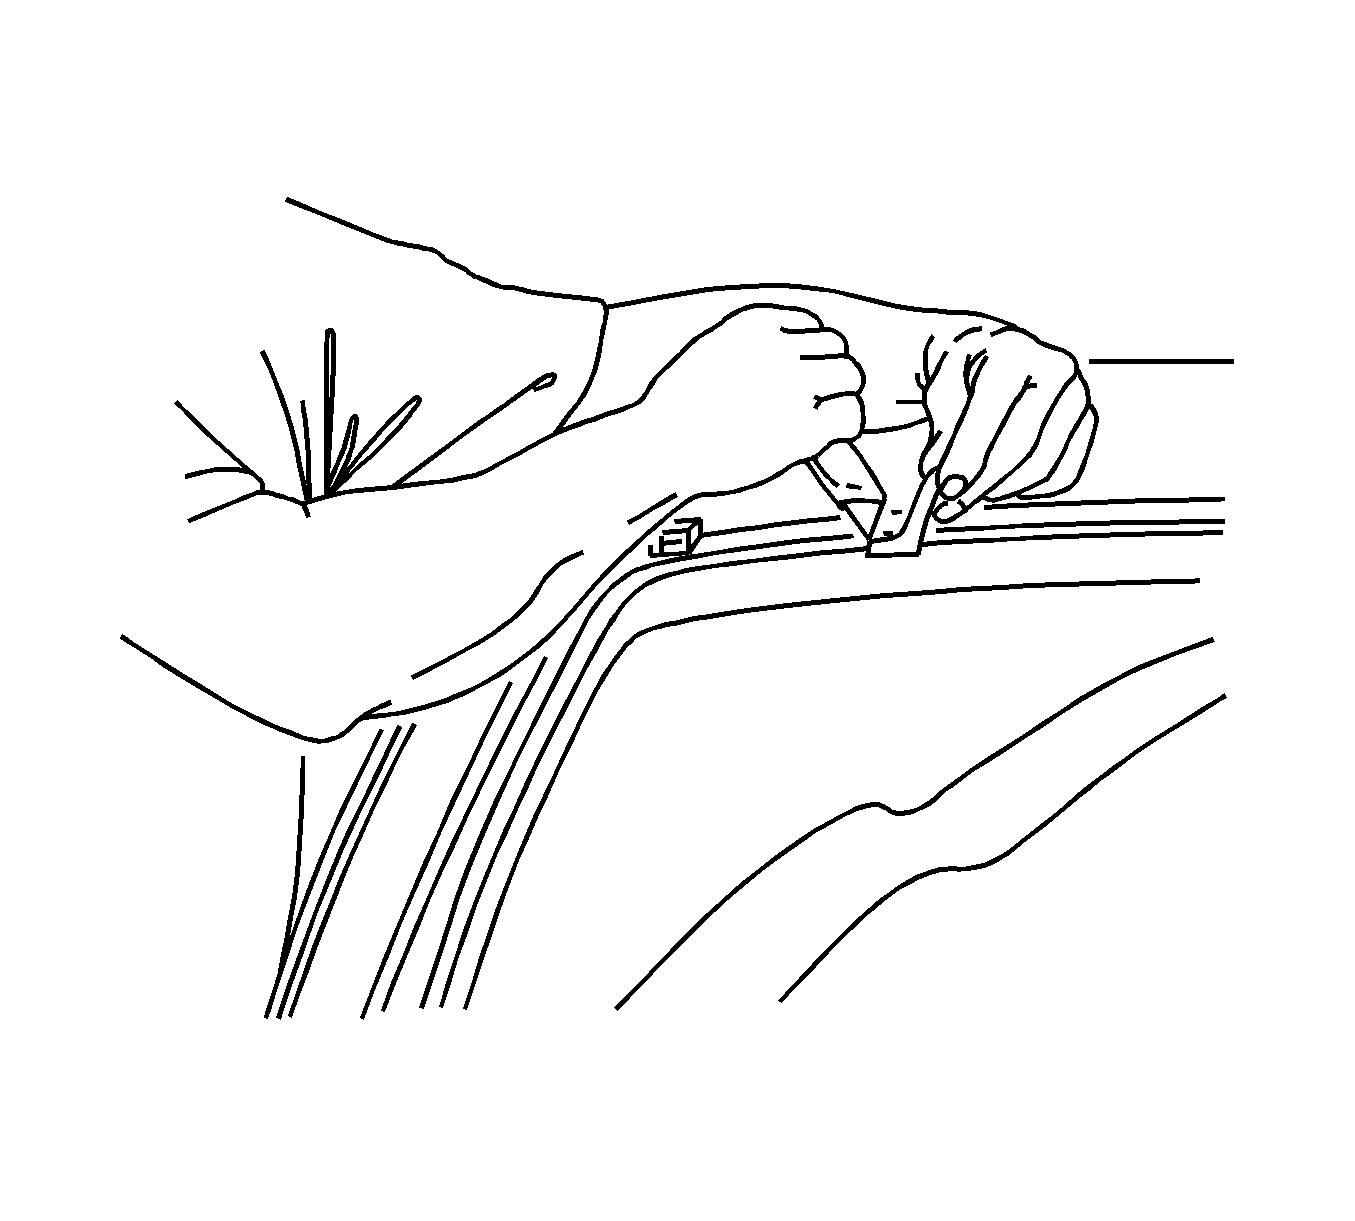
- Apply tape to the new weatherstrip and the rear window to hold the weatherstrip in place.
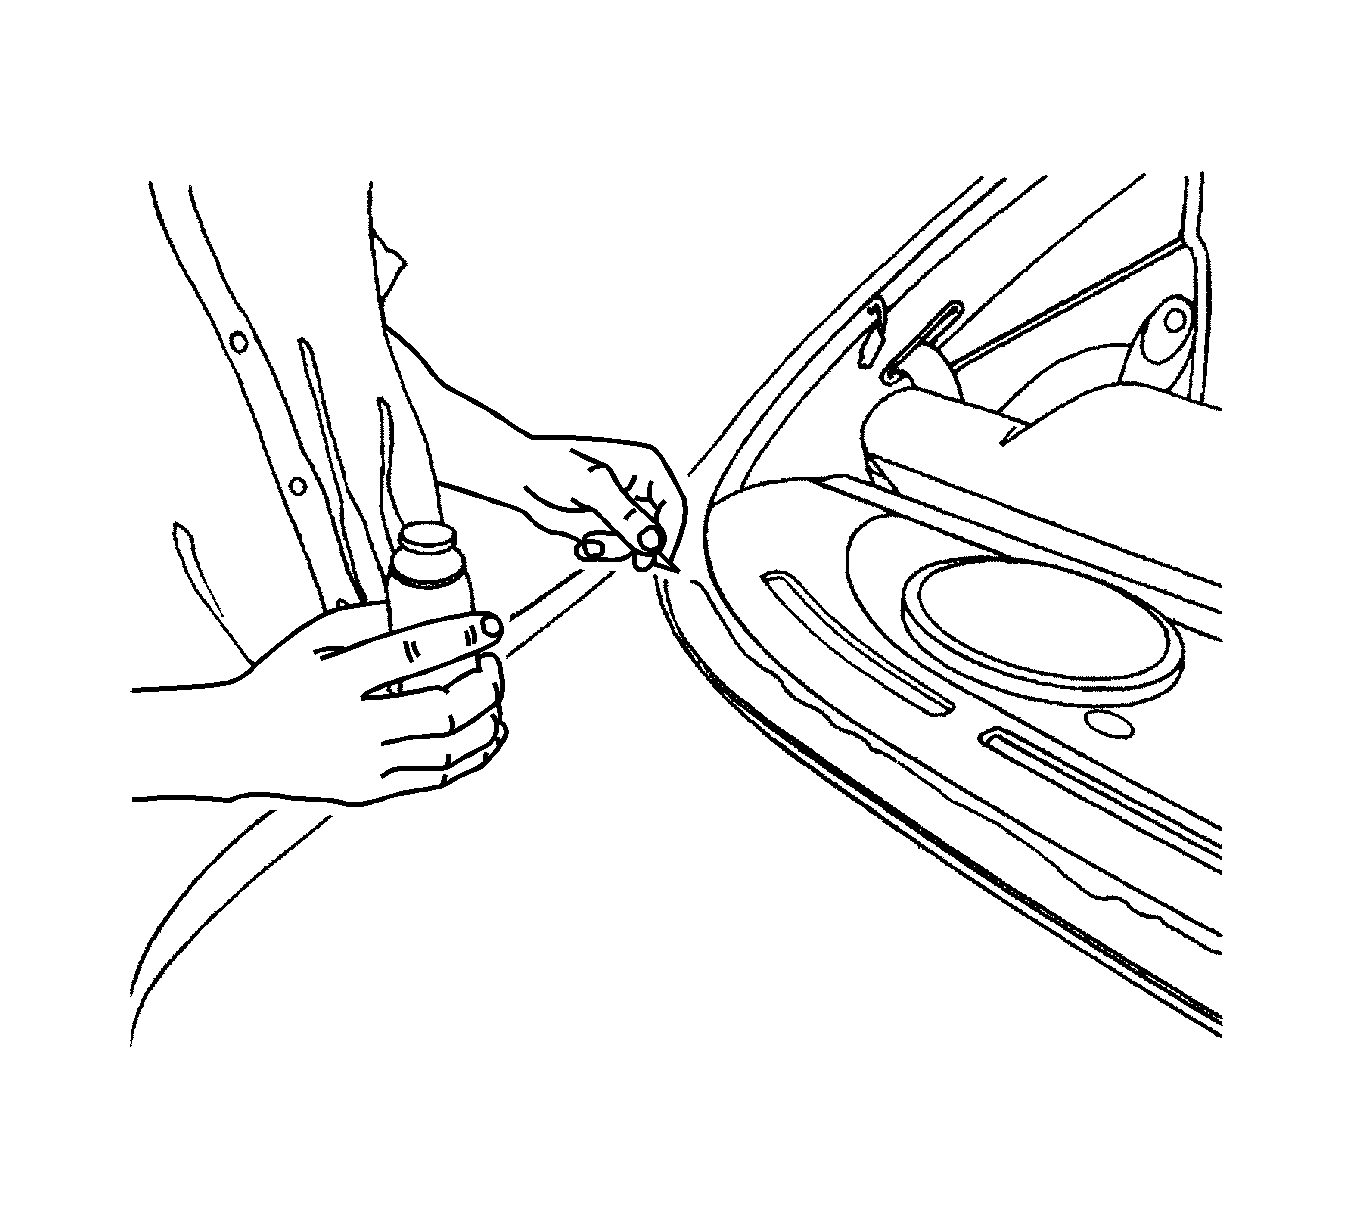
- Apply the adhesive primer to the rear window frame and the perimeter of the rear window.
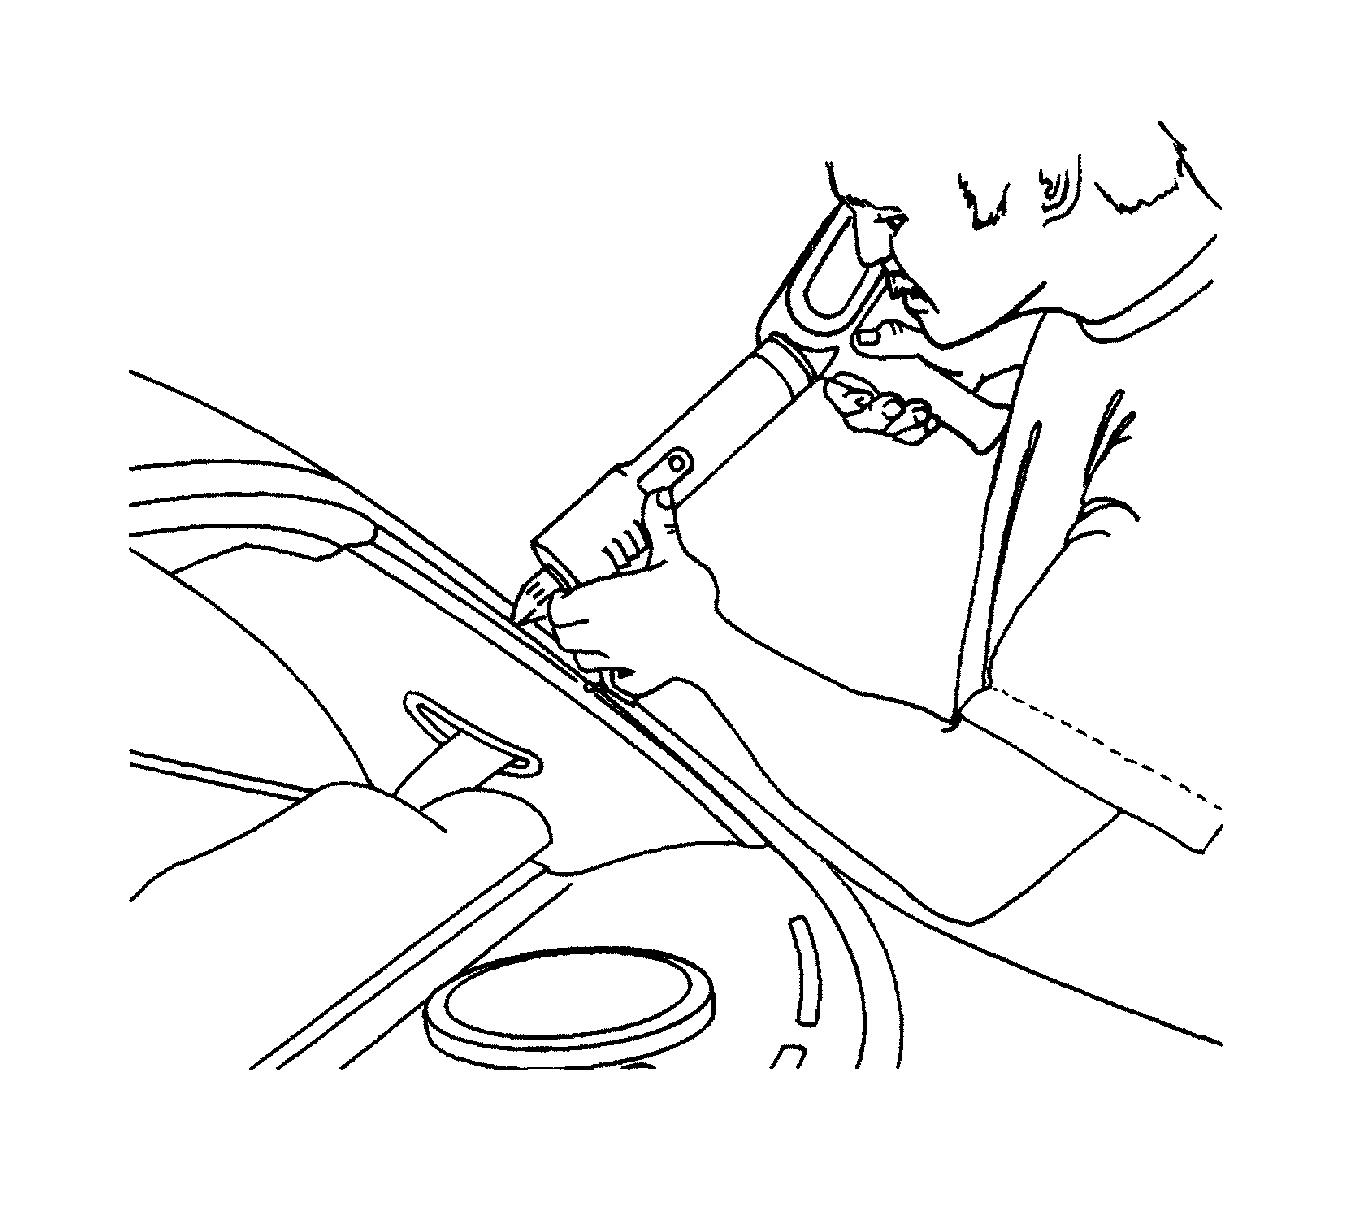
- Apply glass adhesive to the rear window frame.
- Install the rear window into the rear window frame.
- Reposition the tape over the weatherstrip, the rear window, and the rear window frame to hold the rear window in place.
- Let the adhesive dry for 24 hours.
- Remove the tape.
- Check for waterleaks by pouring water on the rear window. If a leak is found, dry the window and fill the area that leaks with adhesive. If the leak persists, remove the rear window and repeat the entire procedure.
- Connect the rear window defogger electrical connectors, left side electrical connector shown, right side electrical connector similar.
- Connect the negative battery cable.
Caution: Insufficient curing of urethane adhesive may allow unrestrained occupants
to be ejected from the vehicle resulting in personal injury.
• For the moisture-curing type of urethane adhesive, allow a minimum
of 6 hours at 21°C (70°F) or greater and with at least 30 percent
relative humidity. Allow at least 24 hours for the complete curing
of the urethane adhesive.
Do NOT physically disturb the repair area until after these minimum
times have elapsed.
• For the chemical-curing type of urethane adhesive, allow a minimum
of 1 hour .

