Rear Bumper Fascia Replacement Notchback
Removal Procedure
- Remove the screws and the mud guards.
- Remove the screws attaching the splash shields to the fascia.
- Remove the screws from the bottom of the fascia.
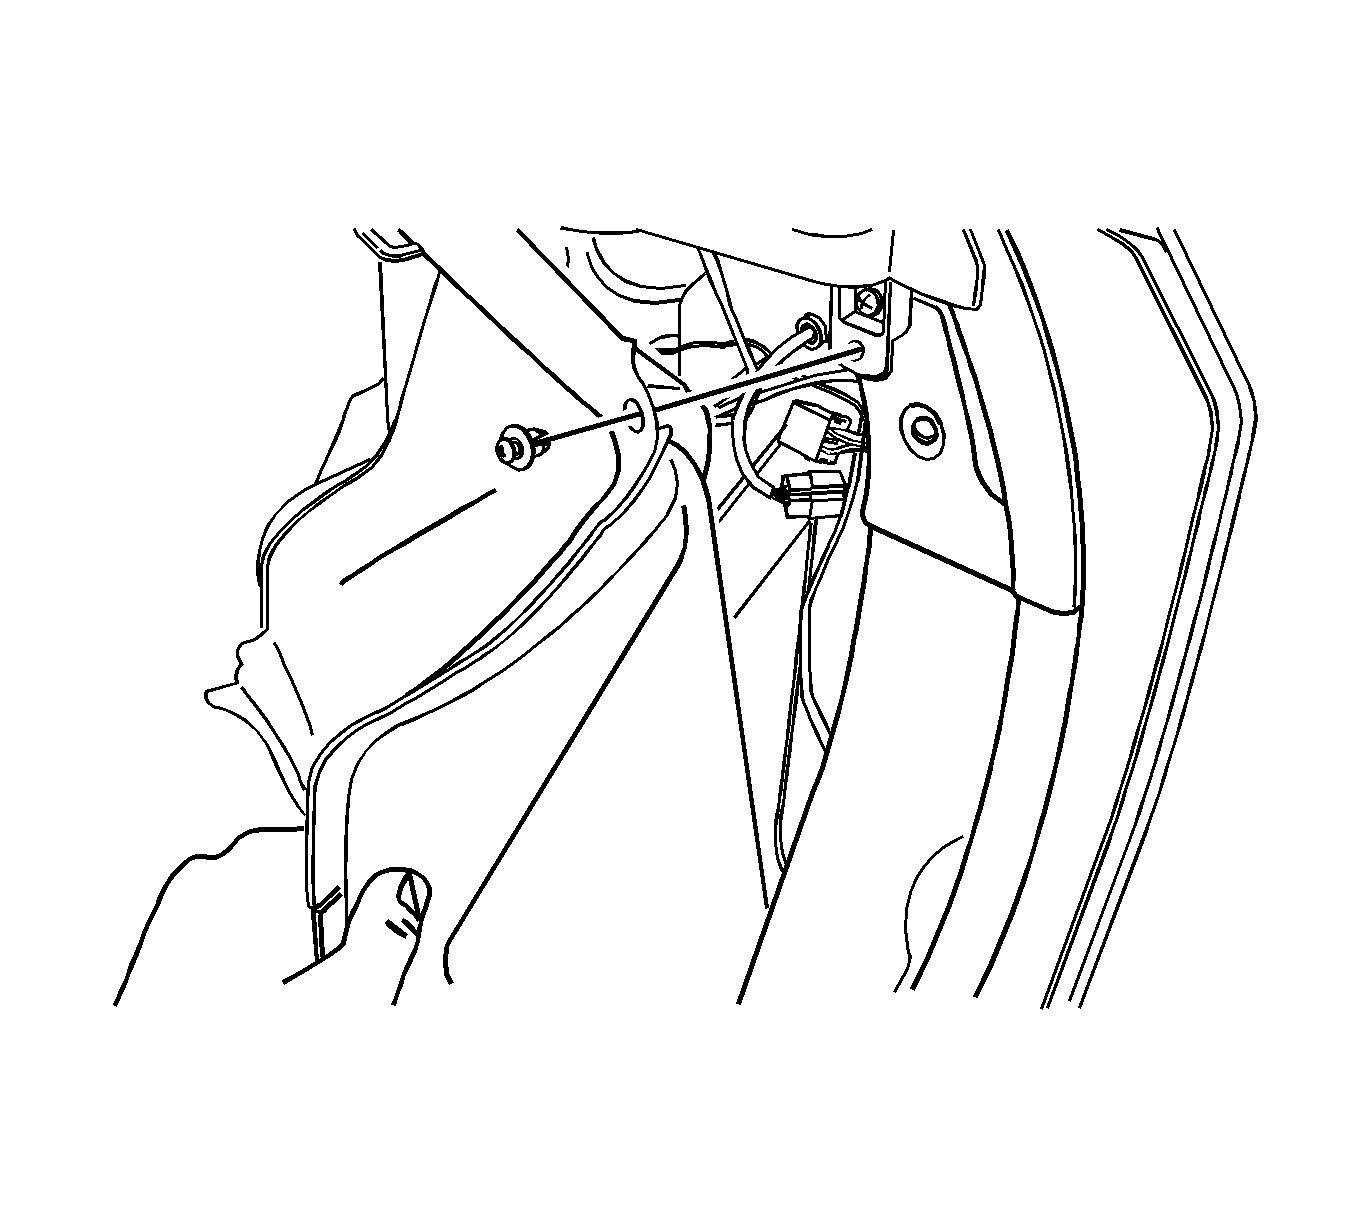
- Remove the rear luggage compartment side panels.
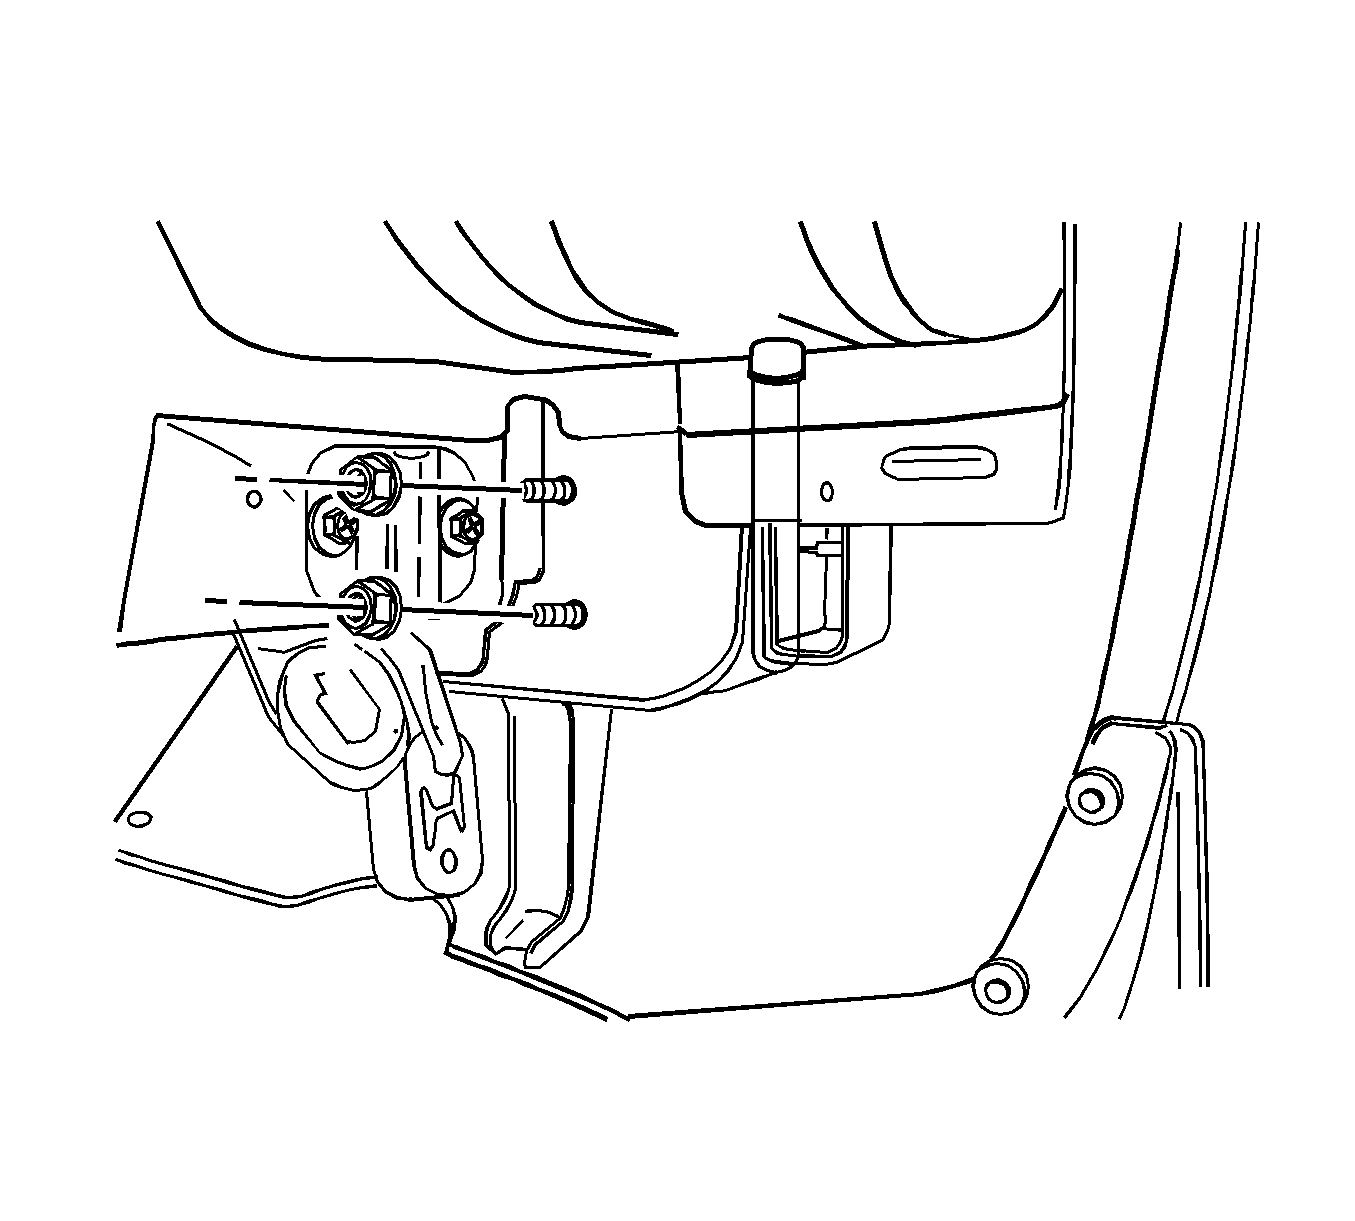
- Remove the nuts in the luggage compartment.
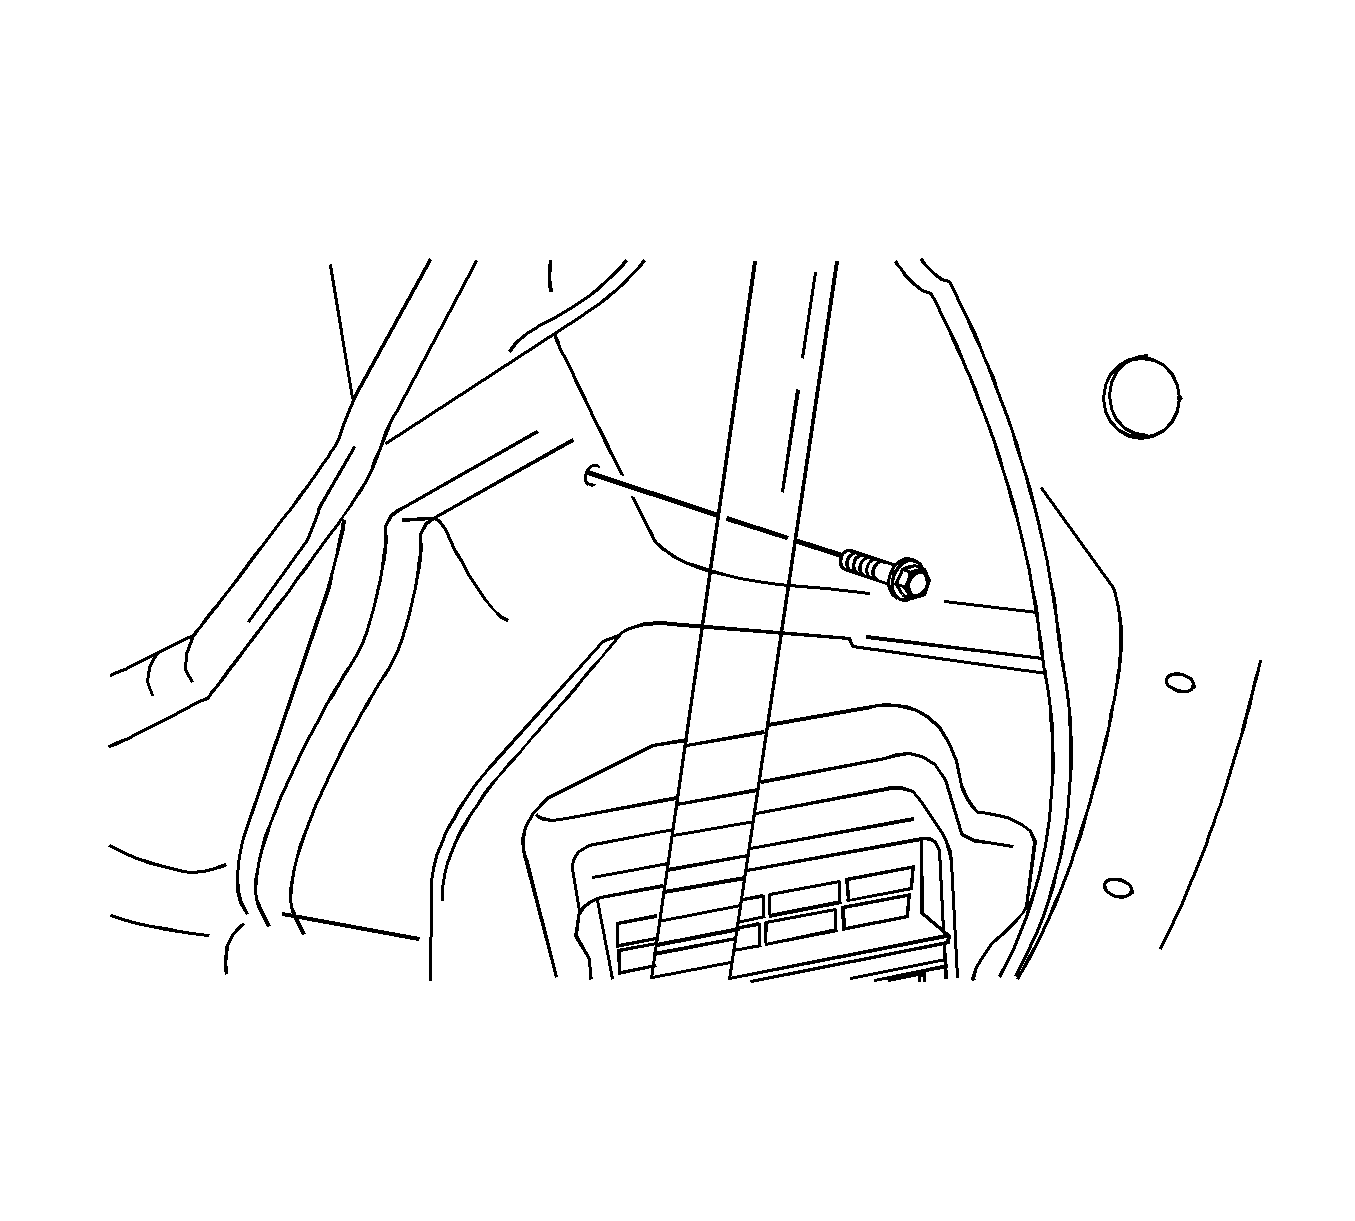
- Remove the bolts in the luggage compartment.
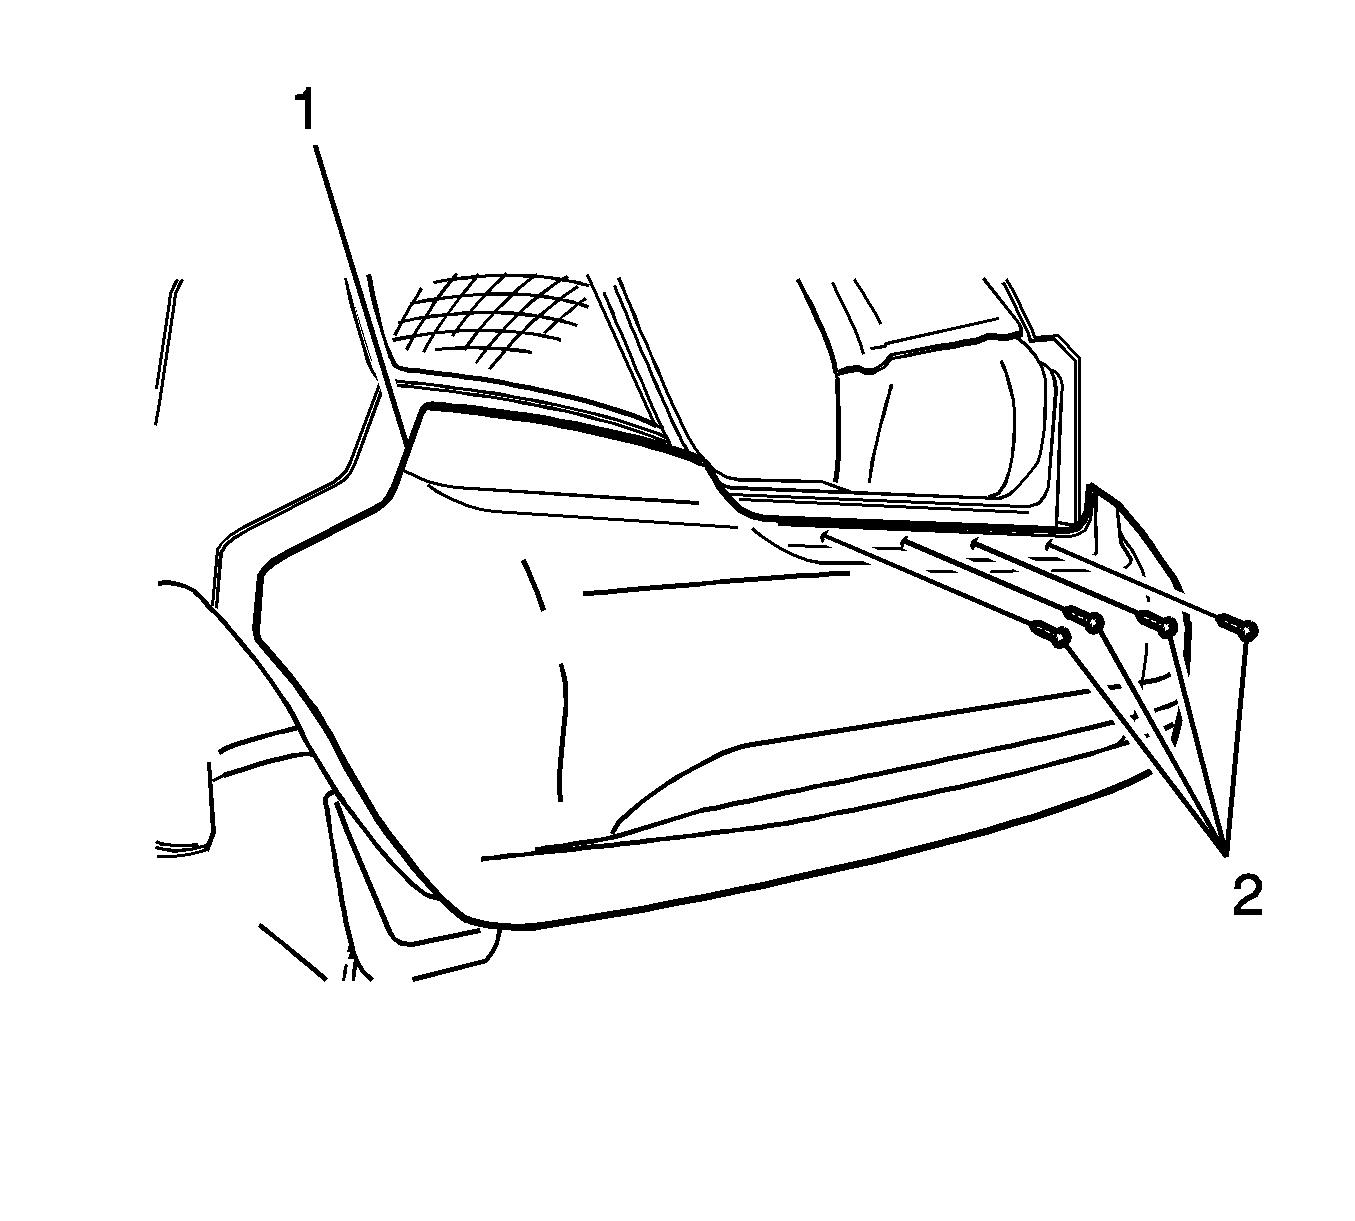
- Remove the rear upper fascia screws.
- Remove the tail lamps. Refer to Tail Lamp Replacement .
- Remove the inner upper fascia retainers.
- Remove the fascia.
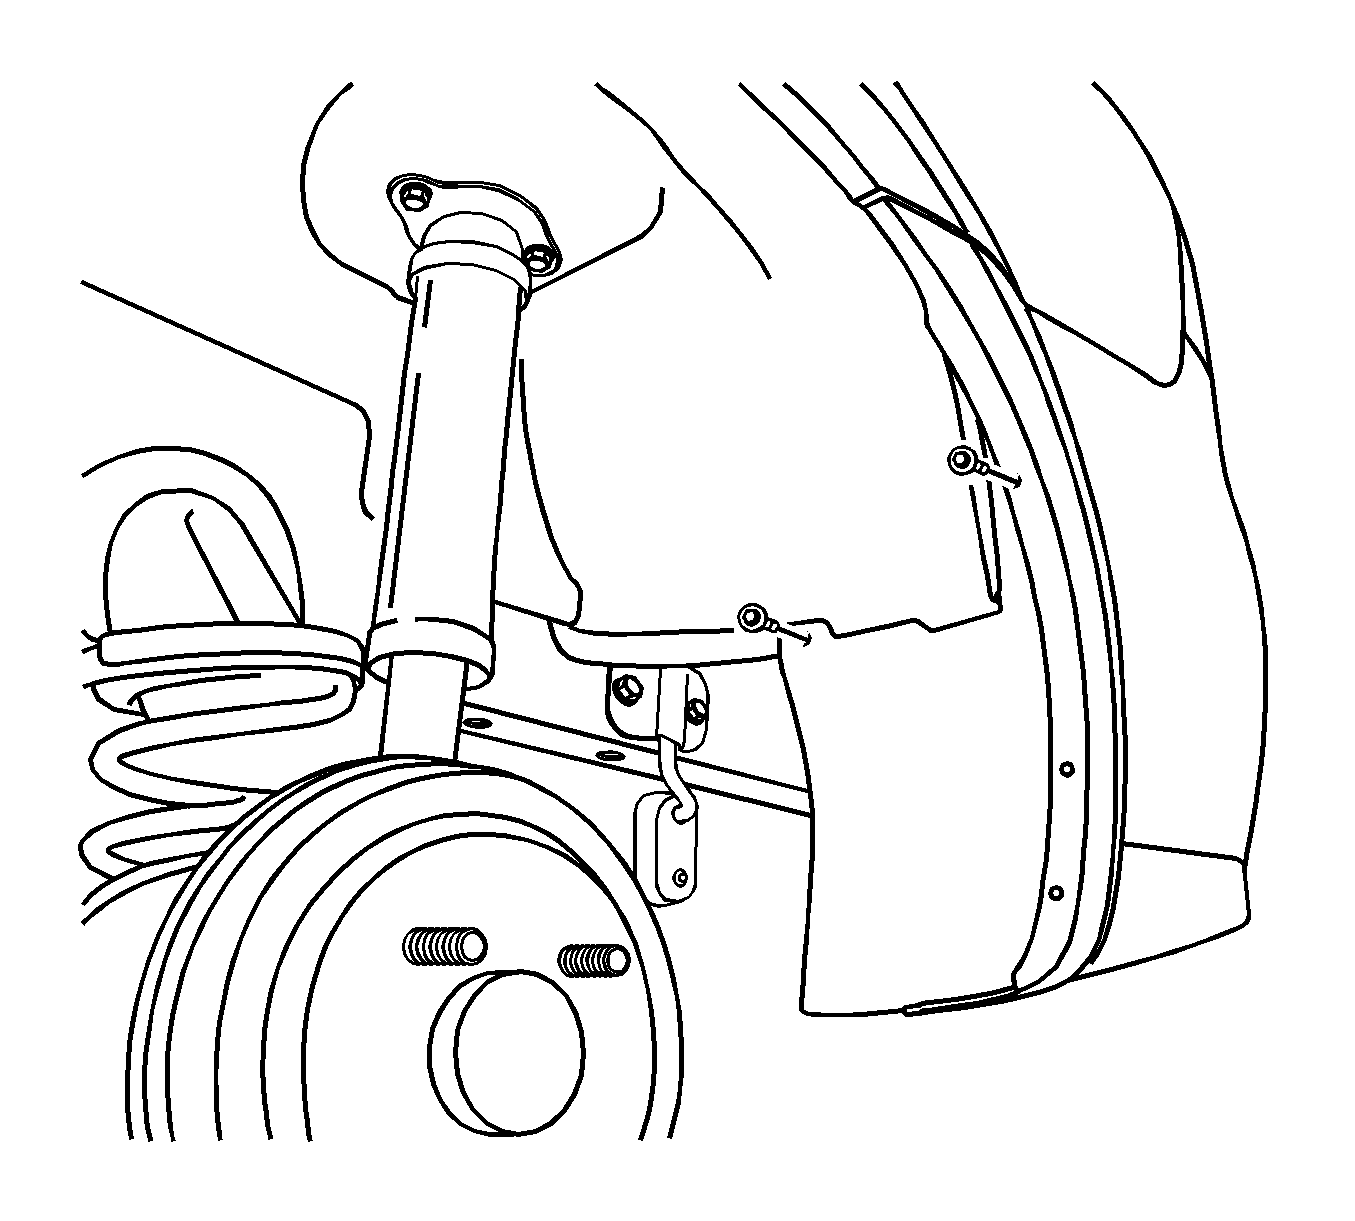
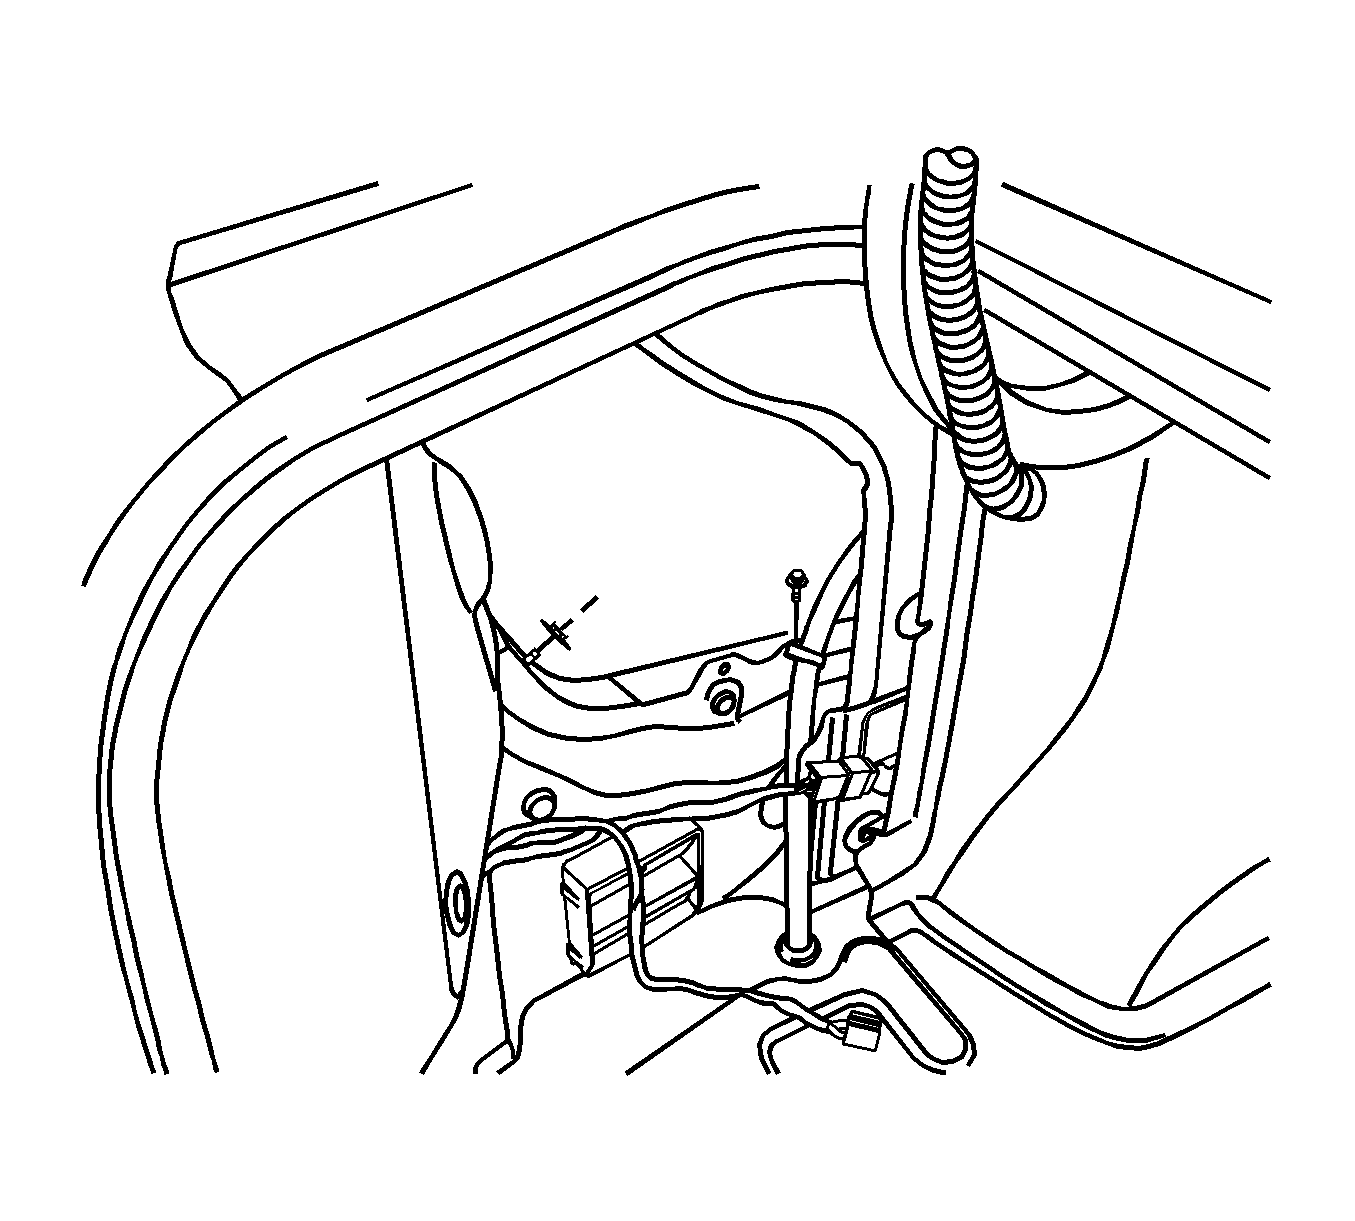
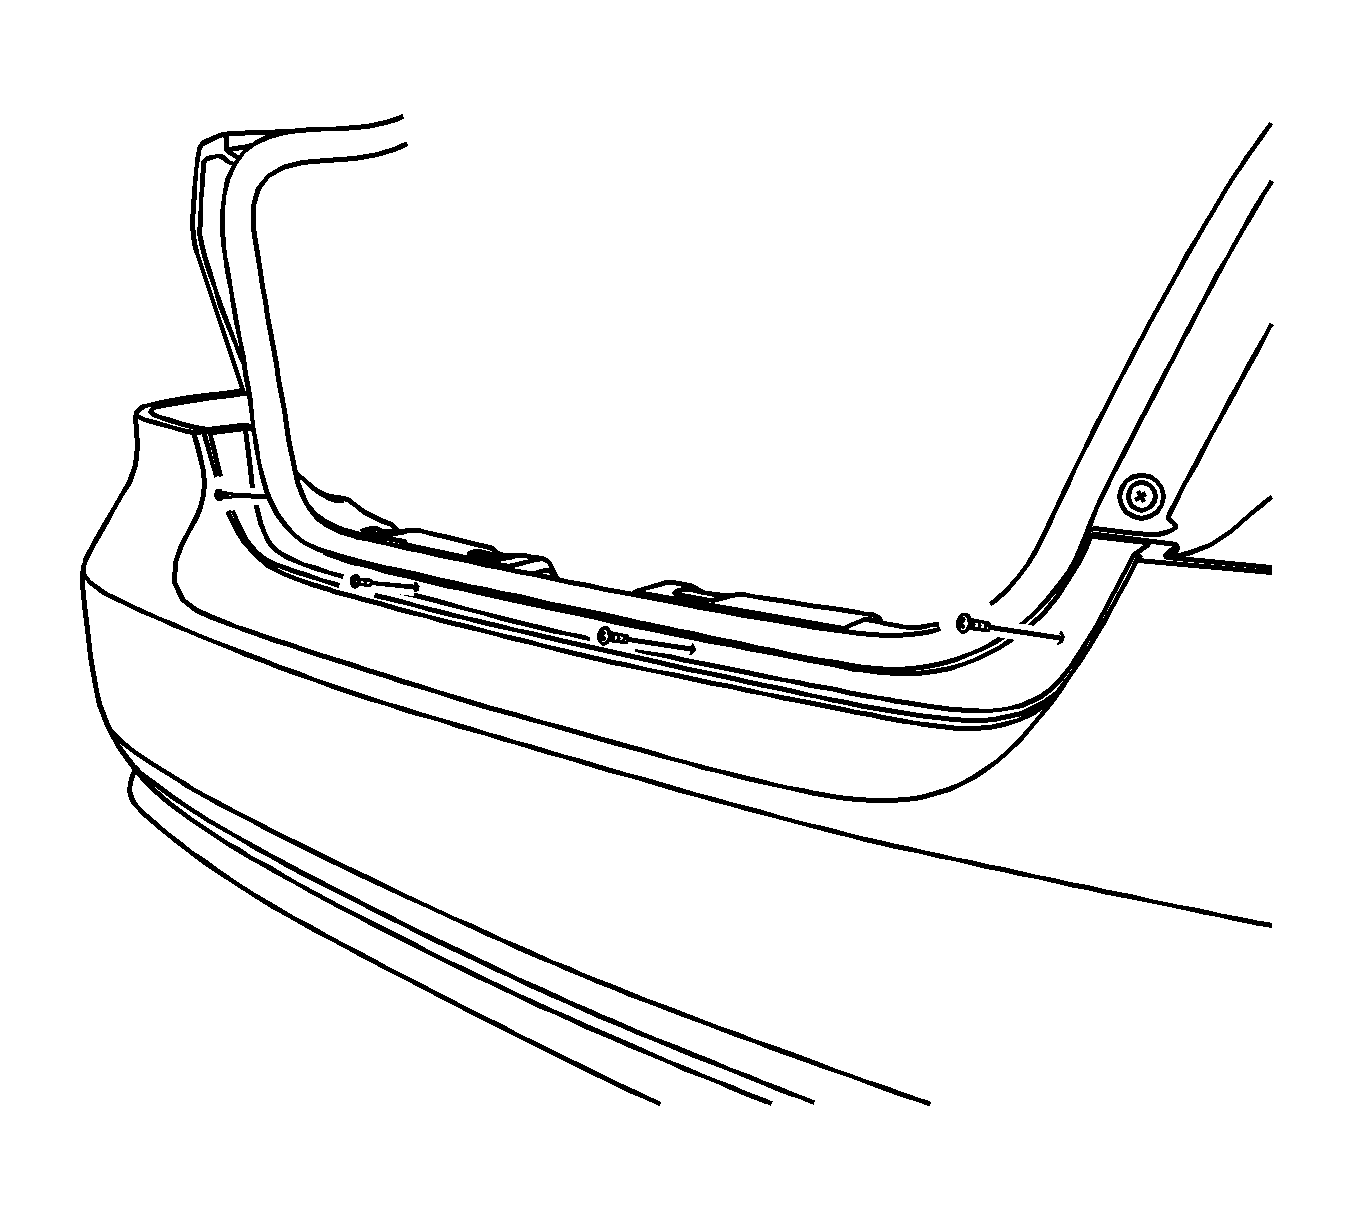
Installation Procedure
- Install the fascia with the rear upper fascia screws.
- Install the rear inner upper fascia retainers.
- Install the tail lamps. Refer to Tail Lamp Replacement .
- Install the bolts in the luggage compartment.
- Install the nuts in the luggage compartment.
- Install the splash shield screws.
- Install the lower fascia screws.
- Install the mud guards with the screws.
Notice: Refer to Fastener Notice in the Preface section.

Tighten
Tighten the rear upper fascia screws to 1.5 N·m (13 lb in).

Tighten
Tighten the luggage compartment fascia bolts to 4 N·m (35 lb in).
Tighten
Tighten the luggage compartment fascia nuts to 4 N·m (35 lb in).

Tighten
Tighten the splash shield screws to 1.5 N·m (13 lb in).
Tighten
Tighten the lower fascia screws to 1.5 N·m(13 lb in).
Tighten
Tighten the mud guard screws to 1.5 N·m (13 lb in).
Rear Bumper Fascia Replacement Hatchback
Removal Procedure
- Remove the screws and the mud guards.
- Remove the screws and the splash shields.
- Remove the screws behind the fascia.
- Remove the nuts behind the rear bumper energy absorber.
- Remove the rear cargo area trim panels.
- Remove the bolts in the luggage compartment.
- Remove the bolts and the exterior trim panels beneath the tail lamps.
- Remove the fascia screws beneath the tail lamps.
- Remove the rear upper fascia screws.
- Remove the fascia.
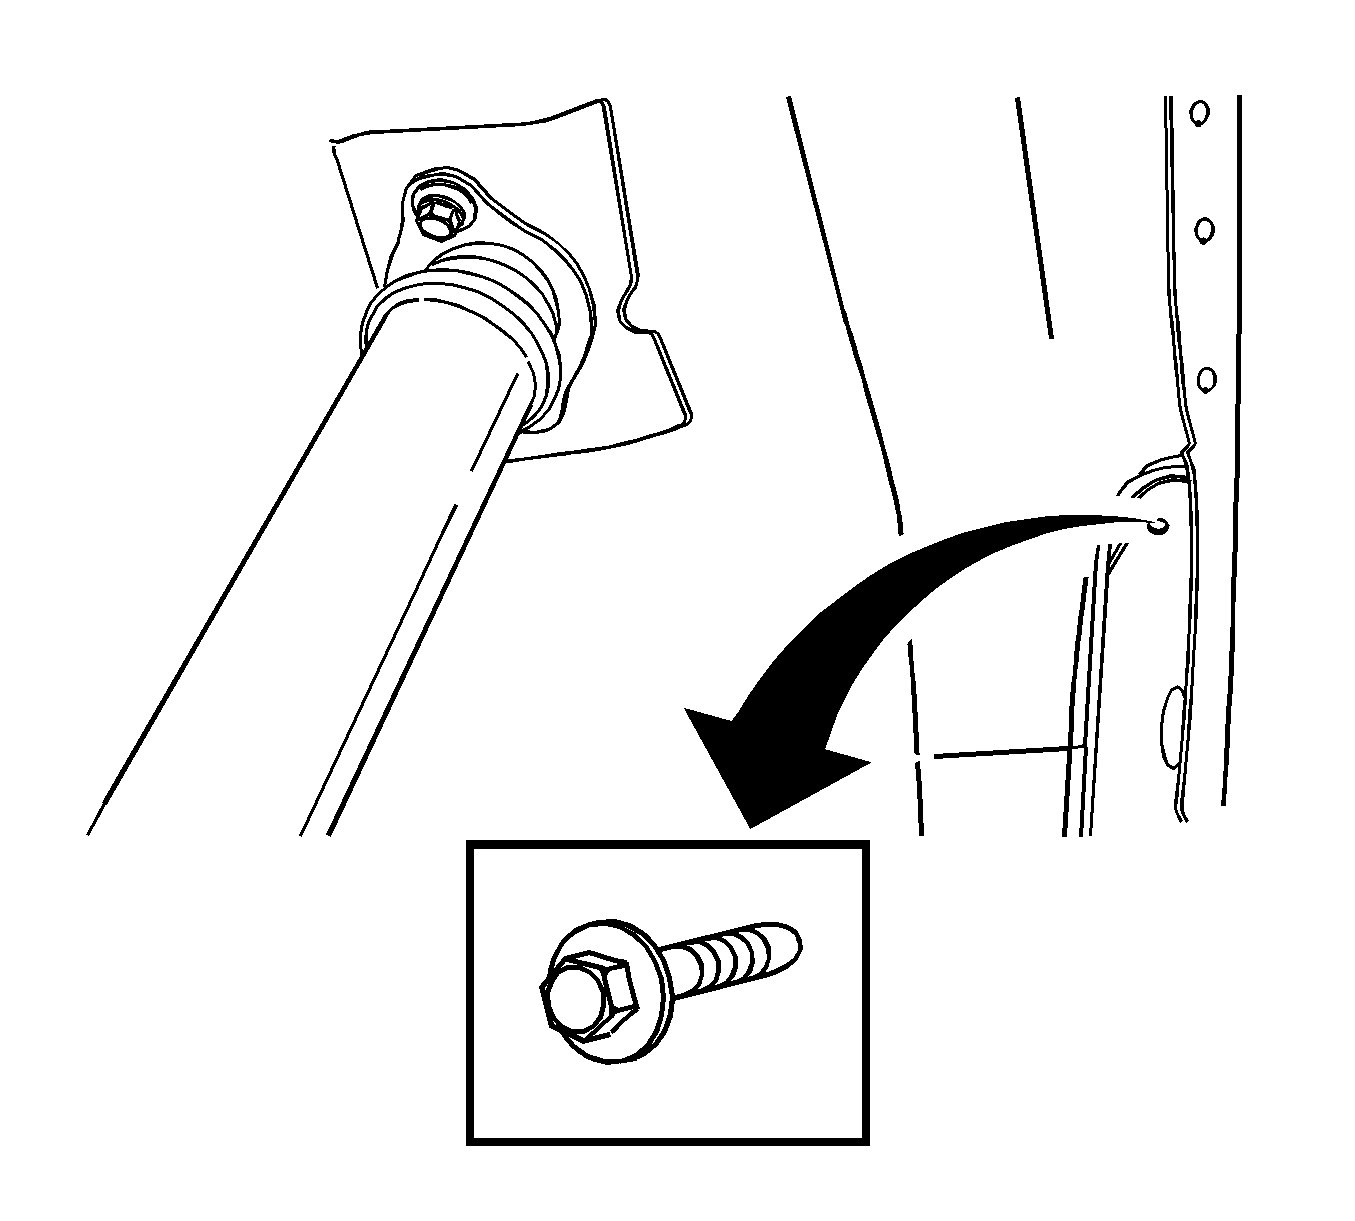
Refer to Cargo Area Side Trim Panel Replacement .
Installation Procedure
- Install the fascia with the rear upper fascia screws.
- Install the fascia screws beneath the tail lamps.
- Install the exterior trim panels beneath the tail lamps with the bolts.
- Install the bolts in the luggage compartment.
- Install the rear cargo area trim panels.
- Install the nuts behind the rear bumper energy absorber.
- Install the screws behind the fascia.
- Install the splash shields with the screws.
- Install the mud guards with the screws.
Notice: Refer to Fastener Notice in the Preface section.

Tighten
Tighten the rear upper fascia screws to 1.5 N·m (13 lb in).

Tighten
Tighten the trim panel bolts to 10 N·m (89 lb in).

Tighten
Tighten the luggage compartment fascia bolts to 5.5 N·m (49 lb in).

Refer to Cargo Area Side Trim Panel Replacement .
Tighten
Tighten the rear bumper energy absorber nuts to 27 N·m (20 lb ft).

Tighten
Tighten the screws behind the fascia to 5.5 N·m (49 lb in).
Tighten
Tighten the splash shield screws to 1.5 N·m (13 lb in).
Tighten
Tighten the mud guard screws to 1.5 N·m (13 lb in).
