For 1990-2009 cars only
Front Side Door Trim Panel Replacement Hatchback
Tools Required
J 21104-B (KM 475-B) Weatherstrip Remover Universal
Removal Procedure
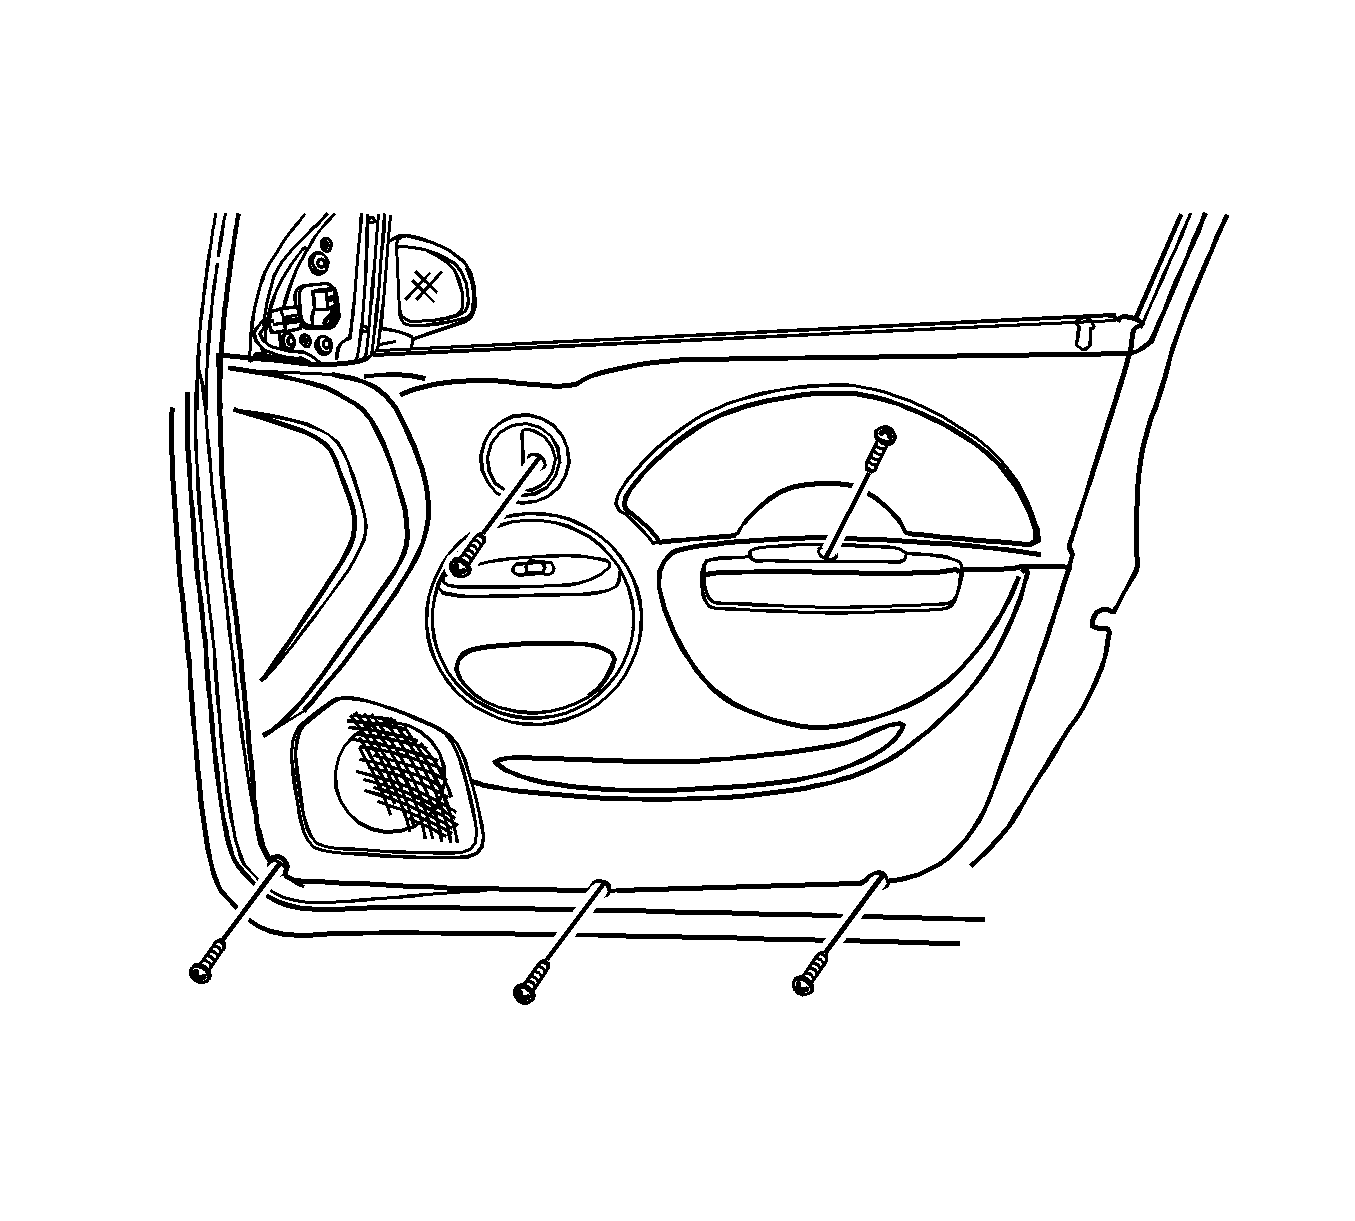
- Lower the front window.
- Remove the door pull screw.
- Remove the inside door handle.
- Remove the screws at the base of the trim panel.
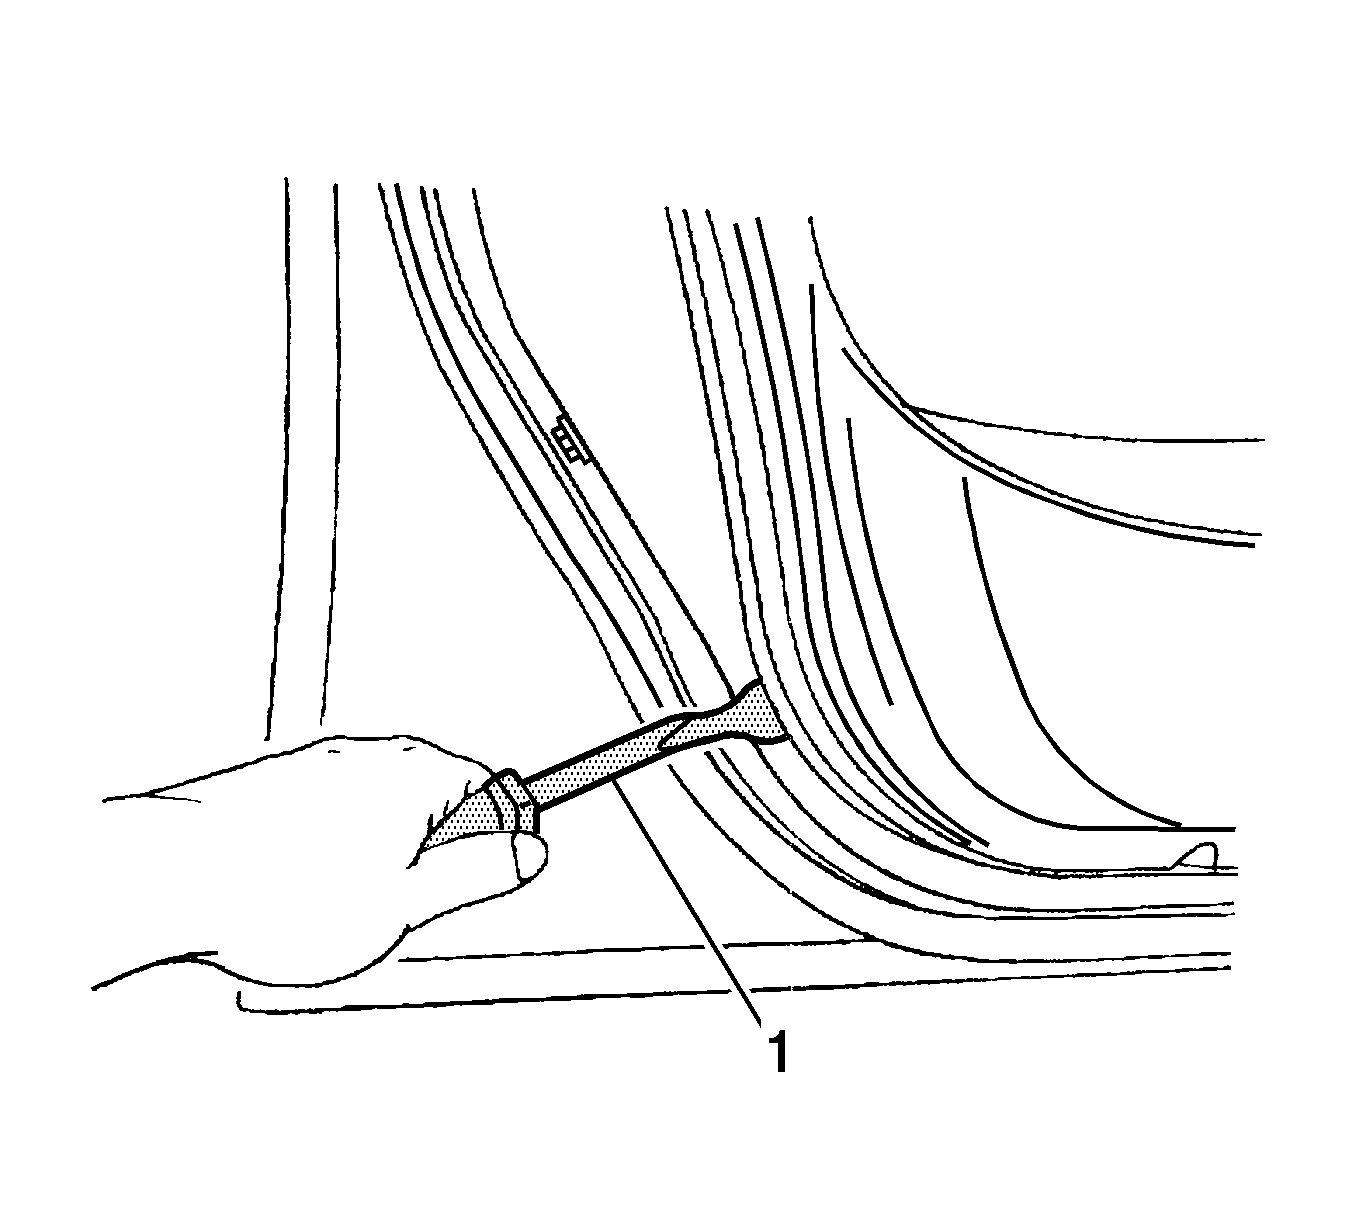
- Pry off the trim panel using the trim remover J 21104-B (1).
Installation Procedure
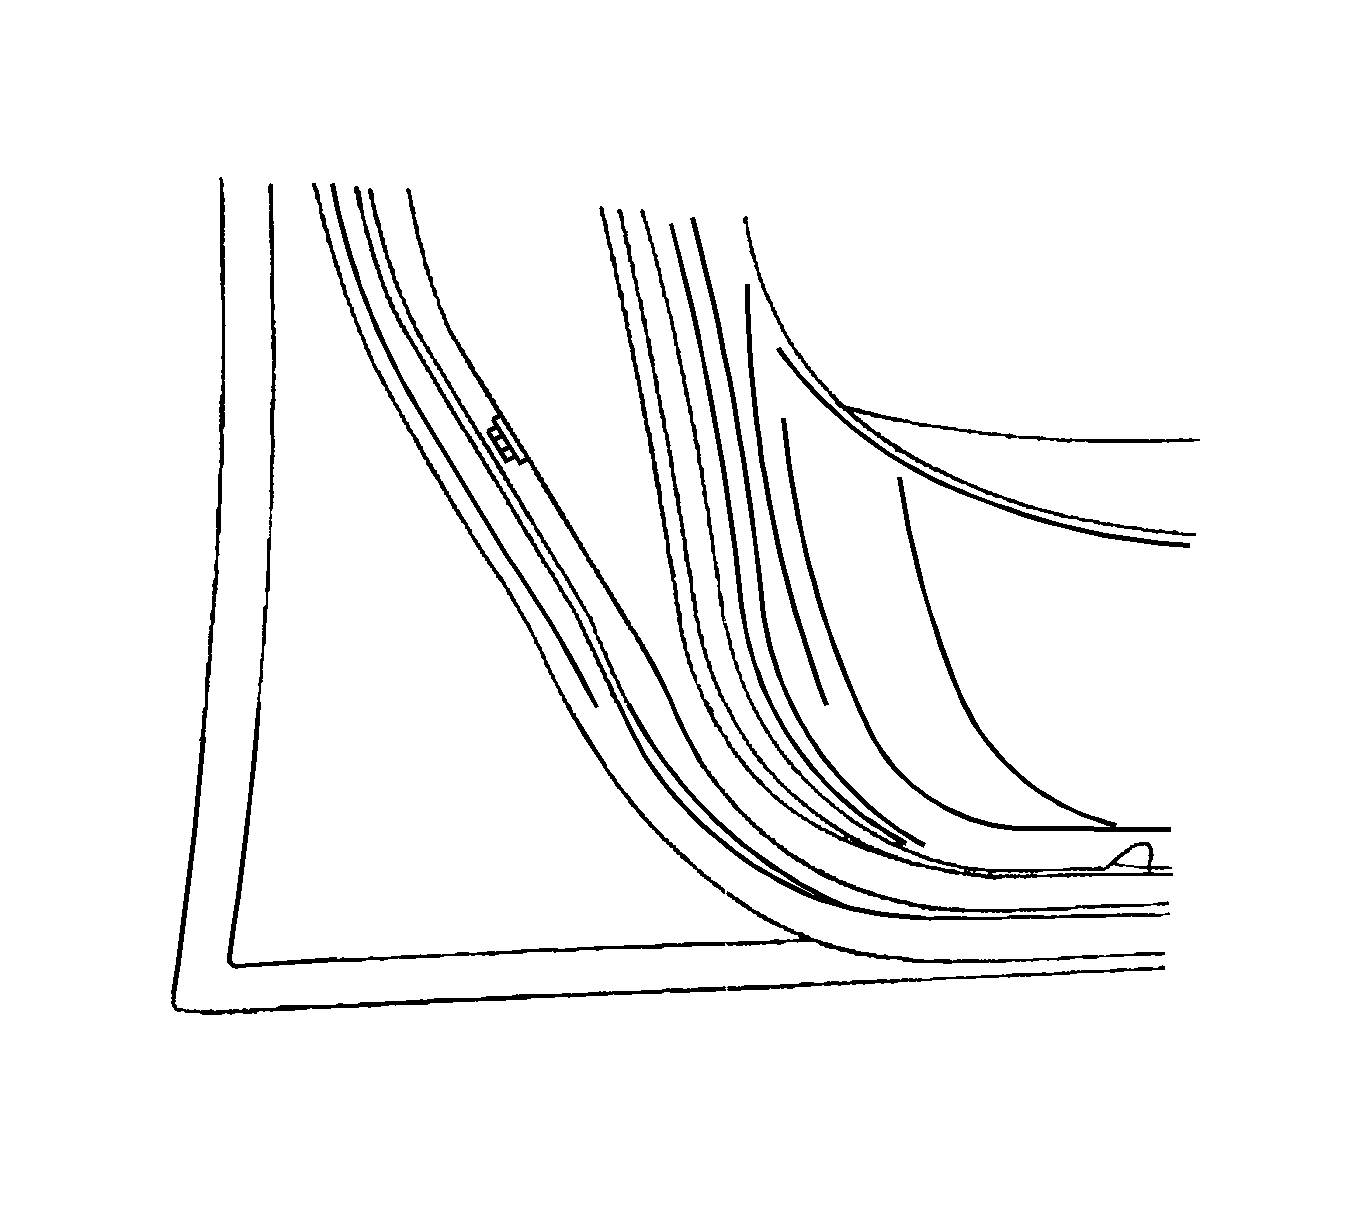
- Install the trim panel.
- Install the screws at the base of the trim panel.
- Install the inside door handle.
- Install the door pull screw.
- Raise the window.
Notice: Refer to Fastener Notice in the Preface section.
Tighten
Tighten the trim panel screws to 3.5 N·m (31 lb in).

Tighten
Tighten the door pull screw to 3.5 N·m (31 lb in).
Front Side Door Trim Panel Replacement Notchback
Removal Procedure
- Lower the front window.
- Remove the window regulator handle, if equipped.
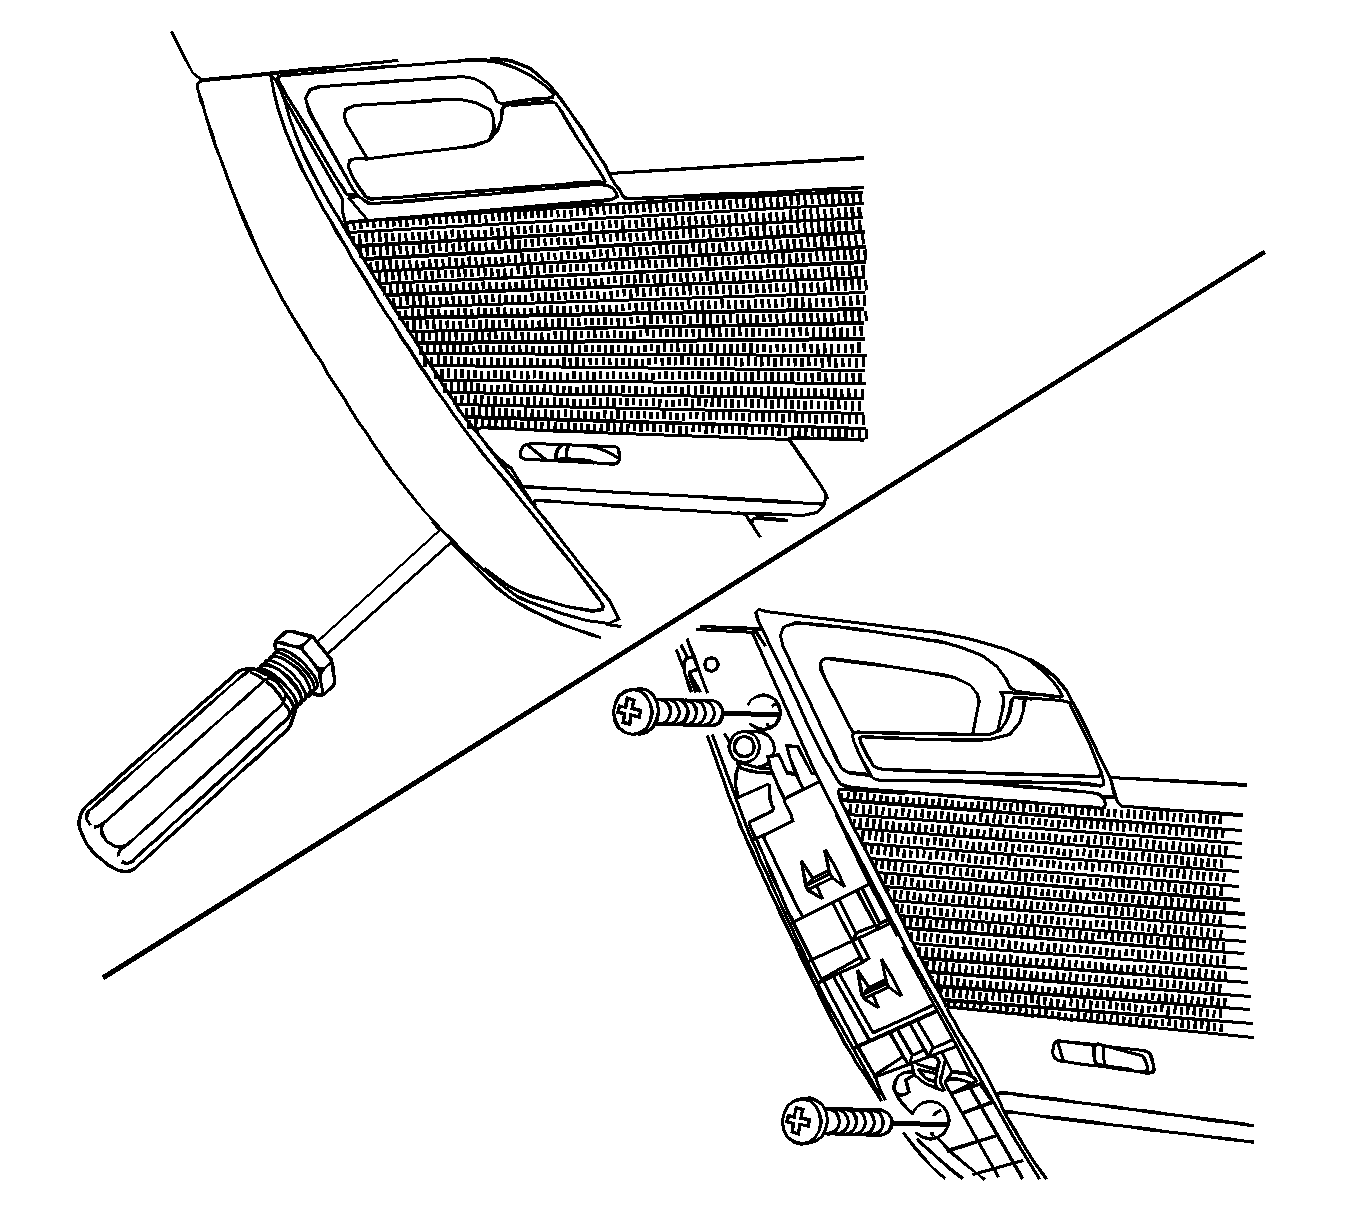
- Remove the door pull screws.
- Using a flat-bladed tool, gently pry off the inside door pull handle cover.
- Pry off the trim panel.
- Disconnect the necessary electrical connectors, if equipped.
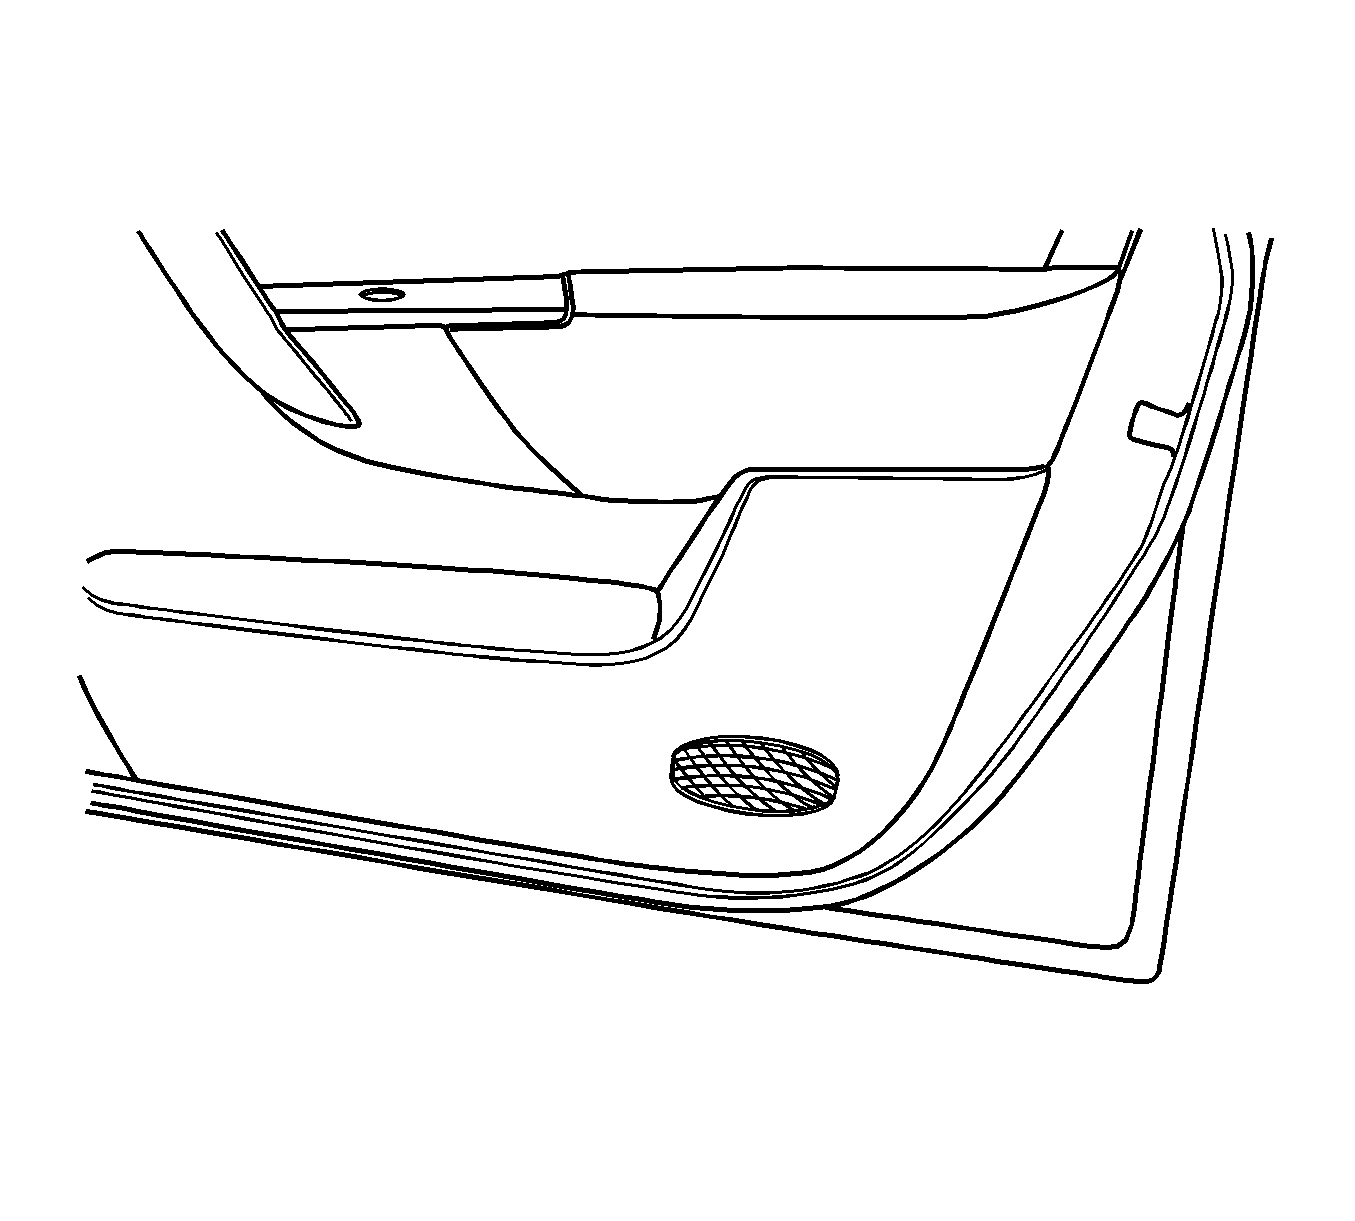
Installation Procedure
- Connect the necessary electrical connectors, if equipped.
- Install the trim panel.
- Install the door pull screw.
- Install the door pull trim cover.
- Install the window regulator handle, if equipped.
- Raise the window.


